
Table of Contents
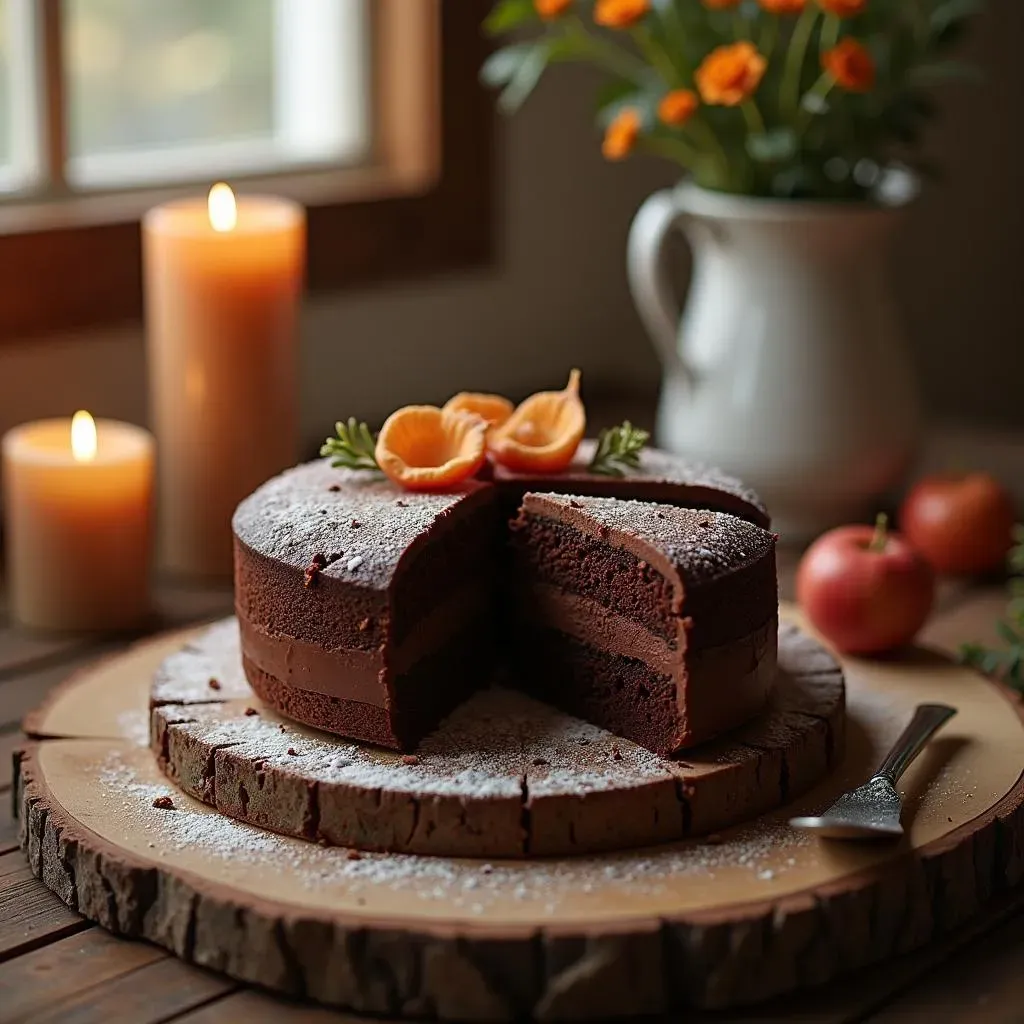
Ever get that craving for chocolate cake, but don't want a huge, leftover-laden dessert staring back at you from the counter? I get it. That's why I'm so excited to share this small simple chocolate cake recipe. It's not just any cake, it’s a perfectly-portioned, deeply satisfying treat designed for those moments when you need a little chocolate fix without the fuss. This recipe is for the home baker who loves a rich, moist cake, but wants to keep things manageable and easy. We're talking about a cake that serves about four people, perfect for a small celebration or just a cozy night in. I'll guide you through the entire process, from gathering your simple ingredients to frosting it with a decadent ganache. We'll explore tips to make sure the cake is moist and delicious every time, plus some ideas on how you can customize it to your taste. Whether you're a beginner or a seasoned baker, this small simple chocolate cake recipe is about to become your go-to for that chocolate craving.
Why Bake a Small Simple Chocolate Cake?
Why Bake a Small Simple Chocolate Cake?
let's be real, sometimes a full-sized cake is just too much. You've got a craving, sure, but you're not feeding an army. That's where this small simple chocolate cake recipe comes in. It's perfect for when you want that rich, chocolatey goodness without ending up with a week's worth of leftovers. Maybe it's a date night, or a small birthday celebration, or maybe it's just a "treat yourself" kind of Tuesday. This cake fits the bill. It's also a fantastic way to practice your baking skills without committing to a huge project. Plus, let's admit it, a smaller cake is just plain adorable. So, if you're looking for a manageable, satisfying, and downright delicious dessert, look no further. This small cake is your answer.
Gathering Your Ingredients for a Small Simple Chocolate Cake

Gathering Your Ingredients for a Small Simple Chocolate Cake
The Dry Stuff
Alright, let's talk ingredients. For this small simple chocolate cake recipe, we're not going overboard. You won't need a pantry full of exotic items, I promise. We're keeping it simple and focusing on quality. First up, the dry ingredients. You'll need all-purpose flour. Don't even think about using bread flour here, we want a tender crumb, not a chewy one. Then, the star of the show: unsweetened cocoa powder. I suggest using a good quality one for a richer chocolate flavor. Baking soda is essential for that nice rise, and a pinch of salt will help balance the sweetness. We will also be using espresso powder, don't skip this, it enhances the chocolate flavor, you won't taste the coffee.
Now, if you're anything like me, you’ve probably stared into your pantry wondering, "Do I *really* have all that?" Go check. Seriously, I’ll wait. It's always a bummer to start baking only to realize you're missing something. This recipe is pretty forgiving, but having all your dry ingredients measured out beforehand makes the whole process smoother. Trust me, future you will thank you. I always measure my ingredients, it may look like a lot of work, but it makes baking so much less stressful.
The Wet Ingredients
Next, let's tackle the wet ingredients for our small simple chocolate cake. We'll start with granulated sugar, because, well, it's a cake, and we need that sweetness. Then, we've got vegetable oil. This keeps the cake super moist, and we're not using butter here, so don't get any ideas. Now for the secret ingredient: buttermilk. If you don't have any on hand (and let's be honest, who does?), you can make a quick substitute with milk and a little bit of lemon juice or vinegar. Let it sit for a few minutes and you've got your DIY buttermilk. We also need one large egg, and a dash of vanilla extract for that extra layer of flavor. The vanilla is a must, it brings all the flavors together. And yes, I know this seems like a lot, but it's all going to come together to make a magical cake.
I always like to have all my wet ingredients at room temperature. It helps them mix together more easily and creates a better emulsion, which leads to a more consistent batter. Don't skip this step! It might seem like a small thing, but it makes a big difference in the final texture of your cake. If you are using homemade buttermilk, make sure it's ready before starting to mix. It needs a few minutes to curdle, and you don't want to be waiting around with your other ingredients ready to go.
Ingredient | Amount | Why We Need It |
|---|---|---|
All-Purpose Flour | 1 cup | The cake's structure |
Unsweetened Cocoa Powder | 1/2 cup | Chocolate flavor |
Baking Soda | 1 teaspoon | Helps the cake rise |
Espresso Powder | 1 teaspoon | Enhances chocolate flavor |
Salt | 1/4 teaspoon | Balances sweetness |
Granulated Sugar | 3/4 cup | Sweetness |
Vegetable Oil | 1/4 cup | Moisture |
Buttermilk | 1/2 cup | Moisture and tang |
Egg | 1 large | Structure and richness |
Vanilla Extract | 1 teaspoon | Flavor |
StepbyStep: Baking Your Small Simple Chocolate Cake
StepbyStep: Baking Your Small Simple Chocolate Cake
Prepping Your Pans and Oven
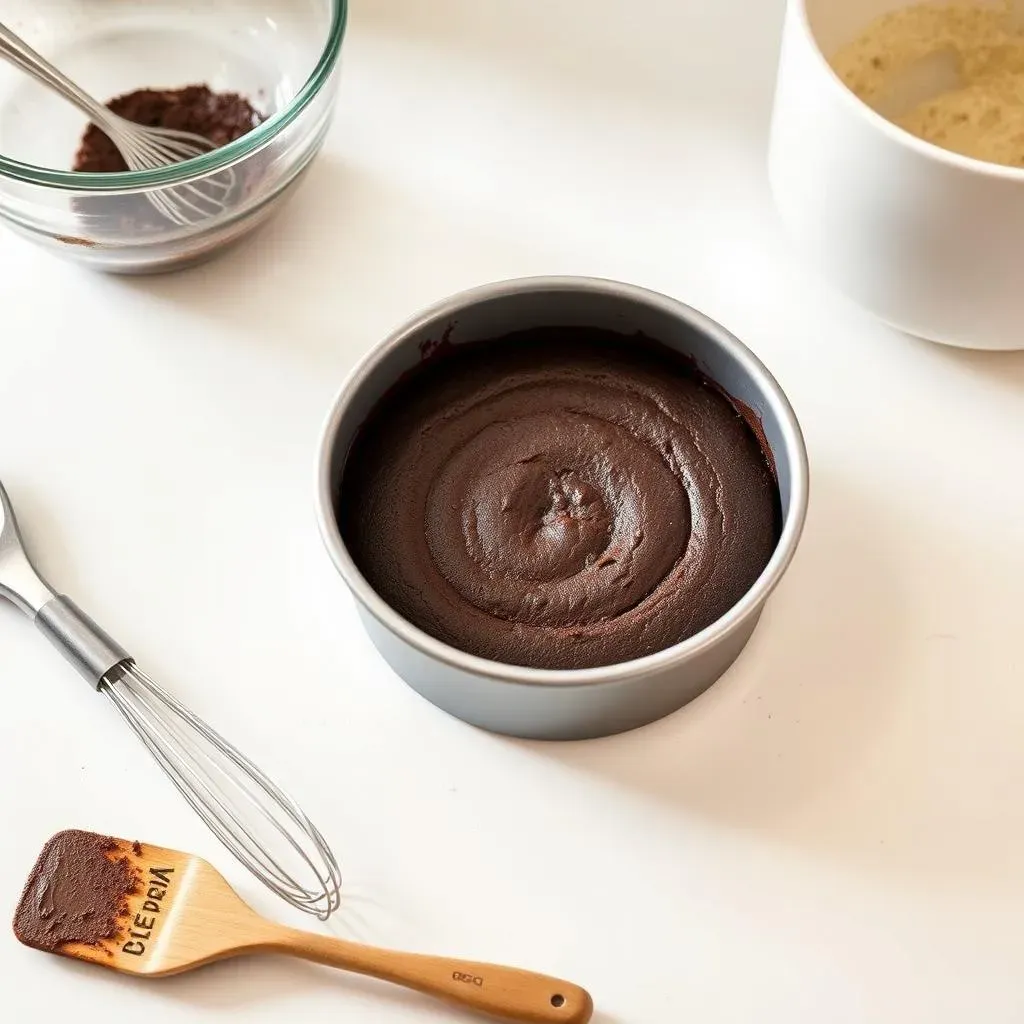
before we get into the fun stuff, let’s get our oven preheated to 350°F (175°C). This is important! A hot oven ensures the cake rises properly and bakes evenly. While the oven is warming up, grab your 6-inch cake pan. If you don't have a 6-inch pan, you could use a similar-sized baking dish, but a cake pan will give you the best results. Grease it well, I'm talking every nook and cranny, with some butter or cooking spray. Then, for extra insurance, line the bottom with a circle of parchment paper. This will make it super easy to get the cake out once it's baked. I've had some sticky situations, and trust me, parchment paper is your friend. Nobody wants a cake that’s half stuck to the pan.
I like to get all of my prep work done before I even start mixing ingredients. It just makes the whole process so much smoother. Imagine trying to line a pan with parchment paper while your batter is sitting there getting impatient! Trust me, it's not fun. It’s also a good idea to double-check that your oven is actually at the right temperature. I have a little oven thermometer that I use because sometimes, ovens can be a bit temperamental.
Mixing the Batter
Now, for the exciting part: mixing the batter. Get out your two mixing bowls. In one, whisk together all of your dry ingredients: the flour, cocoa powder, baking soda, espresso powder, and salt. Make sure they’re well combined. You don't want any pockets of baking soda messing with your cake. In the other bowl, mix together your wet ingredients: sugar, vegetable oil, buttermilk, egg, and vanilla extract. Whisk them until they're nice and smooth. Now, pour the wet ingredients into the dry ingredients. Gently fold them together with a spatula until just combined. Don't overmix! Overmixing can lead to a tough cake, and we're going for tender and moist here. You should have a smooth and luscious chocolate batter, ready to be baked.
I like to use a large spatula for folding, it helps to get everything mixed without overdoing it. It's also important to scrape down the sides of the bowl a few times during mixing to make sure all the ingredients are incorporated. You don’t want any flour hiding in the bottom. If you see some streaks of flour, keep folding gently until they disappear. Remember, the key is to be gentle and not overwork the batter.
Step | Action | Why It Matters |
|---|---|---|
1 | Preheat oven to 350°F (175°C) | Ensures proper baking |
2 | Grease and line 6-inch pan | Prevents sticking |
3 | Whisk dry ingredients | Evenly distributes baking soda |
4 | Mix wet ingredients | Creates a smooth base |
5 | Combine wet and dry | Forms the cake batter |
Baking to Perfection
Alright, the batter is ready, now it's time to bake. Pour the batter into your prepared 6-inch cake pan. Use a spatula to smooth the top. Pop it into the preheated oven and bake for about 30-35 minutes. The baking time may vary slightly depending on your oven, so keep an eye on it. To check if the cake is done, insert a toothpick into the center. If it comes out clean, or with just a few moist crumbs attached, your cake is ready. If it comes out with wet batter, bake it for a few more minutes and check again. Don't overbake the cake, you want to keep it moist. Once it's done, take the pan out of the oven and let it cool in the pan for about 10 minutes before flipping it out onto a wire rack to cool completely.
I like to set a timer for 30 minutes, and then I'll start checking the cake every couple of minutes after that. It is better to check frequently than to over bake it. Once the cake is out of the oven, don't try to flip it out right away. It needs a little time to set. The wire rack is essential for cooling because it allows air to circulate around the cake and prevents it from getting soggy. Let it cool completely before frosting.
Frosting and Finishing Your Small Simple Chocolate Cake
Frosting and Finishing Your Small Simple Chocolate Cake
Decadent Chocolate Ganache
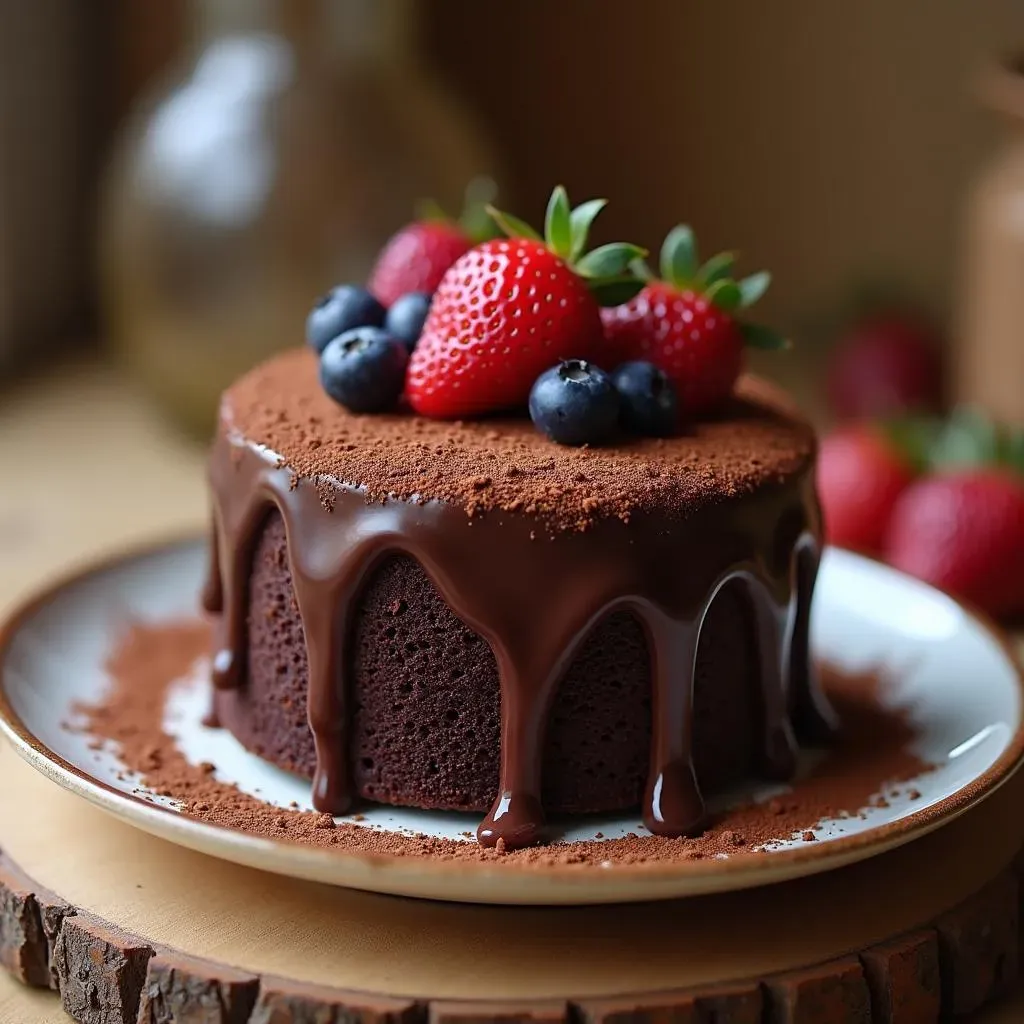
the cake is cooled, and now it's time for the best part: frosting! For this small simple chocolate cake recipe, I'm a huge fan of a simple chocolate ganache. It's rich, it's decadent, and it's surprisingly easy to make. All you need is some good quality dark chocolate and heavy cream. Chop the chocolate into small pieces and put it in a heatproof bowl. Heat the heavy cream until it's just about to simmer, then pour it over the chocolate. Let it sit for a minute to melt the chocolate, and then whisk it until it’s smooth and glossy. If it's too thick, add a splash of warm cream, if it's too thin, let it sit for a bit. I like to let the ganache cool slightly before frosting the cake, so it's easier to handle. It should be thick enough to spread easily but not so thick that it's hard to work with.
I always use a good quality dark chocolate for my ganache, It just makes the flavor so much better, and it’s worth the splurge for this special treat. I also like to add a tiny pinch of salt to the ganache. It really brings out the chocolate flavor and balances the sweetness. If you don’t have heavy cream, you can use full-fat coconut milk, but it will give a slight coconut flavor. The key to a great ganache is to be patient and let the chocolate melt slowly. Don’t try to rush it, or it might get grainy. If it does, add a tiny bit of warm cream and whisk again until it’s smooth.
Frosting and Decorating
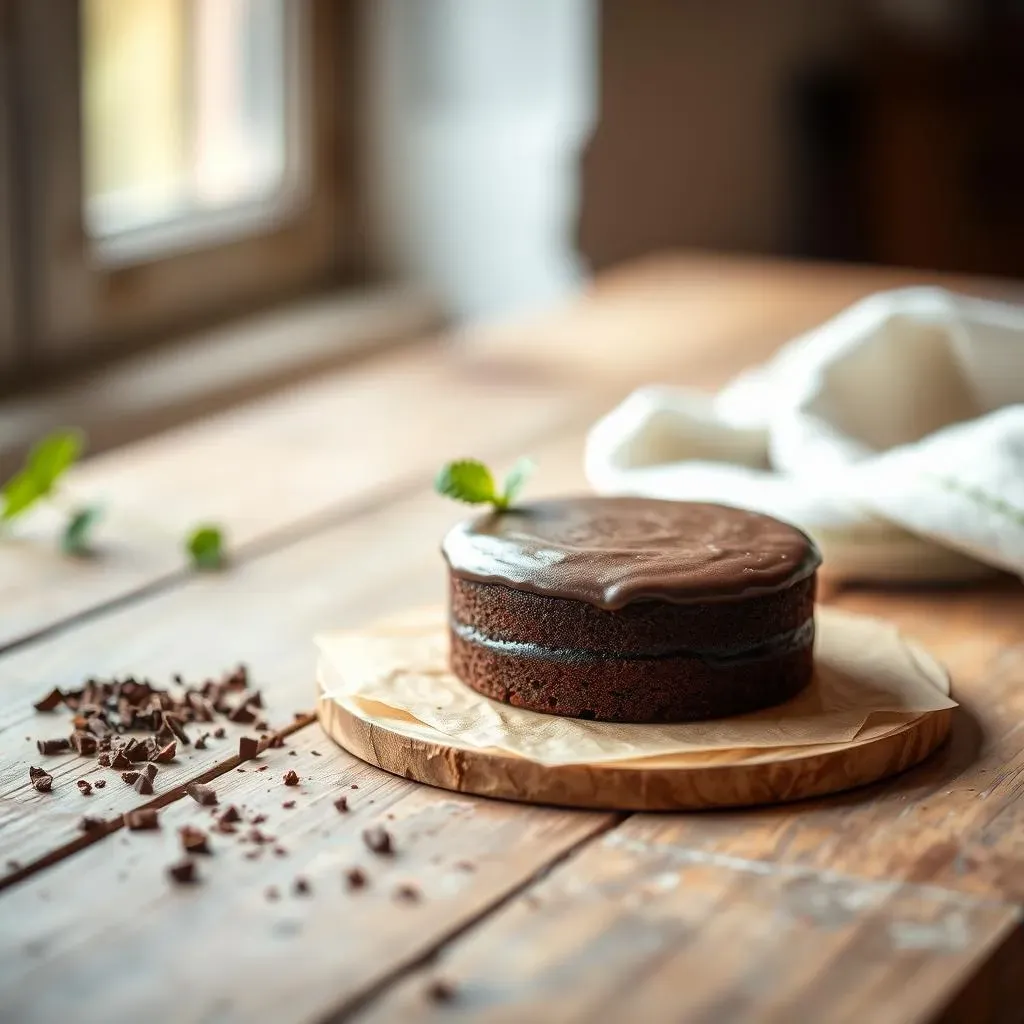
Now that your ganache is ready, it's time to frost the cake. Place the cooled cake on a wire rack with some parchment paper underneath to catch any drips. Pour the ganache over the center of the cake and use a spatula or knife to gently spread it all over. You can go for a smooth finish or let it be a little rustic, it's up to you. Let the ganache set for a bit, it should become shiny and firm. Once the ganache is set, you can add some decorations. I like to keep it simple with some chocolate shavings or a dusting of cocoa powder. You can also add some fresh berries, sprinkles, or whatever you fancy. This is your cake, so have fun with it!
I always make sure to let the cake cool completely before frosting it, otherwise, the ganache will melt right off. I also like to use an offset spatula for frosting, it makes it so much easier to get a smooth finish. If you don't have an offset spatula, a regular butter knife will do. The most important thing is to be gentle and take your time. Don’t try to rush it. The beauty of ganache is that it doesn't have to be perfect, it will still taste amazing. If you make a mistake you can always try to smooth it out with a warm knife. Once the ganache is set, you can add some decorations. This is where you can really let your creativity shine.
Frosting Component | Ingredient | Why It Matters |
|---|---|---|
Ganache Base | Good Quality Dark Chocolate | Rich flavor |
Ganache Liquid | Heavy Cream | Smooth texture |
Optional Flavor | Pinch of Salt | Enhances chocolate flavor |
Decoration | Chocolate shavings, berries, cocoa powder | Adds visual appeal |
Tips and Tricks for the Perfect Small Simple Chocolate Cake
Tips and Tricks for the Perfect Small Simple Chocolate Cake
so you've got the basics down, but let's talk about some insider secrets to really nail this small simple chocolate cake recipe. First off, room temperature ingredients are your best friend. I know it's a pain to plan ahead, but taking your egg and buttermilk out of the fridge an hour before you start will make a huge difference in how well everything mixes together. You want a smooth batter, not a curdled mess. Also, don't overmix the batter. I can't stress this enough. Once the wet and dry ingredients are combined, fold them gently until just incorporated. Overmixing develops the gluten in the flour, leading to a tough cake. We want tender, remember? And finally, don’t skip the parchment paper! It is the easiest way to avoid a cake that sticks to the pan.
Another trick for a super moist cake is to add a tablespoon of sour cream or yogurt to the batter. It adds extra fat and tang, which keeps the cake nice and soft. If you’re struggling with a dry cake, try reducing the baking time by a few minutes, and make sure your oven temperature is accurate. A lot of ovens can be temperamental, so using an oven thermometer is always a good idea. And if you’re in a high altitude location, you might need to adjust the recipe slightly, by adding a little more liquid or reducing the amount of baking soda. These little tweaks can make all the difference between a good cake and a great cake.
Tip | Why it Matters |
|---|---|
Room temperature ingredients | Ensures smooth batter |
Don't overmix | Prevents tough cake |
Parchment paper | Prevents sticking |
Sour cream or yogurt | Adds moisture |
Check oven temp | Accurate baking |
Make It Your Own: Variations on the Small Simple Chocolate Cake
Make It Your Own: Variations on the Small Simple Chocolate Cake
Switching Up the Chocolate
so you've mastered the basic small simple chocolate cake recipe, now let's get creative! One of the easiest ways to switch things up is by changing the type of chocolate you use. Instead of unsweetened cocoa powder, try using a mix of dark and milk chocolate cocoa. This will give you a slightly sweeter and less intense chocolate flavor. If you're feeling adventurous, you can even add some chopped chocolate to the batter. Imagine biting into a piece of cake with melty chunks of dark chocolate, or maybe some white chocolate chips for a fun contrast. I once used a combination of dark and semi-sweet chips, it was a crowd-pleaser!
I've also experimented with using different types of cocoa powder, like dutch-processed cocoa, which has a milder flavor and a darker color. The key is to experiment and find the combination that you love. You can also try adding a bit of instant coffee to the batter to enhance the chocolate flavor even more. It's a simple tweak, but it makes a big difference. Remember, baking is about having fun and exploring different flavors. Don't be afraid to try something new, you might just discover your new favorite version of this cake.
Flavor Add-Ins
Now, let's talk about add-ins. I’m not just talking about chocolate chips here. Think about adding some chopped nuts like walnuts or pecans for a nice crunch. Or how about some dried fruit like cranberries or cherries for a bit of chewiness? You can also try adding a teaspoon of orange or peppermint extract for a different flavor profile. I once made a small simple chocolate cake and added a bit of almond extract and some chopped almonds, and it was like a little slice of heaven. Don’t be afraid to get creative and play around with different flavor combinations, you will be surprised at the results.
Spices can also be a great addition. A pinch of cinnamon or nutmeg can add a warm and cozy flavor to your cake. You can even add a bit of chili powder for a subtle kick. For a really fancy touch, you can add a few drops of rose water or lavender extract for a floral note. These are all things I have tried, and they are all delicious. The possibilities are endless, so experiment and have fun. Your small simple chocolate cake can be anything you want it to be.
Variation | Ingredient | Flavor Profile |
|---|---|---|
Chocolate Mix | Dark and milk cocoa powder | Sweeter, less intense chocolate |
Chocolate Chunks | Chopped dark, white, or semi-sweet chocolate | Melty chocolate pockets |
Nutty Crunch | Chopped walnuts or pecans | Added texture |
Fruity Chew | Dried cranberries or cherries | Chewy sweetness |
Spice Kick | Cinnamon, nutmeg, or chili powder | Warm or spicy notes |
Frosting Fun
Finally, let’s talk about frosting. While chocolate ganache is my go-to, you can always switch it up. Try a simple buttercream frosting, maybe with a hint of vanilla or coffee. Or how about a cream cheese frosting for a tangy twist? You can also try a peanut butter frosting for something different. I love experimenting with different flavors and textures, it keeps baking exciting. If you’re feeling extra fancy, you can try making a caramel frosting, it’s a little more work, but it is worth it.
Don't be afraid to play with different colors and decorations too. You can add food coloring to your frosting, or use sprinkles, edible glitter, or fresh fruit to make your cake look amazing. You can also try making a glaze with powdered sugar and a bit of milk or lemon juice. This is a great option if you want a lighter frosting. The key is to have fun and let your creativity shine. Your small simple chocolate cake can be anything you want it to be, so don’t be afraid to experiment. I once made a cake with a pink buttercream frosting and some colorful sprinkles, and it was a total hit.
Storing and Serving Your Small Simple Chocolate Cake

Storing and Serving Your Small Simple Chocolate Cake
Keeping It Fresh
Alright, so you've baked this amazing small simple chocolate cake, and maybe, just maybe, you haven't devoured it all in one sitting. What now? Storing it properly is key to keeping it moist and delicious. If you've frosted it with ganache, you can store it at room temperature for a day or two, as long as it's in a cool, dry place. However, if you live in a warm climate, or if the cake is frosted with buttercream or cream cheese frosting, you should pop it in the fridge. Just make sure to cover it well with plastic wrap or place it in an airtight container to prevent it from drying out. I hate when a cake gets that dry, fridge taste, so wrapping it up well is a must.
I always like to store my cakes in a cake container, it just keeps them from getting squished in the fridge. If you don't have a cake container, you can use a large bowl and cover it with plastic wrap. The key is to make sure it’s sealed up tight, you want to keep the moisture in and the fridge smells out. If you’ve added fresh fruit to your cake, it's best to eat it within a day or two, as the fruit can get soggy. I usually add any fresh fruit right before serving, this way it looks its best and tastes its best.
Storage Option | Best For | How Long |
|---|---|---|
Room Temperature | Ganache-frosted cake | 1-2 days |
Refrigerator | Buttercream or cream cheese frosting | 3-4 days |
Freezer | Unfrosted cake | Up to 3 months |
Freezing for Later
Here's a pro-tip: this small simple chocolate cake recipe freezes beautifully! If you want to make it ahead of time, or save some for later, wrap the unfrosted cake tightly in plastic wrap, then in foil, and pop it in the freezer. It will keep for a couple of months. When you’re ready to eat it, let it thaw in the fridge overnight and then frost it. You'll have a cake that tastes just as fresh as the day you baked it. I like to bake a few cakes at a time, freeze them, and then I always have a cake ready when I need it. It's a great way to plan ahead for any occasion.
I always make sure to wrap the cake really well before freezing it, because freezer burn is not fun. If you are storing individual slices, make sure to wrap each slice separately and then put them in a freezer bag. This way, you can take out just one slice at a time. It's also a good idea to label the cake with the date you baked it, so you know how long it's been in the freezer. This helps to make sure you use it within a reasonable time. I always write the date with a permanent marker, so it doesn’t smudge.
Serving Suggestions
Finally, let’s talk about serving. This small simple chocolate cake is delicious on its own, but you can also dress it up a bit. A scoop of vanilla ice cream or a dollop of whipped cream always makes it extra special. You can also add some fresh berries or a drizzle of chocolate sauce. I like to serve it warm with a bit of ice cream, it's like a little piece of heaven. It’s also a great cake to serve with a cup of coffee or tea, it's perfect for an afternoon treat. And if you’re having a small gathering, you can cut it into small slices and serve it with some fresh fruit.
I usually use a serrated knife to cut my cake, it makes it so much easier to get clean slices. It’s also a good idea to let the cake sit for a few minutes before cutting it, so it doesn’t crumble. I also like to warm up the knife by running it under hot water, this makes it cut through the cake like butter. When you are serving the cake, don’t be afraid to add some extra toppings, this will make it look even more appealing. And remember, the most important thing is to enjoy it! This small simple chocolate cake is meant to be a treat, so relax and savor every bite.
Wrapping Up Your Small Simple Chocolate Cake Adventure
So, there you have it, a small simple chocolate cake recipe that's big on flavor and easy on effort. We’ve covered everything from mixing the batter to adding that final touch of frosting. This cake is designed to be a no-fuss treat, perfect for those moments when you need a little chocolate happiness without the leftover mountain. Remember, baking should be enjoyable, so don't be afraid to tweak the recipe, experiment with different toppings, or even just enjoy the simplicity of a plain slice. Whether it’s a birthday, a date night, or a Wednesday, this cake is a great way to make any occasion a little sweeter. Now, go on, bake that cake and treat yourself!