Table of Contents
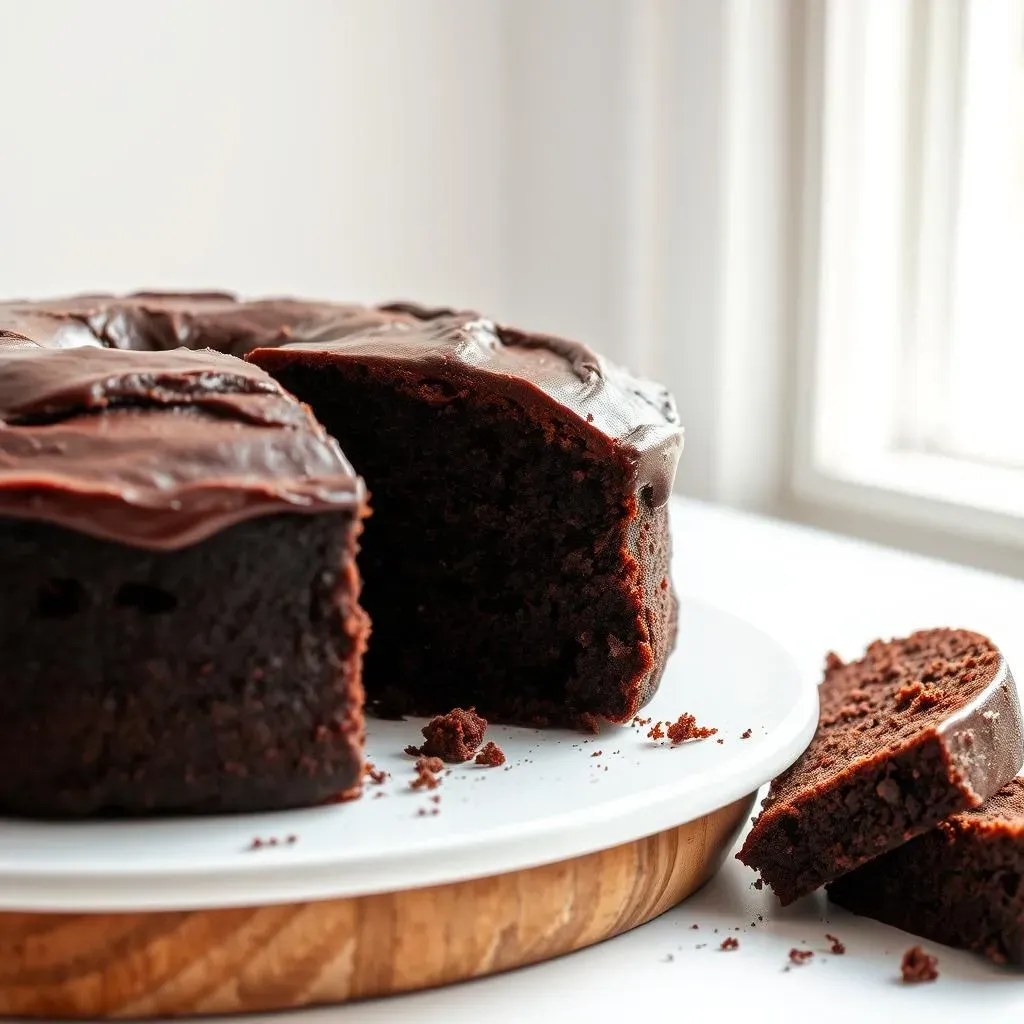
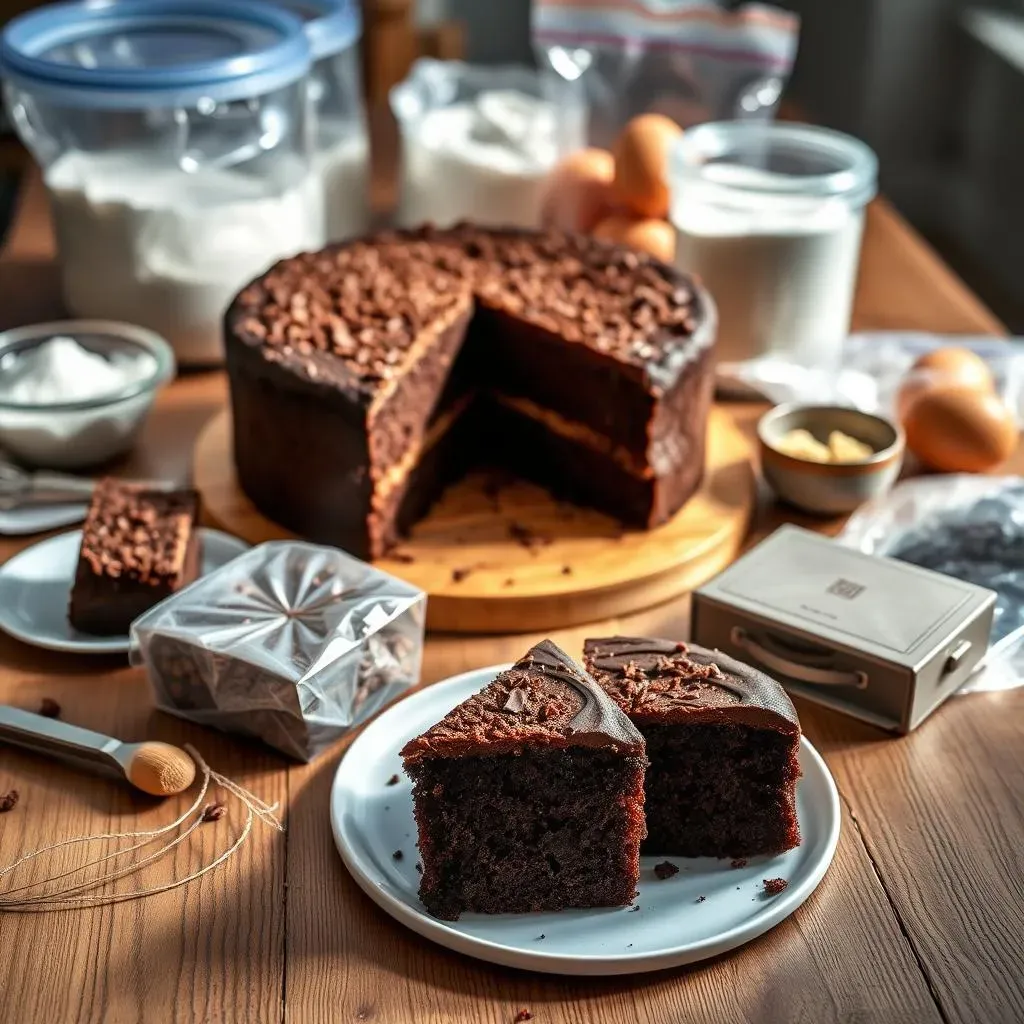
Craving a slice of heaven? I get it. Sometimes, you just need a chocolate cake, and not just any cake, but a simple tasty chocolate cake recipe that’s easy to make and tastes like you spent hours in the kitchen. Forget those complicated recipes that make you want to throw in the towel; this is the kind of cake that practically makes itself. We're talking one bowl, no mixer required, and a result that's so moist and delicious, it'll become your go-to for any occasion. Inside, we'll break down everything you need: from the simple ingredients, to a step-by-step guide, and even some baking secrets that'll make your cake a total showstopper. We’ll also answer those burning questions about substitutions and storage, and finally, we’ll top it all off with a decadent chocolate frosting recipe. So, grab your apron and let's get baking. This simple tasty chocolate cake recipe will be your new best friend, I promise.
Ingredients for the Simple Tasty Chocolate Cake
Ingredients for the Simple Tasty Chocolate Cake
The Dry Stuff: The Foundation of Flavor
Alright, let’s talk about the dry ingredients, the unsung heroes of our simple tasty chocolate cake recipe. First, you'll need 1 ¾ cups of all-purpose flour. This is what gives our cake its structure, like the scaffolding holding everything together. Then, we're going in with ⅔ cup of cocoa powder. Don't skimp on this, the better the quality, the richer the chocolate flavor we'll get. We're also adding 1 cup of granulated sugar and ½ cup of packed light brown sugar. The combo of these two sugars gives us the perfect balance of sweetness and moisture. Finally, a little pinch of ¾ teaspoon of salt. It's not just there to be salty; it actually enhances all the other flavors, kind of like a conductor leading the orchestra of taste.
The Wet Wonders: Bringing It All Together
Now, for the wet ingredients, the magic potion that transforms our dry stuff into a luscious cake batter. You'll need 2 large eggs, these act like the glue, binding everything together. Then, ½ cup of vegetable oil, the secret to a super moist cake. Make sure it's a neutral-tasting oil, so it doesn't overpower the chocolate flavor. Next up, ¾ cup of full-fat sour cream. This is key for a tender crumb and a tangy little zing that complements the chocolate. A teaspoon of pure vanilla extract is a must. It rounds out all the flavors and adds a touch of warmth. Finally, and this is the secret ingredient, 1 cup of hot coffee. It might sound weird, but trust me, it intensifies the chocolate flavor without making the cake taste like coffee. Hot coffee is the real game changer here.
Ingredient | Quantity | Why It's Important |
|---|---|---|
All-Purpose Flour | 1 ¾ cups | Provides structure |
Cocoa Powder | ⅔ cup | Adds rich chocolate flavor |
Granulated Sugar | 1 cup | Sweetness |
Light Brown Sugar | ½ cup | Moisture and flavor |
Salt | ¾ teaspoon | Enhances flavors |
Large Eggs | 2 | Binds ingredients |
Vegetable Oil | ½ cup | Keeps cake moist |
Full-Fat Sour Cream | ¾ cup | Tender crumb and tang |
Vanilla Extract | 1 teaspoon | Adds warmth |
Hot Coffee | 1 cup | Intensifies chocolate flavor |
StepbyStep Instructions: Baking Your Simple Tasty Chocolate Cake

StepbyStep Instructions: Baking Your Simple Tasty Chocolate Cake
so you've got all your ingredients ready, right? Now comes the fun part: actually making the cake. First, grab a big bowl, the kind you'd use for a serious salad. In it, dump all your dry ingredients: the flour, cocoa powder, both sugars, and salt. Whisk them together until everything is evenly mixed. Think of it like making sure all your friends are introduced before the party really starts. In a separate bowl – yeah, I know, another bowl – whisk together the wet ingredients: eggs, oil, sour cream, and vanilla extract. Make sure they are well combined, like mixing colors on a painter's palette.
Now for the grand finale, pour the wet ingredients into the bowl with the dry ingredients. Mix everything together until just combined. Don't overmix it; we don't want a tough cake. It should look like a smooth, glossy batter, kinda like melted chocolate. Finally, slowly pour in the hot coffee while mixing. The batter will be thin and that's totally fine, trust the process. Pour the batter into your prepared pan. For a simple round cake, an 8-inch or 9-inch pan works great. Pop it into the preheated oven at 350°F (175°C) and bake for about 30-35 minutes. You'll know it's done when a toothpick inserted into the center comes out clean. Let it cool in the pan for a bit before taking it out and frosting, or just eat it as is, I'm not judging.
Step | Action | Why It Matters |
|---|---|---|
1 | Whisk dry ingredients | Ensures even distribution |
2 | Whisk wet ingredients | Creates a smooth mixture |
3 | Combine wet and dry | Forms the cake batter |
4 | Add hot coffee | Enhances chocolate flavor |
5 | Bake | Transforms batter into cake |
Baking Science and Expert Tips for a Tasty Chocolate Cake
Baking Science and Expert Tips for a Tasty Chocolate Cake
The Science Behind the Moistness
let's get a little nerdy for a second. Ever wonder why some cakes are dry and crumbly while others are moist and tender? It's all about the science, my friend. Sugar isn't just for sweetness; it's a humectant, which means it attracts and holds onto water. That's why we use both granulated and brown sugar – the molasses in brown sugar adds extra moisture. Flour provides structure to the cake, but it also absorbs liquid. If you use too much flour, you'll end up with a dry cake. The cocoa powder plays a role too, by adding flavor and also some dryness, which is why we need a lot of wet ingredients. Finally, the baking soda and baking powder ( if you use them) are leavening agents, they create tiny air bubbles that make your cake light and fluffy. It's a delicate balance, like a dance between all the ingredients, and when you get it just right, you get a simple tasty chocolate cake that's pure perfection.
And let’s talk about the fat, oil or butter, whatever you are using. Fat coats the flour proteins, preventing them from forming too much gluten, which can make your cake tough. It also contributes to that moist texture we all love. That's why using a neutral oil is important, we want the chocolate to shine, not the oil. The sour cream does double duty: it adds moisture and a bit of tang, which helps balance out the sweetness of the cake. And the hot coffee? Well, the heat helps to bloom the cocoa powder, intensifying its flavor and making your cake taste even more chocolatey. It's like unlocking a secret level of chocolate goodness.
Expert Tips for Baking Success
Alright, let's get into some expert tips that'll take your simple tasty chocolate cake recipe to the next level. First off, don't skimp on the sugar. I know, I know, we're all trying to be healthy. But in this case, sugar is not just for sweetness; it's essential for moisture and structure. If you reduce the amount of sugar, you'll end up with a dry and dense cake. So, trust the recipe, and maybe eat an extra salad later. Another tip is to avoid overmixing the batter. Once you add the wet ingredients to the dry, mix until just combined. Overmixing will develop the gluten in the flour, resulting in a tough cake. We want tender, not tough. And finally, don't open the oven door while your cake is baking. I know, it's tempting to peek, but every time you open the door, you let out heat, which can cause your cake to sink. Be patient; good things come to those who wait. Trust me on this.
Also, make sure you are using the right pan size. If you use a pan that's too small, your cake will overflow. If you use a pan that's too big, your cake will be too thin. An 8-inch or 9-inch round pan is perfect for this recipe. And don't forget to grease and flour your pan, or line it with parchment paper. This will make it so much easier to remove the cake once it's done. Finally, let your cake cool completely before frosting it. If you try to frost a warm cake, the frosting will melt and slide right off. So, be patient, let it cool, and enjoy the deliciousness that awaits you. Baking a simple tasty chocolate cake is not just about following the recipe; it's about understanding the science behind it, and applying some expert tips to get the best result.
Tip | Why It's Important |
|---|---|
Don't reduce sugar | Sugar adds moisture and structure |
Avoid overmixing | Prevents a tough cake |
Don't open oven | Maintains even baking temperature |
Use correct pan size | Ensure proper baking |
Cool the cake completely | Frosting will not melt |
Simple Tasty Chocolate Cake Recipe FAQ
Simple Tasty Chocolate Cake Recipe FAQ
so you've got the recipe down, but maybe you're still scratching your head about a few things. Let's tackle some common questions I get asked all the time about this simple tasty chocolate cake recipe. First up, can you swap out the sour cream? Absolutely! If you don't have sour cream on hand, full-fat Greek yogurt works perfectly as a substitute. It'll give you that same tang and moisture we're looking for. Next question: is the coffee really necessary? I know it sounds weird, but yes, it really does enhance the chocolate flavor. However, if you're absolutely against using coffee, you can swap it out for hot water, just keep in mind that the chocolate flavor won't be as intense. I’ve been asked if you can make this cake without eggs? Unfortunately, eggs are essential in this recipe, they provide structure and binding, so it's not easy to replace them.
Another common question is about the oil. Can you use melted butter instead? Yes, you can, but keep in mind that butter has a higher water content and can make your cake a bit denser. If you use butter, make sure it’s unsalted. Also, people ask about storing the cake. How long does it last? Well, if you keep it at room temperature, it should be good for up to 3 days. If you want to keep it longer, you can freeze it. Just wrap it tightly in plastic wrap and then in foil, and it’ll last for up to 3 months. Finally, can you make this cake in a different size pan? Sure, you can use a 9x13 inch pan instead of round pans, but you'll need to adjust the baking time, it will probably bake a bit faster. And of course, you can double the recipe if you need to make a larger cake. I hope that answers all your burning questions.
Question | Answer |
|---|---|
Can I substitute sour cream? | Yes, use full-fat Greek yogurt |
Is coffee necessary? | Yes, it enhances the chocolate flavor, but hot water will work too |
Can I make it without eggs? | Not recommended |
Can I use butter instead of oil? | Yes, but it might be a bit denser |
How long does the cake last? | 3 days at room temperature, 3 months in freezer |
Can I use different size pan? | Yes, but adjust baking time |
Storing and Freezing Your Chocolate Cake
Storing and Freezing Your Chocolate Cake
Keeping it Fresh: Short-Term Storage
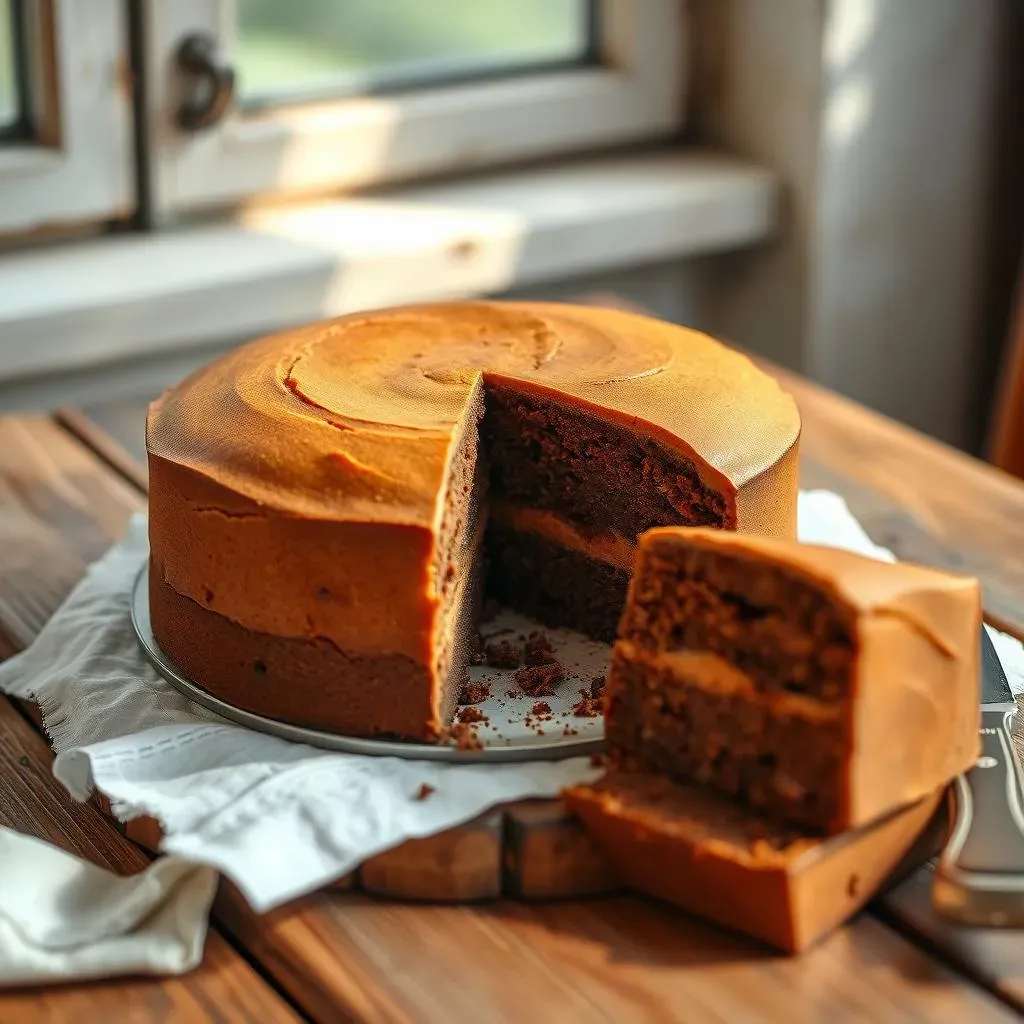
Alright, so you've baked your masterpiece, the simple tasty chocolate cake, and now you’re wondering how to keep it from going stale. Let’s be real, sometimes you can't devour the whole thing in one sitting, as much as you might want to. For short-term storage, like if you're planning to eat it within a few days, the best thing to do is to keep it at room temperature. Now, don't just leave it out on the counter exposed to the elements, you gotta protect it. Grab an airtight container or wrap it tightly in plastic wrap. This will keep it from drying out and will maintain that delicious moistness we worked so hard for. If you've already frosted the cake, it's even more important to keep it covered, as the frosting can get crusty if it's exposed to air. I usually use a cake dome, but a large bowl flipped over works too.
Freezing for Later: Long-Term Deliciousness
let’s say you want to enjoy your simple tasty chocolate cake recipe weeks or even months from now, then freezing is the way to go. The key here is to wrap it up tight to prevent freezer burn. First, let the cake cool completely. If you try to freeze it warm, you’ll end up with a soggy mess. Once it’s cooled, wrap it tightly in a layer of plastic wrap, making sure there are no exposed areas. Then, wrap it again in a layer of aluminum foil. The double layer helps to protect it from the cold air and keeps it moist. If you’ve already frosted the cake, you can freeze it, but the frosting might not look as perfect when it thaws, so you might want to frost it after thawing. If you want to freeze individual slices, wrap each one separately and then put them in a freezer bag. This makes it easy to grab a slice whenever you need a little chocolate treat.
Storage Method | Duration | Best For |
|---|---|---|
Room Temperature (covered) | Up to 3 days | Short-term storage |
Freezer (wrapped tightly) | Up to 3 months | Long-term storage |
Thawing and Serving Tips
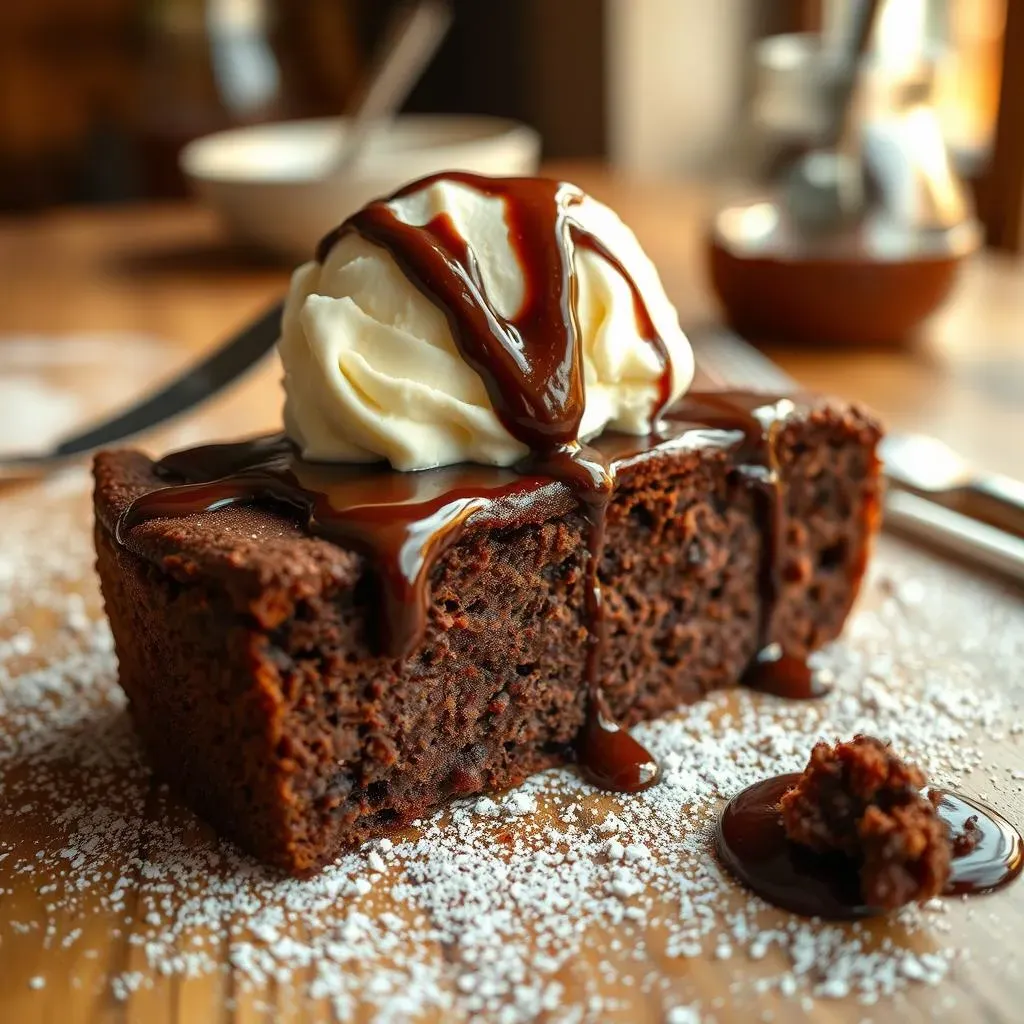
So, you have your frozen simple tasty chocolate cake, and you’re ready to eat it. Now, the thawing process is just as important as the freezing process. The best way to thaw your cake is to let it sit in the fridge overnight. This allows it to thaw slowly and evenly, which helps to maintain its texture and moisture. If you’re in a hurry, you can thaw it at room temperature, but it might get a little bit more moist. Once it’s thawed, take off the wrapping and let it come to room temperature before serving. This will make it taste even better. If you froze individual slices, you can thaw them one at a time, which is super convenient. And there you have it, how to store and freeze your simple tasty chocolate cake, so you can enjoy it whenever the craving strikes.
Remember, proper storage is key to keeping your cake as delicious as the day you baked it. Whether you're keeping it at room temperature or freezing it for later, follow these tips, and you'll be enjoying your chocolate cake for days to come. Happy baking and happy eating!
How to Make the BEST Chocolate Frosting
How to Make the BEST Chocolate Frosting
The Ingredients for a Dreamy Frosting
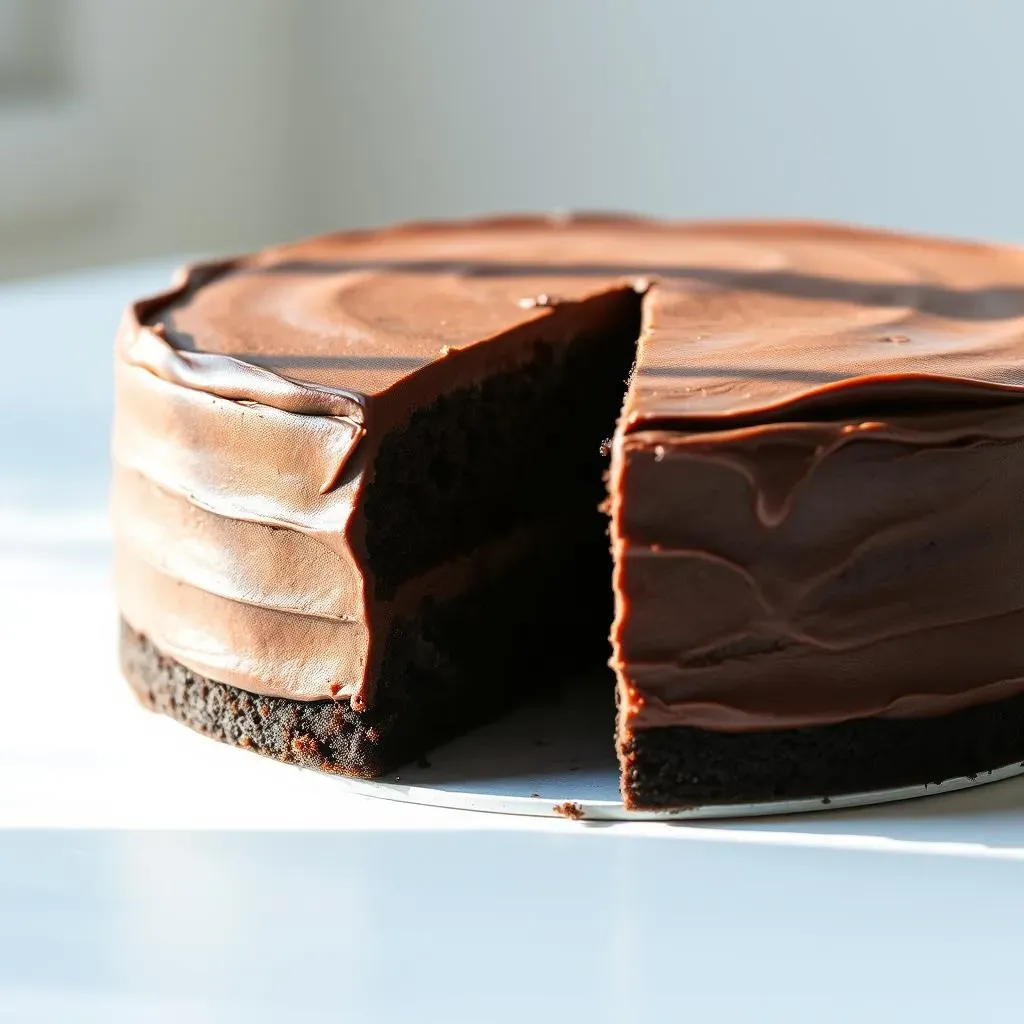
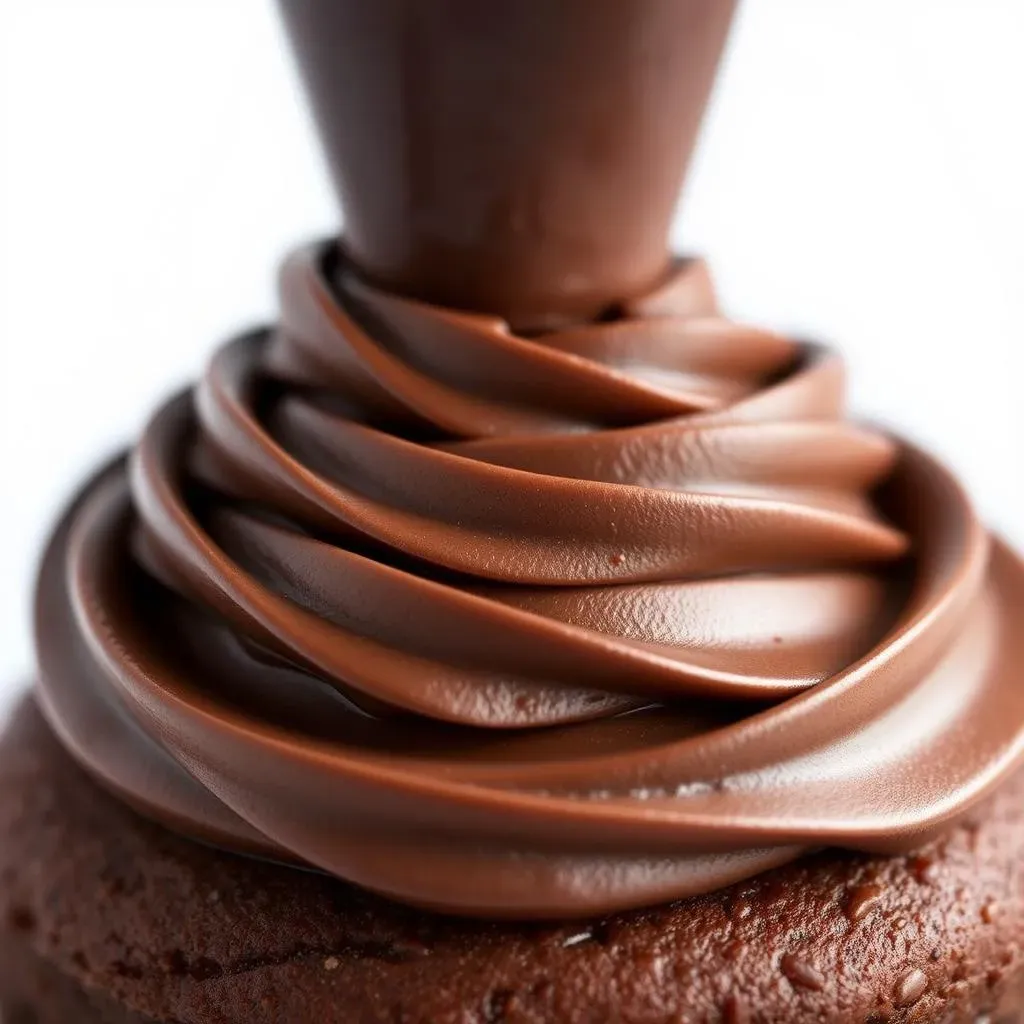
Alright, let's talk frosting, the crowning glory of any good cake. This isn't just any frosting; we're aiming for the BEST chocolate frosting, the kind that makes you want to lick the bowl clean. First up, we need 1 ½ cups of butter, softened, not melted. Softened butter is key to a smooth, creamy frosting. Then, 1 tablespoon of vanilla extract, this adds warmth and depth. Next, 1/2 cup of Dutch-processed cocoa powder. The Dutch-processed cocoa is less acidic and gives you a richer chocolate flavor and a darker color. We're also going to need 5 cups of powdered sugar, this is what gives the frosting its structure and sweetness. And finally, 5 tablespoons of full-fat sour cream. This adds a touch of tang and makes the frosting extra creamy.
Now, you might be thinking, "That's it?" and yes it is that simple. But the magic is in the method. Each ingredient plays a vital role, and when combined correctly, they create a frosting that's truly heavenly. You need the right balance of sweetness, richness, and tanginess, and this recipe has it all. We're not using any fancy ingredients, but we're using them in the right way. The butter needs to be soft, the cocoa needs to be good quality, the sour cream needs to be full-fat, and the powdered sugar needs to be sifted, so no lumps. It's all about the details, my friend.
Ingredient | Quantity | Why It's Important |
|---|---|---|
Butter, Softened | 1 ½ cups | Creamy base |
Vanilla Extract | 1 tablespoon | Adds warmth |
Dutch-Processed Cocoa Powder | ½ cup | Rich chocolate flavor |
Powdered Sugar | 5 cups | Structure and sweetness |
Full-Fat Sour Cream | 5 tablespoons | Tang and creaminess |
Step-by-Step Guide to Frosting Perfection
Alright, let's get down to business. Making the frosting is actually quite easy, but you need to follow the steps to get that perfect texture. First, make sure your butter is softened, if it's too cold, it'll be hard to mix, and if it's melted, it will not have the right texture. Put the softened butter in a large bowl and beat it with an electric mixer until it's light and fluffy. This might take a couple of minutes, but it's worth it. Then, add the vanilla extract and mix it in. Now, add the Dutch-processed cocoa powder and mix it until it's fully incorporated. Make sure you use a sifted cocoa powder, so no lumps. Next, gradually add the powdered sugar, mixing on low speed. If you add it all at once, you'll end up with a cloud of powdered sugar everywhere. Once all the powdered sugar is added, mix on medium speed until it's smooth and creamy.
Finally, add the sour cream and mix until it's fully incorporated, and the frosting is smooth and fluffy. Taste it and adjust the sweetness if needed by adding more powdered sugar. If it's too thick, add a teaspoon of milk or cream to thin it out. If it's too thin, add more powdered sugar. And that's it! You've just made the BEST chocolate frosting. It's rich, creamy, and has the perfect balance of sweetness and tanginess. Now, you can frost your cake. Use a spatula or a knife to spread it evenly over the cake. You can also use a piping bag to create a fancy design. The best part is licking the bowl, of course. Remember, practice makes perfect, and you will master this recipe in no time. It’s all about the simple steps and using the right ingredients.
“The secret ingredient is always love.” - Unknown
Wrapping Up Your Simple Tasty Chocolate Cake Adventure
And there you have it—a simple tasty chocolate cake recipe that’s as easy to make as it is delicious. From mixing the ingredients to that final, satisfying bite, you’ve created something truly special. Whether it's a birthday, a Tuesday night craving, or just because, this cake is your ticket to chocolatey bliss. Remember those expert tips and tricks we talked about; they're your secret weapons for baking success every time. Now, go forth and bake, share the love, and enjoy every single crumb. This cake is proof that sometimes, the simplest things in life are the most rewarding.