Table of Contents
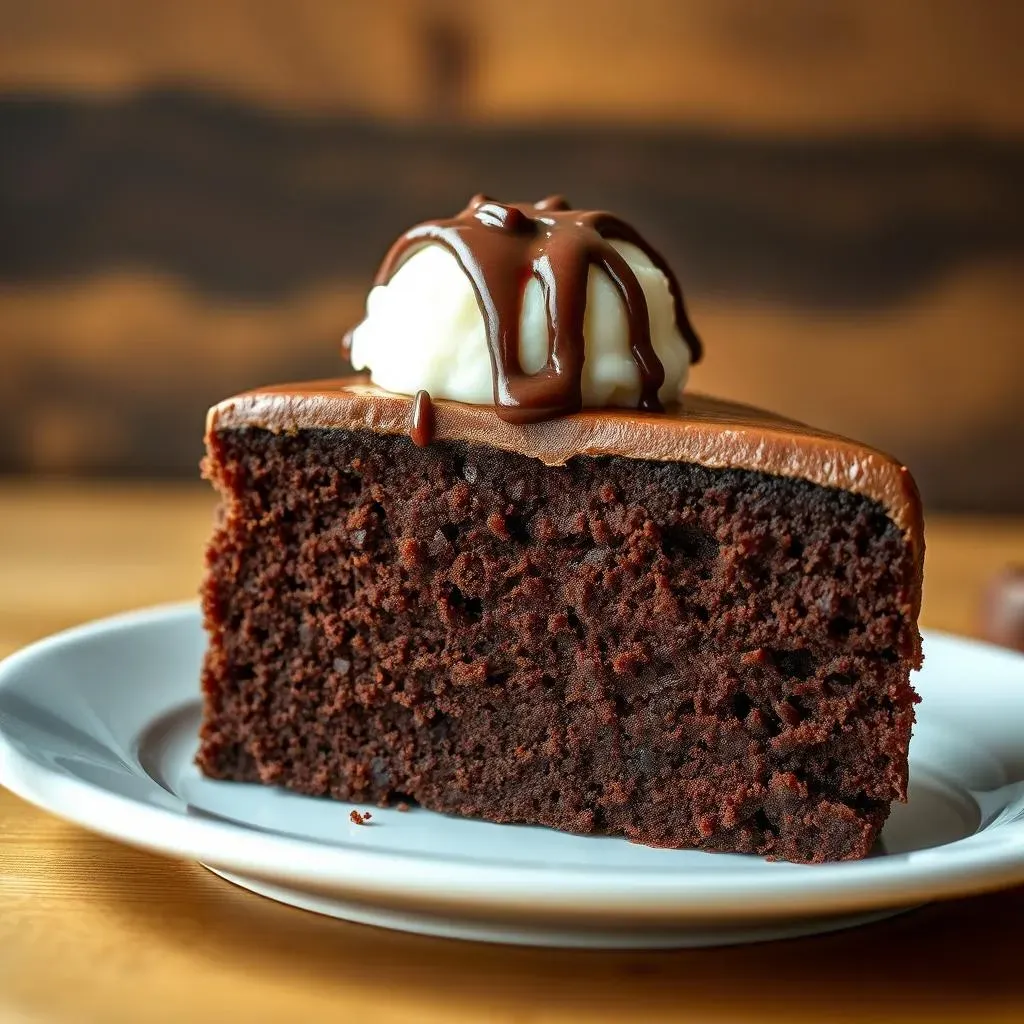
Craving a chocolate cake that's both decadent and easy to make? You're in the right place! This isn't your average dry, crumbly cake. We're talking about a super moist, intensely chocolatey dream that comes together in just one bowl. No fancy equipment, no complicated steps, just pure chocolate bliss. This article is your guide to creating the ultimate simple rich chocolate cake recipe, and I'm going to walk you through it step-by-step. We'll start with the simple ingredients and easy-to-follow instructions, then we'll get into the science behind why this recipe works so well. You'll get my expert tips for baking success, and we'll cover all your burning questions, like how to store the cake and even how to freeze it. Ready to bake the most amazing chocolate cake of your life? Let's get started!
Simple Rich Chocolate Cake: Ingredients and Instructions
Simple Rich Chocolate Cake: Ingredients and Instructions
Get Your Ingredients Ready
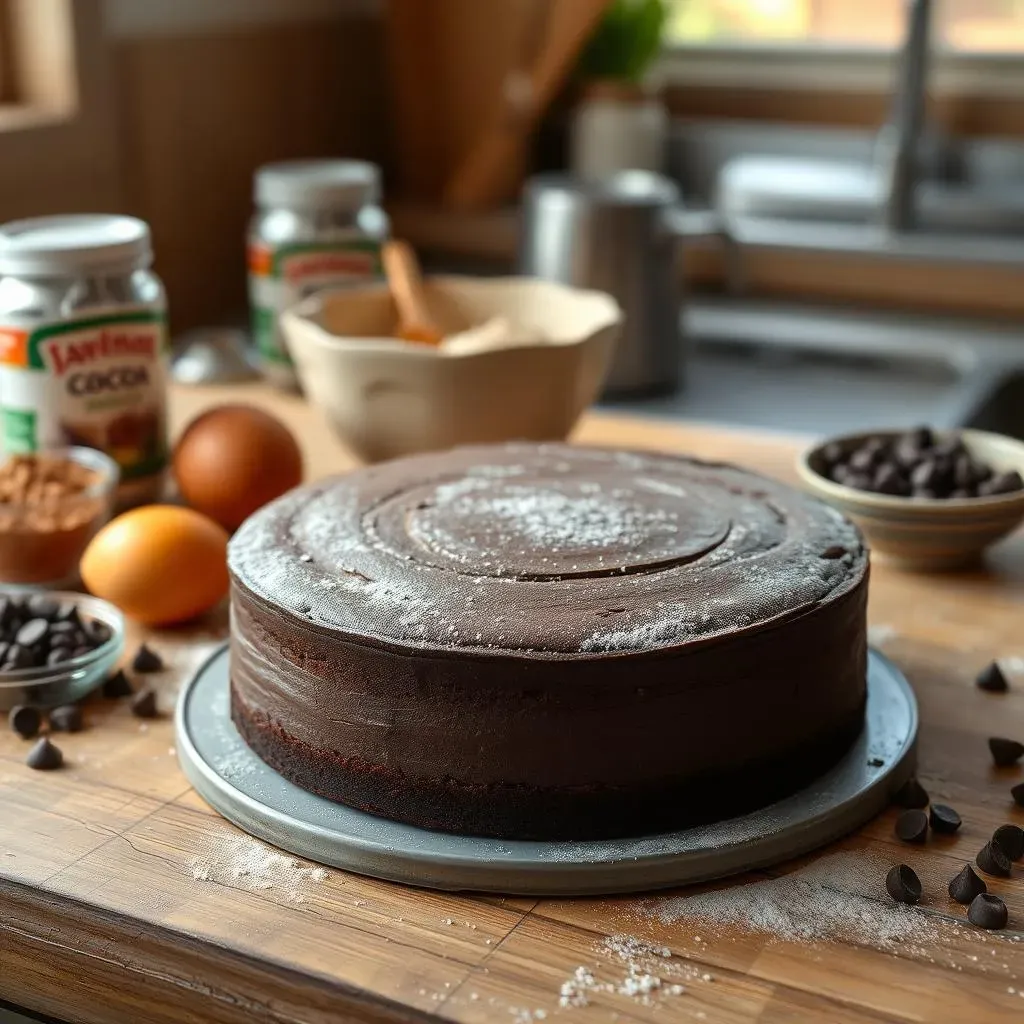
Alright, let's talk ingredients for this ridiculously good cake. Forget sifting flour or melting chocolate; we're keeping it simple. You'll need all-purpose flour, both granulated and brown sugars for that deep flavor, unsweetened cocoa powder (the good stuff!), baking soda, baking powder, and a pinch of salt. For the wet ingredients, we're using eggs, sour cream for moisture, some oil, pure vanilla extract, and here's the secret weapon - hot coffee. Yes, coffee! It doesn't make the cake taste like coffee, but it intensifies the chocolate flavor like magic. And lastly, we need some dark chocolate, because why not?
Step-by-Step Baking Process
Now, for the fun part – mixing it all up! Grab a large bowl and toss in all your dry ingredients: flour, both sugars, cocoa powder, baking soda, baking powder, and salt. Whisk those together until they're well combined. Next, add your wet ingredients: eggs, sour cream, oil, and vanilla. Mix it all together on low speed until it’s just combined. Now, slowly pour in the hot coffee while mixing on low. It’ll look a little thin, but trust the process. Finally, stir in the dark chocolate chips and pour the batter into your prepared cake pan.
Ingredient | Quantity |
|---|---|
All-purpose flour | 2 cups |
Granulated sugar | 1 3/4 cups |
Brown sugar | 1 cup |
Unsweetened cocoa powder | 3/4 cup |
Baking soda | 1 1/2 teaspoons |
Baking powder | 1 1/2 teaspoons |
Salt | 1 teaspoon |
Eggs | 2 large |
Sour cream | 1 cup |
Vegetable oil | 1/2 cup |
Pure vanilla extract | 2 teaspoons |
Hot coffee | 1 cup |
Dark chocolate chips | 1 cup |
Baking to Perfection
Pop that pan into a preheated oven at 350°F (175°C). The baking time will depend on your pan size, but generally, it’s around 30-35 minutes for a 9-inch round pan. You’ll know it’s ready when a toothpick inserted into the center comes out with a few moist crumbs attached. Don’t overbake it, or you’ll lose that glorious moisture. Let the cake cool in the pan for about 10 minutes before transferring it to a wire rack to cool completely. And there you have it, the base for the most amazing chocolate cake ever!
Baking Science: Why This Simple Rich Chocolate Cake Recipe Works
Baking Science: Why This Simple Rich Chocolate Cake Recipe Works
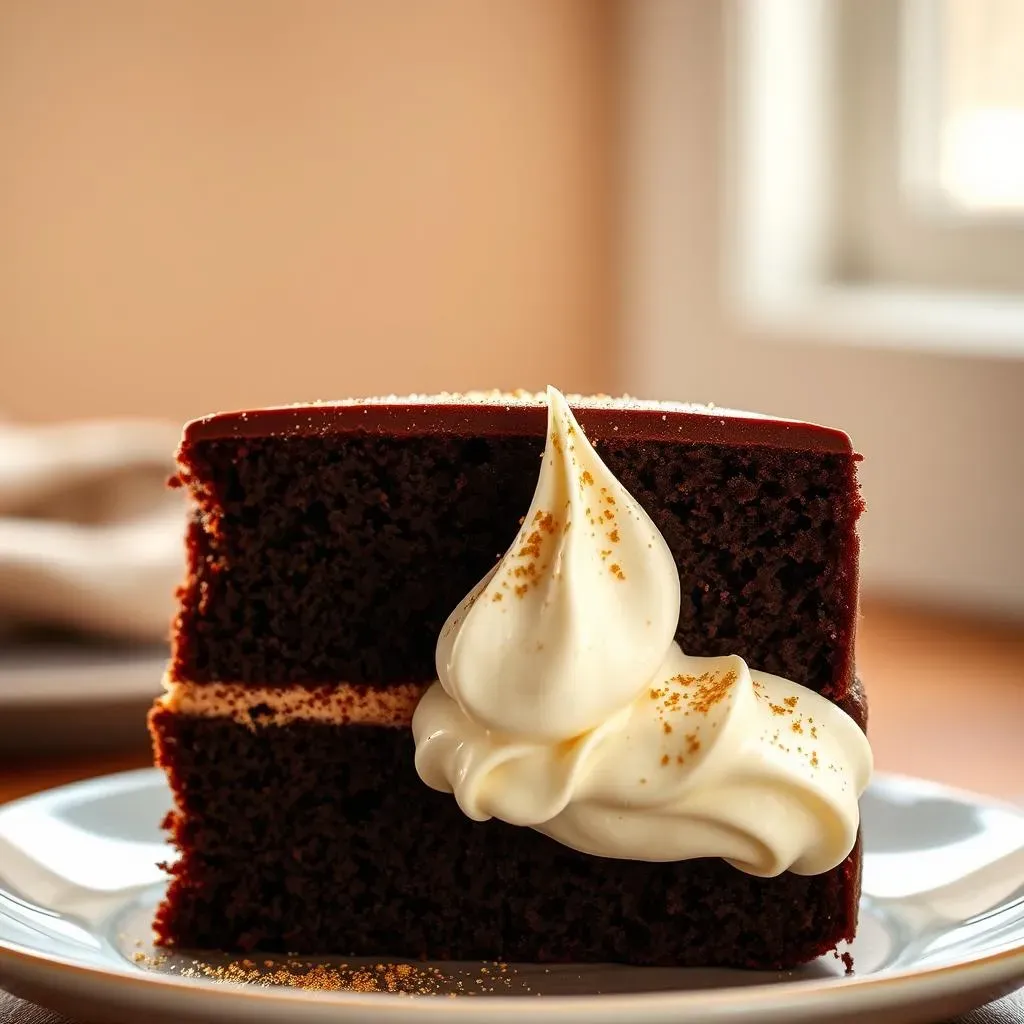
so you've mixed everything together, and now you're probably wondering, "What's the magic behind this simple cake?" Well, it's all about the science, my friend! First off, the combination of granulated and brown sugar isn't just for sweetness. The brown sugar adds a touch of molasses flavor and also contributes to the cake's moist texture because of its higher moisture content. The hot coffee? That's not just a weird ingredient; it blooms the cocoa powder, intensifying its chocolate flavor and also helps to create a smooth batter. The sour cream is another key player, adding tenderness and moisture, and the oil keeps the cake from drying out. It's all about the balance of ingredients and how they interact with each other.
Expert Tips for the Best Simple Rich Chocolate Cake

Expert Tips for the Best Simple Rich Chocolate Cake
Level Up Your Baking Game
so you've got the basics down, but let's talk about some expert-level tips that can take your simple rich chocolate cake recipe from good to absolutely incredible. First off, make sure your ingredients are at room temperature. This helps them blend together more smoothly, resulting in a more even and tender crumb. Also, don't overmix the batter! Once the dry and wet ingredients are combined, mix just until everything is incorporated. Overmixing can develop the gluten in the flour, making the cake tough, and nobody wants that. Finally, invest in some good quality cocoa powder. It will make a huge difference in the richness and depth of flavor in your cake.
The Secret to Perfect Moisture
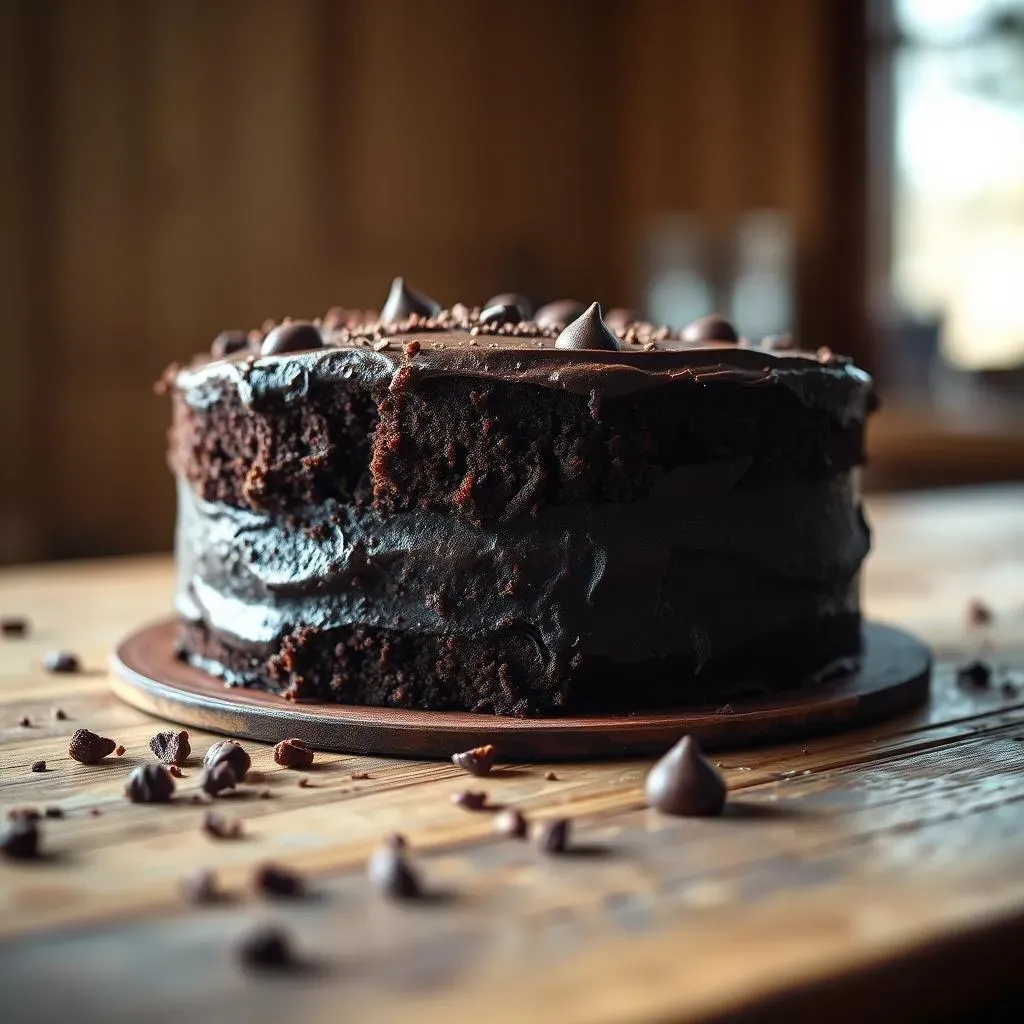
Now, let's get real about moisture, the holy grail of cake baking. One of the best tricks I've learned is to use a cake strip or a wet towel wrapped around the outside of your cake pan. This helps the cake bake more evenly and prevents the edges from drying out before the center is fully cooked. Also, don't be afraid to experiment with different types of chocolate. Using a combination of dark chocolate chips and chopped bittersweet chocolate can add layers of flavor and texture. And here's a pro tip: once the cake is out of the oven, use a skewer to poke some holes all over the top and brush it with a simple syrup of sugar and water. This will add even more moisture and flavor.
Tip | Why It Works |
|---|---|
Room Temperature Ingredients | Smoother batter, even crumb |
Don't Overmix | Prevents tough cake |
Quality Cocoa Powder | Richer, deeper flavor |
Cake Strips or Wet Towel | Even baking, prevents dry edges |
Experiment with Chocolate | Layers of flavor, texture |
Simple Syrup | Extra moisture, flavor boost |
Simple Rich Chocolate Cake Recipe: FAQ, Storage, and More
Simple Rich Chocolate Cake Recipe: FAQ, Storage, and More
Frequently Asked Questions
let's tackle some common questions about this simple rich chocolate cake recipe. First up, can you make this cake ahead of time? Absolutely! In fact, I often find it's even better the next day, once the flavors have had time to meld. Another question I get a lot is, "Can I use a different type of pan?" Yes, you can! While the recipe is written for a 9-inch round pan, you can use an 8-inch square pan, a loaf pan, or even a sheet pan. Just adjust the baking time accordingly. And if you're wondering if you can double the recipe, the answer is yes, just make sure to use a larger pan or bake in multiple pans. Finally, what if you don't have sour cream? You can substitute plain Greek yogurt or even buttermilk, though the texture might be slightly different.
And here's one more FAQ: Can you use this recipe for cupcakes? Yes, you can! Fill cupcake liners about 2/3 full and bake for around 18-20 minutes, or until a toothpick inserted into the center comes out clean. The recipe makes about 24 cupcakes, and they’re the perfect little individual treats. People also ask if they can use milk chocolate instead of dark. The answer is yes, but the chocolate flavor won't be as intense. If you do, perhaps add a tablespoon of instant coffee to the batter. One more thing: can this cake be stacked and covered with fondant? Absolutely! It’s sturdy enough for stacking and has a smooth surface for fondant. Just make sure the cake is completely cool before frosting.
Storage and Freezing Tips
Now, let's talk about keeping this beauty fresh. For storage, this cake is pretty forgiving. You can store it at room temperature for up to 3 days, but make sure to keep it in an airtight container or wrapped well in plastic wrap to prevent it from drying out. For longer storage, you can keep it in the fridge for up to a week. Just be sure to bring it to room temperature before serving for the best texture. Now, for freezing – this is where things get really convenient. You can freeze the unfrosted cake for up to 3 months. Wrap it tightly in plastic wrap, then in foil, or place it in a freezer-safe bag. When you're ready to eat it, let it thaw at room temperature, and it'll be almost as good as fresh-baked.
Also, you can freeze individual slices of cake for an easy treat whenever you want. Simply wrap each slice in plastic wrap and put them in a freezer-safe container. This is a great way to avoid eating the whole cake at once. Another great storage tip is to freeze cake layers separately, and then frost them after they've thawed. This helps to keep the cake from getting soggy. Lastly, If you’re freezing the frosted cake, you can pop it in the freezer for about 30 minutes to help set the frosting before wrapping it. And there you have it, all the info you need to make and keep your simple rich chocolate cake recipe tasting amazing!
Question | Answer |
|---|---|
Can I make it ahead of time? | Yes, it's even better the next day! |
Can I use different pan? | Yes, adjust baking time accordingly |
Can I double the recipe? | Yes, use a larger pan or multiple pans |
What if I don't have sour cream? | Use Greek yogurt or buttermilk |
Can I use it for cupcakes? | Yes, bake for 18-20 minutes. |
Can it be stacked and covered with fondant? | Yes, it's sturdy enough. |
How to store at room temp? | Up to 3 days in airtight container |
How to store in fridge? | Up to a week, bring to room temp before serving. |
Can I freeze it? | Yes, for up to 3 months. |
Wrapping Up Your Simple Rich Chocolate Cake Journey
So, there you have it – a simple rich chocolate cake recipe that's both incredibly easy and unbelievably delicious. We've covered everything from the basic steps to the science behind the moistness and flavor. Whether you're a seasoned baker or just starting out, this recipe is designed to be foolproof. Remember those expert tips, and don't be afraid to experiment with your own variations. The most important thing is to enjoy the process and, of course, the amazing cake you've created. Now, go forth and bake some chocolatey happiness!