Table of Contents
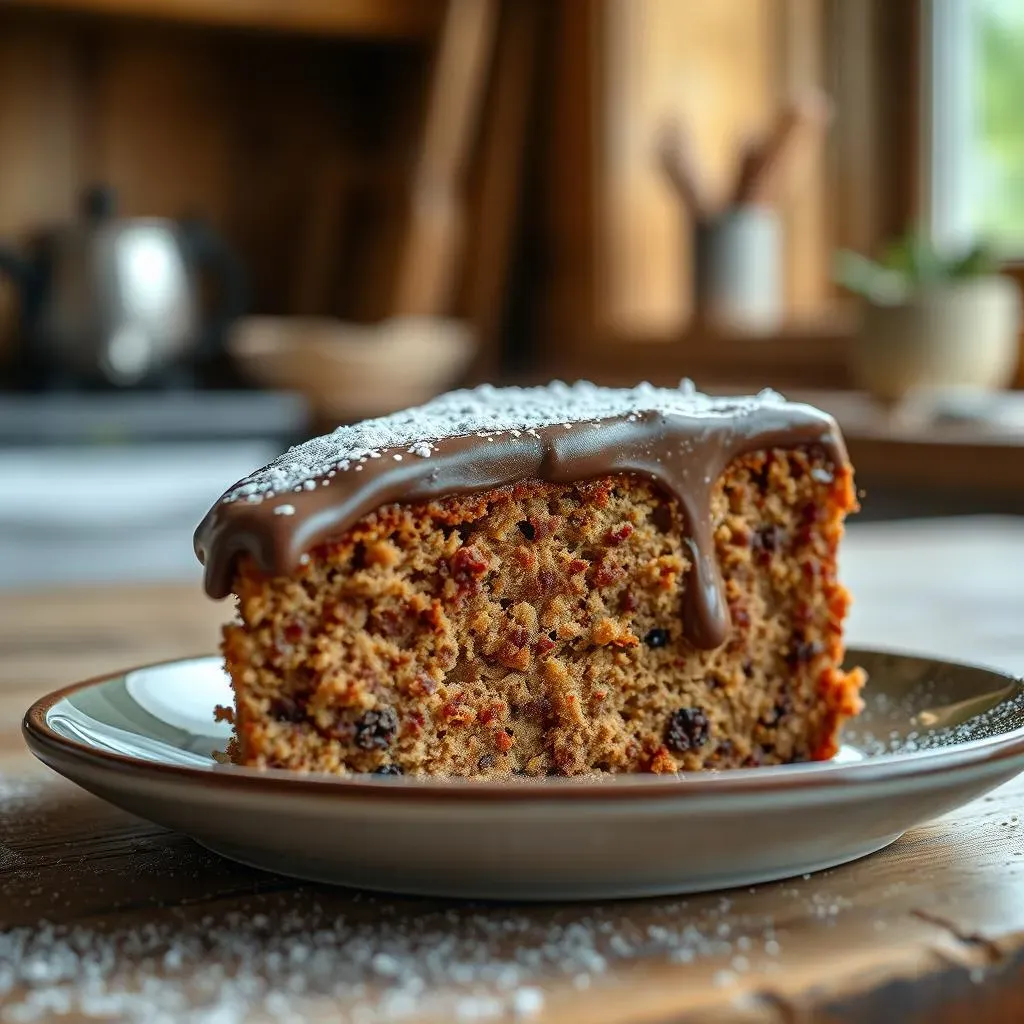
Ever dream of a chocolate cake that's so moist it practically melts in your mouth? Forget dry, crumbly disappointments! This isn't just any chocolate cake recipe; it's your ticket to a guaranteed crowd-pleaser. We're diving into a simple moist chocolate cake recipe with oil and coffee, and trust me, it's a game-changer. This recipe is all about ease and flavor—no fancy equipment or complicated steps. We'll explore why using oil is the secret to ultimate moisture, walk you through each step of the baking process, and whip up a delicious chocolate coffee frosting to top it all off. Plus, I'll share some tips and variations to make this cake your own. Ready to bake a cake that everyone will rave about? Let's get started!
Why Oil Makes This Chocolate Cake Super Moist
Why Oil Makes This Chocolate Cake Super Moist
The Science of Softness
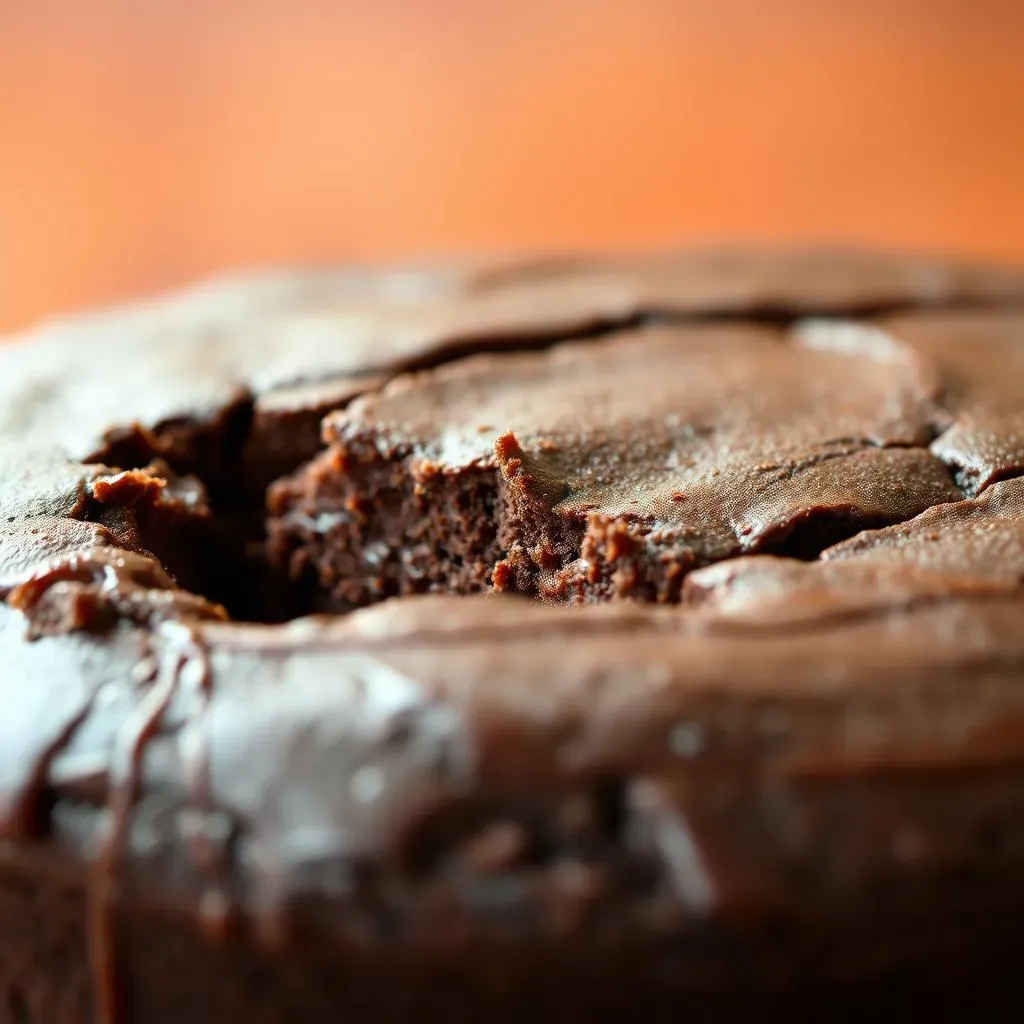
let's get real about cake. We all want that melt-in-your-mouth texture, right? The secret isn't some magical ingredient; it's actually about the fat we choose. Butter, while delicious, contains water. When you bake with butter, that water evaporates, which can lead to a drier cake. Oil, on the other hand, is pure fat. It stays liquid even when baked, keeping the cake incredibly moist and tender. It's like comparing a sponge that's been squeezed dry to one that's still full of water, the one with water is more moist, and oil is like that water.
Think of it this way: butter is like a fussy friend that needs a lot of attention, while oil is the easy-going pal who just chills and makes everything better without any drama. It’s the unsung hero of moist cakes, letting the chocolate flavor shine without any dry distractions.
Oil vs. Butter: The Moisture Showdown
So, why not always use oil? Well, butter does contribute a certain richness and flavor that some bakers love. But when moisture is the top priority, oil wins every time. The fat in oil coats the flour particles more effectively, preventing them from absorbing too much water and creating a dense, dry texture. This is why oil-based cakes tend to stay moist for longer than butter-based cakes. I've baked cakes with both, and the oil-based ones are always the first to disappear, they're just that good.
Feature | Butter | Oil |
|---|---|---|
Moisture | Less | More |
Flavor | Rich, distinct | Neutral |
Texture | Can be drier | Tender, moist |
The Practical Perks
Beyond just moisture, using oil in a cake recipe is also incredibly convenient. You don't have to wait for it to soften or worry about creaming it with sugar. Just pour it in, mix it up, and you’re good to go. Plus, it’s usually cheaper than butter, which is a nice bonus. For this recipe, I like to use a neutral-flavored oil like canola or vegetable, so the chocolate flavor really pops. Trust me, once you try baking a cake with oil, you might just become a convert. It’s a simple switch that makes a huge difference, and once you know the secret, you will never go back.
StepbyStep: Baking Your Simple Moist Chocolate Cake

StepbyStep: Baking Your Simple Moist Chocolate Cake
Get Your Ingredients Ready
Alright, let's get down to the nitty-gritty. Baking this simple moist chocolate cake is easier than you might think. First things first, gather all your ingredients. You'll need flour, sugar, cocoa powder, baking soda, baking powder, salt, oil, eggs, milk (or buttermilk, if you're feeling fancy), vanilla extract, and of course, hot coffee. Yes, coffee! It's the secret weapon for intensifying that chocolate flavor. Make sure your coffee is hot; it helps to bloom the cocoa powder and create a richer taste. It is like waking up the chocolate.
I like to measure everything out beforehand. It's like setting up your station before a big race. Having everything ready to go makes the whole process much smoother and less chaotic. Trust me, you do not want to be scrambling for baking powder while your wet ingredients are just sitting there waiting. It is a recipe for disaster, or at least a slightly lopsided cake.
Mixing it All Together
Now for the fun part: mixing! In a large bowl, whisk together all your dry ingredients: flour, sugar, cocoa powder, baking soda, baking powder, and salt. Make sure they're well combined. Next, add your wet ingredients: oil, eggs, milk (or buttermilk), and vanilla extract. Mix everything until just combined, no need to overmix. Overmixing can develop the gluten in the flour and make your cake tough. It is like working a muscle too hard, it will get tense and not soft.
Now, this is where the magic happens. Carefully pour in the hot coffee and mix until everything is smooth and the batter looks like a delicious chocolate river. The batter will be quite thin, but that's exactly what you want. Don't worry, it will all come together in the oven. It is like those magic tricks, you do not understand it until you see it.
Baking and Cooling
Time to bake! Pour your batter into a greased and floured cake pan. For this recipe, I usually use a 9-inch round pan, but you can use two smaller pans for a layered cake, or even a sheet pan for a more casual vibe. Pop it into a preheated oven at 350°F (175°C) and bake for about 30-35 minutes, or until a toothpick inserted into the center comes out clean. Ovens can be temperamental, so keep an eye on it.
Once baked, let the cake cool in the pan for about 10 minutes before transferring it to a wire rack to cool completely. This is crucial! Trying to frost a warm cake is like trying to ice skate on a melted rink, it's just not going to work. Once cooled, you are ready to frost it and enjoy your creation. This is the final step, and you will be so proud of it.
Easy Chocolate Coffee Frosting: The Perfect Match
Easy Chocolate Coffee Frosting: The Perfect Match
The Magic of Simple Frosting
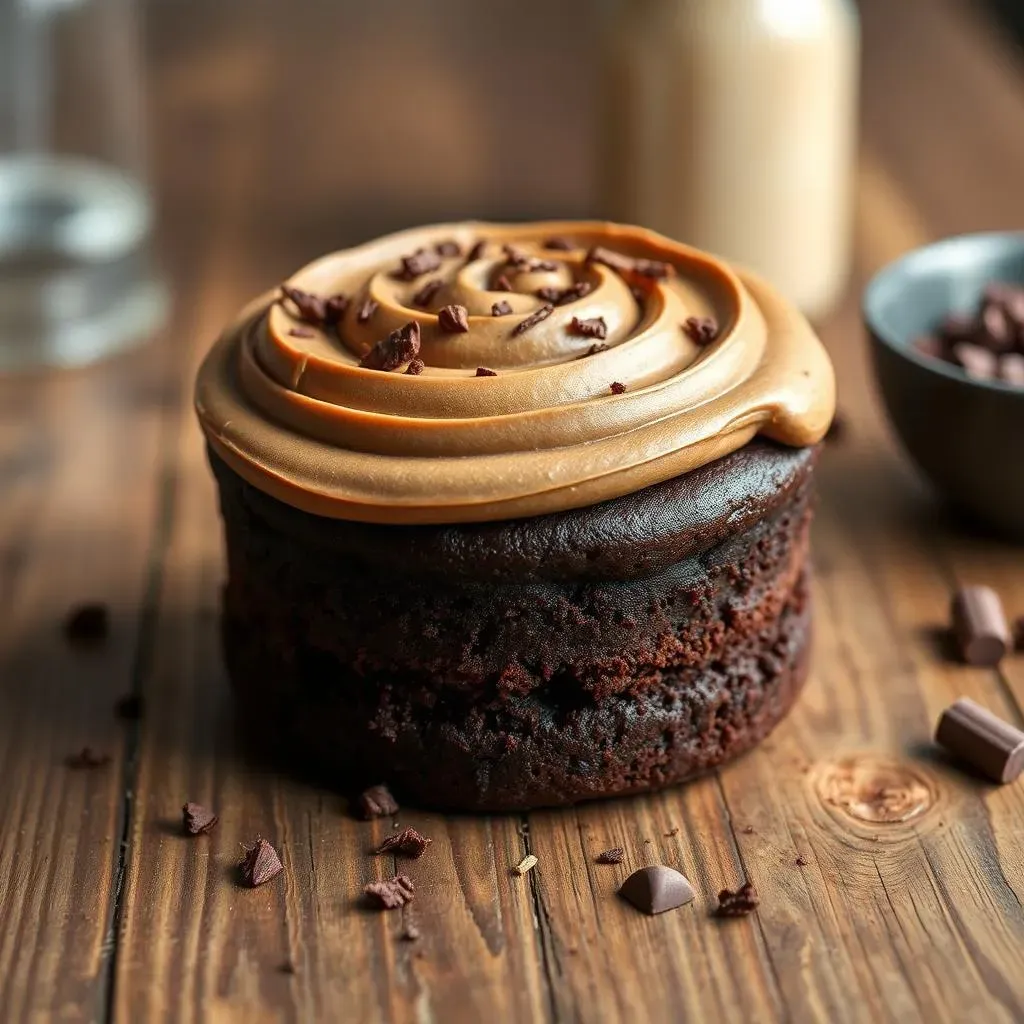
so you've got this amazing, moist chocolate cake, right? Now, it needs a frosting that’s just as good, but without any fuss. This is where our easy chocolate coffee frosting comes in. Forget complicated recipes with a million steps. This frosting is all about simplicity and flavor. It’s made with just a few key ingredients: margarine (or butter, if you must), cocoa powder, powdered sugar, a splash of hot coffee, and a touch of vanilla extract. It’s like the trusty sidekick that makes the hero (the cake) even better.
I know some folks get intimidated by frosting, but this one is basically foolproof. You just throw everything into a bowl, mix it up, and voila! You've got a smooth, decadent frosting that's ready to spread. I've seen people try to use all sorts of fancy techniques, but sometimes, the simplest method is the best. It is like learning to ride a bike, at first you are nervous, but then you just do it.
Whipping Up the Frosting
Let's get to it, shall we? In a large bowl, start by creaming together the margarine (or softened butter) until it's nice and smooth. Then, gradually add the powdered sugar and cocoa powder, mixing on low speed to avoid a powdered sugar explosion. Once that's combined, pour in the hot coffee and vanilla extract. The hot coffee helps to dissolve the cocoa powder and create a smooth, rich flavor. It’s like adding a secret ingredient that makes everything come alive. Mix everything on medium speed until it's light and fluffy. You want a consistency that's easy to spread but not too runny.
If the frosting is too thick, add a little more hot coffee, a teaspoon at a time, until you get the desired consistency. If it’s too thin, add a bit more powdered sugar. Remember, you can always adjust it to your liking. It’s like being a scientist, experimenting until you get the perfect result. I've had some frosting mishaps, but that is all part of the learning process. The key is to keep tasting and adjusting until it's just right.
Frosting and Enjoying
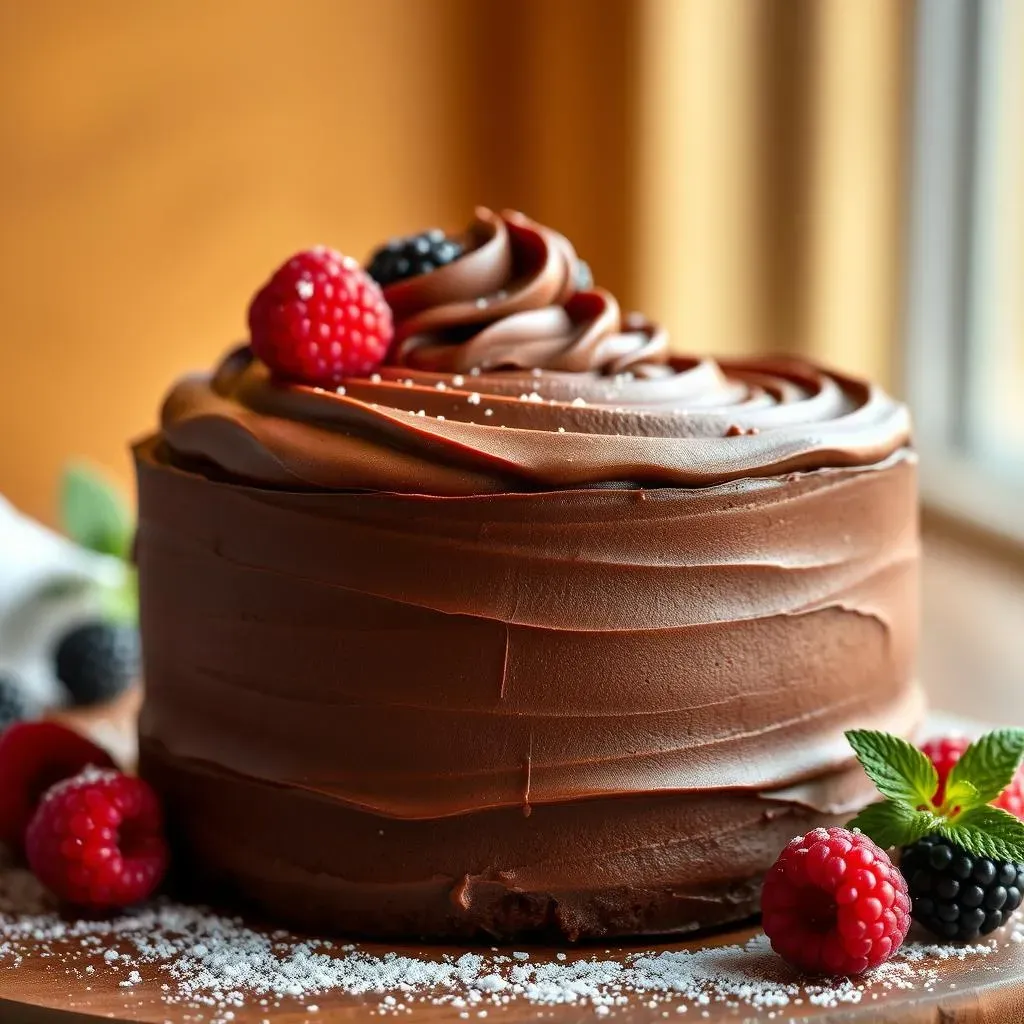
Now, for the best part: frosting your cake! Once your cake is completely cooled, spread the frosting evenly over the top and sides. You can use an offset spatula for a smooth finish, or just go for a rustic look. It's your cake, so do what makes you happy! I like to add a few extra chocolate sprinkles or chocolate shavings for a little pizzazz. It’s like adding a final touch to a masterpiece, making it look as good as it tastes.
And that’s it! You’ve made an amazing, moist chocolate cake with a delicious coffee frosting. It is like finishing a marathon, you can look back and be proud of what you made. Now, all that’s left to do is to cut a slice, grab a fork, and enjoy every bite. Trust me, your friends and family will be begging for the recipe. And you can tell them, it’s not magic, it’s just a simple cake made with love and a few clever tricks.
Tips for a Perfect Simple Moist Chocolate Cake and Variations
Tips for a Perfect Simple Moist Chocolate Cake and Variations
Baking Tips for Cake Perfection
so you've nailed the basic recipe, but let's talk about taking your cake from good to absolutely amazing. One of the biggest game-changers is to make sure all your ingredients are at room temperature, especially the eggs and milk. This helps them to combine more smoothly and creates a more even batter. It's like when you are trying to mix cold butter, it will be clumpy, but when it's soft, it blends well. Also, don't overmix the batter! Once everything is just combined, stop mixing. Overmixing can lead to a tough cake, and nobody wants that. It is like overworking a dough, it will become too hard to chew.
Another key tip? Don't open the oven door while the cake is baking! The sudden change in temperature can cause the cake to collapse. I know it's tempting to peek, but resist! It is like opening the fridge when you are not hungry, it's just going to be a waste of energy. And lastly, always let the cake cool completely before frosting. A warm cake will melt the frosting, and you will end up with a sticky mess. Patience is a virtue, especially when it comes to baking.
Freezing, Storing, and Decorating Ideas
Want to bake ahead? This cake freezes beautifully. Wrap it tightly in plastic wrap and then in foil, and it will keep in the freezer for up to three months. When you're ready to eat it, thaw it overnight in the fridge and frost as usual. It’s like having a delicious cake on standby, ready for any occasion. For storing a frosted cake, keep it in an airtight container at room temperature for a couple of days, or in the fridge for up to a week. But honestly, it usually disappears way before then.
Now, let's talk about decorating. You can keep it simple with a dusting of powdered sugar, or get fancy with chocolate shavings, sprinkles, or fresh berries. You can also make a simple chocolate ganache by melting equal parts of chocolate and cream for a decadent glaze. The possibilities are endless! It is like having a blank canvas, you can paint whatever you want on it. I once made a cake and added some edible flowers on top, it looked amazing and tasted delicious. Get creative and make it your own!
- Room Temperature Ingredients: Ensures even mixing.
- Don't Overmix: Prevents a tough cake.
- Resist Peeking: Keeps the cake from collapsing.
- Cool Completely: For easy frosting.
- Freeze It: For longer storage.
Variations to Try
so you've mastered the basic recipe, but what if you want to mix things up? One of the easiest ways to add a twist is to play with the flavorings. Try adding a teaspoon of cinnamon or a pinch of cayenne pepper for a little kick. You can also add some chocolate chips, nuts, or even chopped fruit to the batter. It is like adding some extra toppings to your pizza, it will make it more interesting.
If you want to change the frosting, try adding a different extract like peppermint or almond, or a bit of espresso powder for an extra coffee kick. For a fun twist, you can also make cupcakes instead of a cake. Just fill the cupcake liners about two-thirds full and bake for about 18-20 minutes. They’re perfect for parties or just a little treat for yourself. It is like having a mini-version of the cake, perfect for portion control. The goal is to have fun and experiment, and maybe you’ll discover your new favorite version of this cake.
Wrapping Up Your Perfect Chocolate Cake
So there you have it, a simple moist chocolate cake recipe with oil and coffee that’s easy to make and even easier to devour. This cake is a testament to the fact that you don't need complex techniques or fancy ingredients to create something truly delicious. Whether you're baking for a special occasion or just a casual treat, this recipe is sure to become a favorite. Now go ahead, bake that cake, share it with friends, and enjoy every single moist, chocolatey bite!