
Table of Contents
Ever dream of a chocolate cake so rich, so decadent, it's like biting into a truffle? Well, stop dreaming and start baking! This isn't your average cake; this is a journey into chocolate heaven, and the best part? It's surprisingly easy to make. We're talking about a simple chocolate truffle cake recipe that anyone can master, even if your baking experience is more "burnt toast" than "bakery boss." Forget complicated techniques and fancy equipment. This recipe focuses on straightforward steps and ingredients you probably already have. We will start with creating a moist chocolate cake base, then layer on a luscious chocolate truffle filling, and finish it with a glossy ganache. Each step is broken down to make sure you get it right. So, grab your apron, preheat your oven, and get ready to create a simple chocolate truffle cake that will impress everyone. Let's get baking!
Baking the Perfect Simple Chocolate Cake Base
Baking the Perfect Simple Chocolate Cake Base
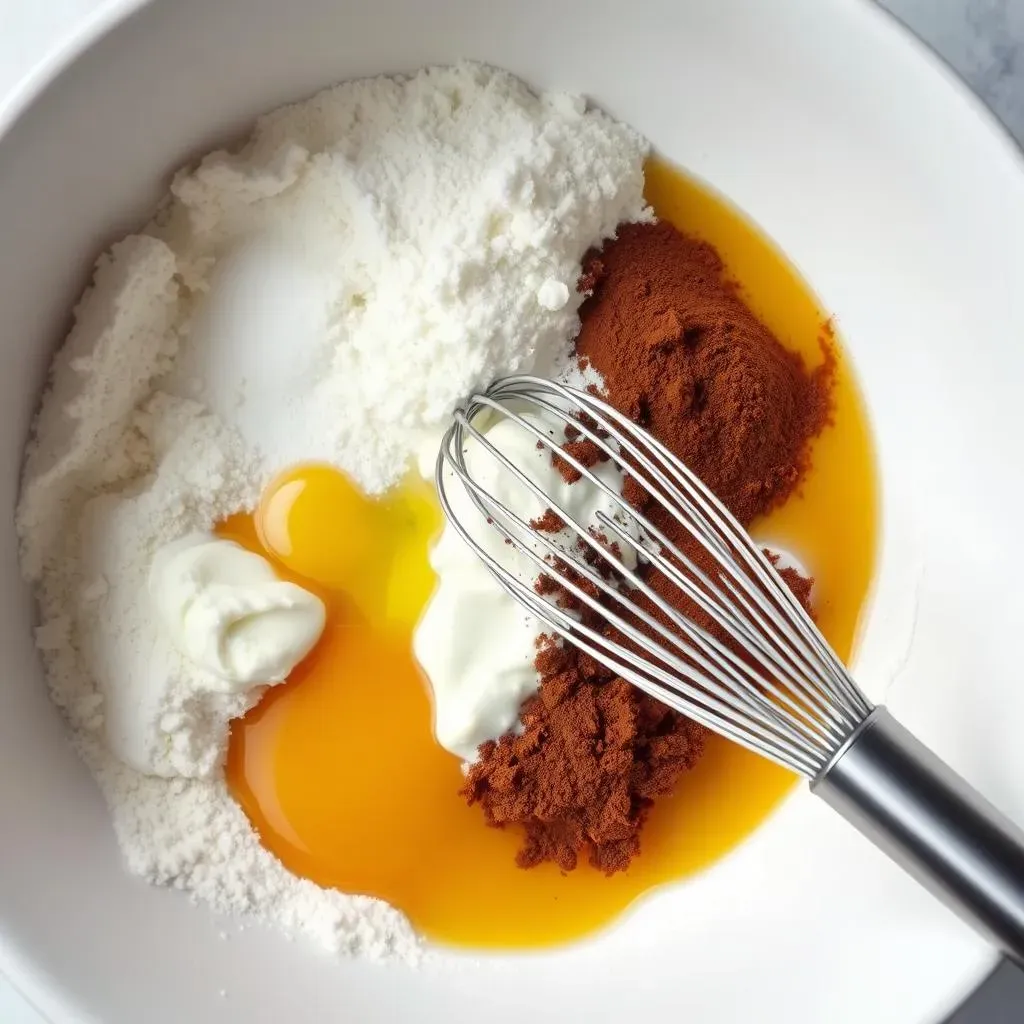
Alright, let's talk cake base! This is where the magic starts, and trust me, it's easier than you think. We're not going for dry and crumbly; we're aiming for moist, rich, and utterly chocolatey. The secret? It's all about the ingredients and how you treat them. First, you'll need your dry stuff: flour, sugar, cocoa powder, baking soda, and a pinch of salt. Whisk those together like you're trying to make a mini tornado in your bowl. Then comes the wet squad: eggs, oil, vanilla, sour cream (yes, sour cream, it’s a game changer for moisture), and hot coffee. Don’t worry, the coffee doesn't make it taste like coffee, it just brings out the chocolate flavor. Mix the wet into the dry until just combined. Don't overmix! This is crucial. Overmixing develops the gluten in the flour, which can result in a tough cake. We want tender, like a hug from a chocolate cloud.
Here’s a quick ingredient checklist to keep you on track:
- Flour: All-purpose works best
- Sugar: Granulated is perfect
- Cocoa Powder: Dutch-processed for extra depth
- Baking Soda: The rising agent
- Salt: Just a pinch to balance the sweet
- Eggs: Two large ones
- Oil: Vegetable or canola are great
- Vanilla Extract: For that extra touch
- Sour Cream: The moisture secret
- Hot Coffee: Boosts the chocolate flavor
Crafting the Silky Chocolate Truffle Layer
Crafting the Silky Chocolate Truffle Layer
The Magic of Melted Chocolate
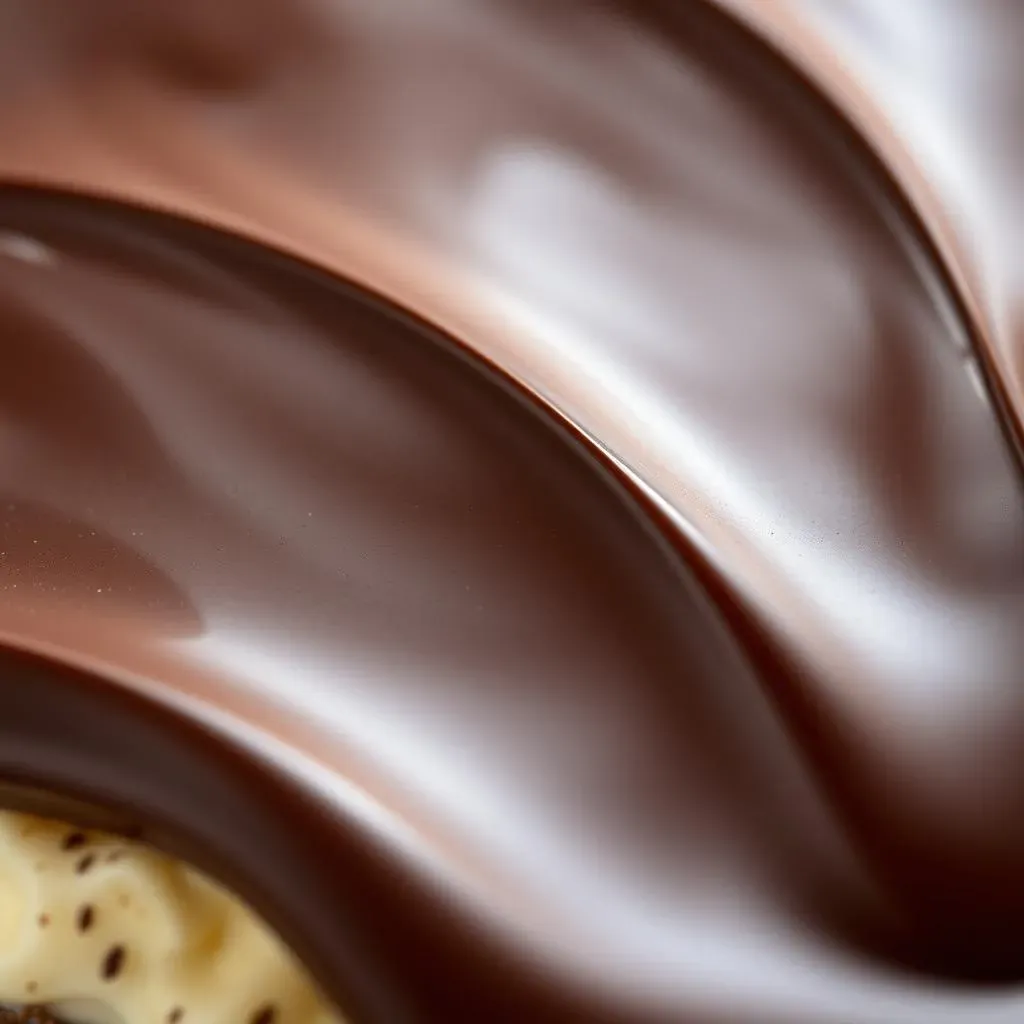
now for the star of the show – the chocolate truffle layer! This isn't just any chocolate; it's going to be rich, smooth, and utterly irresistible. The key here is quality chocolate. I recommend using a good dark chocolate, something that you would enjoy eating on its own. Chop it finely, because you want it to melt evenly. You can use a double boiler, or if you’re like me and prefer the microwave, go for it. Just do it in short bursts, stirring in between, so you don't burn the chocolate. Once melted, you'll add heavy cream and a touch of butter. This creates that silky, truffle-like texture we're after. Stir until everything is smooth and glossy. It’s like a chocolate waterfall in your bowl, and you'll want to dive right in!
Whipping it into Shape
Now, here's where a little patience comes in. You'll need to let the melted chocolate mixture cool slightly. It should be warm, not hot, before you start whipping it. If it's too hot, it will melt the whipped cream. You'll need to grab your electric mixer for this part, or a good old whisk if you’re feeling strong. Gently fold in the whipped cream until it's all combined. You want to keep it light and airy, so no heavy-handed stirring. The mixture will start to thicken up and become this beautiful, fluffy chocolate cloud. Try not to eat it all before it makes it to the cake. It's tough, I know.
Ingredient | Amount | Notes |
|---|---|---|
Dark Chocolate | 8 ounces | Good quality, finely chopped |
Heavy Cream | 1 cup | Full fat works best |
Butter | 2 tablespoons | Unsalted |
Whipped Cream | 2 cups | Freshly whipped |
Layering and Letting it Set
Once your truffle layer is ready, it's time to assemble. Make sure your cake base has cooled completely. Spread the truffle mixture evenly over the top of the cake. If you want, you can add some extra chocolate shavings or sprinkles on top for decoration. Now, here’s the hardest part: you have to let it chill. Pop the cake into the fridge for at least a couple of hours, or even better, overnight. This allows the truffle layer to set properly, giving you that perfect, firm yet silky texture when you cut into it. Trust me, the wait is worth it. When you take that first bite, all that effort will have paid off.
Assembling and Finishing Your Simple Chocolate Truffle Cake
Assembling and Finishing Your Simple Chocolate Truffle Cake
The Ganache Grand Finale
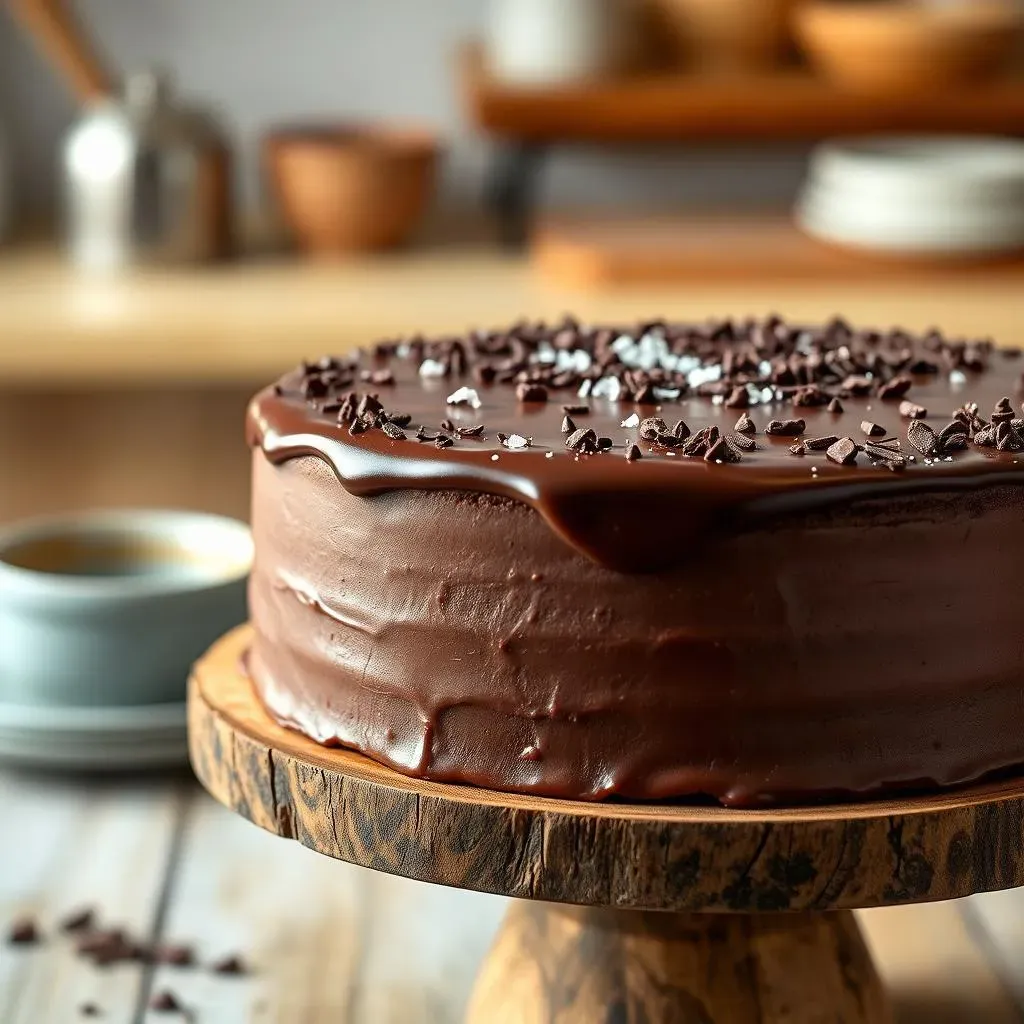
so your cake is chilled, your truffle layer is set, and now it's time for the final flourish: the chocolate ganache. This is the shiny, decadent layer that takes your simple chocolate truffle cake from "nice" to "whoa!" It's super easy, I promise. Just chop up some more good-quality dark chocolate – or milk chocolate if you prefer a sweeter touch – and place it in a heatproof bowl. Heat some heavy cream until it’s just simmering, then pour it over the chocolate. Let it sit for a minute, then stir gently until everything is smooth and glossy. You’ll see that beautiful, velvety texture start to form. If it's too thick, add a touch more warm cream; if it's too thin, let it sit for a bit to thicken up. The goal is a pourable consistency, like thick, melted chocolate.
Once your ganache is ready, let it cool for a few minutes. You don’t want to pour hot ganache over your chilled cake, it will melt the truffle layer. Gently pour the ganache over the top of your cake, letting it cascade down the sides. You can use a spatula to help spread it evenly, but don’t stress too much about perfection. The beauty of ganache is that it’s naturally elegant. If you want to get fancy, you can add some extra chocolate shavings, a sprinkle of sea salt, or even some fresh berries on top. It's your cake; get creative!
Serving and Storing Tips
Now that your cake is all dressed up in its chocolate ganache, it's time to think about serving. This simple chocolate truffle cake is best served chilled or at room temperature. If you serve it straight from the fridge, the truffle layer will be firmer; if you let it sit for a bit, it will soften up and become even more luscious. It really comes down to personal preference. When you cut into the cake, use a sharp knife and wipe it clean between slices for nice, clean cuts. Serve with a scoop of vanilla ice cream or a dollop of whipped cream for extra indulgence.
If you happen to have any leftovers – which I highly doubt – you can store them in an airtight container in the fridge for up to three days. The cake will stay moist and delicious. However, I don’t recommend freezing the whole cake because the ganache and truffle layer might change texture. Individual slices can be frozen, though, if wrapped tightly. But honestly, this cake is so good, it's unlikely to last that long!
Your Simple Chocolate Truffle Cake Awaits
And there you have it, your very own homemade simple chocolate truffle cake! From a humble mix of ingredients to a towering masterpiece of chocolatey goodness, you've conquered the kitchen. Remember, baking isn't about perfection, it's about the joy of creating something delicious. Whether you're celebrating a special occasion or just need a chocolate fix, this cake is sure to hit the spot. So, go ahead, slice yourself a generous piece, and enjoy the fruits (or should I say chocolates) of your labor. And don’t be shy about sharing – or not, we won’t judge if you keep it all to yourself.