Table of Contents
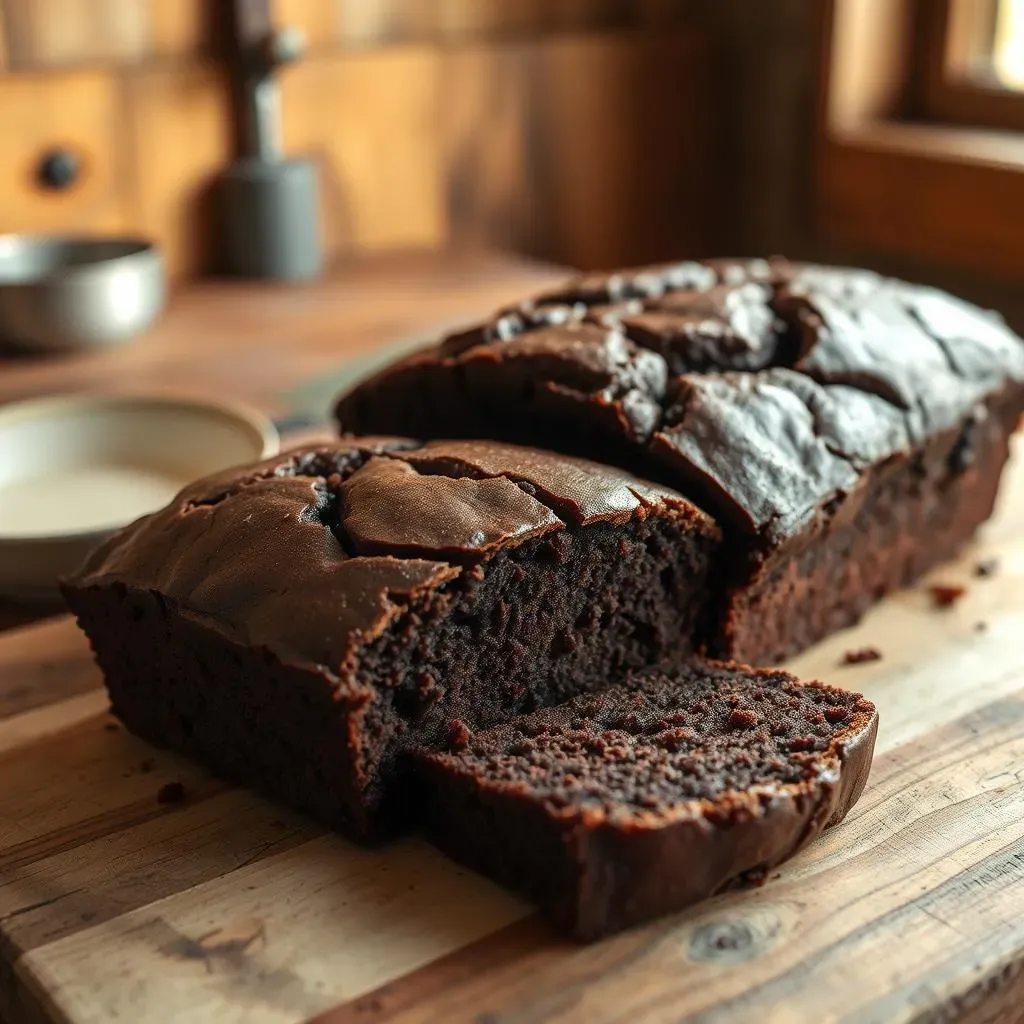
Ever get that craving for something chocolatey, but the thought of a complicated baking project makes you want to just reach for a store-bought treat? I get it. That's why I'm sharing my go-to simple chocolate loaf cake recipe. It's so easy, even if you're not a pro in the kitchen, you can whip this up in no time, and the results? A moist, rich, and utterly satisfying cake that'll have everyone asking for seconds. We're skipping the fancy mixers and complicated steps. This recipe is all about simplicity and maximum flavor. We'll start by gathering the basic ingredients, then get into the easy-peasy steps, plus some tips on how to store it or freeze it for later. Finally, I'll share some extra tips to take your cake to the next level. So, if you're ready to bake a delicious, fuss-free chocolate cake, let's get started!
Easy Ingredients for Your Simple Chocolate Loaf Cake
Easy Ingredients for Your Simple Chocolate Loaf Cake
The Dry Stuff
so for this ridiculously easy chocolate loaf cake, you won't need a pantry full of fancy stuff. We’re keeping it simple, remember? Think of it like this: the dry ingredients are the foundation of our cake. We're talking about your usual suspects: flour, which gives the cake its structure; unsweetened cocoa powder, the heart of our chocolate flavor; and sugar, because, well, it's cake! A little bit of baking soda for lift, and a pinch of salt to balance the sweetness, and that's it for the dry gang. No need to overcomplicate things, right? I like to measure these out before I even think about the wet stuff, just to get a head start. It's like prepping your station before a big cooking show, except it’s just you, your kitchen, and a mission to bake a killer cake.
I always find that sifting the dry ingredients together is a game changer. It’s not absolutely essential, but it makes sure everything's evenly distributed, which means no weird pockets of baking soda in your cake. Plus, it adds a bit of lightness which makes a big difference in the final texture. Think of it like giving your flour a little spa day before it goes into the batter. It's a small step, but it packs a punch. I’m not one for unnecessary steps, but this one, I swear, is worth the extra minute.
The Wet Wonders
Now for the wet squad, we’re keeping it just as laid-back. You'll need some melted butter, which not only adds a rich flavor but also helps with the moistness, eggs to bind everything together, some milk to bring it all to the right consistency, and a splash of vanilla extract for that extra bit of cozy flavor. And here’s a little secret weapon: hot water. Yes, hot water. It helps the cocoa powder “bloom,” intensifying that chocolate flavor and making the cake extra moist. Don’t be scared by the hot water, it's all part of the magic! I like to use water that has just come off the boil, it seems to work the best.
Putting all these wet ingredients together is super easy. Just a quick whisk in a bowl and they're ready to join the dry team. It’s like a meet-cute for ingredients. I always make sure the melted butter is not too hot, you don’t want to accidentally cook the eggs when you mix them. Keep in mind that the goal is to combine them, not to beat them into oblivion, you just want a smooth mixture. Trust me, it's easier than you think, and when you see it all come together, you'll feel like a baking superhero!
Ingredient | Purpose |
|---|---|
Flour | Provides structure |
Cocoa Powder | Adds chocolate flavor |
Sugar | Sweetens the cake |
Baking Soda | Helps the cake rise |
Salt | Balances flavors |
Melted Butter | Adds richness and moisture |
Eggs | Binds ingredients |
Milk | Adds moisture and consistency |
Vanilla Extract | Enhances flavor |
Hot Water | Intensifies chocolate flavor and adds moisture |
Stepbystep Guide to Baking Your Simple Chocolate Loaf Cake
Stepbystep Guide to Baking Your Simple Chocolate Loaf Cake
Mixing the Batter
Alright, let's get to the fun part: mixing the batter. It's seriously easier than you think. Grab your two bowls – one with the dry ingredients and one with the wet ingredients. Now, pour the wet ingredients into the dry ones, and gently fold everything together with a spatula. You want to mix until just combined; don’t overmix it! Overmixing can make the cake tough, and nobody wants a tough cake. It should look like a smooth, chocolatey batter, no flour pockets hiding in the corners. Then, add the hot water and mix again until the batter is nice and smooth and a bit runny. This is when the magic really happens, and the chocolate smell starts to get real. It’s a pretty exciting moment, I gotta say.
I always make sure to scrape the sides and bottom of the bowl to get every bit of the batter. No batter left behind! This ensures that everything is mixed evenly and that you don't end up with a random clump of flour or cocoa. It's a small step, but it makes a big difference. The batter should be smooth, glossy, and smell absolutely amazing. If you’ve done it right, you’ll be itching to get it into the oven. It’s a bit like watching your favorite TV show, you’re eager to see what happens next.
Baking and Cooling
Now, carefully pour the batter into your prepared loaf pan. I usually grease and line my loaf pan with parchment paper, it makes it so much easier to get the cake out later. It’s like giving your cake a little slip-and-slide to freedom. Then, pop it into your preheated oven and let it bake for about 35-40 minutes, or until a toothpick inserted into the center comes out clean. Every oven is a bit different, so keep an eye on it and adjust the baking time if needed. It’s a bit like a science experiment, but the reward is so much better. The smell will be driving you crazy, I promise.
Once the cake is baked, take it out of the oven and let it cool in the pan for 20 minutes before transferring it to a wire rack to cool completely. This step is important, don’t skip it! It gives the cake a chance to set and prevents it from falling apart when you take it out of the pan. I know it's hard to resist, but patience is key here. Letting it cool completely is the best way to get the perfect slice. Once it's cool, you can slice it up and enjoy your homemade chocolate loaf cake. I like to make a cup of tea to enjoy it with. It's the best.
Step | Action | Notes |
|---|---|---|
1 | Combine wet and dry ingredients | Fold gently, don't overmix |
2 | Add hot water | Mix until smooth |
3 | Pour into loaf pan | Make sure the pan is prepared |
4 | Bake | Check with a toothpick |
5 | Cool | Let it cool in the pan before transferring it |
Storing and Freezing Your Simple Chocolate Loaf Cake
Storing and Freezing Your Simple Chocolate Loaf Cake
so you’ve baked this amazing simple chocolate loaf cake, and maybe, just maybe, you didn't eat it all in one sitting. Good for you! Now, what do you do with the leftovers? Storing it properly is key to keeping it moist and delicious. For short-term storage, like a day or two, I just wrap it tightly in plastic wrap or put it in an airtight container at room temperature. It’ll stay nice and soft. But if you're thinking longer than that, the fridge is your friend. It'll keep for about a week in the fridge if it's wrapped up well. But let's be real, if it's in the fridge for a week, it's probably going to dry out a little. I recommend you do not leave it in the fridge for more than 3 days if you want to keep it moist.
Now, let's talk freezing, because that's where the real magic happens. If you want to keep that chocolate loaf cake around for a few months, freezing it is the way to go. You can freeze the whole loaf, or you can slice it up and freeze individual slices. I personally prefer to freeze slices – it makes it so much easier to grab a piece whenever you want. Make sure to wrap each slice individually in plastic wrap and then put them in a freezer-safe bag or container. This prevents freezer burn and keeps your cake tasting fresh. When you're ready to eat, just take out a slice and let it thaw at room temperature. It's like having a little slice of happiness ready whenever you need it. It’s a great way to make sure you always have a treat ready for those unexpected chocolate cravings.
Storage Method | Duration | Notes |
|---|---|---|
Room Temperature | 1-2 days | Wrap tightly in plastic wrap or an airtight container. |
Refrigerator | Up to 7 days | Wrap tightly in plastic wrap or an airtight container, but I recommend 3 days max. |
Freezer | Up to 3 months | Wrap slices individually in plastic wrap, then place in a freezer bag or container. |
Tips and Tricks for the Best Chocolate Loaf Cake
Tips and Tricks for the Best Chocolate Loaf Cake
Use Quality Ingredients
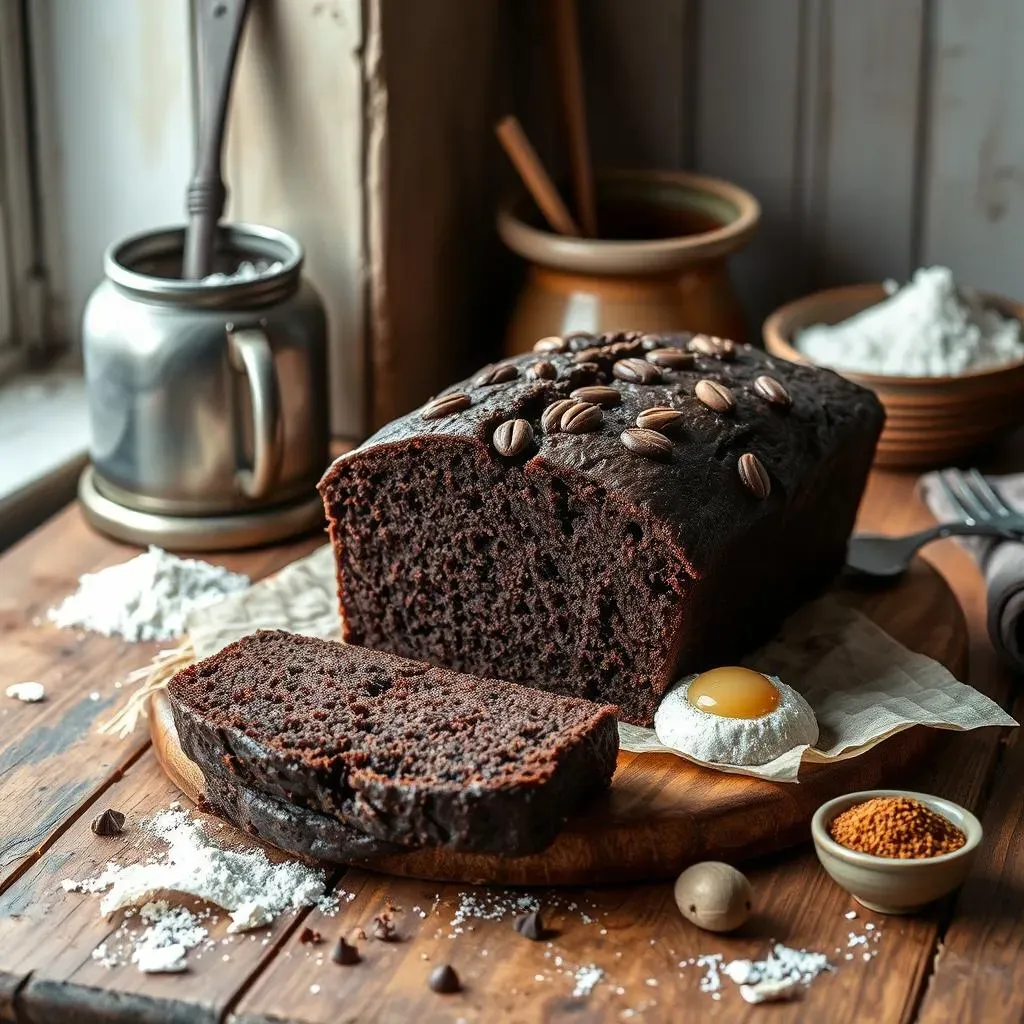
let's talk about leveling up your loaf cake game. First off, the quality of your ingredients really matters. I'm not saying you need to buy the most expensive stuff, but using good quality cocoa powder, for example, will make a huge difference in the flavor. Think of it like this: you wouldn't use cheap paint on a masterpiece, right? The same goes for baking. Also, don’t skimp on the vanilla extract, it really does add a nice touch, and it's worth it. I always go for the real stuff, not the imitation. It’s a simple change that can elevate your cake from good to great. Trust me on this one.
Another thing: make sure your ingredients are fresh. Baking powder and baking soda can lose their oomph over time, so check the expiration dates. It's like using old batteries in a toy; it just won't perform as well. I like to keep my baking ingredients in airtight containers to keep them fresh for longer. It's a small effort that pays off in the final product. And if you're feeling fancy, try using Dutch-processed cocoa powder, it has a smoother, richer flavor that I really love. It's a bit of an upgrade, but worth it if you're a serious chocolate lover.
Don't Overmix the Batter
Now, let’s talk about the batter. This is a big one, so listen up. Overmixing the batter is a common mistake, and it can lead to a tough, dense cake. Remember how I said to fold the wet and dry ingredients together gently? I wasn’t kidding. Once everything is just combined, stop mixing. It's like being a gentle gardener, you don't want to overwork the soil. Think of it like this, you're trying to incorporate the ingredients, not beat them into submission. Overmixing develops the gluten in the flour, which is what makes the cake tough. So, be gentle, be patient, and your cake will thank you.
Also, when you add the hot water, be careful not to splash yourself. It's hot! Also, make sure to mix until the batter is smooth and glossy, but don't go overboard. I always use a spatula to fold the batter, it helps me keep control and not overmix it. I have seen people using electric mixers to mix the batter, but it's not necessary for this recipe and can easily lead to overmixing. So, keep it simple, keep it gentle, and your cake will be perfect. It’s a bit like whispering sweet nothings to your batter, it needs a little love and care.
Tip | Why it Matters |
|---|---|
Use quality cocoa | Enhances chocolate flavor |
Use fresh baking soda and baking powder | Ensures proper rise |
Don't overmix the batter | Prevents tough cake |
Add a Chocolate Ganache
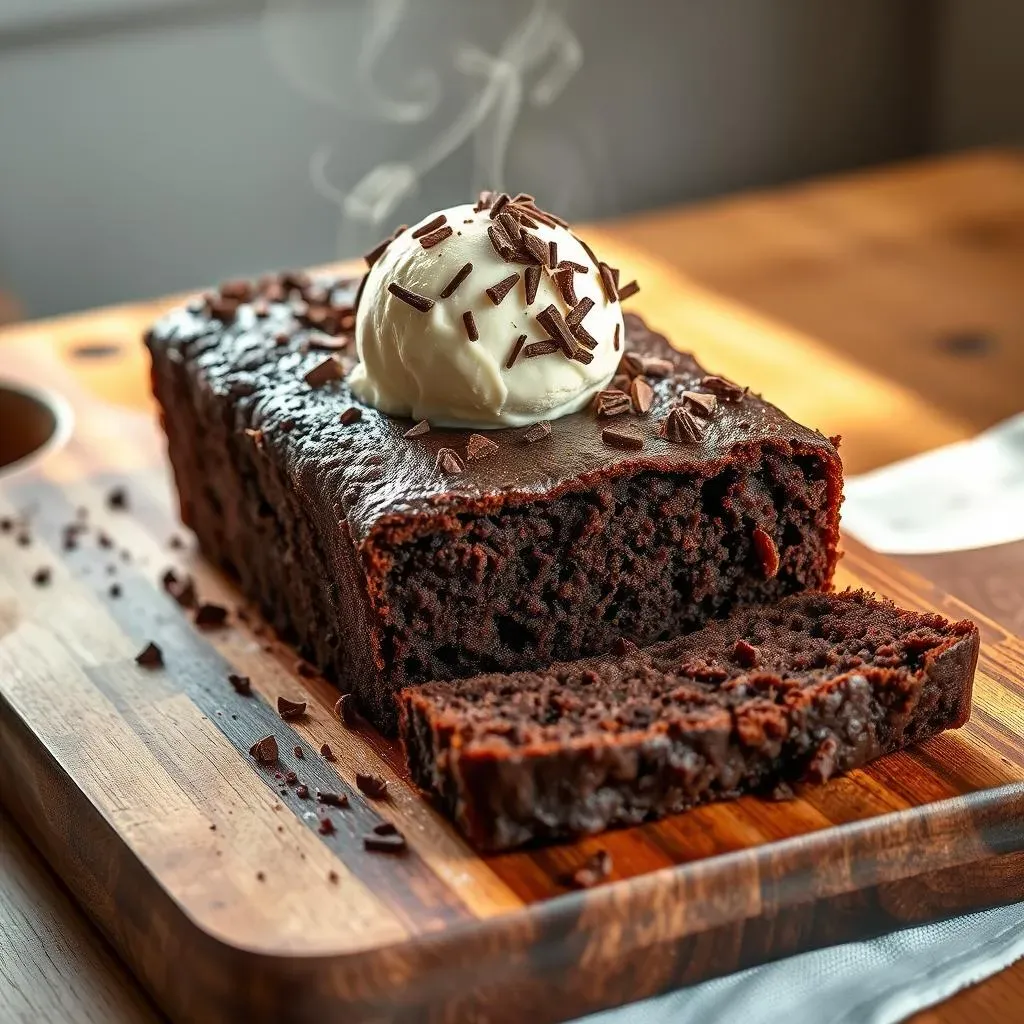
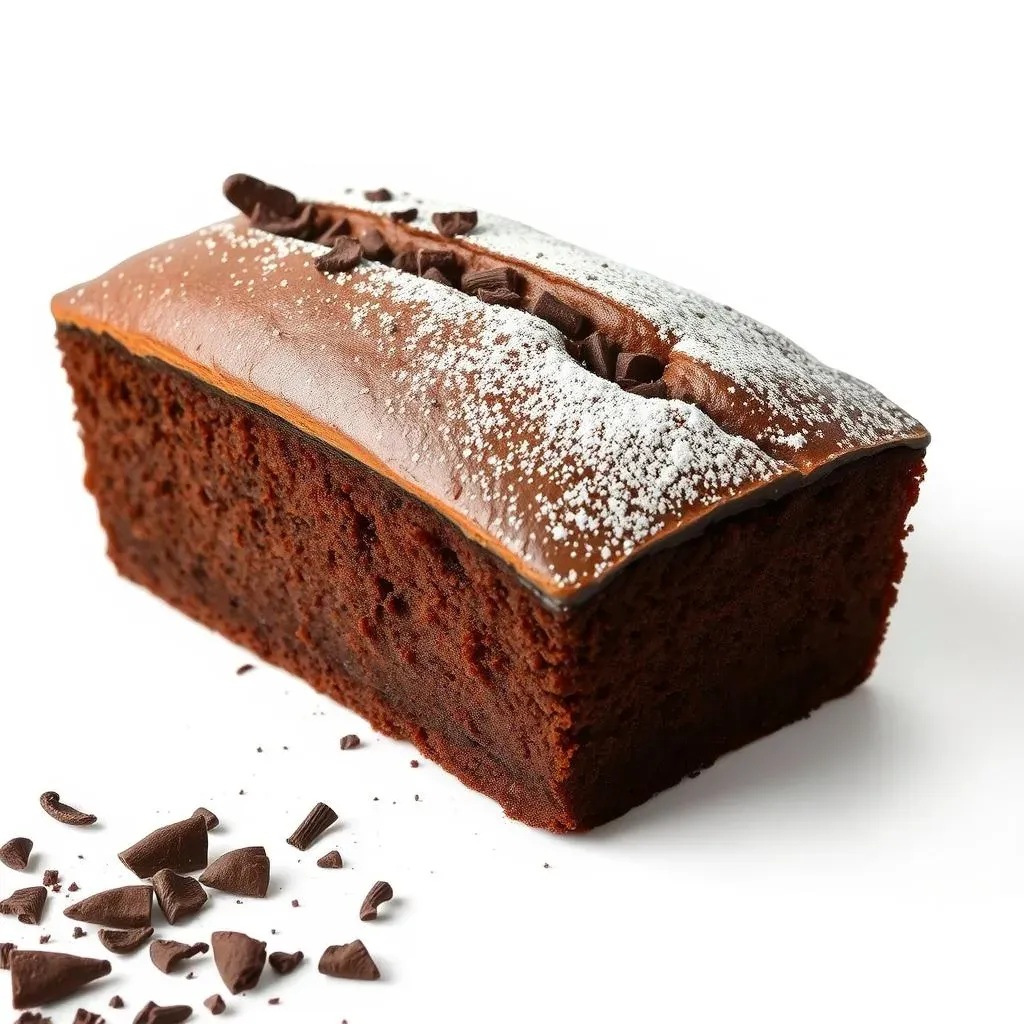
Finally, let’s talk about adding a little extra oomph. While this cake is amazing on its own, adding a chocolate ganache topping can really take it to the next level. It’s like putting a cherry on top of a sundae. It’s super easy to make: just heat some heavy cream and pour it over some chopped chocolate, let it sit for a minute, and then stir until it's smooth. Then, pour it over your cooled cake, and let it set. I like to use semi-sweet chocolate, but you can use whatever you like. I've even tried it with white chocolate once, it was amazing. It's a simple step that adds a touch of elegance and decadence to the cake.
If you're not feeling a ganache, you can also dust the cake with some powdered sugar, or even add some chocolate chips to the batter before baking. It's all about making it your own. I've experimented with different flavors, like adding a bit of espresso powder to the batter, it really enhances the chocolate flavor. I also like to add a pinch of sea salt on top of the ganache, it adds a nice balance of flavors. The beauty of this recipe is that you can customize it to your own taste. So, don’t be afraid to experiment and have fun with it. It's your cake, make it amazing!
“The secret ingredient is always love.” - Unknown
Wrapping Up Your Simple Chocolate Loaf Cake Journey
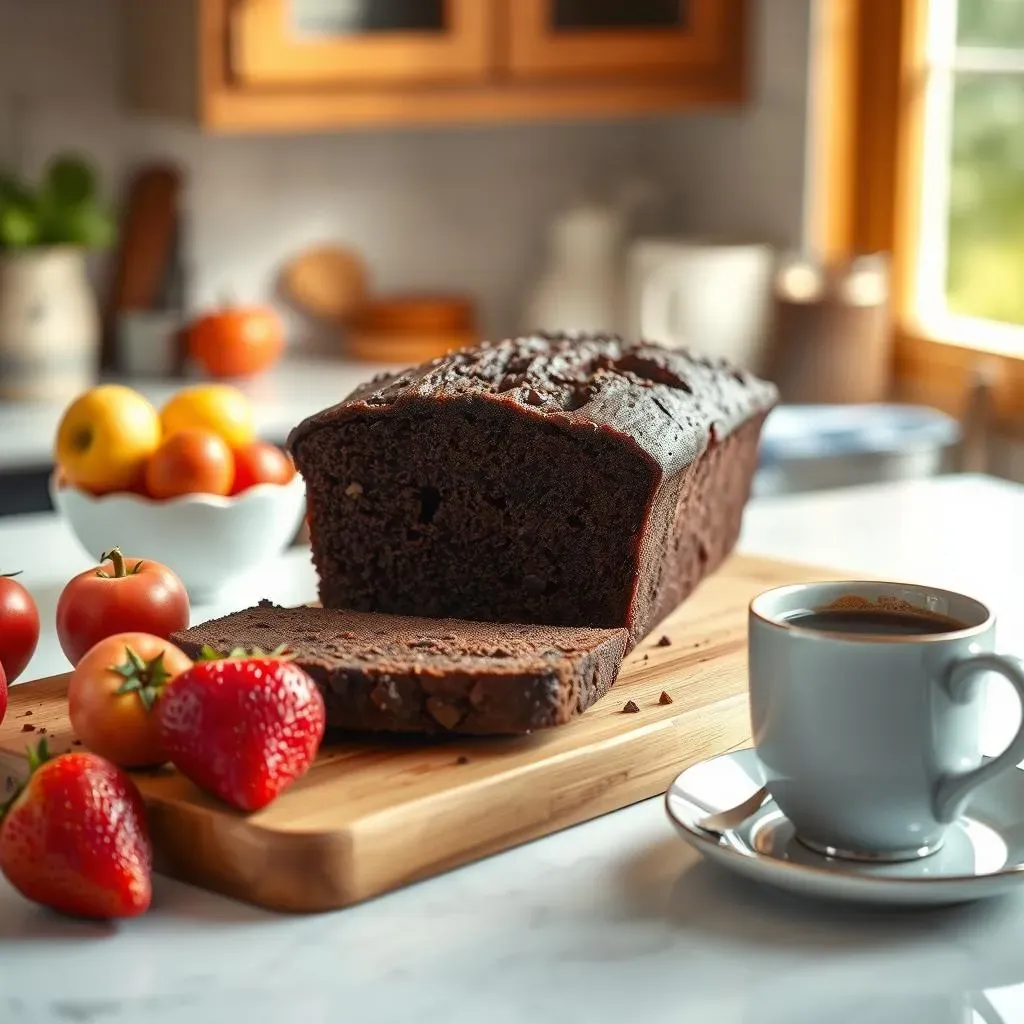
And there you have it, a simple chocolate loaf cake recipe that's easy to make and even easier to enjoy. From gathering your basic ingredients to that final slice, this cake is a testament to how delicious simplicity can be. Whether you're baking for a special occasion or just a regular Tuesday, this recipe is a great one to keep in your back pocket. It's so versatile, you can serve it as a snack or a dessert, and you can even get creative with toppings. So go ahead, bake that cake, and savor every chocolatey bite. Now, who's ready for another slice?