Table of Contents
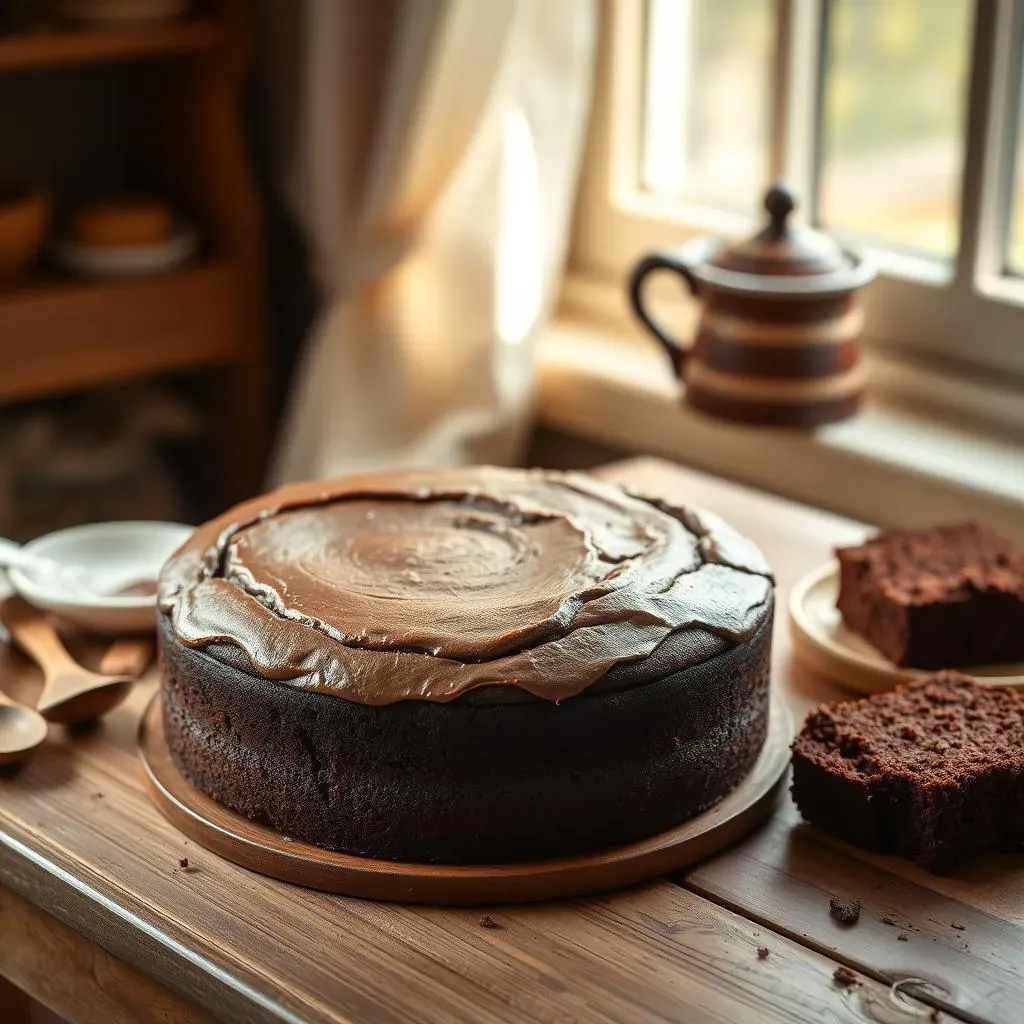
Ever get that intense chocolate cake craving, only to realize you're out of milk? Or maybe you're trying to avoid dairy? Don't worry, I've been there, and that's why I perfected this ridiculously easy and delicious simple chocolate cake recipe without milk. Forget complicated steps and a sink full of dishes, this recipe is all about keeping it simple and satisfying. We're talking one bowl, minimal ingredients, and a cake that's so moist and fudgy, you won't believe it's dairy-free. We’ll explore why going milk-free doesn't mean sacrificing flavor, what ingredients you'll need (spoiler: they're probably already in your pantry), and how to bake this cake step-by-step. Plus, I will share some tips on serving and storing this treat, so you can enjoy it anytime. Get ready to bake a cake that’s perfect for any occasion, from a weeknight treat to a birthday celebration, all without a drop of milk!
Why a MilkFree Chocolate Cake?
Why a MilkFree Chocolate Cake?
Let's be real, sometimes you just want cake, and you don't want to deal with the hassle of running to the store for milk. Or maybe you've got a friend who can't have dairy, and you want to be a good host. That's where a milk-free chocolate cake comes in clutch. It's not about deprivation, it's about flexibility and inclusivity. Plus, you might be surprised, skipping the milk doesn't mean skipping out on the moist, rich chocolate flavor you're craving. In fact, sometimes, it makes the cake even better. Think about it—no milk means no worries about lactose intolerance, and you can use other liquids to add unique flavors, like coffee to boost the chocolate notes. It’s a win-win for everyone.
Ingredients for Your Simple Chocolate Cake (No Milk!)
Ingredients for Your Simple Chocolate Cake (No Milk!)
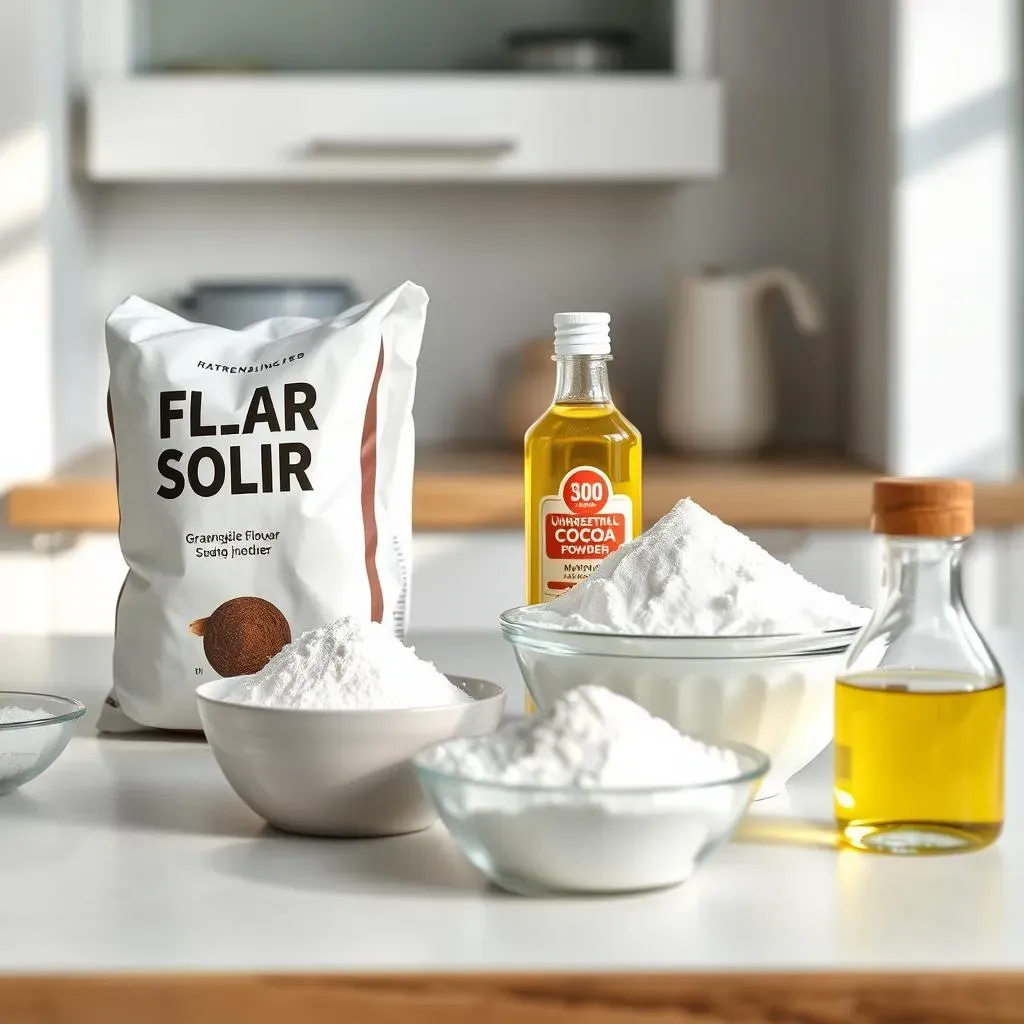
The Dry Stuff
let's gather our dry ingredients. You'll need 1 ½ cups of all-purpose flour. Don't get fancy here, regular flour does the trick. Next, grab 1 ½ cups of granulated sugar. Yes, that's a good amount of sugar, but it's what makes the cake sweet and delicious. Then, we need ¾ cup of unsweetened cocoa powder. I like using dark cocoa for a richer flavor, but regular cocoa works great too. Finally, add 1 ½ teaspoons of baking soda and 1 ½ teaspoons of baking powder to help the cake rise. Oh, and don't forget a pinch of salt – about ¾ teaspoon – it balances out the sweetness.
The Wet Stuff
Now, for the wet ingredients, it's super simple. You'll need 1 ½ cups of warm water. The warm water helps the cocoa bloom, enhancing the chocolate flavor. Then, you need ½ cup of vegetable oil. Any neutral oil will work, like canola or sunflower oil. Finally, add 2 teaspoons of vanilla extract for that extra layer of flavor. That's it! No milk, no eggs, no fuss. I know it sounds like it won't work, but trust me, the magic is in the mixing.
Ingredient | Quantity |
|---|---|
All-purpose flour | 1 ½ cups |
Granulated sugar | 1 ½ cups |
Unsweetened cocoa powder | ¾ cup |
Baking soda | 1 ½ teaspoons |
Baking powder | 1 ½ teaspoons |
Salt | ¾ teaspoon |
Warm water | 1 ½ cups |
Vegetable oil | ½ cup |
Vanilla extract | 2 teaspoons |
Optional Add-Ins
Alright, now for the fun part: optional add-ins! If you want to get a bit fancy, you can throw in some chocolate chips – about ½ cup is perfect. Dairy-free chocolate chips if you're keeping it strictly milk-free, of course. You could also add ½ cup of chopped nuts, like walnuts or pecans, for some crunch. Or, if you really want to boost the chocolate flavor, add a teaspoon of instant espresso powder to the dry ingredients. It really brings out the richness of the cocoa. The choice is yours, get creative!
StepbyStep: Baking the Simple Chocolate Cake Recipe
StepbyStep: Baking the Simple Chocolate Cake Recipe
Prep Your Pan and Preheat
let's get this cake party started! First things first, preheat your oven to 350°F (175°C). While that's heating up, grab an 8x8 inch square baking pan. You can use a round one too, if that's what you've got. Now, grease the pan with a little bit of oil or butter – if you're not keeping it strictly dairy-free. I like to use a piece of parchment paper on the bottom, it makes it easier to get the cake out later. No one likes a cake that sticks to the pan!
Mixing the Batter
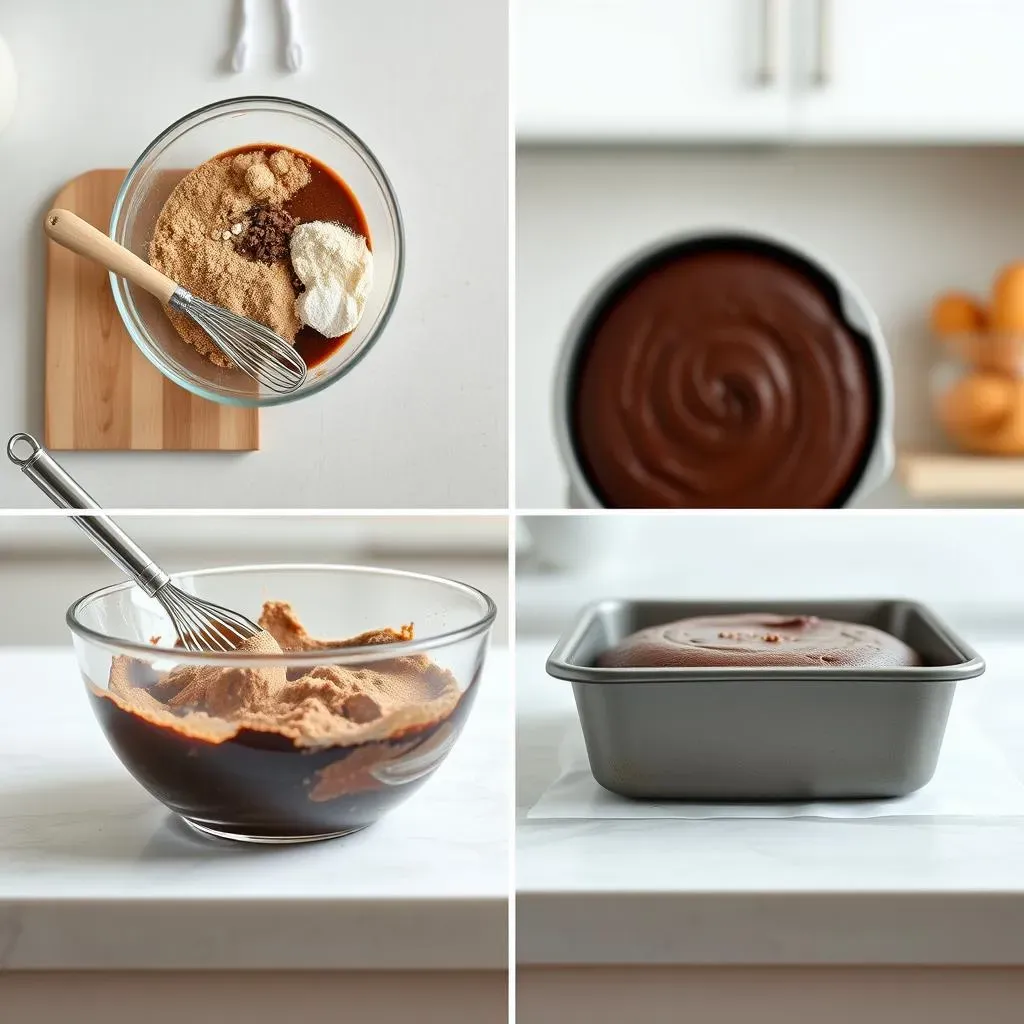
Now, for the fun part: mixing! In a large bowl, dump all your dry ingredients – the flour, sugar, cocoa powder, baking soda, baking powder, and salt. Give it a good whisk to make sure everything is evenly mixed. Then, pour in the warm water, oil, and vanilla extract. Grab a spatula or a spoon and start mixing everything together. Don't overmix it, just stir until everything is combined and you have a smooth batter. If you added any chocolate chips, nuts, or espresso powder, fold them in gently now. Remember, it's a one-bowl recipe, so no need to get fancy with multiple bowls.
Bake and Cool
Time to bake! Pour the batter into your prepared pan and spread it evenly. Pop it in the preheated oven and bake for about 25 to 30 minutes. You'll know it's ready when a toothpick inserted into the center comes out clean. Once it's baked, take it out of the oven and let it cool in the pan for about 10 minutes. Then, carefully transfer it to a wire rack to cool completely. Don't try to frost it while it's still warm, or you'll have a melty mess. Patience is key here.
Step | Action | Time |
|---|---|---|
1 | Preheat oven to 350°F (175°C). Grease and prepare pan. | 5 minutes |
2 | Mix dry ingredients in a large bowl. | 2 minutes |
3 | Add wet ingredients and mix until smooth. | 3 minutes |
4 | Pour batter into prepared pan. | 1 minute |
5 | Bake for 25-30 minutes, or until a toothpick comes out clean. | 25-30 minutes |
6 | Cool in pan for 10 minutes, then transfer to a wire rack to cool completely. | 10+ minutes |
Serving and Storing Your MilkFree Chocolate Cake
Serving and Storing Your MilkFree Chocolate Cake
Time to Frost!
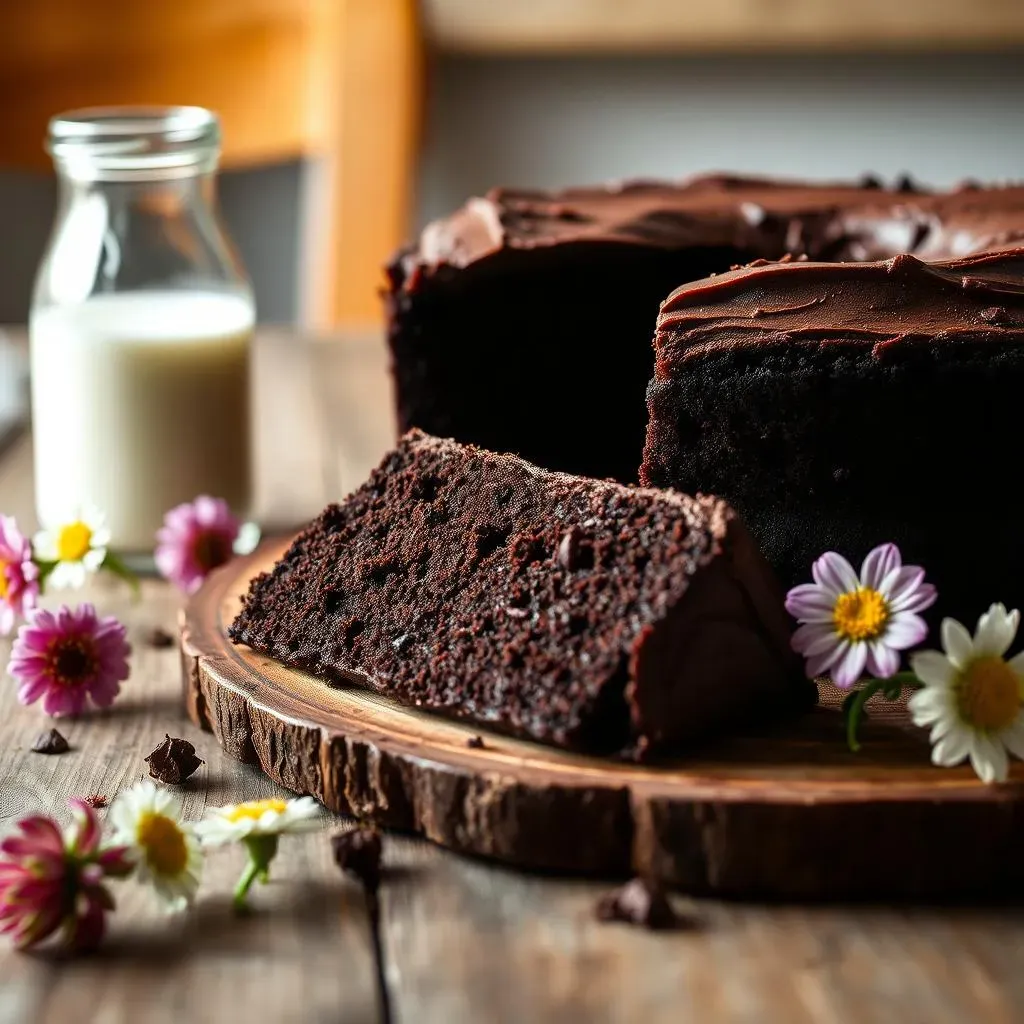
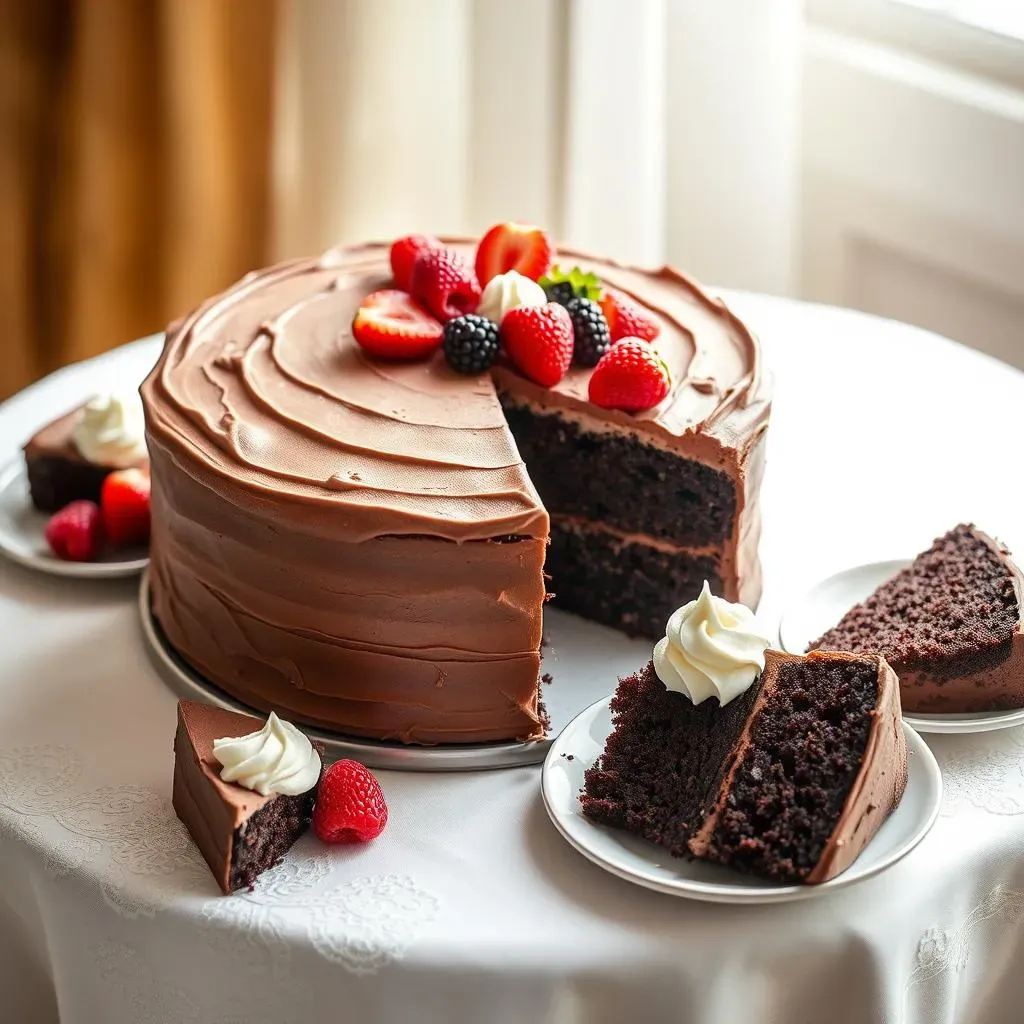
Alright, your cake is baked and cooled, now for the best part – frosting! You've got options, and I mean, a lot of options. A simple dusting of powdered sugar works great for a quick treat. If you're feeling fancy, whip up a batch of chocolate frosting. You can use a store-bought one to save time or make your own from scratch. If you're keeping it dairy-free, make sure to use a dairy-free frosting recipe or a brand that doesn't use milk. Another idea? A dollop of dairy-free whipped cream or even some fresh berries. It’s all about what you love! Don't be shy, get creative and make it your own.
Serving Suggestions
Now that your cake is frosted, it's time to serve it up! This cake is great on its own, but you can also pair it with some tasty sides. A scoop of dairy-free ice cream is always a winner, or try a side of fresh fruit, like raspberries or strawberries. If you're serving it at a party, consider cutting it into small squares or slices. You can also add some sprinkles or chocolate shavings on top for extra flair. And if you want to get really fancy, warm up a slice and serve it with a drizzle of chocolate sauce. It's perfect for any occasion, from a casual get-together to a special celebration. Just remember, it's all about enjoying the moment and savoring the deliciousness of your homemade cake.
Serving Style | Toppings/Sides | Occasion |
|---|---|---|
Simple slice | Powdered sugar | Quick snack |
Frosted square | Chocolate frosting, sprinkles | Party |
Warmed slice | Dairy-free ice cream, chocolate sauce | Dessert |
Storing Your Leftovers
so you've made this amazing cake, and maybe, just maybe, you have some leftovers. Don't worry, this cake stores like a dream. If you plan to eat it within a day or two, just keep it covered at room temperature. For longer storage, pop it in the fridge. It'll stay fresh for up to 3 days. If you want to keep it even longer, you can freeze it. Wrap individual slices tightly in plastic wrap and then place them in a freezer bag or airtight container. It’ll stay good for up to 3 months. When you're ready to eat it, just thaw it in the fridge or at room temperature. It’s good to have a sweet treat whenever you want it.
Wrapping Up Your Simple Chocolate Cake Adventure
So there you have it, a truly simple chocolate cake recipe without milk that’s both easy to make and incredibly satisfying. It proves you don't need a long list of ingredients or dairy to create a delicious dessert. This recipe is a real crowd-pleaser, perfect for those with dietary restrictions or anyone who just wants a quick and tasty treat. Whether you're a baking pro or a beginner, this cake will become your go-to for chocolate cravings. Now, go enjoy your cake, and don’t forget to share your creations!