Table of Contents
Ever crave a rich, chocolatey cake but dread the complicated baking process? I get it. Sometimes, you just want something easy, delicious, and quick. That's where the magic of self-rising flour comes in. Forget sifting, measuring out baking powder, and all that jazz. We're diving headfirst into the world of the simple chocolate cake recipe self raising flour, where simplicity meets scrumptious. This isn't about fancy techniques or hard-to-find ingredients. It’s about creating a cake that’s so easy, even a ten-year-old could nail it, and so tasty, everyone will be asking for seconds. In this article, we’ll unlock the secrets to using self-rising flour to achieve chocolate cake perfection. We’ll cover the foolproof recipe, some essential baking tips, and even tackle a few common issues you might face, so you can bake with confidence. Get ready to experience the joy of effortless baking!
Why SelfRising Flour is Your Secret Weapon for Simple Chocolate Cake
Why SelfRising Flour is Your Secret Weapon for Simple Chocolate Cake
The Magic of Self-Rising
let's talk about self-rising flour. It's not just some regular flour pretending to be fancy. It’s actually a pre-mixed blend of flour, baking powder, and salt. This seemingly small detail is a game-changer. It means you can skip the whole "measuring out raising agents" step, which is usually the part where things go wrong. Seriously, how many times have you forgotten the baking powder? Self-rising flour takes all the guesswork out, making your cake rise perfectly every time, or at least, most of the time, we aren't miracle workers here.
It simplifies baking like you wouldn't believe. No more fussing with multiple ingredients, just one bag of self-rising flour and you're halfway there. This is especially great for those who are new to baking or just want a quick and easy dessert. You can focus on the fun part: mixing up the chocolatey goodness and enjoying the final product, instead of worrying about measuring out tiny amounts of baking powder or salt.
Ingredient | Purpose |
|---|---|
Self-Rising Flour | Provides structure and rising agent |
Cocoa Powder | Adds chocolate flavor |
Sugar | Sweetens the cake |
Butter/Oil | Adds moisture and richness |
Milk/Eggs | Binds the ingredients |
Baking Made Easier
Think about it: less measuring, less cleanup, less chance of forgetting something crucial. Self-rising flour is like having a baking assistant who's always got your back. It’s not about being lazy; it's about being efficient. Why spend ages measuring individual ingredients when you can have a pre-mixed option that works just as well, if not better? This is especially true when you are trying to bake with kids.
For me, it's about those spontaneous "I want cake now" moments. With self-rising flour, you can go from craving to cake in record time. This convenience doesn't mean you're sacrificing taste or quality. The right self-rising flour can still give you that light, fluffy texture everyone loves, without all the extra fuss. It's a win-win situation, and let's be honest, who doesn't love a good win?
Consistent Results, Less Stress
Ever followed a recipe to the letter and still ended up with a cake that's flatter than a pancake? It is annoying. Self-rising flour helps reduce those baking mishaps. Because the baking powder is evenly distributed throughout the flour, you get a more consistent rise. This means less stress and more predictable results. No more hoping for the best, you'll get what you expect, and that's a pretty good feeling.
It's also a great option if you're not a seasoned baker. It removes some of the complexity, allowing you to focus on other parts of the recipe, like mixing the batter correctly or getting the oven temperature right. You'll have more fun, and less stress, which is what baking should be about. So, if you're like me, and enjoy cake, but not the stress that comes with it, self-rising flour is definitely your new best friend.
The Foolproof Recipe: Simple Chocolate Cake Using SelfRising Flour

The Foolproof Recipe: Simple Chocolate Cake Using SelfRising Flour
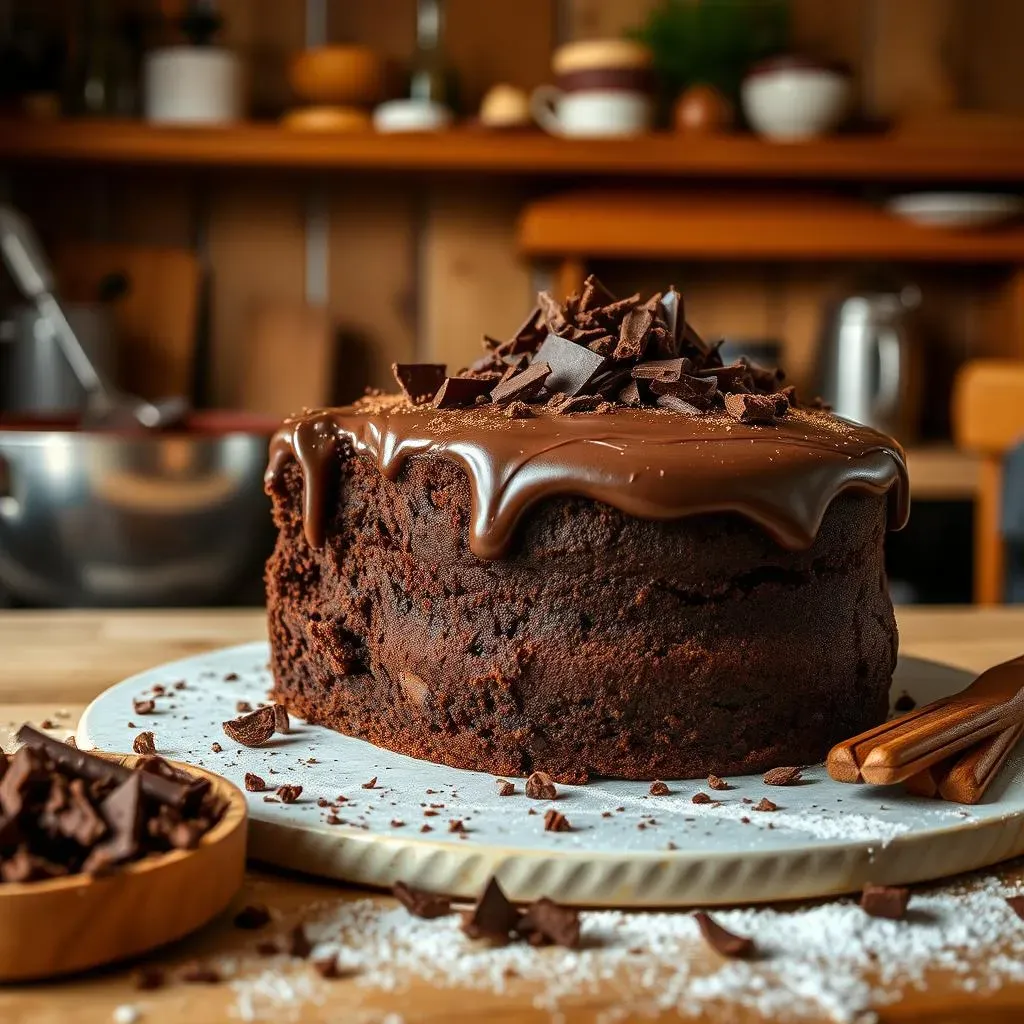
Alright, let's get to the good part – the actual recipe! This is where the magic really happens, and you'll see just how easy it is to bake a delicious chocolate cake using self-rising flour. I've tweaked this recipe over time to make it as simple and foolproof as possible. So even if you’ve had some baking mishaps in the past, trust me, this one’s a winner. You'll be amazed at how few steps it takes to go from a bowl of ingredients to a warm, chocolatey cake. The best part is that you probably already have most of the stuff in your pantry. Get ready to impress yourself and everyone you share it with.
Ingredient | Quantity |
|---|---|
Self-Rising Flour | 2 cups |
Cocoa Powder | 1/2 cup |
Caster Sugar | 1 1/2 cups |
Melted Butter or Oil | 1/2 cup |
Milk | 1 cup |
Eggs | 2 large |
Vanilla Extract (optional) | 1 teaspoon |
First things first, preheat your oven to 350°F (175°C). While that's heating up, grab a large bowl and toss in your self-rising flour, cocoa powder, and sugar. Give that a good whisk to make sure everything's evenly mixed, that way you won't get a weird pocket of cocoa in the corner of your cake. Next, pour in the melted butter or oil, milk, eggs, and vanilla extract (if you're using it). Now, mix it all together until you get a smooth batter. Don't overmix it. Overmixing can make your cake tough. Pour the batter into a greased cake pan and bake for about 30-35 minutes, or until a toothpick inserted in the center comes out clean. Let it cool in the pan for a bit before turning it out onto a wire rack to cool completely. And there you have it – a simple, delicious chocolate cake.
Tips for Baking the Best Simple Chocolate Cake with SelfRising Flour
Tips for Baking the Best Simple Chocolate Cake with SelfRising Flour
The Importance of Room Temperature Ingredients
so you've got your recipe, you've got your self-rising flour, but hold your horses! One of the most important, yet often overlooked, tips is to make sure your ingredients are at room temperature. I know, I know, it sounds like a pain, but trust me, it makes a world of difference. Cold eggs and milk don't mix as well with the other ingredients, leading to a batter that's not as smooth, and a cake that's not as fluffy. Think of it like trying to mix cold butter into a batter: it just doesn't want to cooperate. Room temperature ingredients blend together more easily, creating a lighter, more even texture. So, take out those eggs and milk about 30 minutes before you start baking, it's a small step that pays off big time.
Also, don't forget about the butter or oil! If the recipe calls for melted butter, make sure it's melted but not too hot. If you're using oil, it’s less of a problem, but still, avoid using it straight from the fridge. Room temperature fats create a more stable emulsion, which helps to achieve a moist and tender cake. I always try to plan ahead, getting my ingredients ready before I even start. It’s like prepping for a marathon, but instead of running, we’re baking, and the reward is way better than a medal: it's cake!
Don't Overmix and Other Mixing Secrets
Now, let's talk about mixing. This is where things can go wrong really quickly if you're not careful. Once you add the wet ingredients to the dry, mix until just combined. You want to avoid overmixing, which develops the gluten in the flour. Overmixing creates a tough cake, and nobody wants a tough cake. It should be light and fluffy. If you notice any streaks of flour, it's okay, but stop mixing. The aim is to blend everything well, but not to the point where the batter becomes overworked. Think of it like folding laundry, you want it tidy, but you don't want to wrinkle it. It's the same with cake batter.
Another tip: use a gentle hand. Don't go all Hulk on your batter. Fold it gently with a spatula, not beat it with a whisk. This helps to keep the air in the batter, which is what makes it light and fluffy. And, if you’re using a stand mixer, use the lowest setting. Remember, we're aiming for a cake that's tender, not a workout for your jaw. These seemingly small steps make a huge difference in the final result. It's like a secret code to baking perfection.
Tip | Why it Matters |
|---|---|
Room Temperature Ingredients | Ensures better blending, fluffier cake |
Don't Overmix | Prevents tough cake |
Gentle Mixing | Keeps air in batter, lighter texture |
Preheat oven correctly | Even baking |
Troubleshooting Your Simple Chocolate Cake Recipe with SelfRising Flour
Troubleshooting Your Simple Chocolate Cake Recipe with SelfRising Flour
so you've followed the recipe, you've done everything right, but sometimes things can still go a little wonky. Don't worry, it happens to the best of us. Baking isn't always a perfect science, and sometimes you need to play detective to figure out what went wrong. Let's look at some common issues you might encounter with this simple chocolate cake recipe using self-rising flour, and how to fix them. I've had my fair share of baking fails, so I've learned a thing or two about what can cause these hiccups. It's all part of the baking journey, right? The good news is, most of the problems are easy to fix once you know what to look for.
Problem | Possible Cause | Solution |
|---|---|---|
Cake is too dense | Overmixing the batter, not enough leavening | Mix until just combined, check flour freshness |
Cake is too dry | Too much flour, overbaking | Measure ingredients accurately, check for doneness |
Cake is too flat | Oven temperature too low, expired baking powder | Check oven temp, use fresh self-rising flour |
Cake is uneven | Uneven oven heating, batter not evenly distributed | Rotate cake during baking, use a level pan |
Let’s start with the dreaded dense cake. If your cake comes out more like a brick than a fluffy cloud, it's likely that you overmixed the batter. Remember, we want to mix until just combined, not until our arms fall off. Overmixing develops the gluten in the flour, which can make your cake tough. Also, make sure that your self-rising flour is fresh. If it’s been hanging out in your pantry for a while, the baking powder might not be as effective. Next up, the dry cake. If your cake feels like it's been sitting in the desert, you might have added too much flour. Always make sure to measure accurately. Also, be careful not to overbake it. Use a toothpick to check for doneness. The cake is ready when the toothpick comes out clean or with a few crumbs attached.
Now, what if your cake is flatter than a pancake? A flat cake usually means that your oven temperature was too low, or the self-rising flour has lost its oomph. Always double-check your oven temperature with an oven thermometer. Also, if you haven't used your self-rising flour in a while, consider getting a fresh bag. Lastly, an uneven cake can be a real pain. This usually happens when your oven heats unevenly, or you haven't distributed the batter evenly in the pan. If you find that your oven is uneven, try rotating the cake halfway through baking. And, make sure you spread the batter evenly in the pan before putting it in the oven. These are some simple fixes that can make a huge difference. Baking is all about learning from your mistakes, and I'm sure you’ll be a pro in no time.
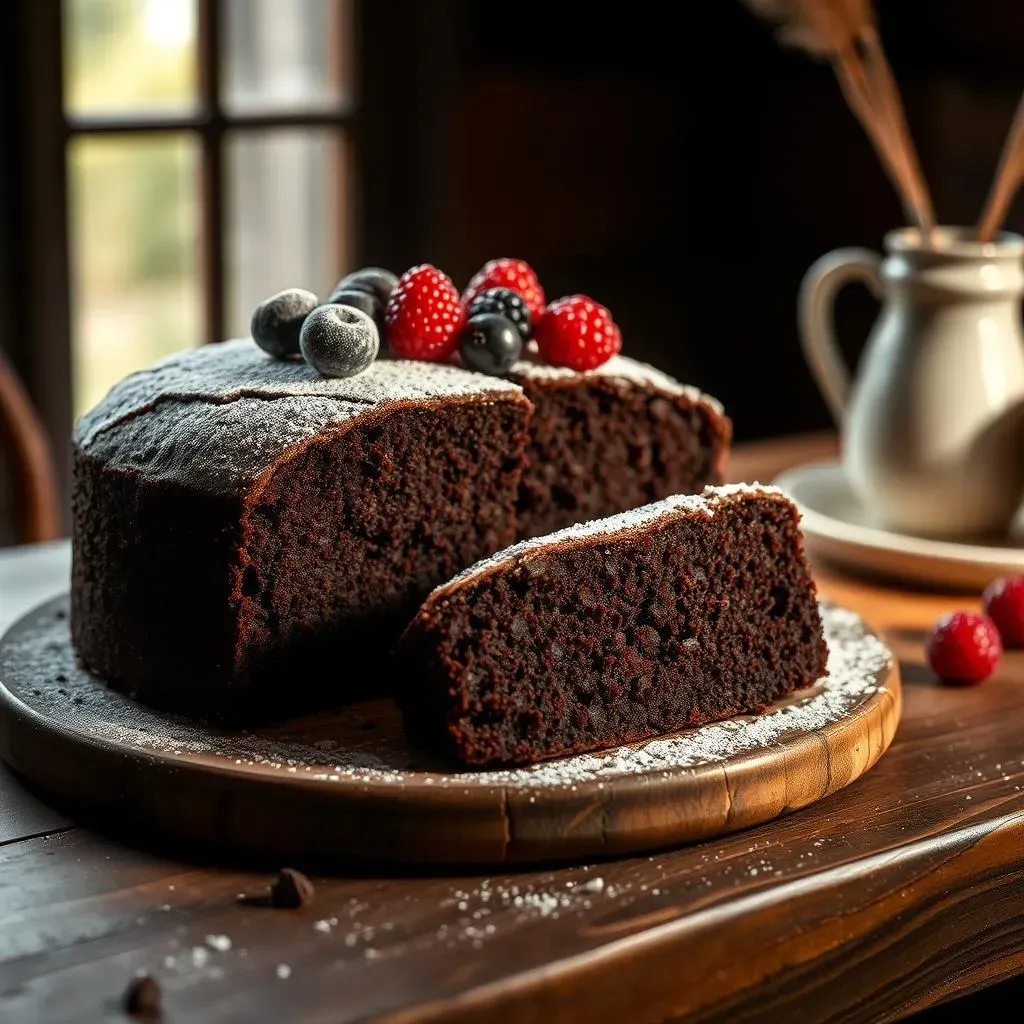
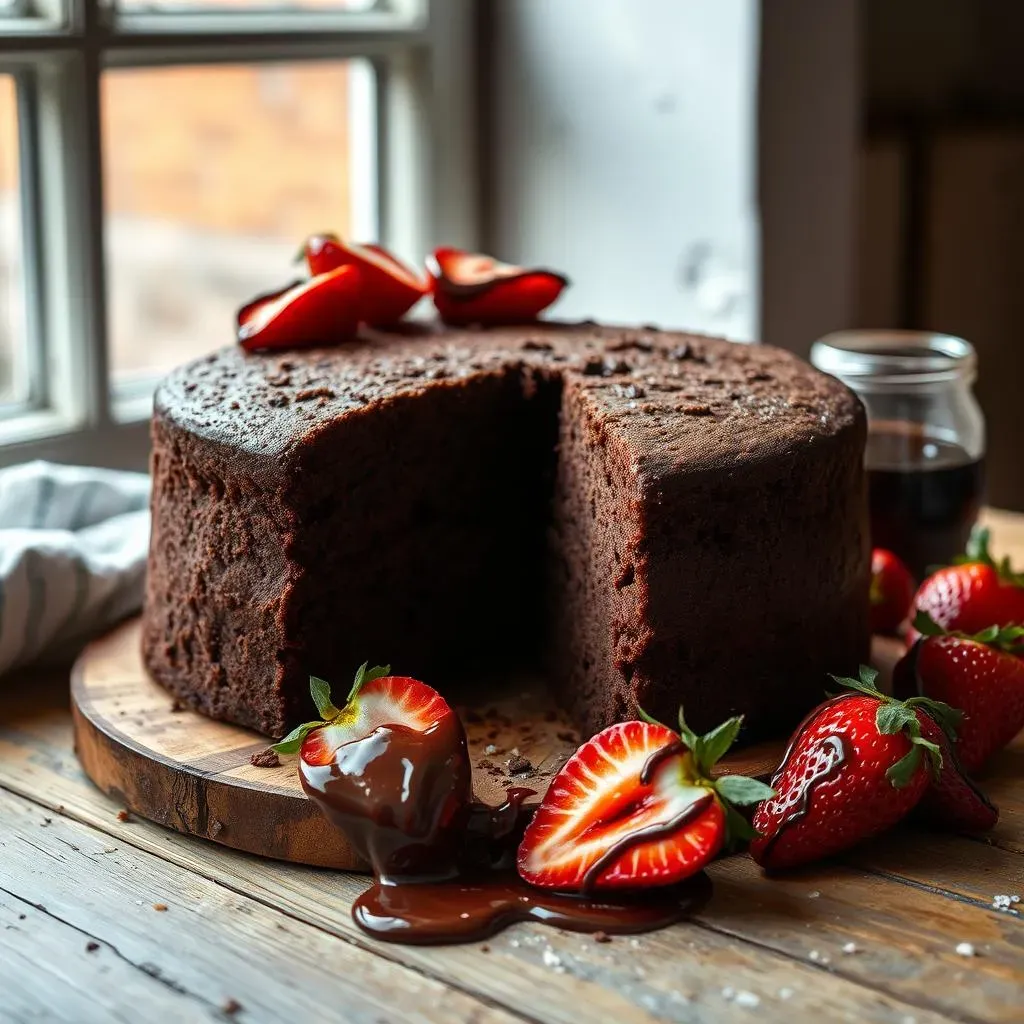
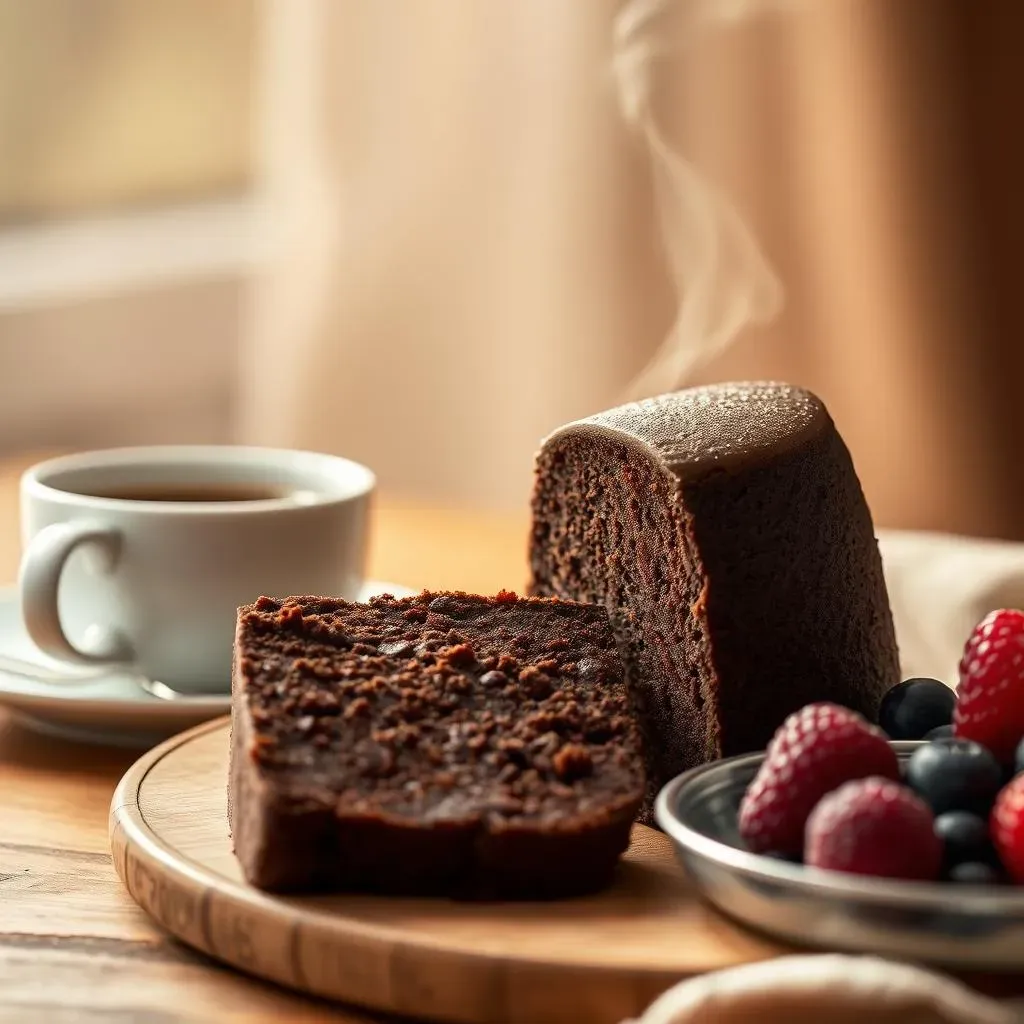
Your Simple Chocolate Cake Success Awaits
So there you have it, your guide to mastering the simple chocolate cake using self-rising flour. We've walked through the recipe, shared some key tips, and even tackled common hiccups. The beauty of this recipe lies in its simplicity. It's proof that you don't need to be a seasoned baker to create something utterly delicious. Whether you're baking for a party, a family treat, or just a personal craving, this cake is your reliable go-to. Now, it's your turn to get in the kitchen, get your hands a little messy, and enjoy the sweet rewards of your baking adventure. Go on, bake that cake and make someone's day a little bit sweeter—including your own!