Table of Contents
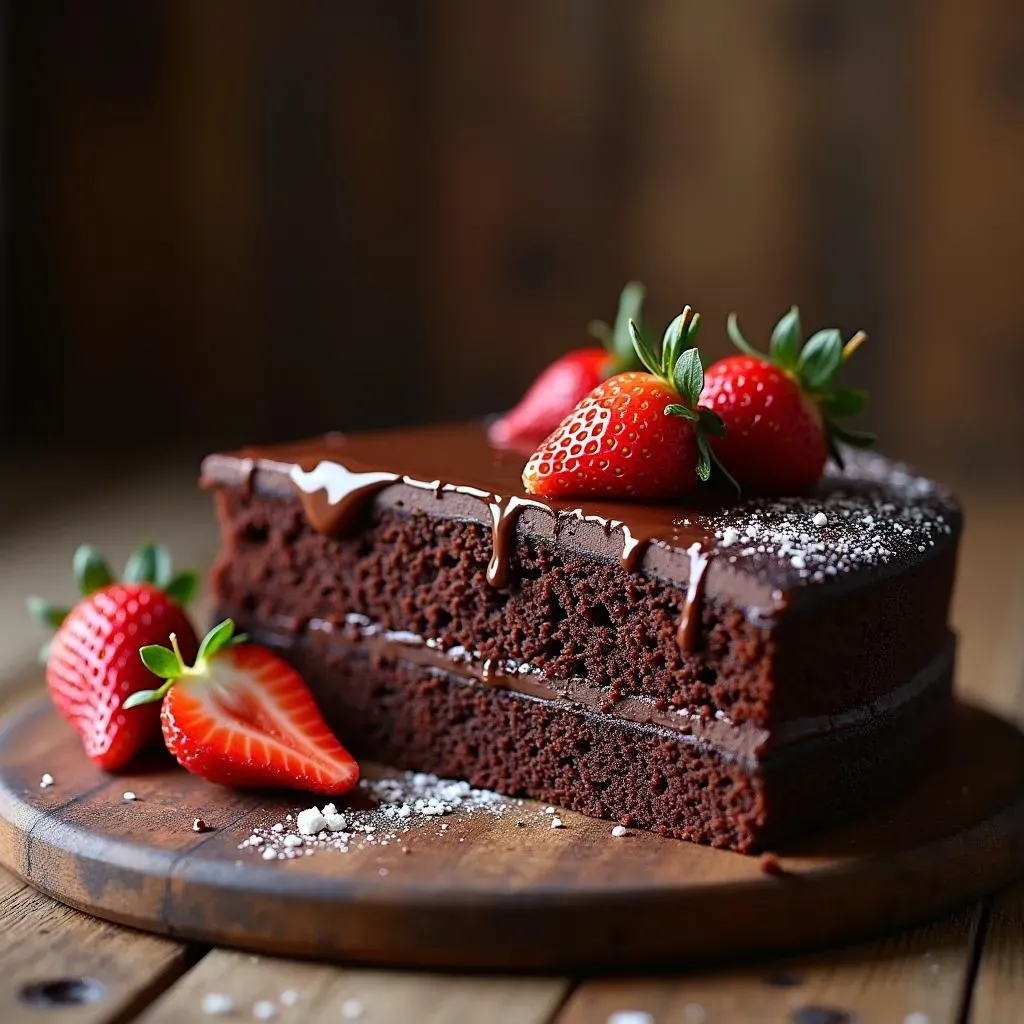
Ever dream of a chocolate cake that's so moist, it practically melts in your mouth? Forget those dry, crumbly disappointments! We're diving headfirst into the world of seriously delicious, incredibly easy baking with the ultimate simple chocolate cake recipe moist. This isn't your average cake mix, folks. We’re talking rich, decadent chocolate goodness, achieved with ingredients you probably already have in your kitchen. Imagine a cake so tender, it’s like a fluffy cloud of chocolate heaven. This article is your guide to achieving that perfect texture and flavor, step by simple step. We'll walk you through the key ingredients and techniques, share some baking secrets, and even offer ideas to customize your cake. Get ready to impress your friends, family, or just yourself with a cake that's ridiculously tasty and surprisingly straightforward to make. Whether you’re a baking newbie or a seasoned pro, this recipe is sure to become your go-to for any and all chocolate cravings.
Ingredients for a Super Moist Chocolate Cake

Ingredients for a Super Moist Chocolate Cake
The Usual Suspects: Dry Ingredients
let’s talk dry stuff first. We’re not reinventing the wheel here, but the quality matters. You’ll need all-purpose flour – that’s your base, the foundation of our cake. Don’t go for the fancy stuff unless you’re feeling extra bougie. Then, we have granulated sugar – the sweet stuff that makes everything better. You can use regular white sugar, but if you want a little more depth, try using half white and half light brown sugar. It’ll give the cake a subtle caramel note, which is a nice touch. And of course, cocoa powder. This is where your chocolate flavor will come from, so don't skimp on the quality. I like using Dutch-processed cocoa for a richer, less bitter flavor, but regular unsweetened cocoa will do the trick too. Finally, baking soda and baking powder are essential for the cake to rise. Make sure they’re fresh, otherwise, your cake might end up flat. Nobody wants a flat cake.
A pinch of salt is also a must. It might seem odd to put salt in a cake, but it actually enhances the other flavors. Think of it like a secret ingredient that makes everything pop. Don’t forget it! And if you’re feeling adventurous, you could add a teaspoon of instant espresso powder. It won’t make your cake taste like coffee, but it will deepen the chocolate flavor, and make it more intense. It's a trick I learned from a fancy pastry chef, and it’s a game-changer. I know it sounds like a lot, but trust me, each ingredient plays a crucial role in making our cake super moist and delicious.
The Secret Weapons: Wet Ingredients
Now for the real magic: the wet ingredients. This is where we get that super moist texture. First up, eggs. They add structure, richness, and help bind everything together. Room temperature eggs are best, they blend more easily. Next, we have oil. Yes, oil! It seems weird, but it's what keeps our cake super moist. Vegetable oil is my go-to because it doesn’t add any flavor, but you can also use canola oil. Then, the key ingredient: sour cream. This is the secret weapon for a super moist cake. It adds a bit of tanginess, and it keeps the cake from drying out. If you don’t have sour cream, full-fat Greek yogurt works too, but sour cream is better for this recipe.
And last, but not least: hot coffee. That’s right, coffee. It won’t make your cake taste like coffee, but it will enhance the chocolate flavor and make it more intense. The heat also helps bloom the cocoa powder, which makes the chocolate flavor even more pronounced. I know it sounds strange, but trust me, it works. Make sure it's hot, not just warm. And if you don’t want to use coffee, you can use hot water instead, but the coffee really does make a difference. So there you have it, the secret to a super moist chocolate cake is in the wet ingredients, especially the sour cream and hot coffee. Now, it's time to bake!
Ingredient | Why it's Important |
|---|---|
All-Purpose Flour | Provides structure |
Granulated Sugar | Adds sweetness |
Cocoa Powder | Adds chocolate flavor |
Baking Soda & Powder | Helps the cake rise |
Salt | Enhances flavors |
Eggs | Adds structure and richness |
Vegetable Oil | Keeps cake moist |
Sour Cream | Adds moisture and tang |
Hot Coffee | Enhances chocolate flavor |
StepbyStep Baking Guide for a Simple Chocolate Cake Recipe
StepbyStep Baking Guide for a Simple Chocolate Cake Recipe
Getting Started: Mixing the Batter
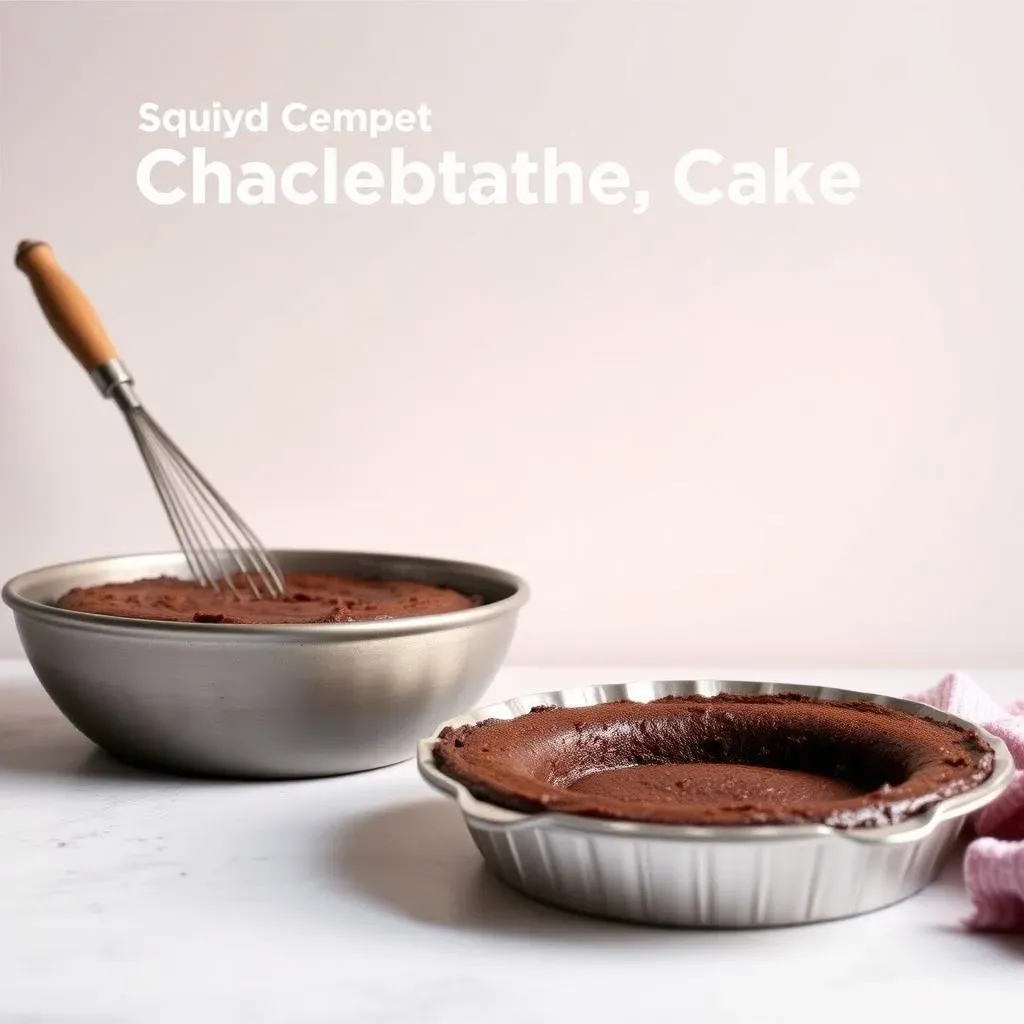
Alright, let's get to the fun part: actually making this cake! First things first, preheat your oven to 350°F (175°C). While that's heating up, grease and flour your cake pan(s). I usually use two 9-inch round pans, but you can also use a 9x13 inch pan if you want a sheet cake. Now, in a large bowl, whisk together all your dry ingredients: the flour, sugar, cocoa powder, baking soda, baking powder, and salt. Make sure everything is well combined. I like to give it a good whisk for about 30 seconds, just to make sure there are no lumps of cocoa powder hiding in there.
Next up, it's time for the wet ingredients. In a separate bowl, whisk together the eggs, oil, and sour cream. Once that's combined, pour the wet ingredients into the bowl with the dry ingredients. Now, here's the key: mix until just combined. Don't overmix the batter, otherwise your cake will be tough. I use a spatula for this, and just gently fold everything together until there are no more streaks of flour. Lastly, slowly pour in the hot coffee while mixing. The batter will be thin, but that’s exactly what we want. Now, divide the batter evenly between your prepared pans. If you’re using two pans, try to make sure they’re about the same amount. You can use a scale if you want to be super precise, but eyeballing it works too.
Step | Action |
|---|---|
1 | Preheat oven to 350°F (175°C). Grease and flour cake pan(s). |
2 | Whisk dry ingredients together in a large bowl. |
3 | Whisk wet ingredients together in a separate bowl. |
4 | Pour wet ingredients into dry ingredients and mix until just combined. |
5 | Slowly pour in hot coffee while mixing. |
6 | Divide batter evenly into prepared pan(s). |
Baking and Cooling
Pop those pans into the preheated oven and bake for about 30-35 minutes. This is a general guideline, so you'll want to keep an eye on it. The cake is done when a toothpick inserted into the center comes out clean, or with a few moist crumbs attached. Don't worry if you see a few cracks on the top, that's totally normal and actually adds character, plus you'll be frosting it anyway. Once the cake is done, take it out of the oven and let it cool in the pan for about 10-15 minutes. This allows it to set a little before you try to remove it, and this is important because if you try to remove it while it’s too hot, it can crumble easily.
After the 10-15 minutes, carefully run a knife around the edges of the pan to loosen the cake, and then invert it onto a wire rack to cool completely. Make sure it’s completely cool before you try to frost it, otherwise, the frosting will melt right off, and you'll have a sticky mess. I know it's hard to wait, but trust me, it's worth it. The cooling process is crucial for the cake to achieve its perfect texture and to be ready for the next step, which is the most important one: frosting! While the cake is cooling, you can get started on the frosting, or just take a break and admire your baking skills. You deserve it!
"The secret ingredient is always love." - Unknown
Tips and Tricks for the Best Moist Chocolate Cake
Tips and Tricks for the Best Moist Chocolate Cake
The Temperature Tango: Getting it Just Right
so you've got your ingredients, you've mixed the batter, but did you think about temperature? It's not just about preheating the oven. Room temperature ingredients are your best friend here. When eggs and butter (if you're using any in your frosting) are at room temp, they blend into the batter more smoothly, creating a better emulsion. This means a more even texture and a softer crumb. It's like magic, but it's just science. Also, that hot coffee? It needs to be HOT. It's not just there to add flavor; it helps the cocoa powder "bloom," releasing its full potential. Think of it like waking up the chocolate flavor. And don't even think about opening the oven while the cake is baking, unless you want a cake that's collapsed in the middle. Patience is key, my friend.
Another thing that’s important is the oven itself. Make sure it's actually at the right temperature. Oven thermometers are cheap and can save you from a lot of baking frustration. Also, try to avoid placing the cake pan directly in the center of the oven. Instead, put it slightly off-center, this will help with even baking and prevent hot spots. Finally, when you take the cake out of the oven, don't let it sit in the hot pan for too long. The residual heat will continue to bake the cake and might dry it out. Let it cool for a bit, then transfer it to a wire rack. These might seem like small things, but they make a huge difference in the final product. Trust me on this one.
Tip | Why it Matters |
|---|---|
Room Temp Ingredients | Better Emulsion, Softer Crumb |
Hot Coffee | Blooms Cocoa, Enhances Flavor |
Don't Open Oven | Prevents Cake from Collapsing |
Use Oven Thermometer | Ensures Accurate Temperature |
Slightly Off-Center Baking | Prevents Hot Spots |
Cool on Wire Rack | Stops Overbaking |
Don't Overmix and Don't Overbake: The Golden Rules
so here's a secret that even some experienced bakers mess up: don't overmix your batter. Seriously. Once you add the wet ingredients to the dry, mix until just combined. Overmixing develops the gluten in the flour, which can make your cake tough and chewy instead of light and fluffy. Think of it like kneading bread dough, but for a cake, you want the opposite effect. I use a rubber spatula and gently fold the batter together until there are no more streaks of flour. It takes a little practice, but it's worth it. And while we're at it, don't overbake the cake either. Overbaking will dry it out, and we're all about the moisture here, right?
Start checking for doneness a few minutes before the suggested baking time. You want a toothpick inserted into the center to come out with a few moist crumbs attached, not completely clean. A completely clean toothpick means you've overbaked it. It's like walking a tightrope, but once you get the hang of it, it'll become second nature. And remember, every oven is different, so you might need to adjust the baking time accordingly. If you're unsure, it's always better to underbake it a little bit and let the residual heat finish the job. It's better to have a slightly gooey center than a dry, crumbly mess. These two rules are the most important for a moist cake. Follow them and you'll be a baking rockstar in no time.
"Baking is therapy." - Unknown
Adapting Your Simple Chocolate Cake Recipe: Variations and Serving Ideas
Adapting Your Simple Chocolate Cake Recipe: Variations and Serving Ideas
Cake Customization: Let's Get Creative
so you've mastered the basic simple chocolate cake recipe moist, now what? Don't just stop there! Baking is all about experimenting, and this cake is a perfect canvas for your creativity. Think about different flavor combinations. Want a mocha twist? Add a tablespoon or two of instant espresso powder directly to the batter. It will enhance the chocolate flavor and give it a subtle coffee kick. Or how about a hint of spice? A teaspoon of cinnamon or even a pinch of cayenne pepper can add a surprising depth. For a nutty flavor, add a half cup of chopped walnuts or pecans to the batter. You can also swap the oil with melted coconut oil for a subtle coconut flavor.
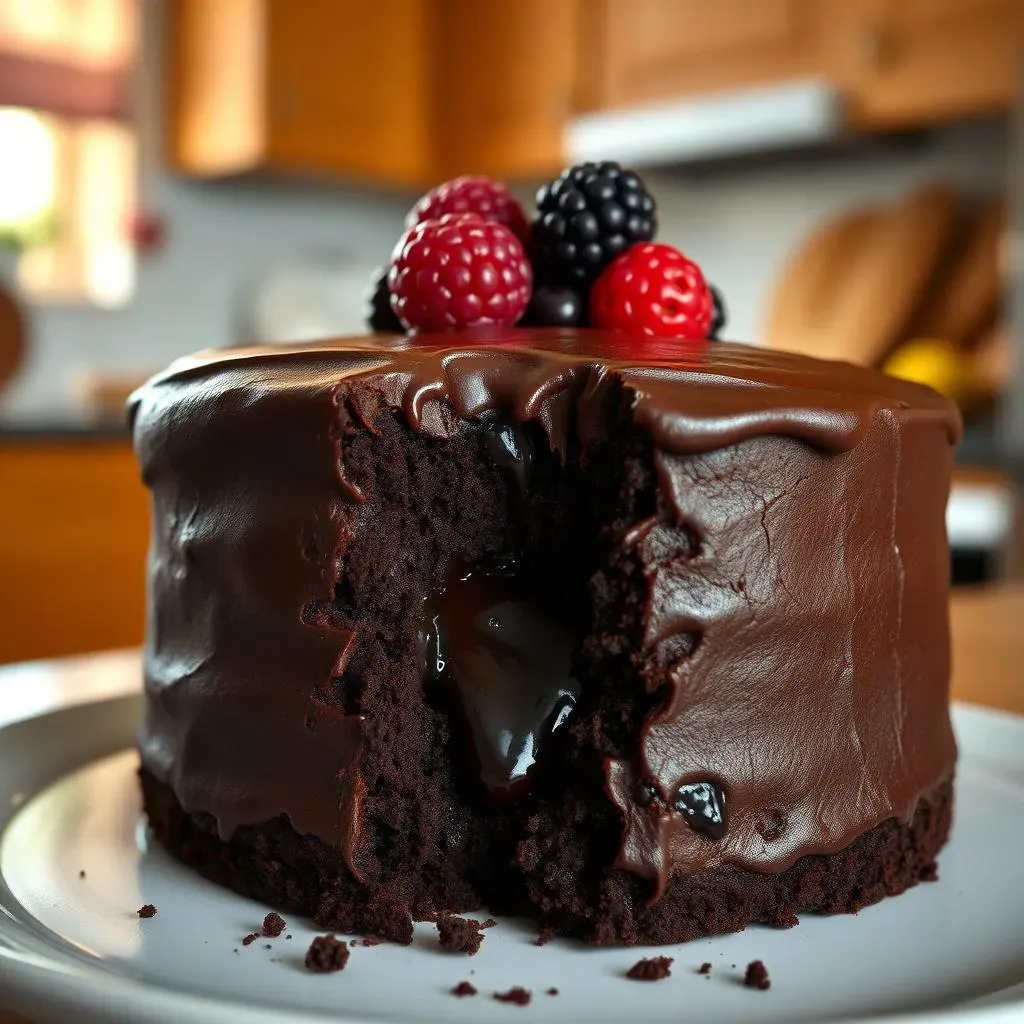
And let’s not forget about the frosting! While chocolate frosting is classic, don’t be afraid to experiment. Try a cream cheese frosting for a tangy twist, or a peanut butter frosting for a sweet and salty treat. You can also add extracts to the frosting, like vanilla, almond, or peppermint. And if you’re feeling fancy, make a ganache and pour it over the cake. It’s like a chocolate waterfall of deliciousness. The possibilities are endless, so don't be afraid to get creative and make this cake your own. It's your masterpiece, after all!
Variation | Flavor Profile |
|---|---|
Mocha | Rich chocolate with coffee notes |
Spiced | Warm with hints of cinnamon or cayenne |
Nutty | Earthy with added texture |
Coconut | Subtle tropical flavor |
Cream Cheese Frosting | Tangy and sweet |
Peanut Butter Frosting | Sweet and salty |
Serving Suggestions: Beyond the Slice
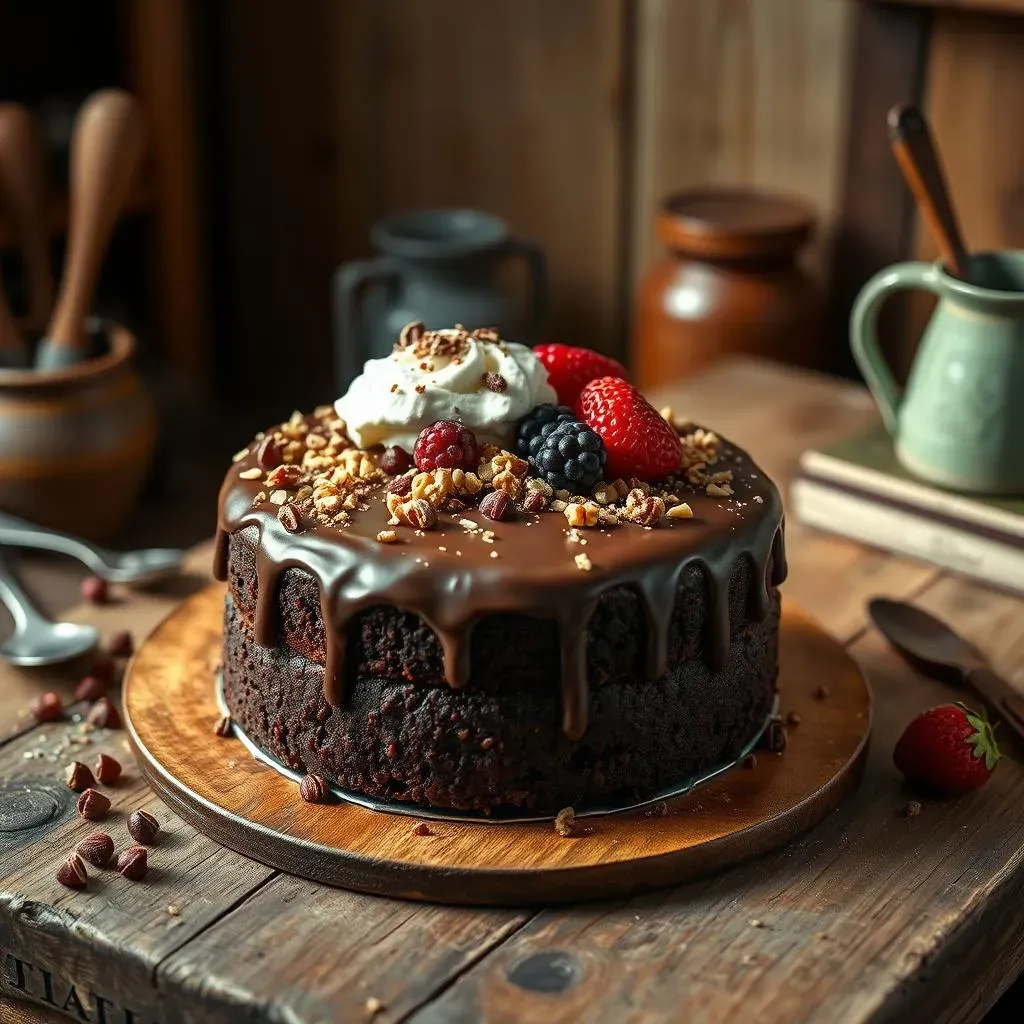
So, you've baked the most delicious, super moist chocolate cake, and now it’s time to serve it. But who says you have to stick to just slices? Get creative with your presentation! For a casual gathering, cut the cake into squares and serve them on a platter. You can dust them with powdered sugar or cocoa powder for a simple yet elegant look. Or, if you're feeling fancy, layer the cake with whipped cream and berries in a trifle dish. It's visually stunning and tastes amazing. And if you're having a party, why not make cupcakes instead? The batter works perfectly for cupcakes, and they're so much easier to serve and eat.
And don’t forget about the sides! A scoop of vanilla ice cream is a classic pairing, but you can also try a dollop of whipped cream, a drizzle of caramel sauce, or fresh fruit. Or, if you're feeling adventurous, try a scoop of salted caramel ice cream. The saltiness will complement the sweetness of the cake perfectly. You can also serve the cake with a side of fresh berries or a berry compote. They’ll add a pop of color and a burst of freshness. The most important thing is to have fun and make it your own. Baking is not just about the recipe; it's about the whole experience. And remember, a simple cake can be made into something truly special with a little creativity.
"Life is what you bake it." - Unknown
Wrapping Up Your Simple Chocolate Cake Journey
So, there you have it! Creating a supremely moist and delicious chocolate cake doesn't have to be a complicated affair. With this simple chocolate cake recipe moist, you’ve got all the tools to bake a cake that will make everyone ask for seconds. Remember the key is to follow the steps, don't be afraid to experiment, and most importantly, have fun in the kitchen. Whether you're celebrating a birthday, a special occasion, or just a regular Tuesday, this cake is sure to bring a smile to anyone's face. Now, go forth and bake some chocolate magic! And don't forget to share your delicious creations—and maybe a slice or two—with the people you love.