
Table of Contents
Ever crave a rich, chocolatey cake but dread the mess? What if I told you that you could bake a delicious, moist cake using just one bowl and measuring cups? Forget complicated recipes with fancy ingredients. This simple chocolate cake recipe in cups is a game-changer. We're talking about a cake that's not only easy to make, but also tastes incredible. This article will guide you through every step, from mixing the batter to choosing the perfect frosting. We’ll tackle how to store your cake so it stays fresh, and I'll even give you the lowdown on freezing it for later. Plus, I've gathered some awesome tips from the Allrecipes community, so you can bake like a pro. Get ready to ditch the complicated recipes and embrace the simplicity of this easy chocolate cake.
Mixing Up a Simple Chocolate Cake in Cups
Mixing Up a Simple Chocolate Cake in Cups
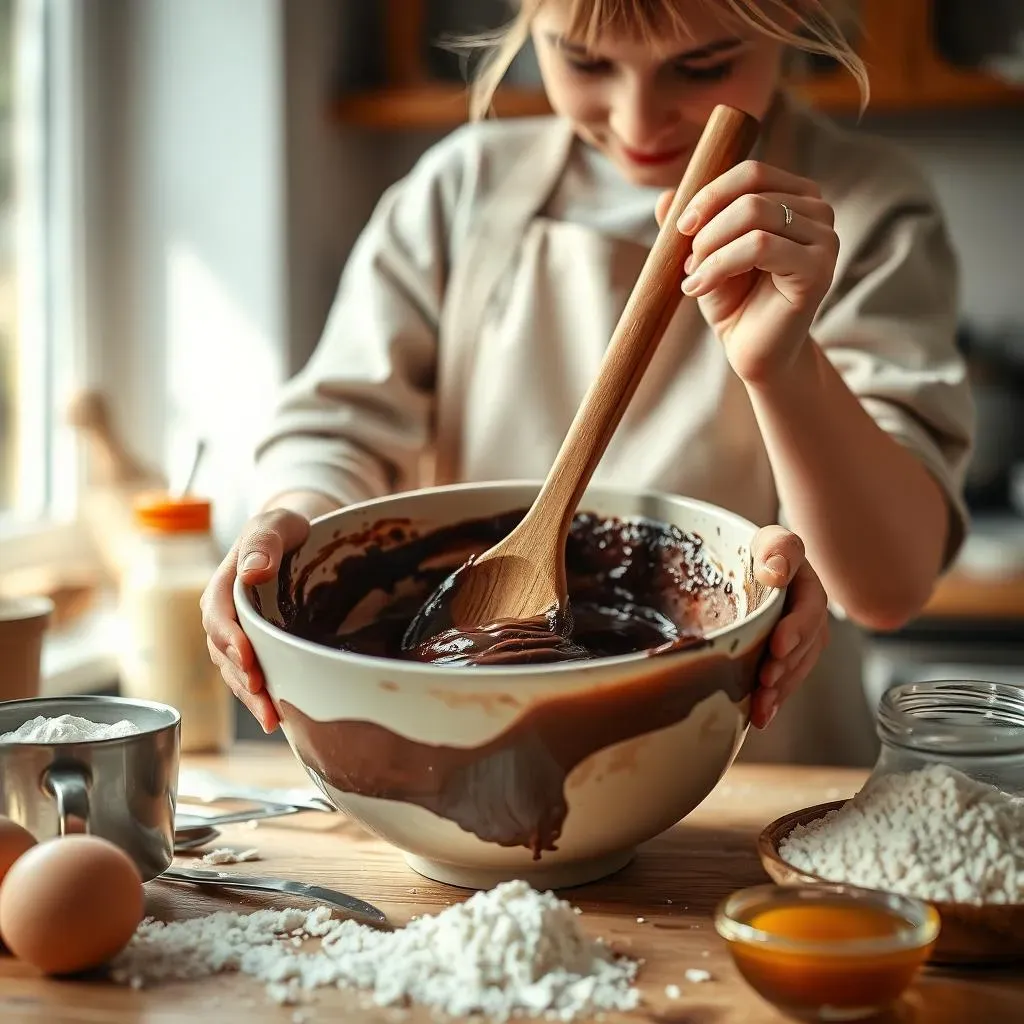
let's get down to the nitty-gritty of making this cake. First, you're going to grab your mixing bowl—yes, just one! No need to dirty a bunch of dishes here. You will then add your dry ingredients first: sugar, flour, and cocoa powder. Give them a good whisk together. This is like a little pre-party for the cake, making sure everything is evenly distributed before the wet stuff joins in. Now, for the wet team, crack in your eggs, pour in the milk, the oil, and a splash of vanilla extract. Mix it all together until it's smooth. It might look a little thick at this stage, but trust the process. The final step is the secret weapon: boiling water. Pour it in and mix. The batter will get surprisingly thin, almost like a chocolate river, don't worry, it's supposed to do that.
The Best Frosting for Your Simple Chocolate Cake
The Best Frosting for Your Simple Chocolate Cake
Classic Chocolate Creaminess
so your cake is out of the oven, smelling amazing. Now, what about frosting? For me, a classic creamy chocolate frosting is always a winner. It’s like the cake’s best friend – they just belong together. You can make it super simple by melting chocolate with butter and a touch of milk or cream. This combo creates a smooth, rich frosting that's not too sweet and lets the chocolate flavor really shine. If you want extra chocolate intensity you can add in some cocoa powder too.
Don't be afraid to experiment with different types of chocolate. Dark chocolate will give you a more intense, slightly bitter edge, while milk chocolate will bring a sweeter, more mellow flavor. Start with a small batch, taste as you go, and adjust the sweetness and chocolate to your liking.
Cream Cheese Dream
Now, if you're looking for something a bit different, cream cheese frosting is fantastic. It's got that slight tanginess that cuts through the richness of the chocolate cake, making each bite a balanced treat. The key here is to use room-temperature cream cheese and butter. This helps to make the frosting smooth and easy to spread. Add a little powdered sugar and vanilla extract, and you've got a match made in heaven.
Cream cheese frosting is also super versatile. You can add a swirl of caramel, a sprinkle of sea salt, or even some chopped nuts to give it an extra layer of flavor and texture. It's like a blank canvas that's begging for you to get creative.
Frosting Type | Flavor Profile | Best For |
|---|---|---|
Classic Chocolate | Rich, smooth, and chocolatey | Chocolate lovers, simple elegance |
Cream Cheese | Tangy, sweet, and balanced | Those who want a twist, added complexity |
Buttercream | Sweet, light, and customizable | Kids, those who like a lot of sweetness |
Buttercream Bliss
Last but definitely not least, let's talk about buttercream. It’s the workhorse of frostings, and you can make it in so many ways. It is very sweet, which some people love. You can use it as a base, and add any kind of flavor you want. From vanilla to lemon, or even a hint of coffee. The texture is light and airy, and it can be piped into cool designs. Buttercream is great if you want a super sweet frosting, and want to add a bit of your own flair.
Buttercream is also great if you want to add some colors to your frosting. You can use natural food coloring to get the desired result, or you can keep it classic and white. The choice is yours.
Storing and Freezing Your Simple Chocolate Cake

Storing and Freezing Your Simple Chocolate Cake
Keeping it Fresh
Alright, so you’ve baked this beautiful cake, and now you're wondering how to keep it from going stale, right? If you’re planning to eat it within a few days, you can totally leave it at room temperature. I usually just cover it with a cake dome or some plastic wrap to keep it nice and moist. If you have a cream cheese frosting though, you'll want to move it to the fridge within two hours. Cream cheese can get a little iffy if it's left out for too long, so it is better safe than sorry.
A cake stored at room temperature is best enjoyed within about five days. After that, the texture might start to change. It is better to eat it sooner rather than later. Remember though, if you cut the cake, make sure to cover the cut parts as much as possible, this will avoid the cake to dry out from the cut side.
Freezing for Later
Now, what if you want to save some of this deliciousness for a rainy day? Freezing is your best friend. The trick to freezing a cake is to do it right. For best results, let the cake layers cool completely, and then wrap each layer individually in plastic wrap. Make sure to wrap it tightly to keep out the air, then you can put the wrapped layers into a freezer bag. This stops it from getting that weird freezer burn and keeps it tasting fresh when you are ready to eat it.
When you're ready to indulge, take the frozen cake out and let it thaw in the fridge overnight. Then, frost it as usual. You can freeze the cake unfrosted for up to three months, so you can have cake whenever the mood strikes. I like to do this when I know I have a party coming up, it saves me from baking everything at the last minute. I always bake the cake a few days before, and freeze it, then defrost a day before and frost it.
Storage Method | Time Frame | Best Use |
|---|---|---|
Room Temperature | Up to 5 days | Short-term, with simple frosting |
Refrigerator | Up to 7 days | Cream cheese frosting, longer storage |
Freezer | Up to 3 months | Long-term storage, make-ahead |
Allrecipes Community's Tips for this Simple Chocolate Cake Recipe

Allrecipes Community's Tips for this Simple Chocolate Cake Recipe
Making it Your Own
So, you've got the basic recipe down, but what do the real experts—the home bakers of the Allrecipes community—have to say? They've got some seriously awesome tips to take your cake to the next level. One thing that keeps popping up is the idea of experimenting with different oils. While vegetable oil works great, some folks swear by using melted coconut oil for a richer flavor or even olive oil for a slightly fruity note. It's all about playing around to see what you like best. They also recommend using high-quality cocoa powder for the deepest chocolate flavor. This is not the time to cheap out, a good cocoa makes a big difference.
Also, many people in the community have found that adding a tablespoon of instant coffee or espresso powder really enhances the chocolate flavor. It's like a secret weapon to make your cake taste like it came from a fancy bakery. Don't worry, you won't taste the coffee, it just brings out the chocolate. Another great tip is to let the batter rest for about 10 minutes after mixing, this helps the flour to fully absorb the liquid, making the cake even more moist. These small changes can make a huge difference.
Baking Like a Pro
The Allrecipes community is full of fantastic bakers who have shared some amazing baking tips. For instance, one user mentioned that using cake flour instead of all-purpose flour makes the cake even softer and more tender. If you don't have cake flour, you can make your own by removing two tablespoons of all-purpose flour and replacing it with two tablespoons of cornstarch. It is like a little hack for a better cake. Another tip is to use parchment paper at the bottom of your cake pan. This will avoid the cake from sticking to the pan, and making it much easier to take out after baking. No more broken cakes!
Another very important tip is to not overbake the cake. Overbaking will make the cake dry and crumbly, so it is better to take it out when a toothpick comes out with a few moist crumbs. The cake will continue to cook as it cools down. Also, make sure to let the cake cool completely before frosting. If you try to frost a warm cake, the frosting will melt and slide right off. Patience is key for a perfect cake. It is good to listen to the community.
Troubleshooting and Tweaks
Even the most experienced bakers run into problems sometimes, and the Allrecipes community has seen it all. If your cake comes out too dry, try adding a bit more oil next time, or make sure you aren't overbaking. If you find your cake is sticking to the pan, make sure you grease and flour the pan properly. You can also use baking spray instead of butter or oil. If your batter is too thick, you might have added too much flour, so make sure to measure your ingredients precisely. Baking is a science, and getting the ratios right is very important.
Many users have also shared their favorite frosting variations. Some add a pinch of salt to their chocolate frosting to enhance the flavor, while others prefer to use a mix of dark and milk chocolate for a more complex taste. Others have added different extracts, like almond or peppermint, to their buttercream frosting. The possibilities are endless. The community is all about sharing, so feel free to try out the tips from others, and add your own twist to the cake.
Common Issue | Community Solution |
|---|---|
Dry Cake | Add more oil, don't overbake |
Sticking to Pan | Grease and flour well, use parchment |
Too Dense | Measure ingredients carefully, don't overmix |
Wrapping Up Your Simple Chocolate Cake Journey
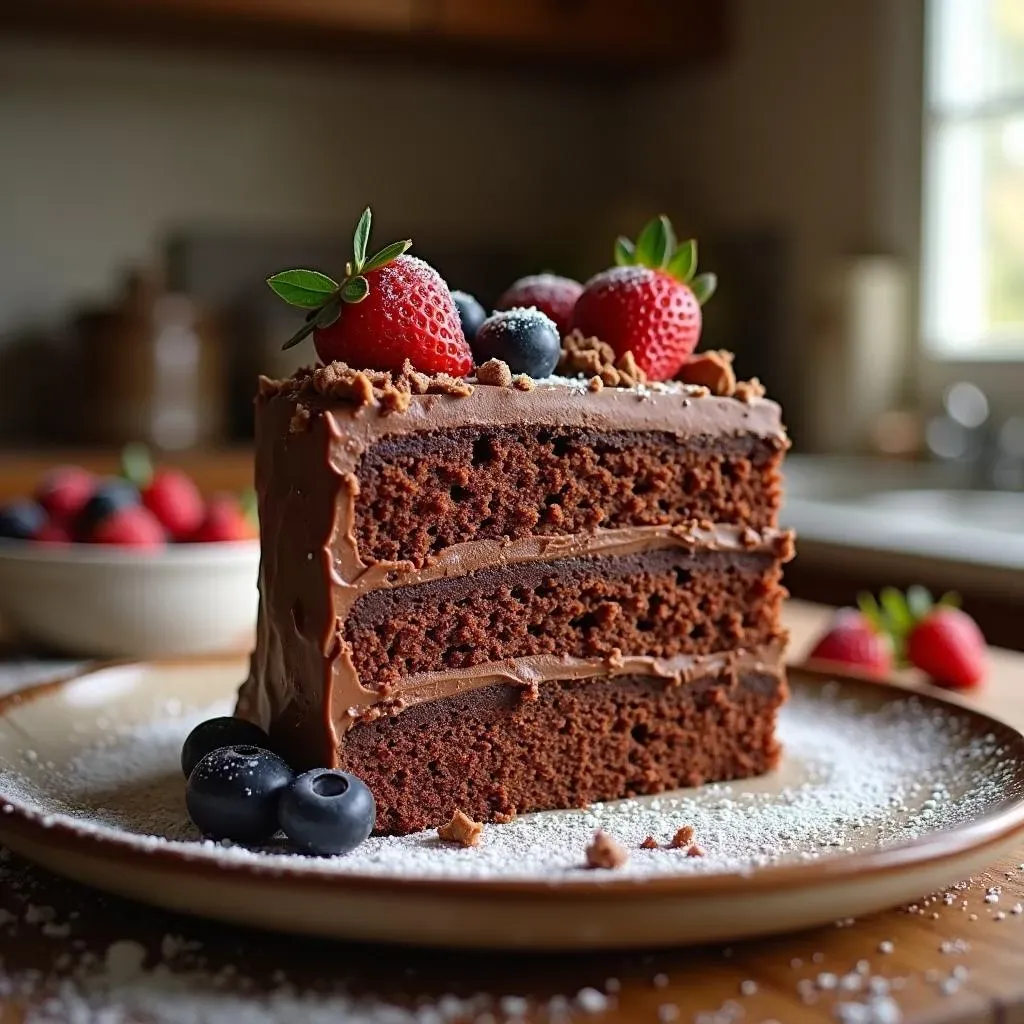
So, there you have it—a simple chocolate cake recipe in cups that’s both easy and delicious. From mixing the batter in one bowl to choosing the perfect frosting, this guide has given you all the secrets you need to create a crowd-pleasing cake. Whether it's for a birthday, a casual get-together, or just a treat for yourself, this recipe is sure to become your go-to. Remember, baking should be fun and not a chore, so embrace the simplicity and enjoy the process. Now go ahead and bake yourself a slice of happiness!