Table of Contents
Craving a slice of rich, decadent chocolate cake, but dread the thought of a kitchen disaster? Well, get ready to ditch the mess and embrace the simplicity of a one-bowl wonder! This isn't your grandma's fussy recipe; this is a straightforward, no-nonsense approach to a truly delicious chocolate cake. I'm talking about a simple chocolate cake recipe at home that even a complete beginner can nail on their first try. Forget about mountains of dirty dishes and complicated steps. We're going to whip up a moist, fluffy cake with minimal effort, and maximum flavor. We will explore how to make this magic happen in just one bowl. Next, we'll dive into some irresistible frosting ideas to take your cake to the next level. Finally, we'll cover the best ways to store and even freeze your creation, so you can enjoy it whenever the mood strikes. So, grab your apron, and let's get baking!
How to Make a Simple Chocolate Cake at Home in One Bowl

How to Make a Simple Chocolate Cake at Home in One Bowl
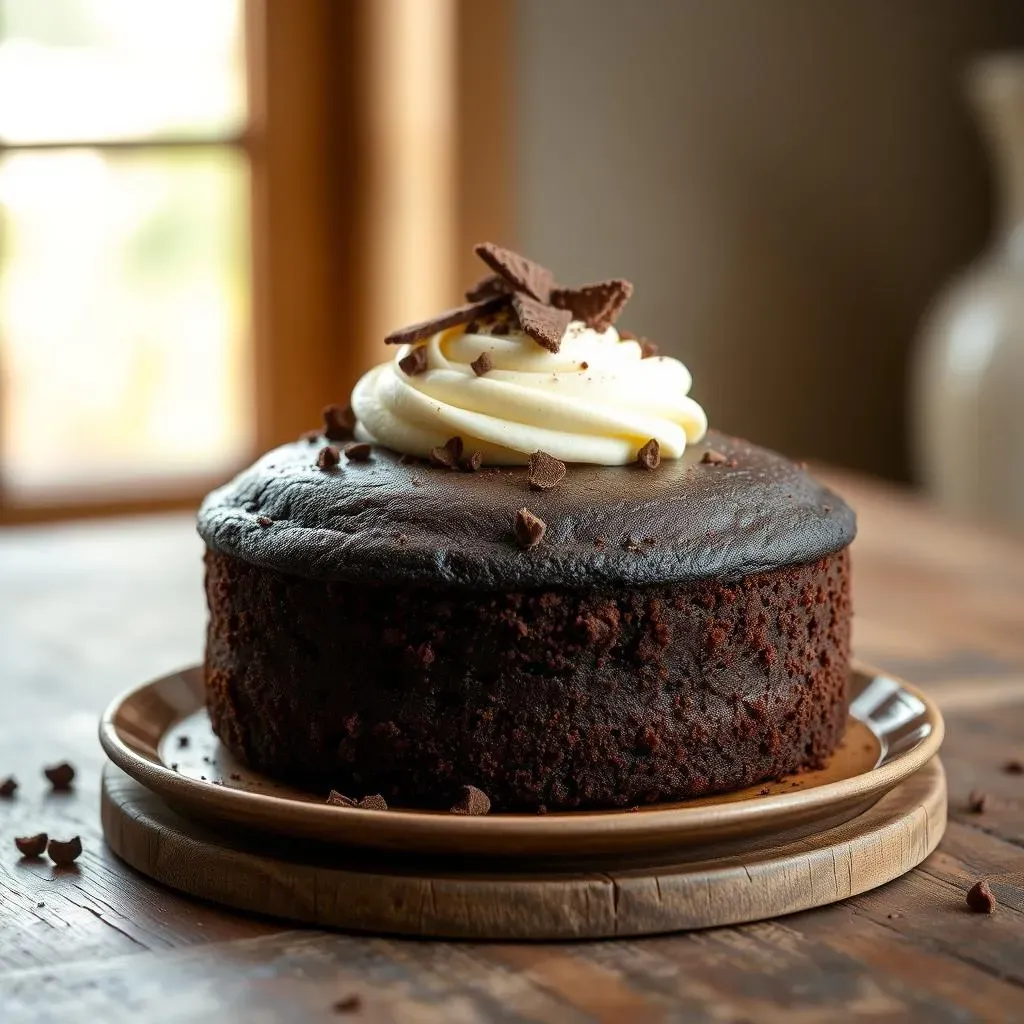
Alright, let's get down to the nitty-gritty of this one-bowl chocolate cake. First, grab your biggest bowl, the one you usually use for popcorn on movie night. Toss in 2 cups of sugar, 1 ¾ cups of flour, and ¾ cup of cocoa powder. Don't forget 1 ½ teaspoons of baking powder, 1 ½ teaspoons of baking soda, and a teaspoon of salt. Now whisk all that dry stuff together, make sure it's all nice and mixed. Next, crack in 2 eggs, and add 1 cup of milk, ½ cup of oil, and 2 teaspoons of vanilla extract. Mix it all together until it's just combined, no need to overmix. Finally, and this is the secret ingredient, pour in 1 cup of boiling water. Yes, boiling! Don't worry, it won't cook the eggs. The batter will be thin, almost like soup, but trust me, it's supposed to be like that. Now, pour that lovely batter into a greased and floured 9x13 inch pan, and pop it into a 350 degree oven for about 30 minutes, or until a toothpick inserted into the center comes out clean. Then, let it cool completely before frosting.
Ingredient | Quantity |
|---|---|
Sugar | 2 cups |
Flour | 1 ¾ cups |
Cocoa Powder | ¾ cup |
Baking Powder | 1 ½ teaspoons |
Baking Soda | 1 ½ teaspoons |
Salt | 1 teaspoon |
Eggs | 2 |
Milk | 1 cup |
Oil | ½ cup |
Vanilla Extract | 2 teaspoons |
Boiling Water | 1 cup |
Best Frosting Ideas for Your Homemade Chocolate Cake
Best Frosting Ideas for Your Homemade Chocolate Cake
Classic Chocolate Buttercream
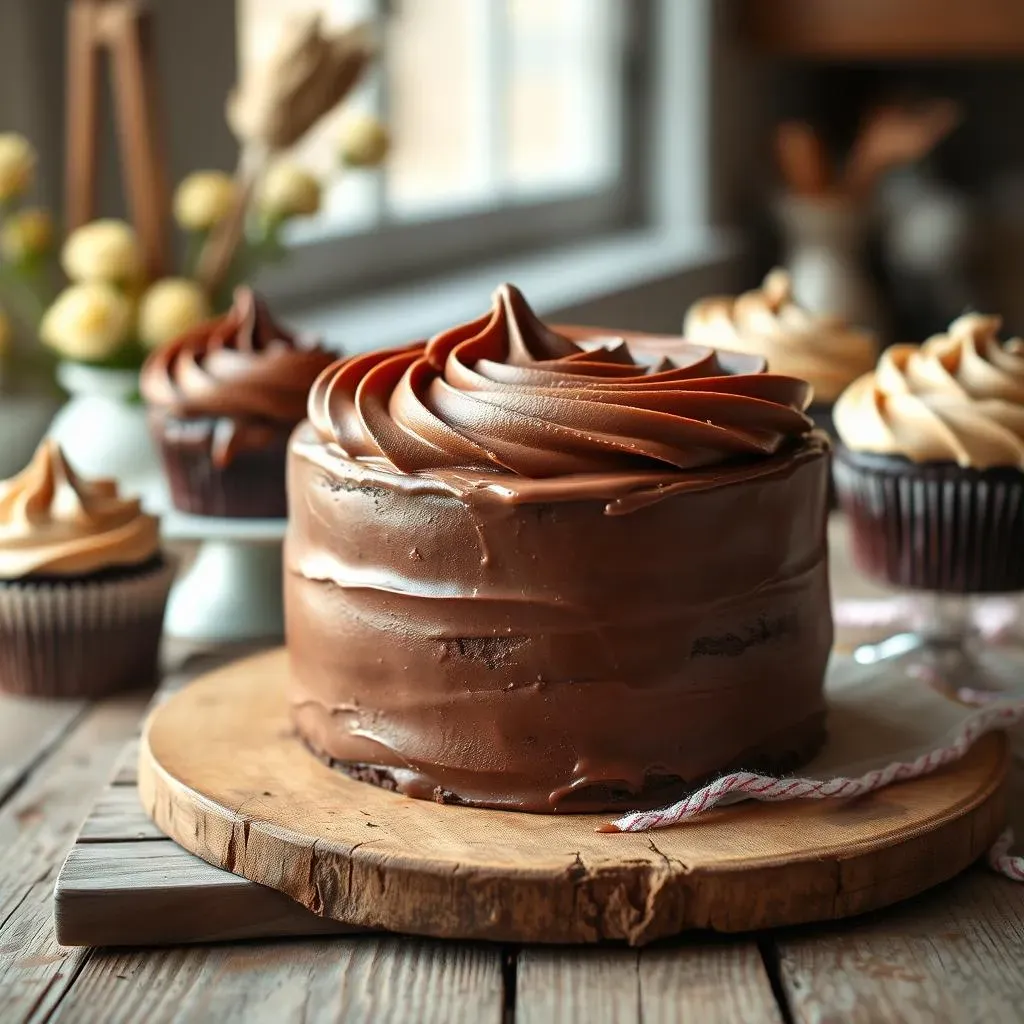
let's talk frosting, because what's a cake without it? First up, the MVP, the classic chocolate buttercream. It's rich, it's decadent, and it’s super easy to whip up. You just beat together softened butter, powdered sugar, cocoa powder, a splash of milk, and some vanilla extract until it’s smooth and fluffy. Seriously, it’s that simple. It’s the perfect complement to the moist chocolate cake we just baked, creating that double-chocolate heaven.
I remember the first time I made this, I was so proud of myself. I had this vision of a perfect cake, and the buttercream was the final piece. It was like art, but edible. And the best part? It tastes even better than it looks. This is my go-to for a reason; it’s reliable, delicious, and always a crowd-pleaser.
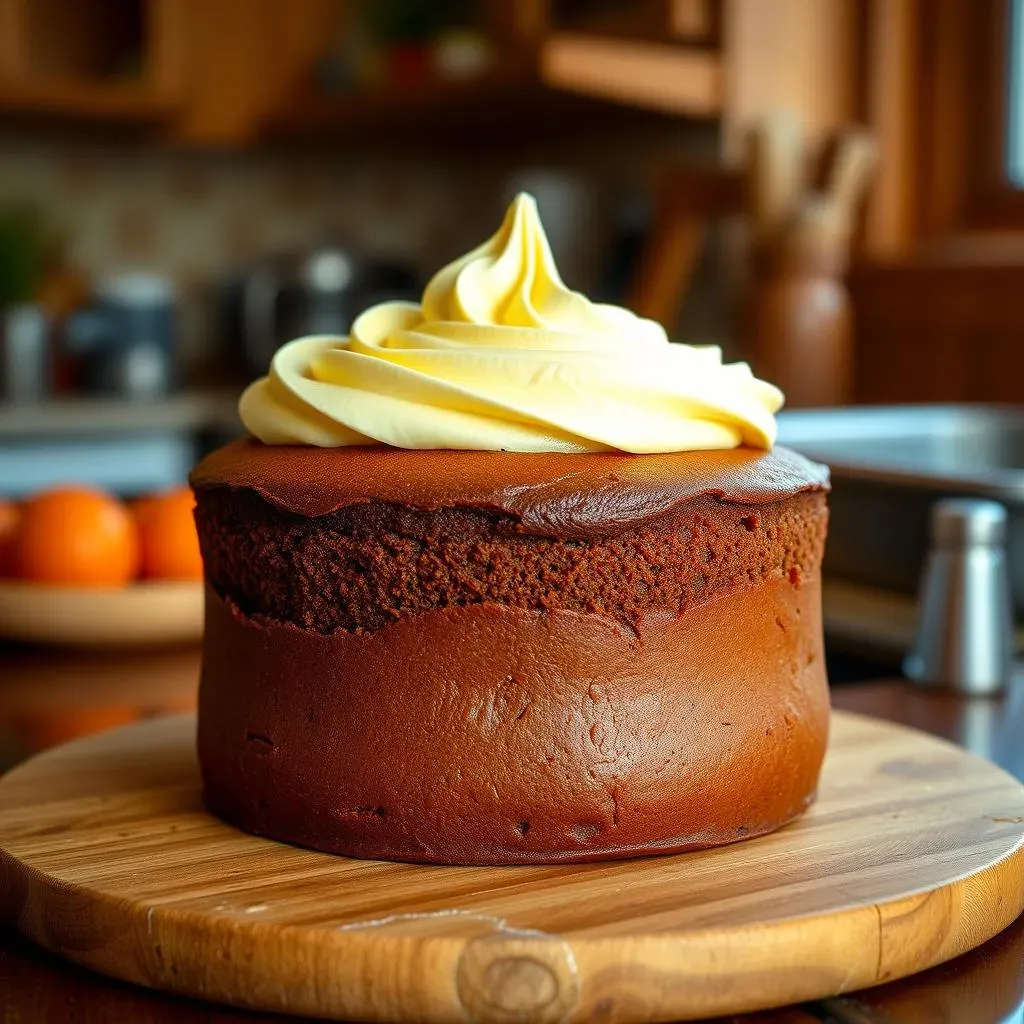
Cream Cheese Frosting
Now, if you’re looking for something a little tangy to cut through the richness of the cake, cream cheese frosting is your jam. It's got this delightful sweet and slightly sour flavor that pairs so well with chocolate. To make it, you’ll need softened cream cheese, softened butter, powdered sugar, and a touch of vanilla extract. Mix it all together until it’s smooth and creamy. Be careful not to over mix, or it will become runny. This frosting gives the cake a more sophisticated flavor and texture. It's like the cool, slightly rebellious cousin of the buttercream; it knows how to bring the party but with its own distinct style.
Frosting Type | Flavor Profile | Texture |
|---|---|---|
Chocolate Buttercream | Rich, Sweet, Chocolatey | Smooth, Fluffy |
Cream Cheese Frosting | Tangy, Sweet, Slightly Sour | Creamy, Smooth |
Easy Peanut Butter Frosting
For all my peanut butter lovers out there, this one's for you. Peanut butter frosting is a game-changer, it is a match made in heaven with chocolate cake. You’ll combine softened butter, peanut butter, powdered sugar, milk, and a dash of vanilla. Mix until smooth and creamy. It’s super easy and the taste is out of this world. If you’re feeling adventurous, you can even add a sprinkle of sea salt on top, just a tiny amount will elevate the flavor to a new level. It's like a grown-up version of a peanut butter cup, but on top of a cake. Trust me, once you try it, you’ll be hooked.
I once took this cake to a potluck, and it was gone in minutes. People were literally asking for the recipe. It was quite flattering, to be honest. It just goes to show that sometimes, the simplest ideas are the best.
Storing and Freezing Your Simple Chocolate Cake
Storing and Freezing Your Simple Chocolate Cake
Keeping it Fresh: Room Temperature or Fridge?
so you've baked this amazing chocolate cake, and now you're wondering how to keep it from going stale. If you've used a buttercream frosting, you're in luck! A cake with buttercream can sit pretty at room temperature for up to five days, no problem. Just make sure it's in an airtight container or covered with plastic wrap to keep it moist. I often leave mine on the kitchen counter, tempting me every time I walk by. But, if you’ve gone with a cream cheese frosting, things are a bit different. That creamy goodness needs to chill out in the fridge to stay safe and delicious. Pop that cake in an airtight container and it’ll be good for about three to four days. Remember, the fridge can dry out your cake a bit, so make sure it's well-covered. I learned this the hard way once, resulting in a slightly dry cake. Not my proudest moment, but a valuable lesson!
Think of it like this: buttercream is the easygoing friend who can handle a bit of room temperature, while cream cheese is the friend who needs to be kept cool and collected. It's all about knowing their personalities. One time, I left a cream cheese frosted cake out overnight and it turned into a soggy mess, it was not pretty. So, trust me, keep that cream cheese chilled.
Freezing for Later: Cake on Demand
Now, what if you want to enjoy your cake later? Maybe you baked it for a party that got canceled (it happens!) or you just want to have a slice ready whenever a chocolate craving hits. Freezing is your best friend here. The key is to freeze the cake properly to maintain its texture and flavor. If the cake is already frosted, pop it in the freezer for about an hour to let the frosting firm up. This will prevent the frosting from sticking to the plastic wrap or container. Then, wrap it tightly in plastic wrap, followed by a layer of aluminum foil, or place it in an airtight container. If you haven't frosted it yet, you can freeze the cake layers individually, then frost them after thawing. This is a great tip if you want to make a cake ahead of time for a gathering.
To thaw the cake, simply move it from the freezer to the fridge overnight. This slow thawing process helps maintain its moisture. I often do this when I know I have a busy day ahead but still want a treat ready. It's like having a magic cake, always there when you need it. Frozen cake can last up to three months in the freezer, so you can definitely enjoy a slice of summer cake even in the middle of winter. Just remember to label it with the date you froze it, otherwise you might end up with a surprise cake from an unknown time!
Storage Method | Frosting Type | Shelf Life |
|---|---|---|
Room Temperature | Buttercream | Up to 5 days |
Refrigerator | Cream Cheese | 3-4 days |
Freezer | Any | Up to 3 months |
Wrapping Up Your Simple Chocolate Cake Adventure
There you have it, a ridiculously easy and incredibly tasty chocolate cake made right in your own kitchen, with minimal fuss. From the simplicity of the one-bowl method to the joy of that first bite, baking should be fun, not a chore. Whether you went with a classic chocolate frosting or something a little more adventurous, I hope you enjoyed the process and the results. Remember, this simple chocolate cake recipe at home is your blank canvas; feel free to get creative with flavors, frostings, and decorations. And if you happen to have leftovers, you now know how to keep them fresh or freeze them for later. Happy baking, and even happier eating!