Table of Contents
Ever dreamt of a chocolate cake that's both incredibly moist and ridiculously easy to make? You know, the kind that makes you close your eyes with every bite? Well, stop dreaming and start baking! This isn't your average dry, crumbly cake. We're talking about a simple chocolate butter cake recipe that's going to become your new go-to for birthdays, celebrations, or just a regular Tuesday. This recipe is all about rich flavors and a texture that's just right – not too dense, not too light, but perfectly moist. We'll walk through the key steps, from gathering your ingredients to mastering the mixing technique. Plus, we'll tackle common baking questions, giving you the confidence to bake like a pro, even if you're just starting out. Get ready to bake a cake that's as fun to make as it is to eat. We’ve got you covered from mixing to baking to serving, making this simple chocolate butter cake recipe a breeze. Let’s get started!
Ingredients and the Magic of Mixing

Ingredients and the Magic of Mixing
The Foundation: What You'll Need
let's talk ingredients for this simple chocolate butter cake recipe. We're not diving into anything too fancy here, just the essentials that make this cake so good. Think of it like building blocks for flavor and texture. We've got the usual suspects: flour, sugar, eggs, and of course, chocolate. But, a couple of things make this recipe special. We're using both butter and oil, which is like a secret weapon for a moist crumb. And brown sugar joins the party, giving a deep, caramel-like flavor that white sugar just can't match. It's all about creating layers of flavor and moisture, and the right ingredients are key.
And don't forget the liquid! We're using coffee to enhance the chocolate, it's like a secret handshake between flavors. But if you're not a coffee fan or don't have any on hand, hot water works great too. The warmth of the liquid helps to bloom the cocoa powder, which intensifies the chocolatey goodness. So, before we get to the mixing part, make sure you have all of these ingredients ready to go. It's like prepping your tools before a big project, having everything in place makes the whole process so much smoother.
The Power of Combining: Mixing Methods
Now, let's talk about how we're going to bring all these ingredients together. It's not just about dumping everything into a bowl and hoping for the best. The way you mix your ingredients can make a big difference in the final texture of your cake. We're going to start by creaming together the butter and sugars. This is where you're basically whipping air into the fats, which creates a light and fluffy base. It takes a few minutes but trust me, it's worth it. It's like creating the perfect foundation for a building, it needs to be solid and stable.
After that, we'll add the eggs one at a time, making sure each one is fully incorporated. Then, we'll start alternating between the dry ingredients and the wet ingredients. This is important because it prevents the gluten in the flour from overdeveloping, which can lead to a tough cake. We want a tender crumb, not a chewy one. This alternating method is like a delicate dance, ensuring everything comes together in perfect harmony. It's all about patience and technique, not just speed.
Ingredient Checklist and Mixing Tips
Ingredient | Why It Matters |
|---|---|
Butter & Oil | Adds moisture and richness |
Brown Sugar | Deeper flavor and moisture |
Coffee/Hot Water | Enhances chocolate flavor |
- Cream butter and sugars until light and fluffy.
- Add eggs one at a time, mixing well after each.
- Alternate dry and wet ingredients to avoid overmixing.
"The secret to a great cake is in the details. It's not just about the recipe, but also about the technique and the love you put into it." - Unknown Baker
Baking Tips and FAQs for the Best Simple Chocolate Butter Cake
Baking Tips and FAQs for the Best Simple Chocolate Butter Cake
Baking Like a Pro: Tips for Success
so you've got the batter ready, that's fantastic! But, before you just chuck it in the oven, let's talk about a few things that can make your cake go from good to absolutely amazing. First, oven temperature is key. Make sure your oven is preheated to the correct temperature, that way you're not starting with a cold oven. The cake needs that initial burst of heat to rise properly. Also, don't open the oven door too much while it's baking. It's like letting the air out of a balloon, the cake might sink in the middle. It's tough to resist peeking, I get it, but patience is a virtue when it comes to baking. And finally, don't overbake it. A toothpick inserted into the center should come out with a few moist crumbs, not completely clean. We're not aiming for a dry cake!
Another thing to consider is pan preparation. I always grease and flour my pans, or sometimes I use parchment paper. This little trick is a lifesaver when it comes to getting the cake out of the pan without it sticking. It’s heartbreaking to see a beautiful cake ruined by sticking to the pan. And remember, baking times can vary depending on your oven, so keep an eye on it. It's all about knowing your oven and adjusting as needed. Don't be afraid to experiment, baking is as much about science as it is about art. A little tweak here and there can make all the difference.
Frequently Asked Questions
Now, let's get to some of the questions you might have. What if you don't have all the ingredients? For example, if you don’t have buttermilk, you can make a quick substitute by adding a tablespoon of lemon juice or vinegar to a cup of milk. Let it sit for a few minutes, and you’ve got a buttermilk substitute. Another common question is about adjusting the baking time if you're using a different pan size. If you're using a smaller pan, the cake will be thicker and will need a bit more baking time. If you are using cupcake liners, then you need to adjust baking time. Keep an eye on your cake, and use the toothpick test to check for doneness, this is your best friend.
And what about storing leftovers? Well, you can keep the cake at room temperature for a couple of days, as long as you store it in an airtight container. If you want to keep it longer, you can freeze it! Wrap it tightly in plastic wrap and then foil, and it'll keep for a month. When you're ready to eat it, just let it thaw at room temperature. It's like having a delicious secret stash of cake. Remember, baking is all about learning and experimenting, so don't be afraid to try new things and tweak the recipe to your liking. You've got this!
Quick Tips Table
Tip | Why It's Important |
|---|---|
Preheat Oven | Ensures even baking |
Don't Overbake | Keeps cake moist |
Grease & Flour Pan | Prevents sticking |
Common Questions and Answers
- No Buttermilk? Use lemon juice or vinegar in milk.
- Different Pan? Adjust baking time accordingly.
- Storing? Room temp for 2 days, freeze for a month.
"Baking is a science, but it's also an act of love. Don't be afraid to make mistakes, that's how you learn." - Famous Baker
Simple Chocolate Butter Cake Recipe: StepbyStep
Simple Chocolate Butter Cake Recipe: StepbyStep
Getting Started: The Batter
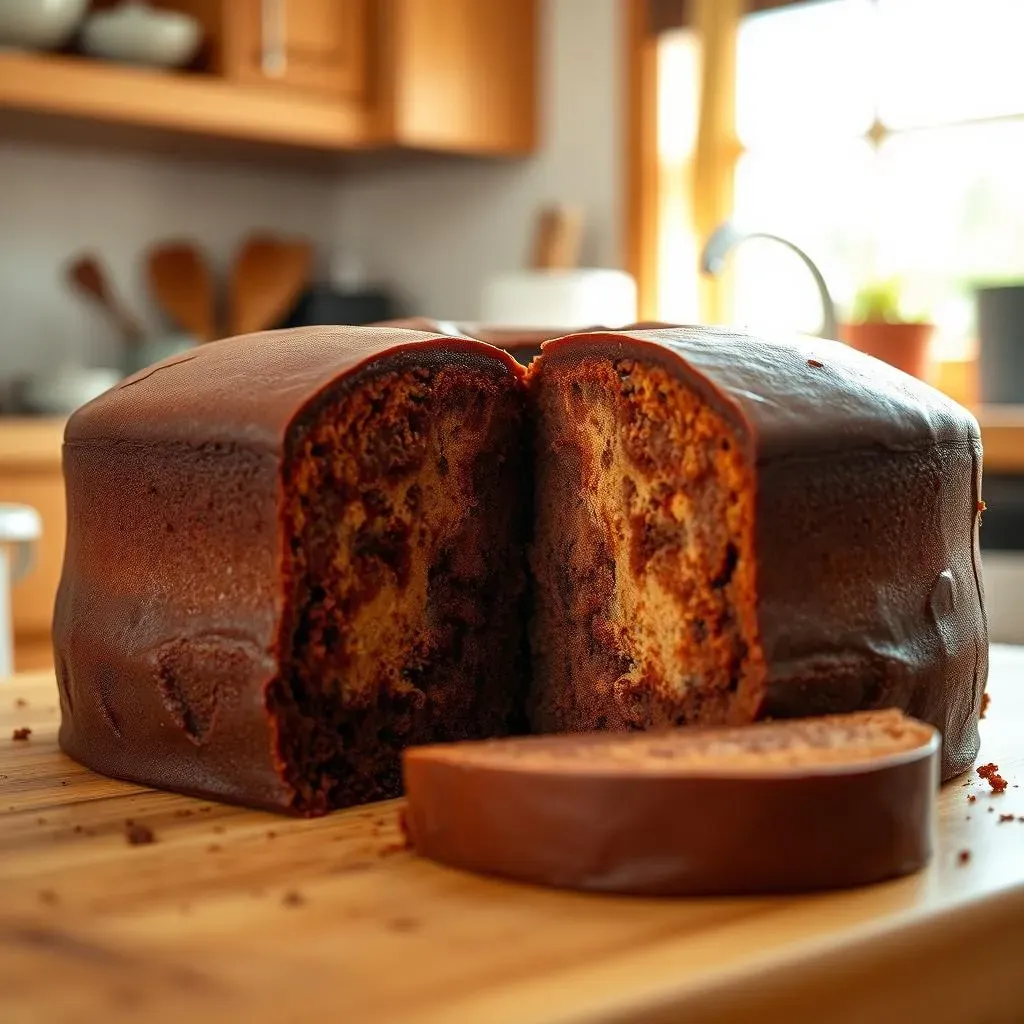
Alright, let's get to the fun part – actually making the cake! First things first, grab your mixing bowl. We're going to start by creaming together that softened butter and both sugars (granulated and brown) until it’s light and fluffy. This step is crucial; it's where we build the foundation for that perfect texture. It takes a few minutes, but it's worth the effort. Think of it like giving the cake a good massage, getting it all relaxed and ready to bake. Don't rush this part; it's key to a light and airy cake. Once it's nice and creamy, add the eggs one at a time, making sure each one is fully incorporated before adding the next. We don't want any eggy streaks in our batter! It’s like making sure each guest is welcomed before the party really gets going.
Next, in a separate bowl, whisk together all the dry ingredients: flour, cocoa powder, baking soda, and salt. This ensures everything is evenly distributed. It's like making sure all the members of the band are ready to play the same tune. Now, we'll start adding the dry ingredients to the wet ingredients, alternating with the coffee or hot water. Start and end with the dry ingredients. It’s like a delicate dance, adding a bit of dry, then a bit of wet, making sure everything comes together smoothly. Mix until just combined, don't overmix! Overmixing develops the gluten in the flour, which can make the cake tough. So, be gentle and patient; it's all about finesse.
Baking and Cooling
Now that the batter is ready, it's time to get it into the pan. Make sure your cake pan is greased and floured, or lined with parchment paper. This will make it easier to remove the cake once it's baked. Pour the batter into your prepared pan and spread it evenly. It's like tucking the cake into bed, making sure it's nice and cozy. Then, into the preheated oven it goes! Bake for the specified time, or until a toothpick inserted into the center comes out with a few moist crumbs. Remember, every oven is different, so keep an eye on it. It’s like watching a pot of water boil; you have to pay attention to when it’s ready.
Once baked, take the cake out of the oven and let it cool in the pan for about 10 minutes before inverting it onto a wire rack to cool completely. This prevents the cake from breaking. It’s like giving it a little rest after a workout, allowing it to recover before the big reveal. Cooling it completely before frosting is essential, otherwise, your frosting will melt and slide right off. And nobody wants a messy, melty cake. So, be patient, let it cool, and get ready to frost it up!
Step-by-Step Summary
- Cream butter and sugars until light and fluffy.
- Add eggs one at a time, mixing well after each.
- Whisk dry ingredients separately.
- Alternate dry and wet ingredients, starting and ending with dry.
- Pour into prepared pan and bake.
- Cool in the pan before inverting onto a wire rack.
"A recipe is a story that ends with a taste." - Pat Conroy
Serving, Storage, and Reader Reviews
Serving, Storage, and Reader Reviews
The Grand Finale: Serving Suggestions
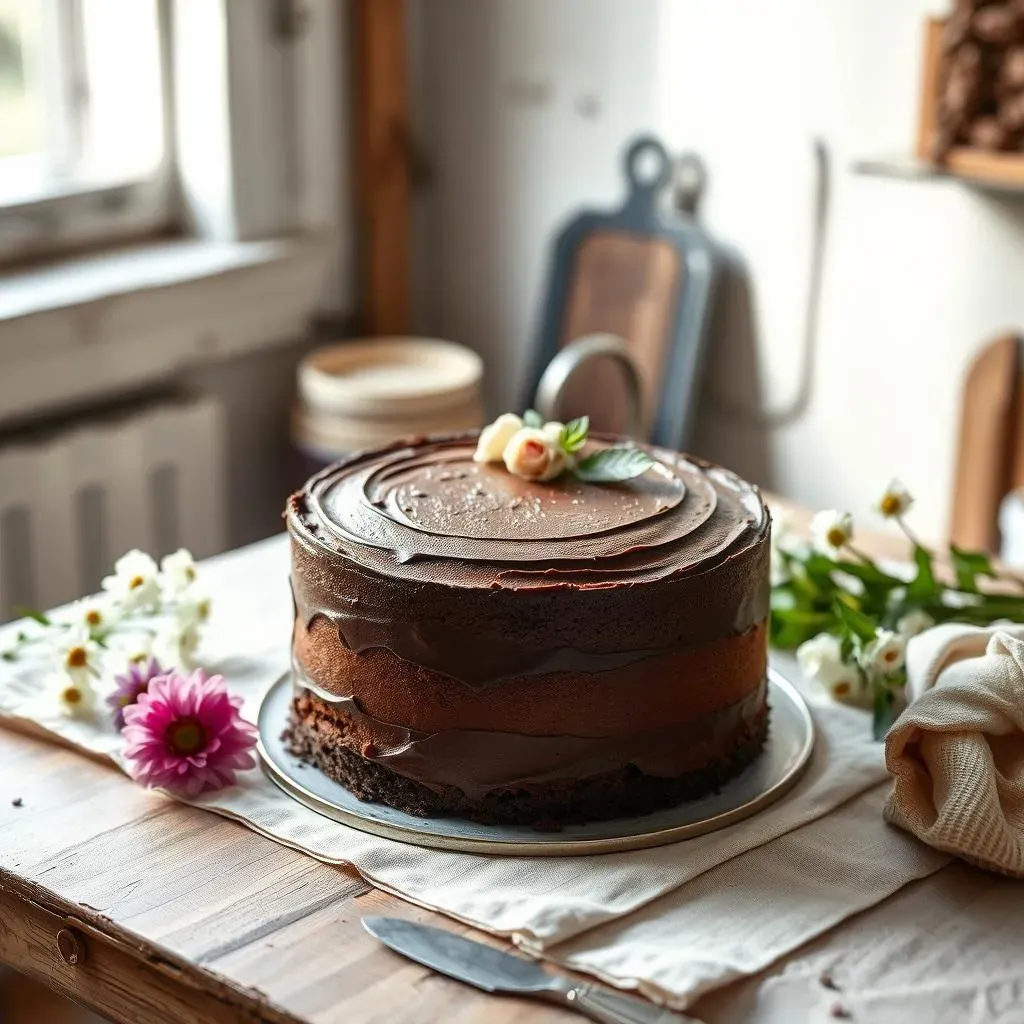
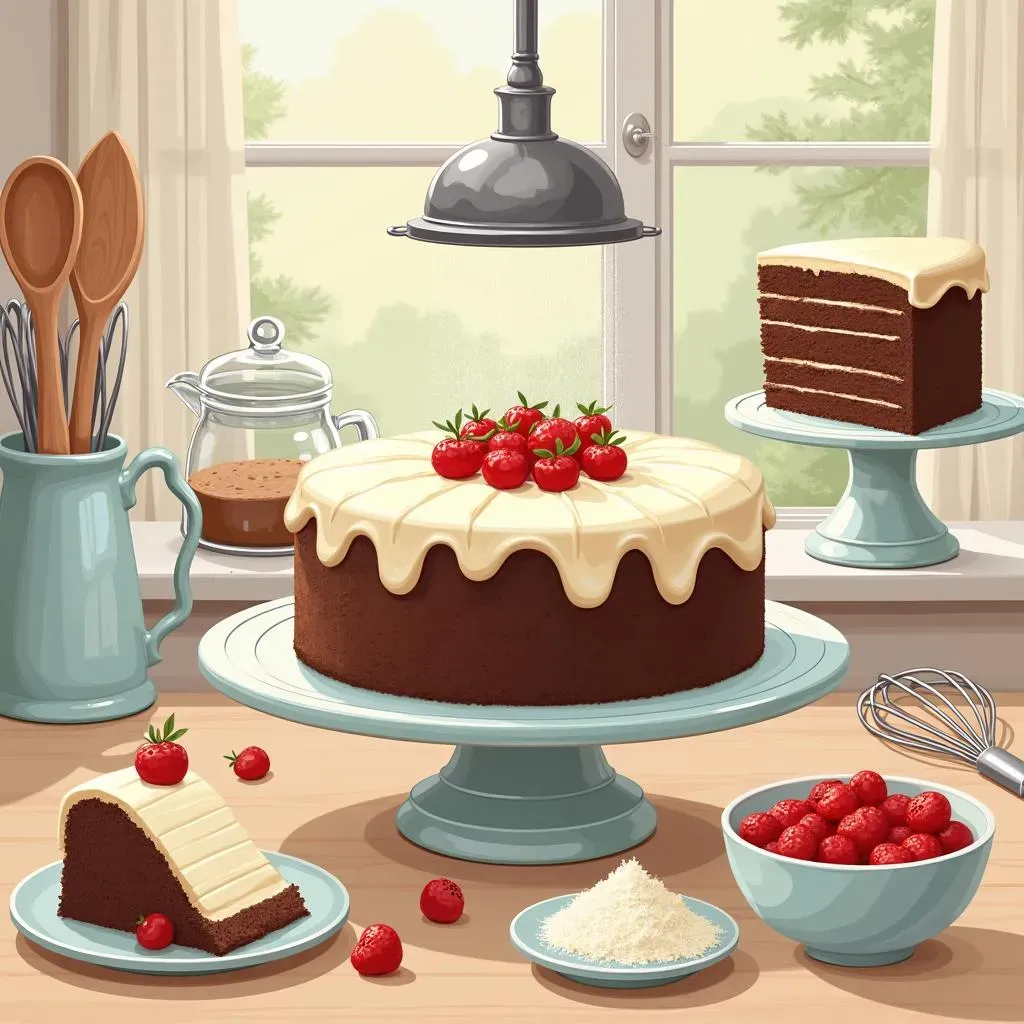
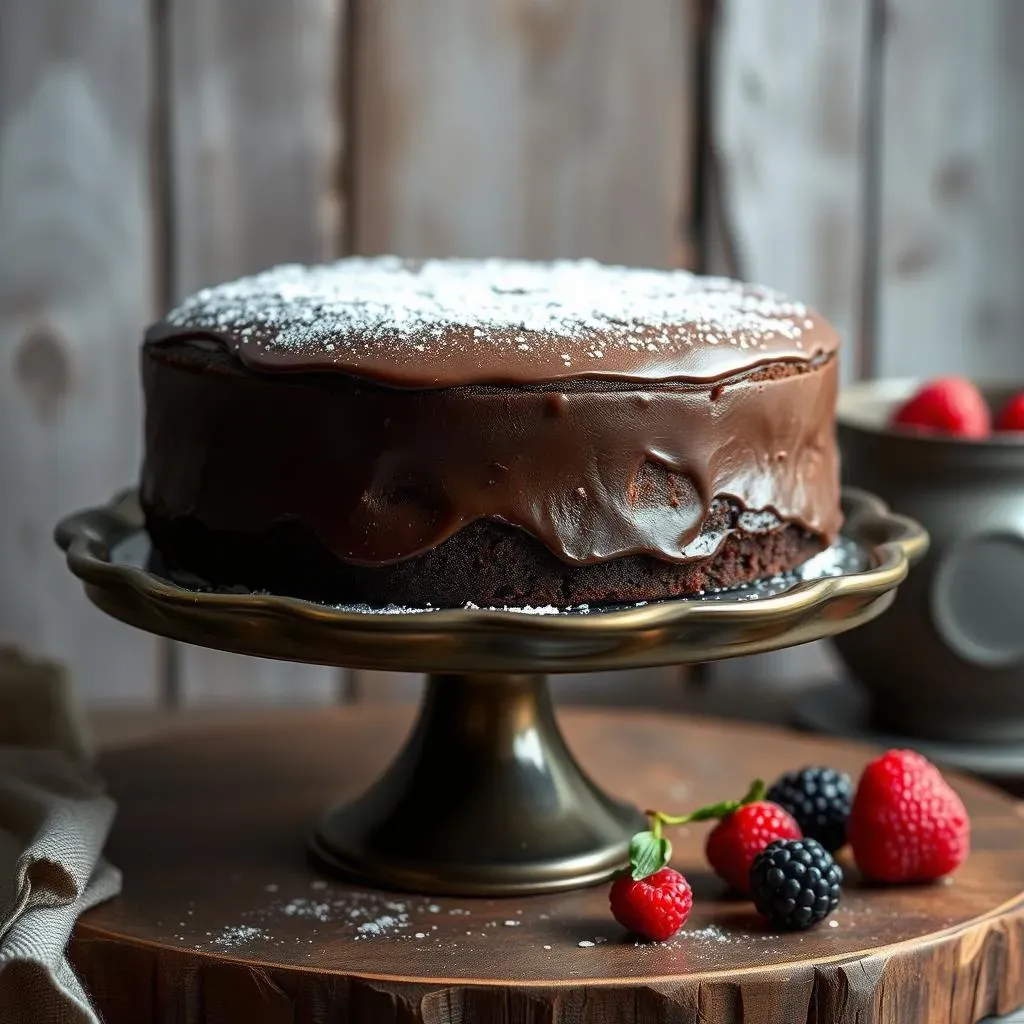
so you've baked this amazing simple chocolate butter cake, and now it's time to think about serving it. First things first, let it cool completely! I know it's tempting to cut into it right away, but trust me, patience pays off. Once it's cooled, you can get creative with how you serve it. A simple dusting of powdered sugar is always elegant and works well with the rich chocolate flavor. Or, if you’re feeling fancy, you can make a chocolate ganache or buttercream frosting. The beauty of this cake is that it pairs well with almost anything. Some fresh berries on the side can add a pop of color and freshness. A scoop of vanilla ice cream or a dollop of whipped cream can make it extra indulgent. It's your cake, so you choose what makes it special. It's like choosing the perfect outfit for a night out, it's all about making it your own.
And don't forget about the presentation. A nice cake stand can elevate the whole experience, making it feel like a real treat. You can add some decorative touches like chocolate shavings or a few sprinkles. It's like adding the final touches to a painting, making it a work of art. Whether it's a casual get-together or a special occasion, the way you present your cake can make all the difference. It shows that you put thought and care into it. And let's be honest, we all eat with our eyes first! So, make it look as good as it tastes. It’s the perfect ending to a perfect bake.
Keeping it Fresh: Storage Tips
Now, let's talk about what to do with this delicious cake if you happen to have leftovers. If you're planning to eat it within a couple of days, you can simply store it at room temperature. Just make sure to keep it in an airtight container or wrap it tightly in plastic wrap to prevent it from drying out. Think of it like tucking the cake into bed, making sure it stays nice and cozy. If you want to keep it longer, then freezing is your best friend. Wrap it tightly in plastic wrap, then foil, and it'll last for up to a month in the freezer. When you're ready to enjoy it, just let it thaw at room temperature. It's like having a secret stash of cake, ready whenever you need a sweet treat.
I've found that freezing individual slices is a great way to portion control and have a quick dessert ready whenever you need it. You can just take out a slice, let it thaw, and it tastes just as good as the day it was baked. It’s a great way to avoid any cake emergencies. And it's always nice to have something sweet on hand for those unexpected cravings. Proper storage is key to keeping the cake moist and delicious, so don't skip this step. It's like taking care of a precious treasure, you want to keep it safe and sound.
Serving Ideas
- Dust with powdered sugar
- Top with chocolate ganache or buttercream
- Serve with fresh berries
- Add a scoop of ice cream or whipped cream
Storage Summary
Storage Method | Duration |
|---|---|
Room Temperature | 2-3 Days (Airtight) |
Freezer | Up to 1 Month (Wrapped) |
"The best cakes are the ones you share with the people you love." - Unknown
Real Talk: Reader Reviews
so I've shared my tips and tricks, but what do other people think about this simple chocolate butter cake recipe? Well, I've had a lot of positive feedback, which makes me feel all warm and fuzzy inside! People rave about how moist and rich the cake is. They love how easy it is to make, even if they're not experienced bakers. It's like hearing a standing ovation for your hard work, it's such a great feeling. I've also had some readers share their variations, adding different extracts or spices. It's amazing to see how people make the recipe their own.
And of course, there are always a few questions and troubleshooting tips here and there. But overall, the reviews have been overwhelmingly positive. It's so rewarding to know that this recipe is bringing joy to other people's kitchens. It’s like sharing a piece of happiness with the world. If you make this cake, I would love to hear about your experience! Leave your comments below, and let me know how it turned out. It’s like having a virtual baking club, where we can all share our successes (and occasional mishaps!).
What Readers Are Saying
- "So moist and delicious!"
- "Incredibly easy to make."
- "My new favorite chocolate cake recipe!"
"A good cake is a universal language." - Unknown
The Sweet Ending: Your Perfect Chocolate Butter Cake
So, there you have it – a simple chocolate butter cake recipe that’s anything but ordinary. From the rich, moist crumb to the ease of preparation, this cake is a winner. Whether you’re a seasoned baker or just starting out, this recipe is designed to be straightforward and fun. Don't be afraid to experiment with different frostings or add-ins to make it your own. The best part? This cake is meant to be shared, so gather your friends and family, and enjoy the sweet taste of success. Happy baking, and may your cake always be moist and delicious!