Table of Contents
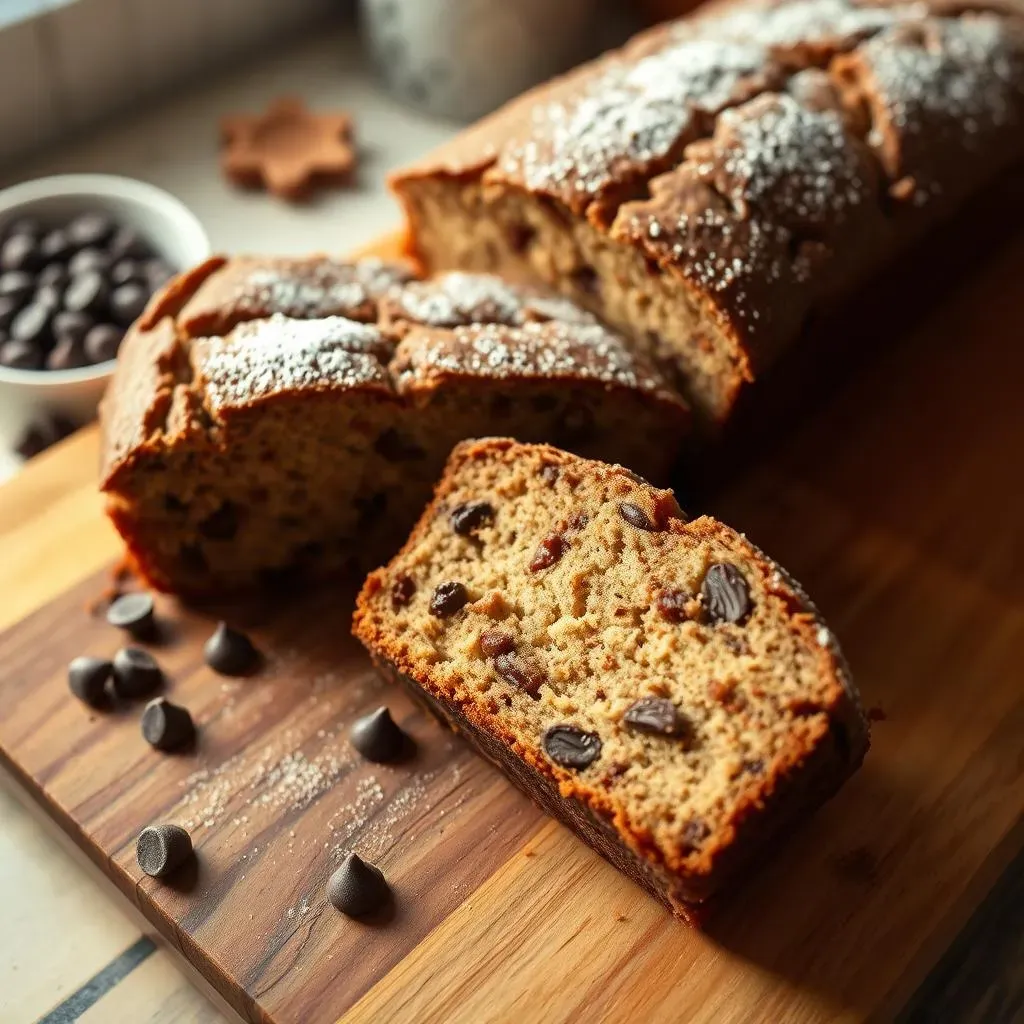
Ever find yourself staring at a bunch of overripe bananas, wondering if they're destined for the trash? Well, hold that peel! Because today, we're turning those spotty fruits into pure magic with a simple banana chocolate cake recipe. Yes, you heard right – a cake that’s both easy to make and tastes like a dream. This isn't your grandma's complicated baking project; it's a straightforward, no-fuss recipe perfect for anyone, even if you're not exactly a whiz in the kitchen. We'll walk through the ingredients you’ll need, the simple steps to follow, and a few pro tips to make your cake extra special. We will even touch on storage ideas, and tackle some burning questions you might have. Get ready to transform your kitchen into a mini-bakery with this super simple banana chocolate cake recipe! This isn't just a recipe; it's a journey to cake heaven, and it starts right now.
Ingredients and Equipment for Simple Banana Chocolate Cake
Ingredients and Equipment for Simple Banana Chocolate Cake
Gathering Your Baking Arsenal
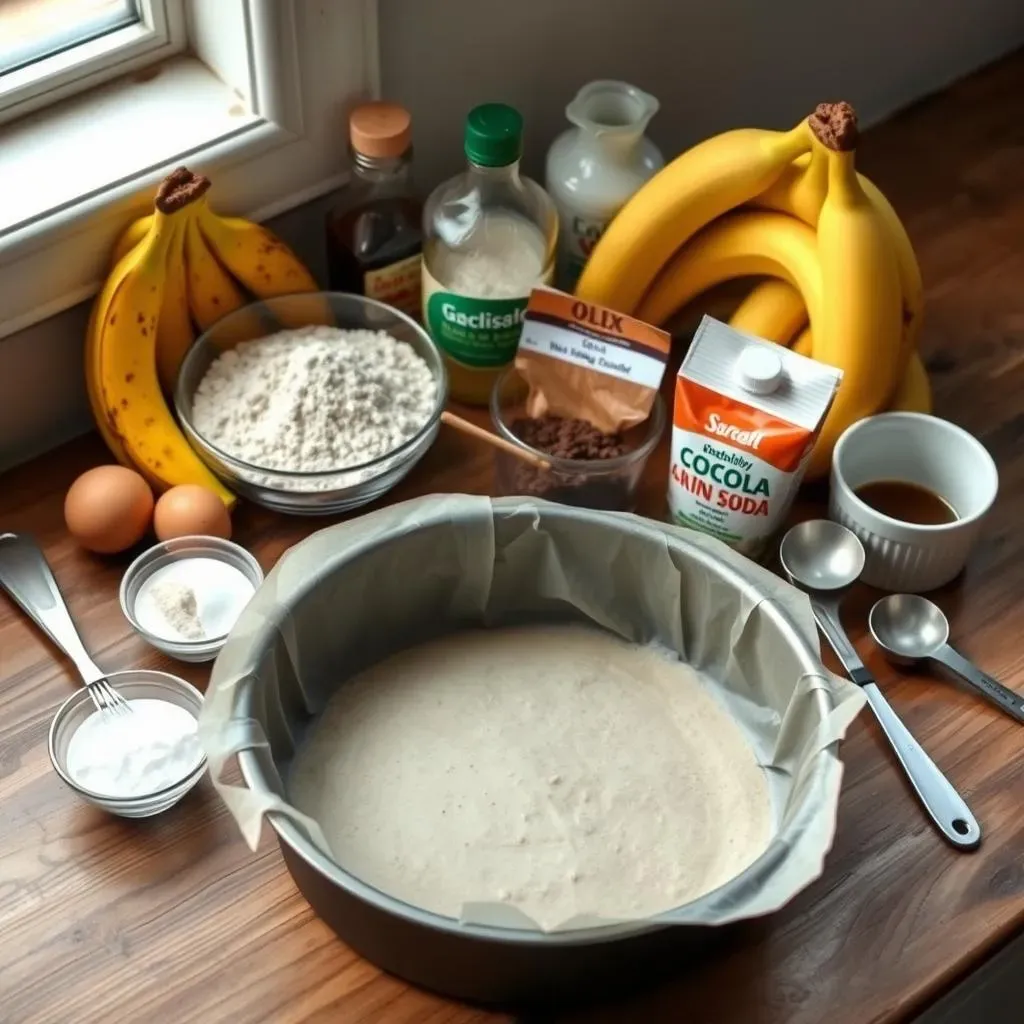
Alright, let's talk shop. Before we even think about preheating the oven, we need to make sure we've got all our gear ready. For this simple banana chocolate cake recipe, it's all about keeping things easy and accessible. You won't need any fancy gadgets or hard-to-find items, just the basics that most kitchens already have. Think of it like prepping for a fun science experiment, but instead of explosions, you get delicious cake. We’re aiming for minimal fuss and maximum flavor, so let’s get organized!
First, the stars of the show: our ingredients. We're talking about those overripe bananas – the spottier, the better! Then, we need the usual suspects for any good cake: flour, sugar, cocoa powder (for that chocolate kick, duh), baking soda, eggs, oil, and a splash of vanilla extract. Don't forget a pinch of salt to really bring out the flavors. It's a simple list, but each ingredient plays a crucial role in making our cake moist and delicious. Trust me, even the salt is important, it's like the unsung hero of the baking world.
Tools of the Trade
Now, let's move on to the equipment. We don't need a whole bakery's worth of gear, thankfully. A couple of mixing bowls will do the trick – one for the dry ingredients and one for the wet. A whisk is super handy for blending the dry stuff, and a fork or potato masher will take care of those bananas. You will also need a trusty measuring cup and spoons to make sure we get the ratios right. And of course, we can't forget the cake pan; an 8 or 9-inch round pan will be perfect, but a loaf pan works in a pinch too. Last but not least, some parchment paper to line the pan will make removal a breeze. No one likes a cake that sticks to the pan, right?
Once you have all the tools and the ingredients gathered, it feels like a good time to mention that you can always substitute some ingredients. For example, you can use gluten-free flour if you need to, or even try different oils to achieve different flavors. Don't be afraid to experiment a little and make this recipe your own. It's all about having fun and making a cake that you love.
Ingredient Category | Specific Items |
|---|---|
Dry Ingredients | All-purpose flour, granulated sugar, unsweetened cocoa powder, baking soda, salt |
Wet Ingredients | Ripe bananas, eggs, vegetable oil, vanilla extract |
Equipment | Mixing bowls, whisk, fork/potato masher, measuring cups and spoons, 8 or 9-inch round cake pan, parchment paper |
StepbyStep Instructions for a Simple Banana Chocolate Cake Recipe
StepbyStep Instructions for a Simple Banana Chocolate Cake Recipe
Mixing the Dry Ingredients
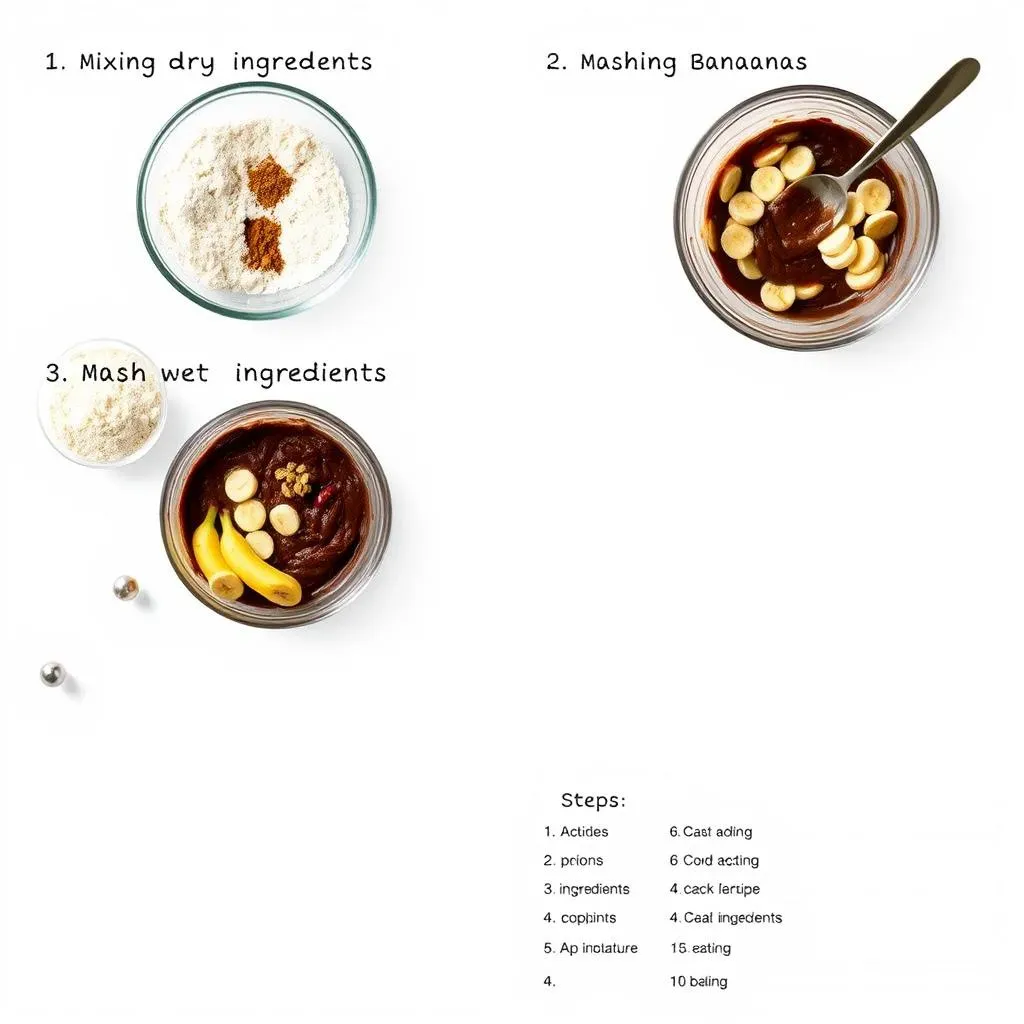
let's get this cake show on the road! First things first, grab your mixing bowl and dump in all the dry ingredients. I'm talking flour, sugar, cocoa powder, baking soda, and a pinch of salt. Now, take your whisk and give it a good mix. You want everything to be evenly distributed, like a well-mixed band ready to play their hit song. This step is crucial because we don't want any pockets of baking soda that could make your cake taste funny, or clumps of cocoa powder that ruin the texture. So, whisk it good!
Think of this part like setting the stage for the rest of the recipe. You’re creating a solid foundation. We want to ensure every ingredient plays its part, contributing to that perfect cake texture we all dream about. Don't rush this part, it’s like the pre-show warm-up. Once you’re done, set this bowl aside, and give your whisk a little break. We're done with the dry stuff for now, and it's time to move on to the wet ingredients, which, in my opinion, are where the real magic happens.
Mashing the Bananas and Combining Wet Ingredients
Next up, let's tackle the bananas. Grab that separate bowl and toss in your ripe bananas. Now, take a fork or a potato masher (if you're fancy like that) and go to town mashing them. You want to get them to the consistency of a chunky oatmeal. Don't worry if there are still a few little lumps, it will add a bit of character to the cake. Once the bananas are mashed, add in the wet ingredients – the oil, eggs, and vanilla extract. Mix it all together until everything is well combined. It should look like a smooth, slightly gloopy mixture. This is where all the moisture and richness of the cake comes from. It’s like you're creating a little banana potion, ready to be transformed into cake.
Now, here’s the fun part: combining the wet and dry ingredients. Pour the wet mixture into the bowl with the dry ingredients, and get ready to mix. You can use your whisk or a spatula, it does not matter. Mix until everything is just combined. Don't overmix the batter, it will make the cake tough. You just want to make sure there are no streaks of flour. It's like you're gently folding a blanket, not aggressively kneading bread. The batter should be smooth and chocolatey, looking like a delicious, almost-ready cake. Now, the moment we've all been waiting for, we’re ready to get it into the oven.
Step | Action | Why it's Important |
|---|---|---|
1 | Whisk Dry Ingredients | Ensures even distribution, prevents clumps |
2 | Mash Bananas | Creates moisture and texture |
3 | Combine Wet Ingredients | Adds richness and flavor |
4 | Mix Wet and Dry Ingredients | Forms the final cake batter |
Tips and Variations for Your Simple Chocolate Banana Cake

Tips and Variations for Your Simple Chocolate Banana Cake
Making it Gluten-Free and Other Flour Options
so you've got the basic recipe down, but what if you're trying to avoid gluten? No sweat! It's super easy to swap out the regular all-purpose flour for a gluten-free blend. Just make sure it's a 1:1 replacement kind, so you don't have to mess with the ratios too much. I've tried it myself with a few different brands, and honestly, you can barely tell the difference. It still comes out moist and delicious, just without the gluten. And if you're feeling adventurous, you can try using other flours like whole wheat for a nuttier flavor, or even almond flour for a richer taste. Just remember, different flours might affect the texture slightly, so you might need to adjust the amount of liquid a tiny bit. But hey, that's part of the fun, right?
Another thing to think about is the level of chocolate you want. If you're a chocoholic like me, you can increase the amount of cocoa powder a bit. Or, if you want to mix it up, you can add chocolate chips to the batter for a melty chocolate explosion in every bite. I'm talking dark chocolate, milk chocolate, even white chocolate if you're feeling fancy. The world is your oyster, or in this case, your cake. And if you're not a fan of chocolate, you can always try different mix-ins like nuts, dried fruit, or even a swirl of peanut butter. The possibilities are endless. It’s like giving your cake a makeover, making it even better than before.
Sweetness Levels and Sugar Substitutes
Now, let's talk sweetness. The recipe we have is pretty good, but maybe you're watching your sugar intake, or maybe you just prefer a less sweet cake. You can absolutely reduce the amount of sugar in the recipe. I've found that even reducing it by a quarter doesn't really affect the taste or texture too much. You can also try using sugar substitutes like stevia or erythritol. Just make sure you're using the right amount, as they can be sweeter than regular sugar, so you might need to adjust the amount. And if you’re feeling extra fancy, you can try using brown sugar instead of white sugar for a richer, more molasses-like flavor. It adds a bit of depth to the cake, making it even more delicious. It's like giving your cake a little personality boost.
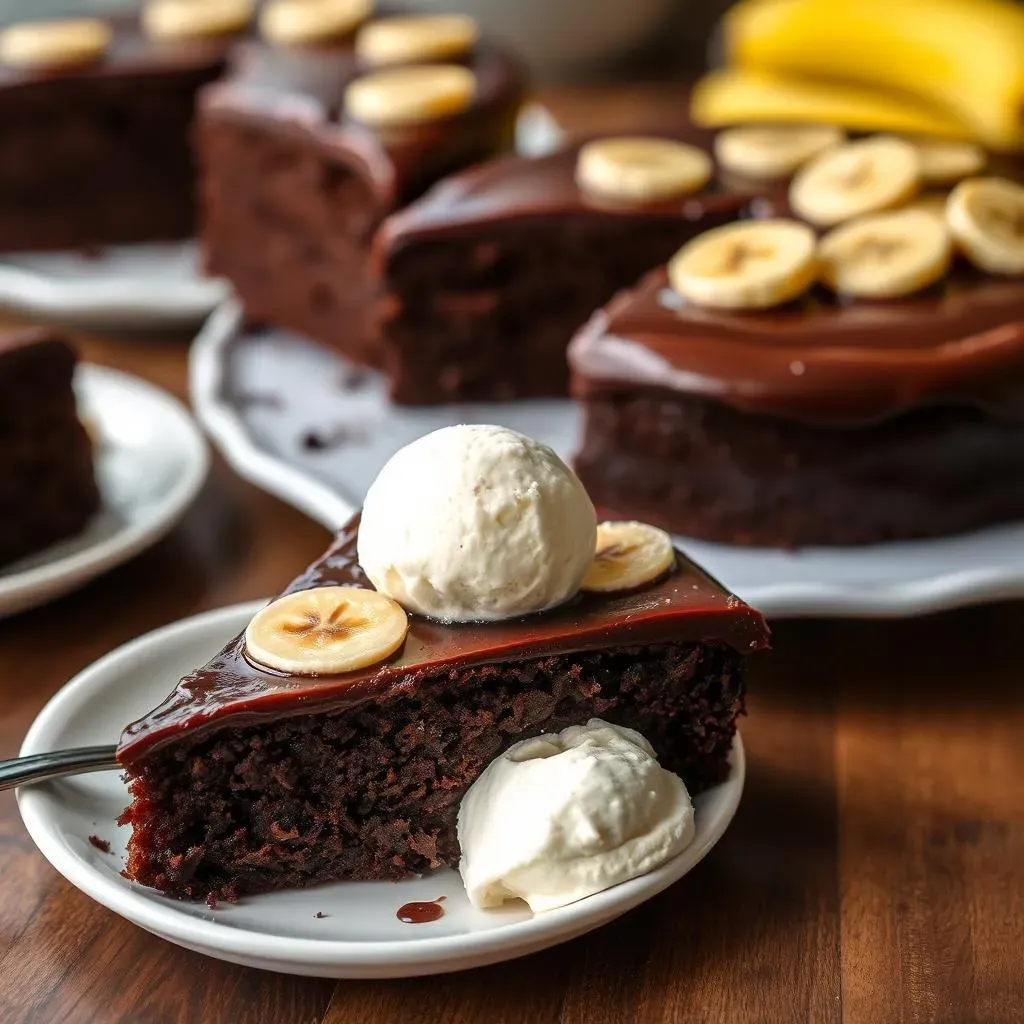
And while we’re on the topic of sweetness, let’s not forget about toppings. A simple dusting of powdered sugar is always a classic, or you can make a quick chocolate glaze by melting some chocolate with a bit of butter or cream. If you're feeling extra fancy, you can add some fresh berries or whipped cream. But honestly, this cake is so good, it's delicious even without any toppings. It's all about making it your own, and enjoying it exactly the way you like it. It’s like giving your cake a little crown, making it even more special.
Variation | Description | Considerations |
|---|---|---|
Gluten-Free Flour | Substitute all-purpose flour with a 1:1 gluten-free blend. | May slightly alter texture, ensure blend is suitable for baking |
Different Flours | Try whole wheat or almond flour for a nuttier flavor. | Adjust liquid as needed, may affect final texture |
Chocolate Add-ins | Add chocolate chips or increase cocoa powder for a richer chocolate flavor. | Choose your favorite chocolate type |
Sugar Substitutes | Use stevia, erythritol, or brown sugar instead of white sugar | Adjust amount, may alter sweetness level |
Adding Extra Flavor and Texture
Let’s talk about adding a little *oomph* to our cake. If you're feeling adventurous, you can add a dash of cinnamon or nutmeg to the batter for a warm, spiced flavor. Or, if you want to give it a little crunch, you can add chopped nuts like walnuts or pecans. I've even seen people add a little bit of coffee to the batter to enhance the chocolate flavor. It's like giving your cake a little secret ingredient that makes everyone wonder what makes it so good. And don't forget about extracts! A little almond extract can add a unique flavor, or even try a little rum extract for a boozy kick. The possibilities are endless, it's all about experimenting and finding what you like best.
So, there you have it – a bunch of tips and variations to make this simple banana chocolate cake recipe your own. Don't be afraid to experiment and try new things. Baking should be fun, not stressful. So, go ahead, grab your ingredients, and let’s get baking! Remember, the best cakes are the ones you make with love, and a little bit of creativity. It’s like you’re creating a masterpiece, one cake at a time.
Storing and Enjoying Your Simple Banana Chocolate Cake
Storing and Enjoying Your Simple Banana Chocolate Cake
Keeping it Fresh
so you've baked this amazing simple banana chocolate cake, and now you're wondering how to keep it fresh, right? Well, let me tell you, this cake is best enjoyed when it's freshly made, but if you have leftovers (which is rare in my house!), storing it properly is key. The best way to keep it moist and delicious is to wrap it tightly in plastic wrap or put it in an airtight container. You can leave it at room temperature for a day or two, but if you're planning to keep it longer, I'd recommend popping it in the fridge. This will help it stay fresh for up to five days, which is usually more than enough time to finish it off. Just remember to take it out of the fridge a little while before you plan to eat it, so it can warm up a bit and get back to that soft, fluffy texture. I know, it's hard to wait, but trust me, it's worth it.
Another thing to consider is how you slice it. If you're not planning to eat the whole cake at once, I'd recommend cutting it into slices and then wrapping each slice individually. This will help prevent the cake from drying out, and it also makes it super easy to grab a slice whenever you need a little sweet treat. And if you're really organized, you can even freeze the slices. Just wrap them tightly in plastic wrap, then put them in a freezer bag. They'll keep for a couple of months, and when you're ready to eat them, just let them thaw out at room temperature. It's like having a little stash of cake ready whenever you need it, which, let's be honest, is pretty much always.
Storage Method | Duration | Best For |
|---|---|---|
Room Temperature | 1-2 days | Short-term storage |
Refrigerator | Up to 5 days | Longer storage |
Freezer (slices) | Up to 2 months | Longest storage, easy portioning |
Serving Suggestions and Enjoyment
Now, let's talk about the fun part – eating the cake! This simple banana chocolate cake is amazing on its own, but you can also pair it with a few things to make it even more special. A scoop of vanilla ice cream is always a winner, or you can add a dollop of whipped cream for extra richness. And if you're a coffee lover like me, a cup of hot coffee or a latte is the perfect accompaniment to this cake. It's like the perfect dessert and coffee combo that everyone loves. And if you're feeling fancy, you can add a drizzle of chocolate sauce or caramel on top. The possibilities are endless. It's all about making it your own, and enjoying it exactly the way you like it. It's like you're creating a perfect moment, one slice of cake at a time.
And let's not forget about sharing the cake with friends and family. Baking is a great way to show your love, and this cake is perfect for any occasion. Whether it's a birthday party, a family gathering, or just a casual get-together, this cake is sure to be a hit. So go ahead, bake this simple banana chocolate cake, and share the love. It's like you're spreading happiness, one slice at a time. And remember, the best part about baking is enjoying the fruits of your labor, so go ahead, take a bite, and savor every moment. You deserve it!
Wrapping Up Your Simple Banana Chocolate Cake Adventure
So, there you have it – a simple banana chocolate cake recipe that’s as foolproof as it is delicious. From mashing bananas to swirling that luscious ganache, you've seen how easy it is to whip up a treat that's sure to impress. Whether it's for a special occasion or just a random Tuesday, this cake is bound to bring a smile. Don't be afraid to experiment with the variations, make it your own, and most importantly, enjoy every single bite! Remember, baking should be fun, not stressful. And with this recipe, you’ve got a guaranteed crowd-pleaser in your back pocket. Now, go forth and bake some happiness!