
Table of Contents
Ever dream of a chocolate cake that's not just good, but unbelievably amazing? I have too! And after countless attempts, I've finally cracked the code for the perfect, **simple 2 layer chocolate cake recipe**. This isn't some fancy, complicated ordeal; it's a straightforward, one-bowl wonder that even a kid could handle. We're talking rich, moist, chocolatey goodness that'll have everyone begging for seconds. Forget dry, crumbly cakes; this recipe delivers a melt-in-your-mouth experience every single time. I'll walk you through each easy step, from gathering your ingredients to layering and frosting your masterpiece. We'll cover all the essentials, including how to make it ahead, store it, and even tweak it to your liking with gluten-free, dairy-free, or egg-free options. Get ready to bake a cake that will become your go-to for any occasion. Let's get started and create some deliciousness together!
Easy Steps for a Simple 2 Layer Chocolate Cake
Easy Steps for a Simple 2 Layer Chocolate Cake
Get Your Gear Ready
first things first, let's get organized. You know how a messy kitchen can turn into a baking disaster zone? I've been there, trust me. Before you even think about grabbing an ingredient, make sure you've got all your baking tools ready. This means your cake pans, mixing bowls, measuring cups, and spoons. Preheating your oven is key, too, don't forget that. It's like warming up before a workout, it just gets things going smoothly. I like to line my cake pans with parchment paper, it makes removing the cake so much easier, less chance of it sticking and falling apart. It's all about setting yourself up for success from the get-go.
Mixing Made Easy
Now for the fun part – mixing! This recipe is a one-bowl wonder, which is amazing. It keeps the mess to a minimum. Start by combining all your dry ingredients. Flour, sugar, cocoa powder, baking soda, baking powder, and a pinch of salt. Whisk them together until it looks like a nice, even mix. It's always a good idea to make sure there are no clumps of cocoa hiding in there. Next, add in your wet ingredients. Eggs, milk, oil, and a splash of vanilla extract. Mix it all up until everything is just combined. Don't overmix, that is a common mistake that makes the cake tough. It’s like a gentle hug, not a wrestling match, you want to mix until everything comes together, and that's it.
Step | Action |
|---|---|
1 | Preheat oven and prepare pans |
2 | Combine dry ingredients |
3 | Add wet ingredients and mix |
Bake and Cool
Alright, the batter is ready, now it’s time to pour it into your prepared pans. Make sure you divide the batter evenly between the two pans. It's all about balance, you want those cake layers to be the same thickness. Now, carefully place them in the preheated oven. The baking time will vary a bit depending on your oven, but usually, it takes around 30-35 minutes. You'll know the cakes are done when a toothpick inserted into the center comes out clean. Once they are baked, let them cool in the pans for about 10 minutes before inverting them onto a wire rack to cool completely. Patience is key here, you don’t want to frost a warm cake, that will just end up in a melty mess.
Ingredients for Your Simple 2 Layer Chocolate Cake
Ingredients for Your Simple 2 Layer Chocolate Cake
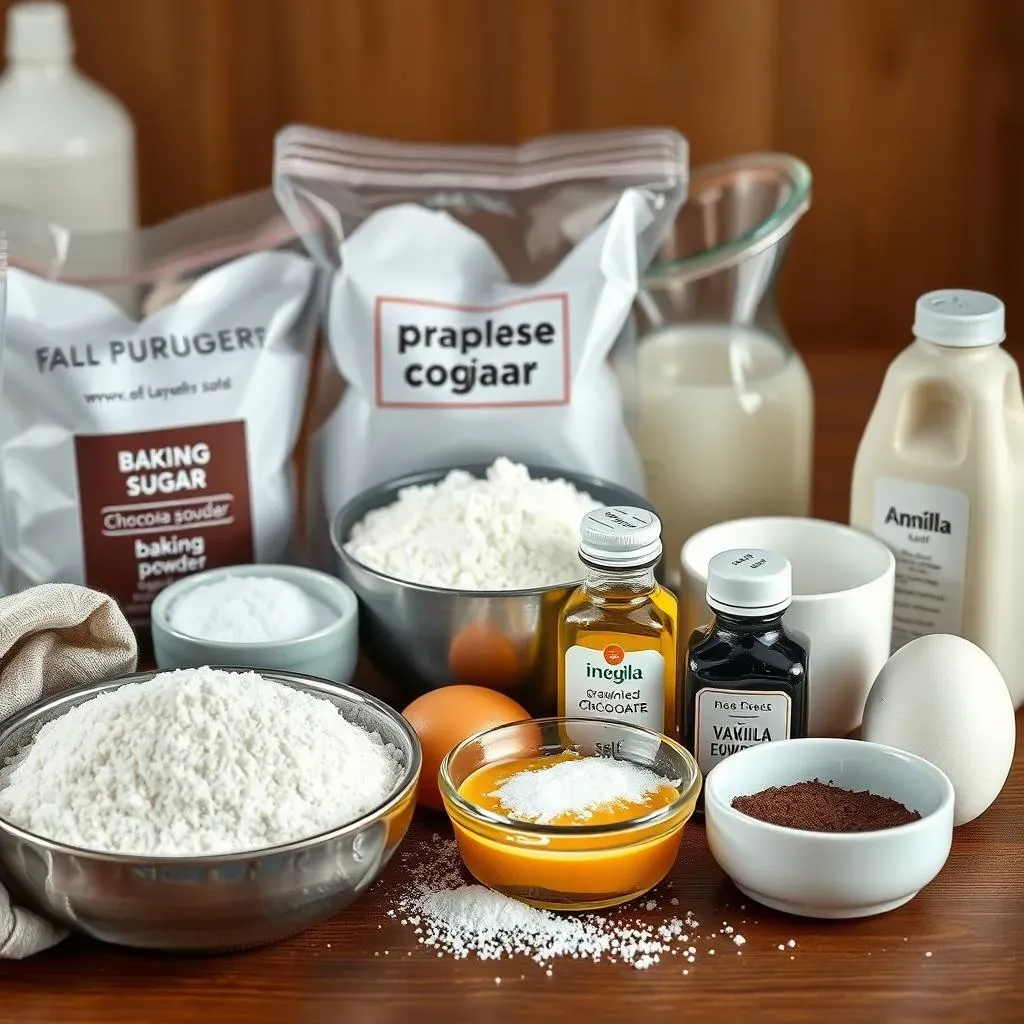
let's chat about the stars of our show – the ingredients! For this simple 2 layer chocolate cake recipe, we're keeping it straightforward, no need to hunt down exotic items. You'll need all-purpose flour, the stuff that makes up the base of the cake. Then there is sugar, the sweet magic that makes everything yummy. Cocoa powder gives the cake that rich, chocolate flavor we all crave. Baking soda and baking powder, those are the rising agents that make the cake fluffy. A pinch of salt is a must, it balances the sweetness and enhances all the flavors. For the wet ingredients, we have eggs, the binders that hold everything together. Milk for moisture, oil to keep it soft and tender, and vanilla extract for that extra touch of flavor. I like to use a little bit of espresso powder too, it doesn’t make it taste like coffee, but it enhances the chocolate, it's a little trick my grandma taught me. It’s like adding a secret ingredient that everyone loves but can't quite put their finger on.
Now, let's talk specifics. For the flour, all-purpose works great, but you can swap it out for a gluten-free blend if you need to. I've tried it with a few different brands and they all turned out good. Sugar is pretty straightforward, regular granulated sugar is perfect, but you could also use caster sugar if you have it. For the cocoa powder, unsweetened is the way to go. It gives the cake a deep, dark chocolate flavor. As for the milk, any kind will work. Dairy, almond, soy, oat - it's all good. I often use almond milk, because that is what I have in the fridge. And for oil, vegetable oil is my go-to, but you can use canola oil or even melted coconut oil if you prefer. Remember, baking is a science, but it's also about experimenting and finding what works best for you. And don’t worry too much, this recipe is very forgiving.
Ingredient | Amount |
|---|---|
All-Purpose Flour | 2 cups |
Granulated Sugar | 2 cups |
Unsweetened Cocoa Powder | 3/4 cup |
Baking Soda | 1 1/2 teaspoons |
Baking Powder | 1 1/2 teaspoons |
Salt | 1 teaspoon |
Eggs | 2 large |
Milk | 1 cup |
Vegetable Oil | 1/2 cup |
Vanilla Extract | 2 teaspoons |
Espresso Powder | 1 teaspoon (optional) |
Baking Your Simple 2 Layer Chocolate Cake
Baking Your Simple 2 Layer Chocolate Cake
Prepping for the Oven
so we've got our batter all mixed up and ready to go, now it's time to get those cakes in the oven. Before you do anything, make sure your oven is preheated to 350°F (175°C). It's like getting your car warmed up before a long drive, you want it at the right temperature before you start. Grab your two cake pans that you prepared earlier. If you use parchment paper, you will have a much easier time to remove the cake. Now, carefully pour the batter into the pans, dividing it evenly between the two. I like to use a measuring cup to make sure they are about the same, you want them to bake evenly. Once you have poured the batter, give the pans a gentle tap on the counter, this helps release any air bubbles that may be trapped in the batter.
The Baking Process
Now for the main event, let's get these cakes in the oven! Carefully place the pans on the center rack of your preheated oven. Set a timer for 30 minutes, but keep a close eye on them. Every oven is a bit different, so the baking time can vary. You'll know the cakes are done when a toothpick inserted into the center comes out clean. If it still has batter on it, then they need a bit more time. When they are ready, take them out of the oven and let them cool in the pans for about 10 minutes. This helps them set a bit before you take them out of the pans. Don't rush this, patience is key here.
Step | Time |
|---|---|
Preheat Oven | Before you start mixing |
Baking Time | 30-35 minutes |
Cooling in Pans | 10 minutes |
Cooling and Prep for Frosting
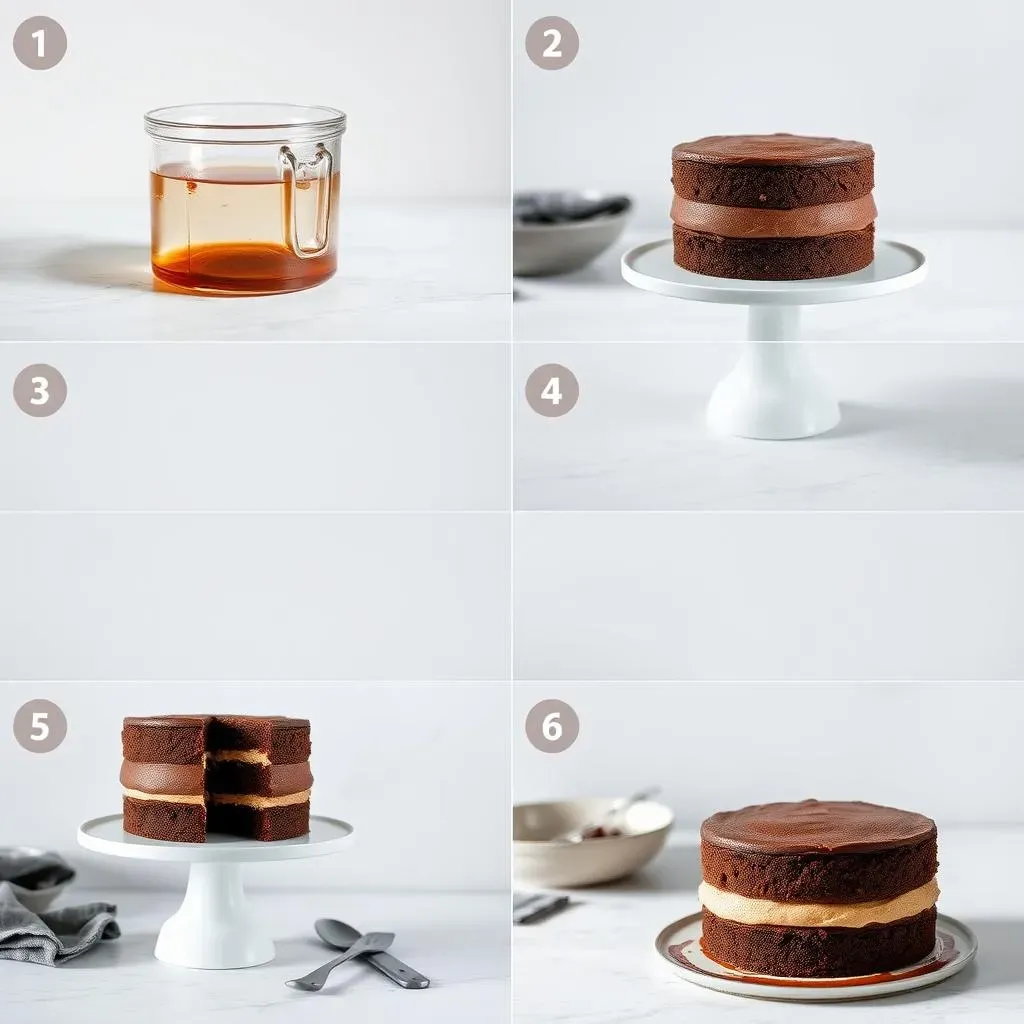
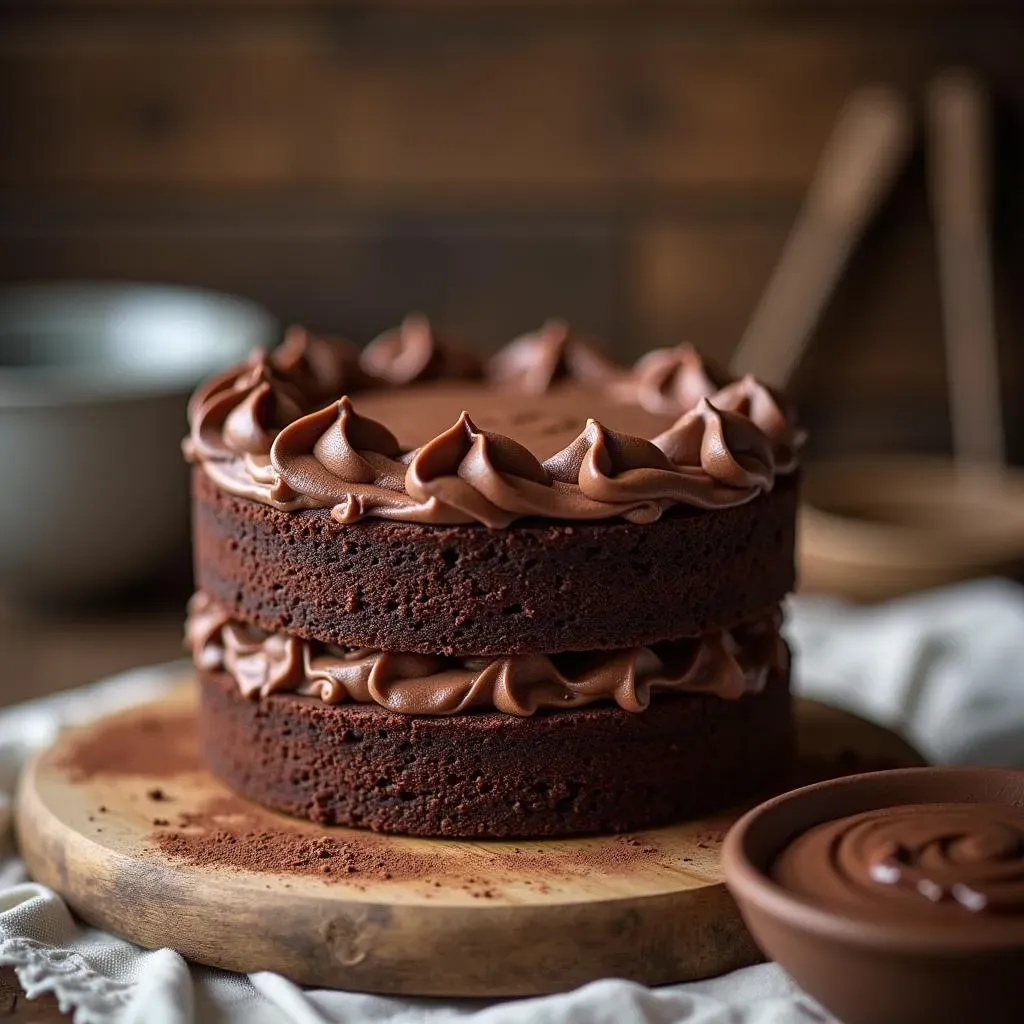
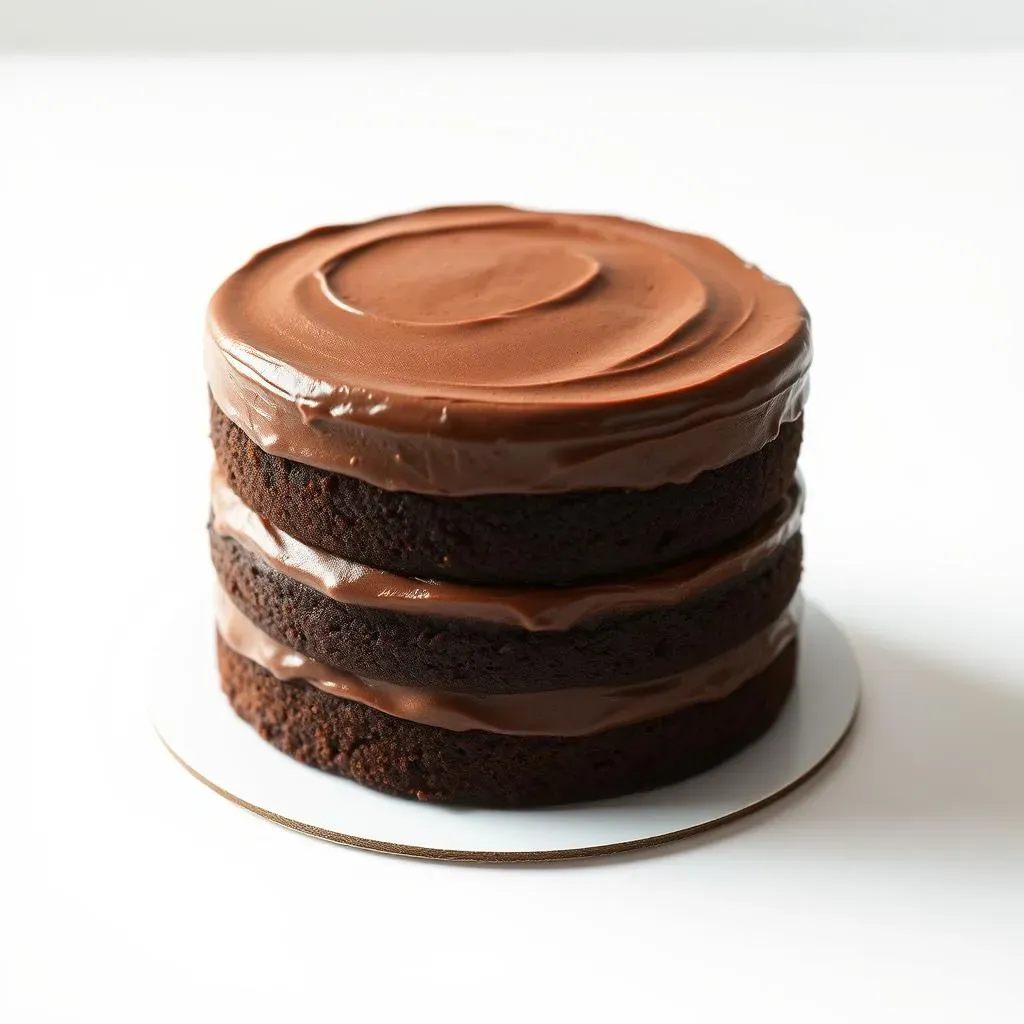
Alright, the cakes are out of the oven and they have cooled for about 10 minutes. Now it's time to gently invert them onto a wire rack to cool completely. I like to run a knife around the edges of the pan to make sure they aren't stuck. Don't try to frost them while they are still warm, the frosting will melt and slide right off. While the cakes are cooling, you can start to prepare your frosting. I like to put the cakes in the fridge for a bit to speed up the cooling, it also makes them easier to frost. Once they are completely cool, they are ready for frosting and decorating. This is my favorite part of the process!
Tips and Tricks for the Best 2 Layer Chocolate Cake
Tips and Tricks for the Best 2 Layer Chocolate Cake
Level Up Your Cake Game
so you've got the basics down, but what about taking your cake from good to absolutely amazing? Let's talk about some secrets that will make your simple 2 layer chocolate cake recipe stand out. First up, temperature matters. Make sure your wet ingredients, especially the eggs and milk, are at room temperature. This helps them mix more evenly with the dry ingredients, creating a smoother batter. Another tip I always use is to add a teaspoon of instant espresso powder to the batter. It doesn't make the cake taste like coffee, but it intensifies the chocolate flavor. It's like a secret weapon for serious chocolate lovers. And when it comes to mixing, don't overdo it. Overmixing can lead to a tough cake. Mix until everything is just combined and then stop. Less is more in this case.
Also, don't be afraid to experiment with different types of oil. I usually use vegetable oil, because it's neutral and doesn't affect the flavor. But if you want to add a bit of richness, you can try using melted coconut oil. If you want to make the cake extra moist, try adding a little bit of sour cream or yogurt to the batter. It makes a big difference. And finally, when frosting the cake, make sure the layers are completely cool. If they are even slightly warm, the frosting will melt and slide right off. I like to put my cake layers in the fridge for about 30 minutes before frosting, this makes them easier to work with.
Troubleshooting and Pro Tips
Even with the best recipe, things can sometimes go a little sideways. So, let's talk about some common issues and how to fix them. If your cake comes out dry, it could be because you overbaked it. Make sure to check it with a toothpick and take it out of the oven as soon as it's done. If the cake is too dense, it might be because you overmixed the batter. Remember, mix until just combined. If the cake has a dome shape on top, it's likely because the oven was too hot, or the pans were too small. Use the right size pans, and make sure your oven is at the correct temperature. Also, if you are baking in higher altitude, you might need to adjust the recipe or the baking time.
Here’s another trick. If you want to make the cake ahead of time, you can bake the layers, let them cool completely, wrap them in plastic wrap, and freeze them for up to a month. When you are ready to frost, just take them out of the freezer and let them thaw for a bit. Also, if you don't have parchment paper, you can grease and flour the pans. It works just as well, but parchment paper is much easier. And lastly, don't be afraid to get creative with the frosting! You can use chocolate buttercream, cream cheese frosting, or even a simple glaze. Baking is about having fun and making something that you love. So, go ahead and experiment and make this simple 2 layer chocolate cake recipe your own!
Problem | Solution |
|---|---|
Dry Cake | Don't overbake, check with a toothpick |
Dense Cake | Don't overmix the batter |
Domed Cake | Use the right size pans, check oven temp |
Wrapping Up Your Simple 2 Layer Chocolate Cake
So, there you have it – your very own, incredibly delicious, simple 2 layer chocolate cake. It's not just a recipe; it’s a gateway to countless celebrations and sweet moments. Remember, baking should be fun, not a source of stress. This recipe is designed to be easy, and it's totally okay if your first attempt isn't perfect. What matters is the joy you find in creating something special, and the happy faces around your table when they taste it. Now, go on, bake that cake, share the love, and maybe even try a few of the variations we talked about. From my kitchen to yours, happy baking!