Table of Contents
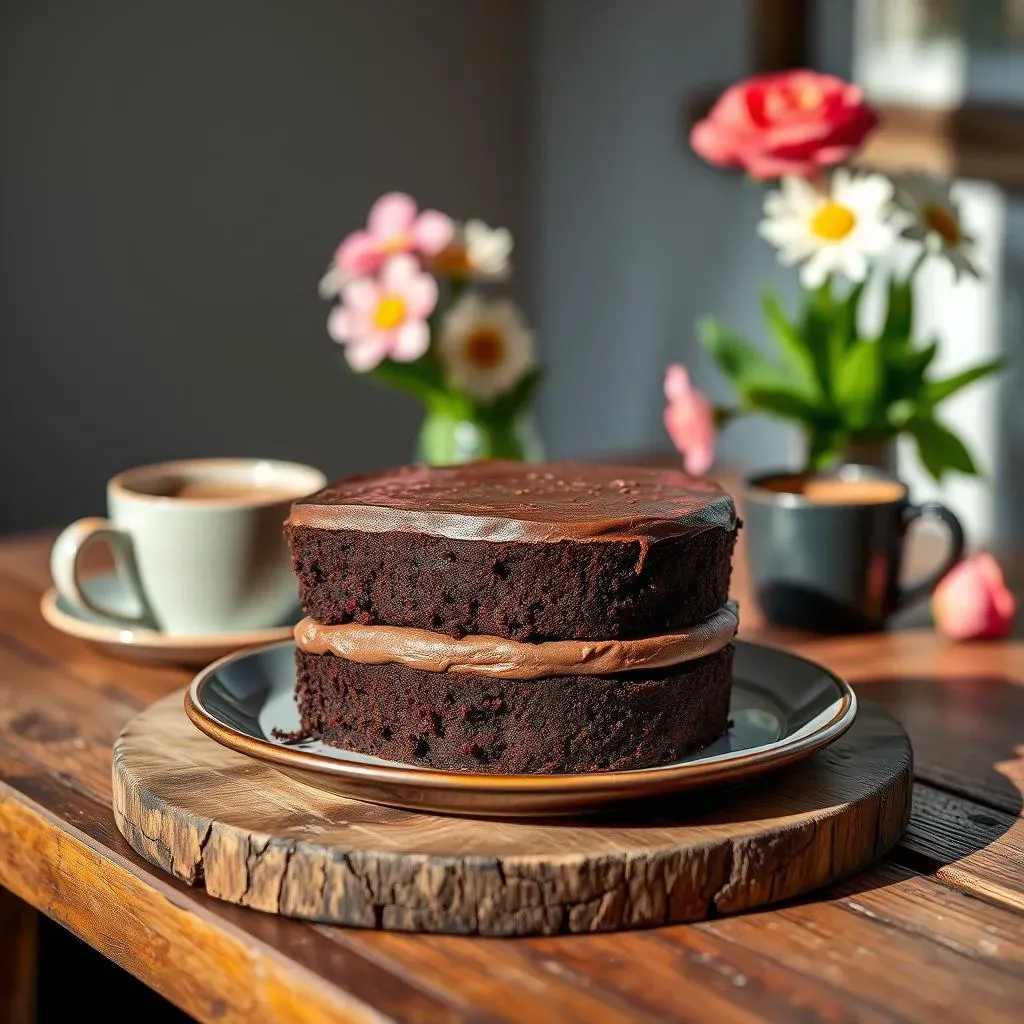
Ever get that craving for chocolate cake, but the thought of a multi-layered masterpiece feels like way too much work? I get it. That's why I'm so excited to share my go-to simple 1 layer chocolate cake recipe. This isn't some fussy, all-day baking project. This is the kind of cake you whip up when you need a chocolate fix, pronto. We're talking one bowl, minimal effort, and maximum chocolatey goodness. Forget complicated techniques and endless steps. This recipe is about getting straight to the good stuff – a moist, delicious, single-layer chocolate cake that's perfect for any day of the week. Whether it's a small family gathering, a cozy night in, or just because you deserve a treat, this cake has you covered. We will explore why this recipe works so well, all the ingredients you will need and how to mix them, tips that will make your baking experience a success, and how to make the best of your cake.
Why This Simple 1 Layer Chocolate Cake Recipe is a Winner
Why This Simple 1 Layer Chocolate Cake Recipe is a Winner
Effortless Baking
Let's be real, sometimes you just want cake without the fuss. This simple 1 layer chocolate cake recipe is a lifesaver for those moments. No need to haul out a bunch of fancy equipment or spend hours in the kitchen. It’s designed to be straightforward, using ingredients you probably already have. The beauty of this recipe lies in its simplicity – one bowl, a few steps, and you’re well on your way to a delicious treat. It’s perfect for beginner bakers or anyone who wants a quick and satisfying dessert without all the hassle. I like this recipe because it doesn't make me feel like I need to be a professional chef to get it right.
Maximum Flavor, Minimal Steps
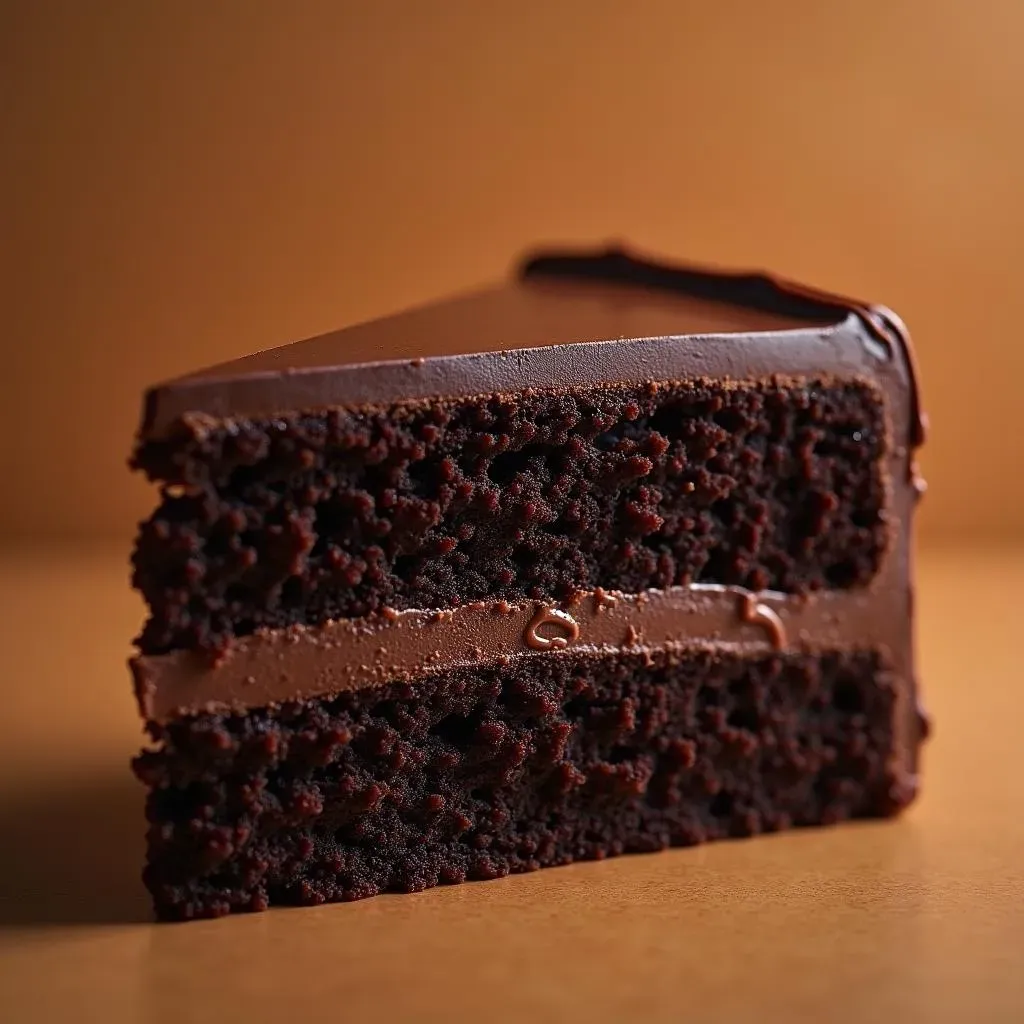
Don't let the simplicity fool you; this cake is packed with flavor. Using the right ingredients and a few key techniques, this simple recipe creates a moist, rich chocolate cake that tastes like it took hours to prepare. It is that good. We're not sacrificing taste for convenience here. The focus is on maximizing the deliciousness with minimal effort. This recipe proves that you don't need complicated steps or fancy ingredients to achieve a truly decadent chocolate cake. It’s about making the most of what you have and using simple methods to get big results.
Feature | Description |
|---|---|
Ease of Making | One bowl, straightforward steps |
Time | Quick to prepare and bake |
Taste | Rich, moist, and chocolatey |
Effort | Minimal effort, maximum impact |
Adaptable for Any Occasion
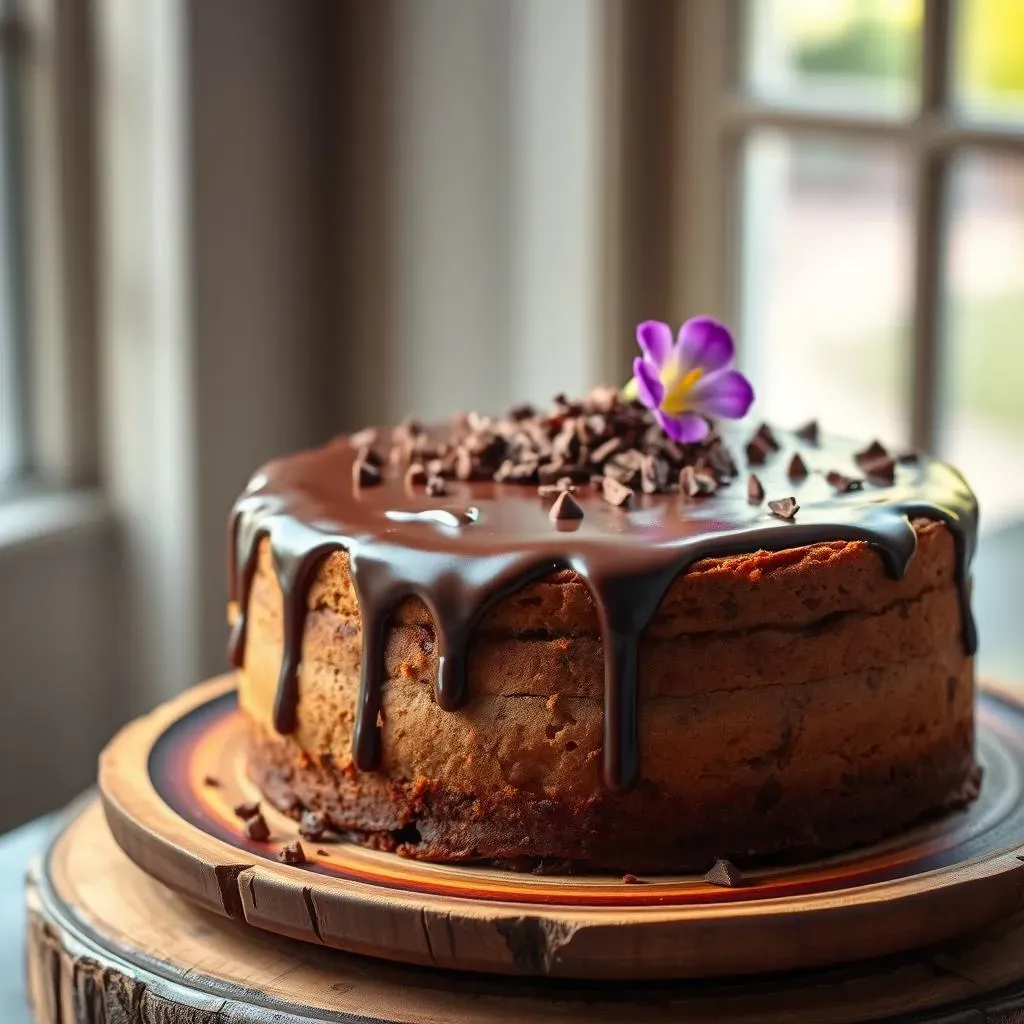
Whether it’s a last-minute birthday, a cozy night in, or just a craving that needs satisfying, this simple 1 layer chocolate cake recipe fits the bill. You can dress it up with a fancy ganache, keep it simple with a dusting of powdered sugar, or add fresh berries for a pop of color and freshness. This cake is like a blank canvas, ready for your personal touch. It’s also easy to scale up or down, so you can make a small cake for yourself or a slightly larger one to share. It's the reliable dessert that always delivers, no matter the occasion. I love how versatile it is.
Ingredients and StepbyStep for a Perfect Chocolate Cake
Ingredients and StepbyStep for a Perfect Chocolate Cake
Gather Your Ingredients
so you're ready to bake? Let's get those ingredients lined up. For this simple 1 layer chocolate cake recipe, you'll need 1 ½ cups of all-purpose flour – or a gluten-free blend if that's your jam, 1 ½ cups of sugar, ¾ cup of unsweetened cocoa powder, 1 ½ teaspoons of baking powder, 1 ½ teaspoons of baking soda, ¾ teaspoon of salt, 1 cup of milk (dairy or non-dairy), ½ cup of vegetable oil, 2 large eggs, 2 teaspoons of vanilla extract, and 1 cup of hot water or hot coffee. See? Nothing too crazy, right? Having everything measured out beforehand really makes the whole process smoother. It's like prepping your art supplies before you start painting, you know?
I always find that it helps to double-check my measurements before I start mixing. It's a small step, but it makes a big difference. Also, make sure your eggs and milk are at room temperature. This helps them combine better with the other ingredients. Trust me, it's worth the extra minute or two.
The Mixing Process
Alright, now the fun part – mixing! Grab your bowl and whisk together all the dry ingredients: the flour, sugar, cocoa powder, baking powder, baking soda, and salt. Make sure everything's nicely combined. Then, in a separate bowl, whisk together the wet ingredients: milk, oil, eggs, and vanilla extract. Pour the wet ingredients into the dry ingredients and mix until just combined. Don't overmix; a few streaks of flour are okay. Finally, stir in the hot water or coffee. The batter will be thin, and that's exactly what we want.
The hot liquid is the secret weapon here. It helps to bloom the cocoa powder, giving the cake a richer flavor and a super moist texture. It might seem odd, but it’s a game changer. Just make sure the liquid is hot, but not boiling. You don't want to cook the eggs. Now, you're almost there. Pour the batter into your prepared cake pan and get ready to bake!
Ingredient Type | Ingredients |
|---|---|
Dry | Flour, Sugar, Cocoa Powder, Baking Powder, Baking Soda, Salt |
Wet | Milk, Vegetable Oil, Eggs, Vanilla Extract |
Liquid | Hot Water or Coffee |
Baking to Perfection
Time to bake! Preheat your oven to 350°F (175°C). Pour the batter into your greased and floured 8-inch or 9-inch cake pan. Pop it in the oven and bake for about 30-35 minutes, or until a toothpick inserted into the center comes out clean. Don't open the oven door too often while it’s baking; you don't want to let the heat out. Once it’s done, let the cake cool in the pan for about 10 minutes before inverting it onto a wire rack to cool completely. I know it’s hard, but resist the urge to cut into it before it’s fully cooled. The wait is worth it, I promise!
Remember that oven temperatures can vary, so keep an eye on your cake and adjust the baking time if needed. If the top starts to get too dark, you can tent it loosely with foil for the remainder of the time. Just a little touch that can make a big difference.
Tips for Baking Your Simple 1 Layer Chocolate Cake
Tips for Baking Your Simple 1 Layer Chocolate Cake
Prep Like a Pro
let’s talk about prep. It's not the most exciting part, but trust me, it's crucial for a perfect cake. First, make sure your cake pan is properly greased and floured. I like to use a baking spray that has flour in it; it's a lifesaver. You can also use butter and flour – just make sure to get into all the nooks and crannies. Don't skip this step, or your cake might stick to the pan, and that's a sad day. Also, it's a good idea to get all your ingredients measured out before you start. It's like having all your tools ready before you start a project. It makes the whole process go so much smoother.
Another thing I always do is sift my dry ingredients, especially the cocoa powder. It can get a bit lumpy, and sifting helps to make sure everything is evenly distributed in the batter. It's a small step, but it can make a big difference in the final texture of your cake. I think, It's all about setting yourself up for success before you even start mixing.
Mixing Matters
When it comes to mixing, there's a fine line between just right and over-mixed. You want to mix until the ingredients are just combined. Overmixing can develop the gluten in the flour, which can result in a tough, dense cake – and nobody wants that. It’s like making a delicate sauce; you don’t want to over-stir it. Don’t worry if there are still a few streaks of flour. It’s better to be a little under-mixed than over-mixed. The hot water or coffee you add at the end will help to smooth everything out.
Remember, the goal is to create a light, airy batter. So, be gentle with it. I always think of it like folding in whipped cream, you want to keep all the air you mixed in. It's about finesse, not brute force. Also, don't forget to scrape the sides and bottom of the bowl with a spatula. This ensures that all the ingredients are properly incorporated. It is all about the small details.
Tip | Why it Matters |
|---|---|
Grease and Flour Pan | Prevents cake from sticking |
Sift Dry Ingredients | Ensures even distribution |
Don't Overmix | Keeps cake tender |
Oven Savvy
Your oven is a powerful tool, but it can also be a bit temperamental. Make sure it’s preheated to the correct temperature before you put the cake in. If your oven runs hot or cold, adjust the temperature accordingly. A good oven thermometer can be a lifesaver. Also, keep an eye on your cake as it bakes. Don't just set a timer and walk away. Ovens vary, and your cake might bake faster or slower than expected. The toothpick test is your best friend here. When a toothpick inserted into the center comes out clean, your cake is done. The goal is to bake it until it is cooked through but still moist.
Once the cake is out of the oven, let it cool in the pan for about ten minutes before inverting it onto a wire rack to cool completely. This will prevent it from breaking. It's also easier to frost a cake that's fully cooled, so resist the urge to frost it while it's still warm. It will be worth it, I promise!
Serving and Storing Your Delicious Chocolate Cake
Serving and Storing Your Delicious Chocolate Cake
The Art of Serving
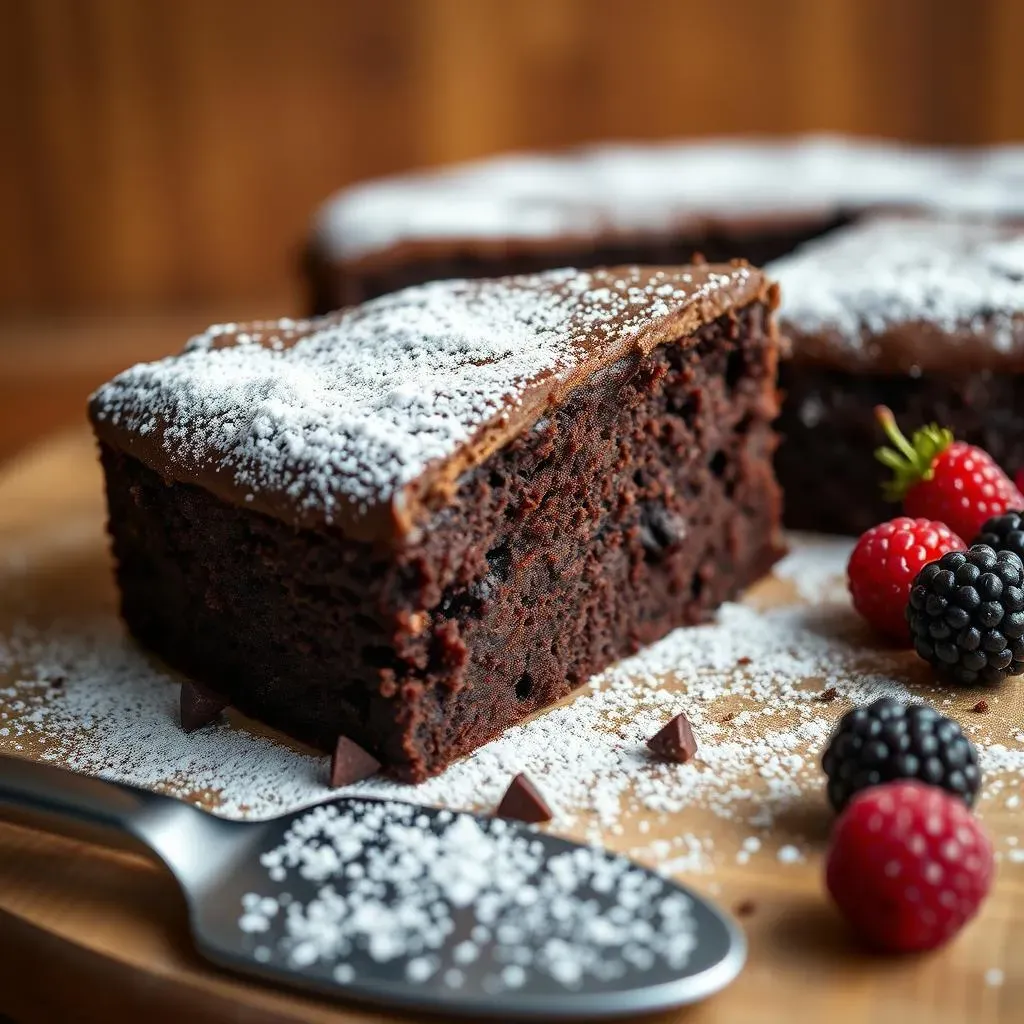
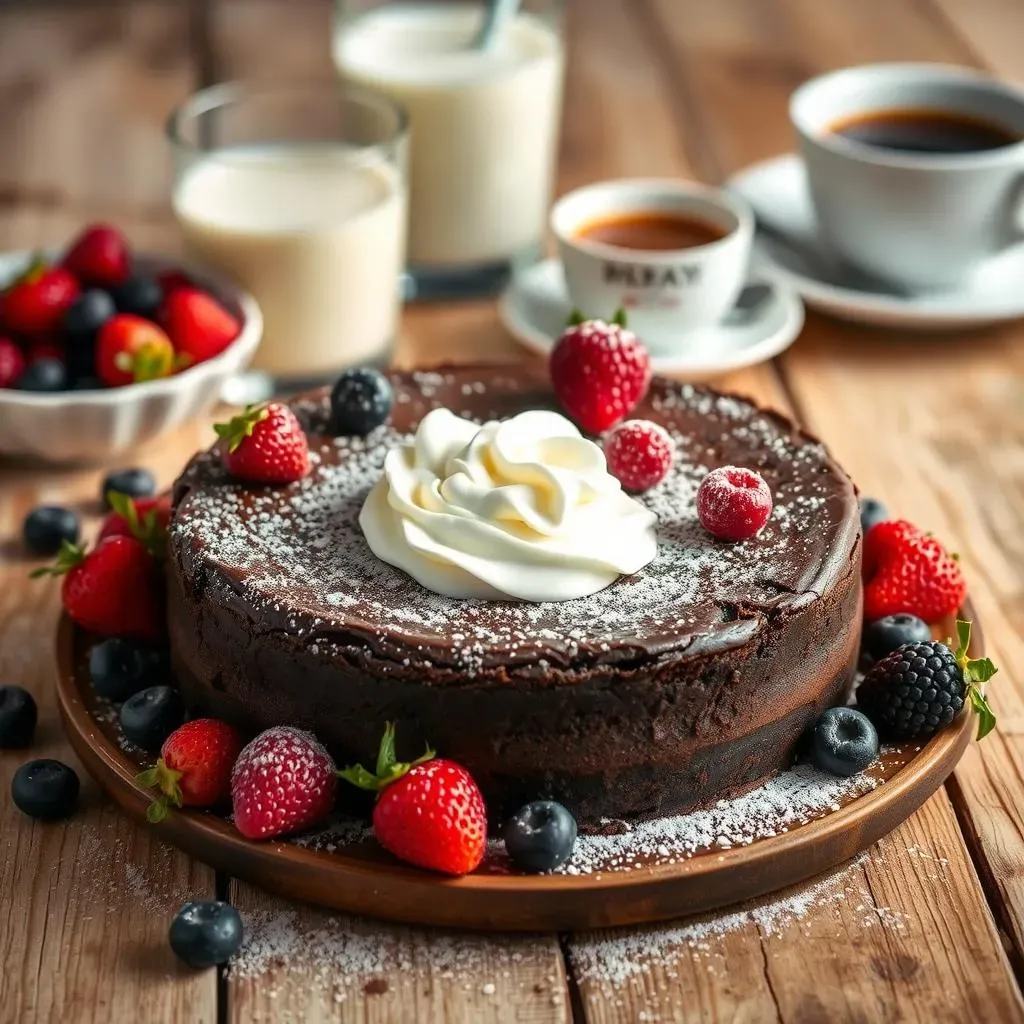
Alright, your cake is baked, cooled, and ready to be devoured. Now, how do you serve this beauty? Well, you've got options! For a simple approach, a dusting of powdered sugar does wonders. It’s elegant and understated. Or, if you’re feeling a bit more adventurous, a rich chocolate ganache can take it to the next level. I love to drizzle it over the top and let it cascade down the sides. Fresh berries, like raspberries or strawberries, add a pop of color and a touch of freshness. A scoop of vanilla ice cream or a dollop of whipped cream is always a good idea too. It's all about making it your own and having fun with it. Think of it like decorating a masterpiece – you're the artist here.
Don't feel pressured to make it perfect. The most important thing is that it tastes delicious! I like to serve my cake with a glass of cold milk or a cup of coffee. It's the perfect pairing for a rich chocolate treat. And, if you're serving a crowd, you can cut the cake into squares or slices, depending on your preference. Just remember to use a sharp knife for clean cuts. Presentation is part of the whole experience, right?
Storing Your Cake
let's talk storage. If you happen to have any leftover cake (which, let's be honest, is a rare occurrence), you’ll want to keep it fresh. The best way to store your simple 1 layer chocolate cake is to wrap it tightly in plastic wrap or place it in an airtight container. You can keep it at room temperature for a day or two, but if you want it to last longer, the fridge is your friend. It'll stay moist and delicious in the refrigerator for up to three days. Just make sure it’s well-covered so it doesn’t dry out.
And here's a tip: if you want to freeze your cake, you totally can! Wrap it tightly in plastic wrap, then in foil, and it'll keep in the freezer for up to a month. When you're ready to eat it, let it thaw in the fridge or at room temperature. It's perfect for those times when you want a slice of cake but don't have time to bake a whole new one. Now, that’s what I call smart baking!
Storage Method | Duration |
|---|---|
Room Temperature | 1-2 days |
Refrigerator | Up to 3 days |
Freezer | Up to 1 month |
Making it Last
To keep your stored cake as moist and delicious as possible, there are a few tricks you can use. First, if you’ve already cut into the cake, press a piece of parchment paper or plastic wrap directly onto the cut surface before wrapping the whole cake. This helps to prevent it from drying out. Also, when you freeze cake, it’s a good idea to slice it into individual portions before wrapping it up. This way, you can thaw just what you need, and the rest of the cake stays nice and frozen. It’s all about preserving that soft, moist texture.
And, if you're planning to frost the cake after it’s been stored, it’s best to let it come to room temperature first. This will make it easier to spread the frosting and prevent it from cracking. Remember, a little planning goes a long way in ensuring your cake is just as delicious the second time around. It’s these little details that make all the difference. Now, go enjoy your amazing simple 1 layer chocolate cake recipe!
Wrapping Up Your Simple Chocolate Cake
So there you have it, a truly simple 1 layer chocolate cake recipe that delivers big on flavor without the fuss. From the ease of mixing everything in one bowl to the minimal cleanup, this cake is a winner for any occasion. I hope you've found the tips and tricks helpful and are now ready to bake your own delicious creation. Remember, baking should be fun and this recipe is all about embracing simplicity. Whether you choose to top it with a rich ganache, a dusting of powdered sugar, or even just a scoop of ice cream, enjoy every bite of your homemade treat. Happy baking!