Table of Contents
Let's be honest. Sometimes you just need chocolate. Not a sad little square from a questionable Halloween stash, but *real*, warm, gooey, decadent chocolate. The kind that makes you close your eyes and forget about the pile of laundry or the looming deadline. If that sounds like you, then you've likely considered tackling a molten chocolate lava cake. Or maybe you've ordered one at a restaurant and wondered if that magical, flowing center was some kind of culinary witchcraft beyond your reach.
What Exactly Is a Molten Chocolate Lava Cake Anyway?
What Exactly Is a Molten Chocolate Lava Cake Anyway?
More Than Just Underbaked Cake
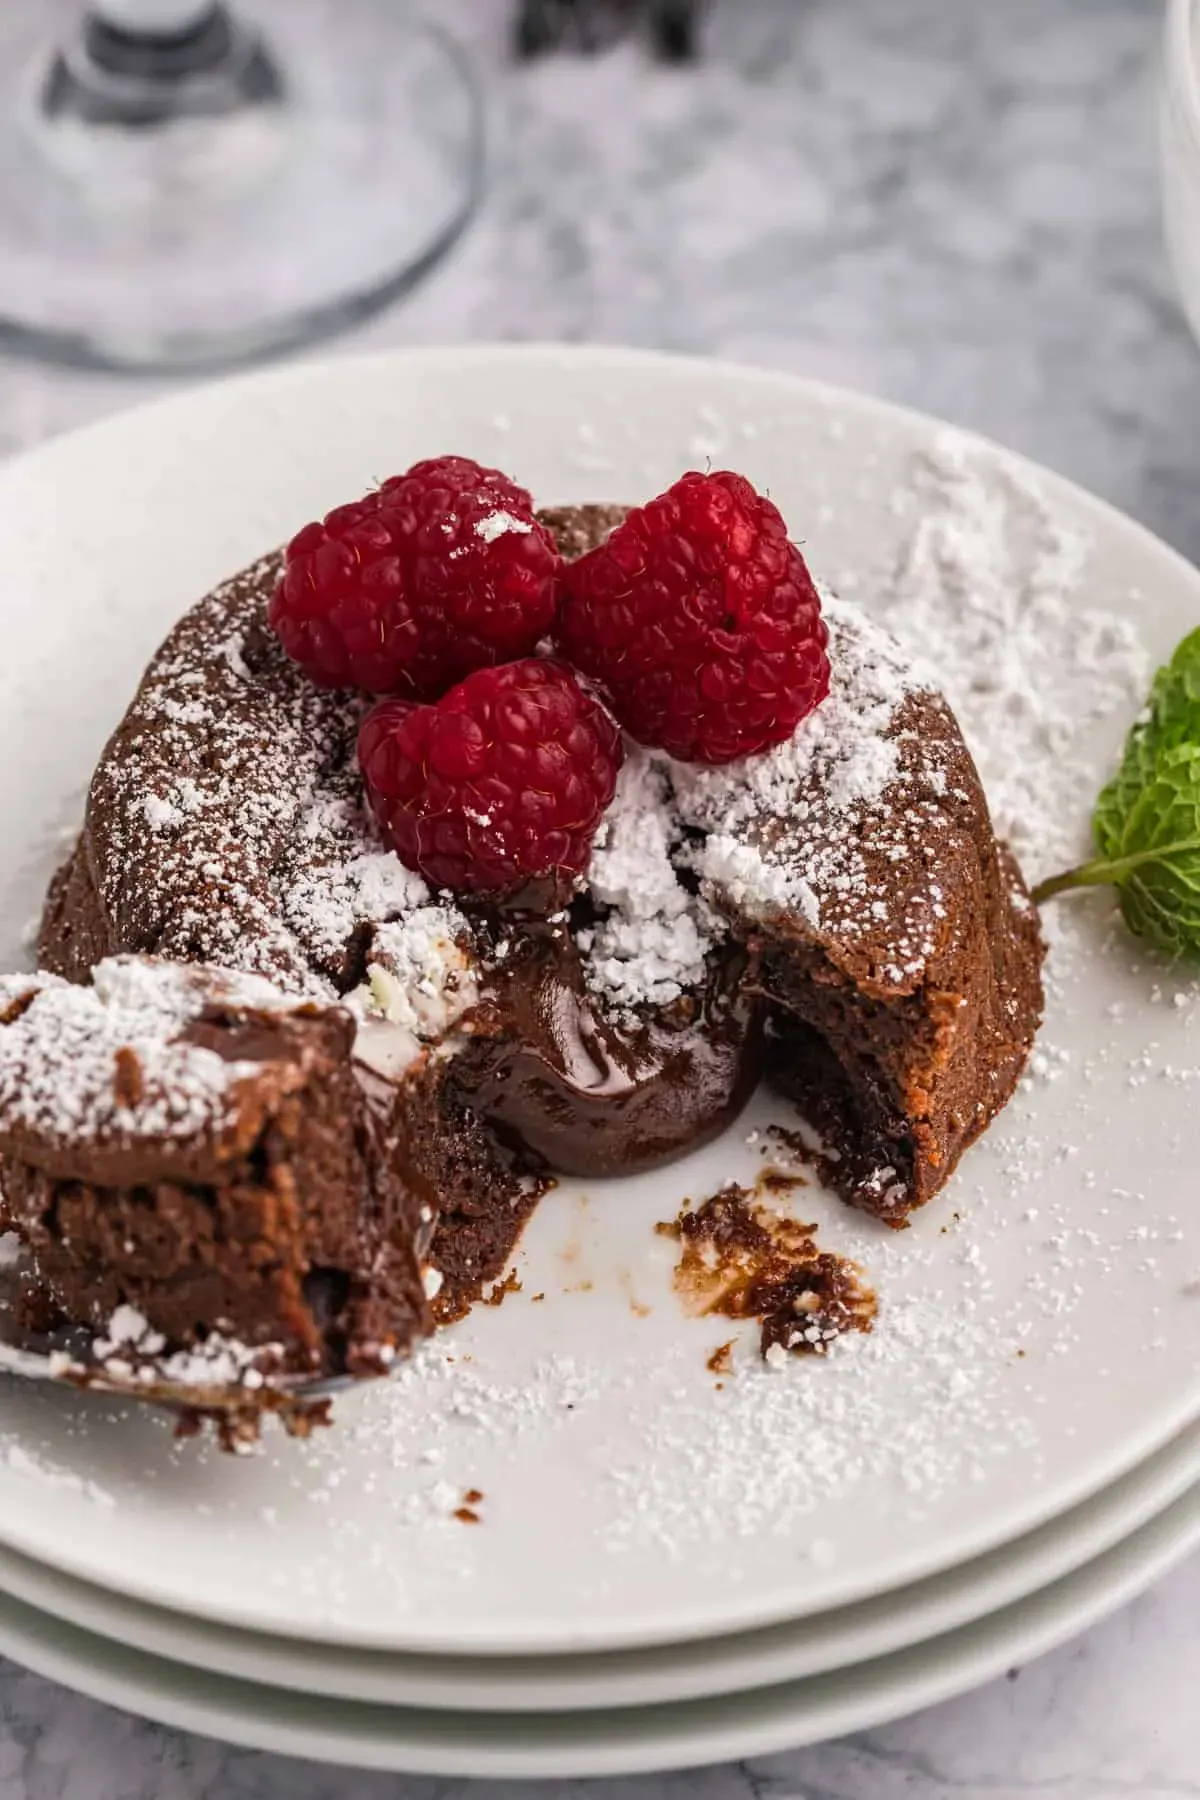
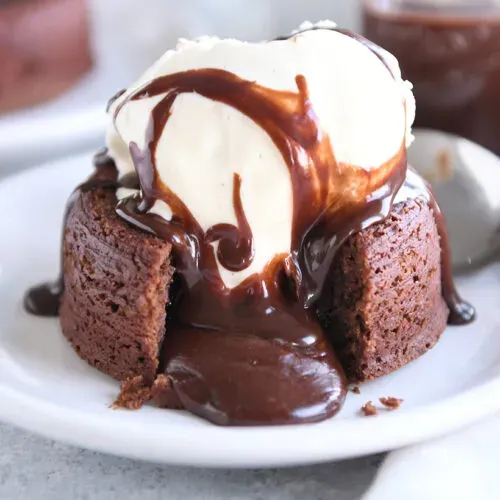
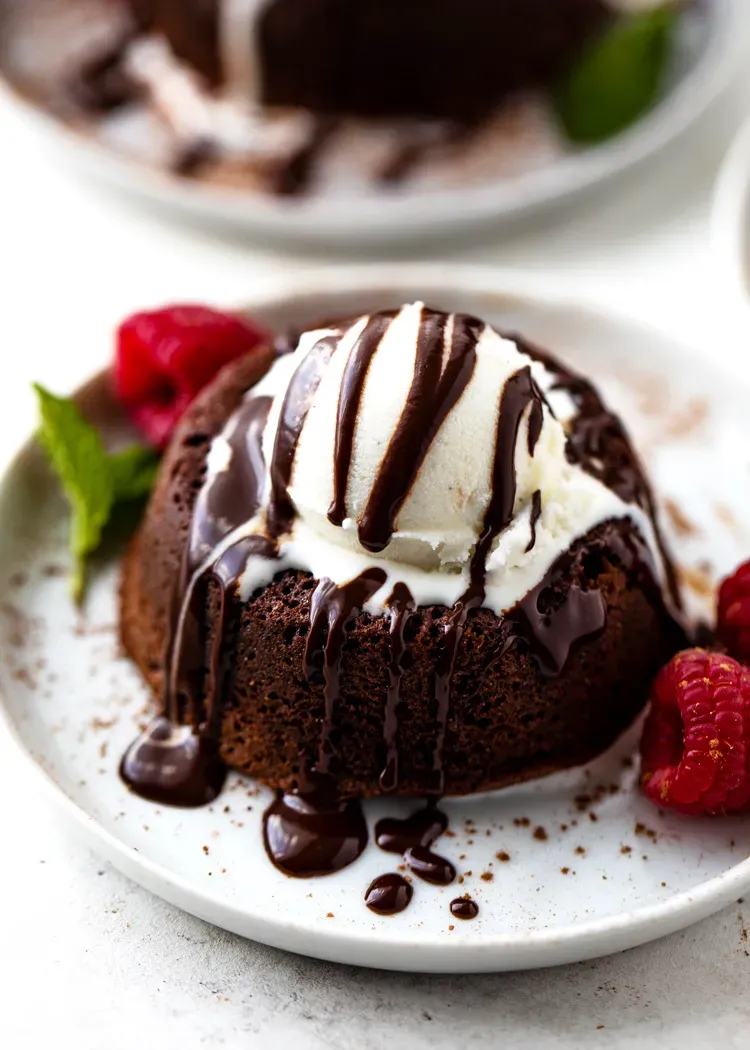
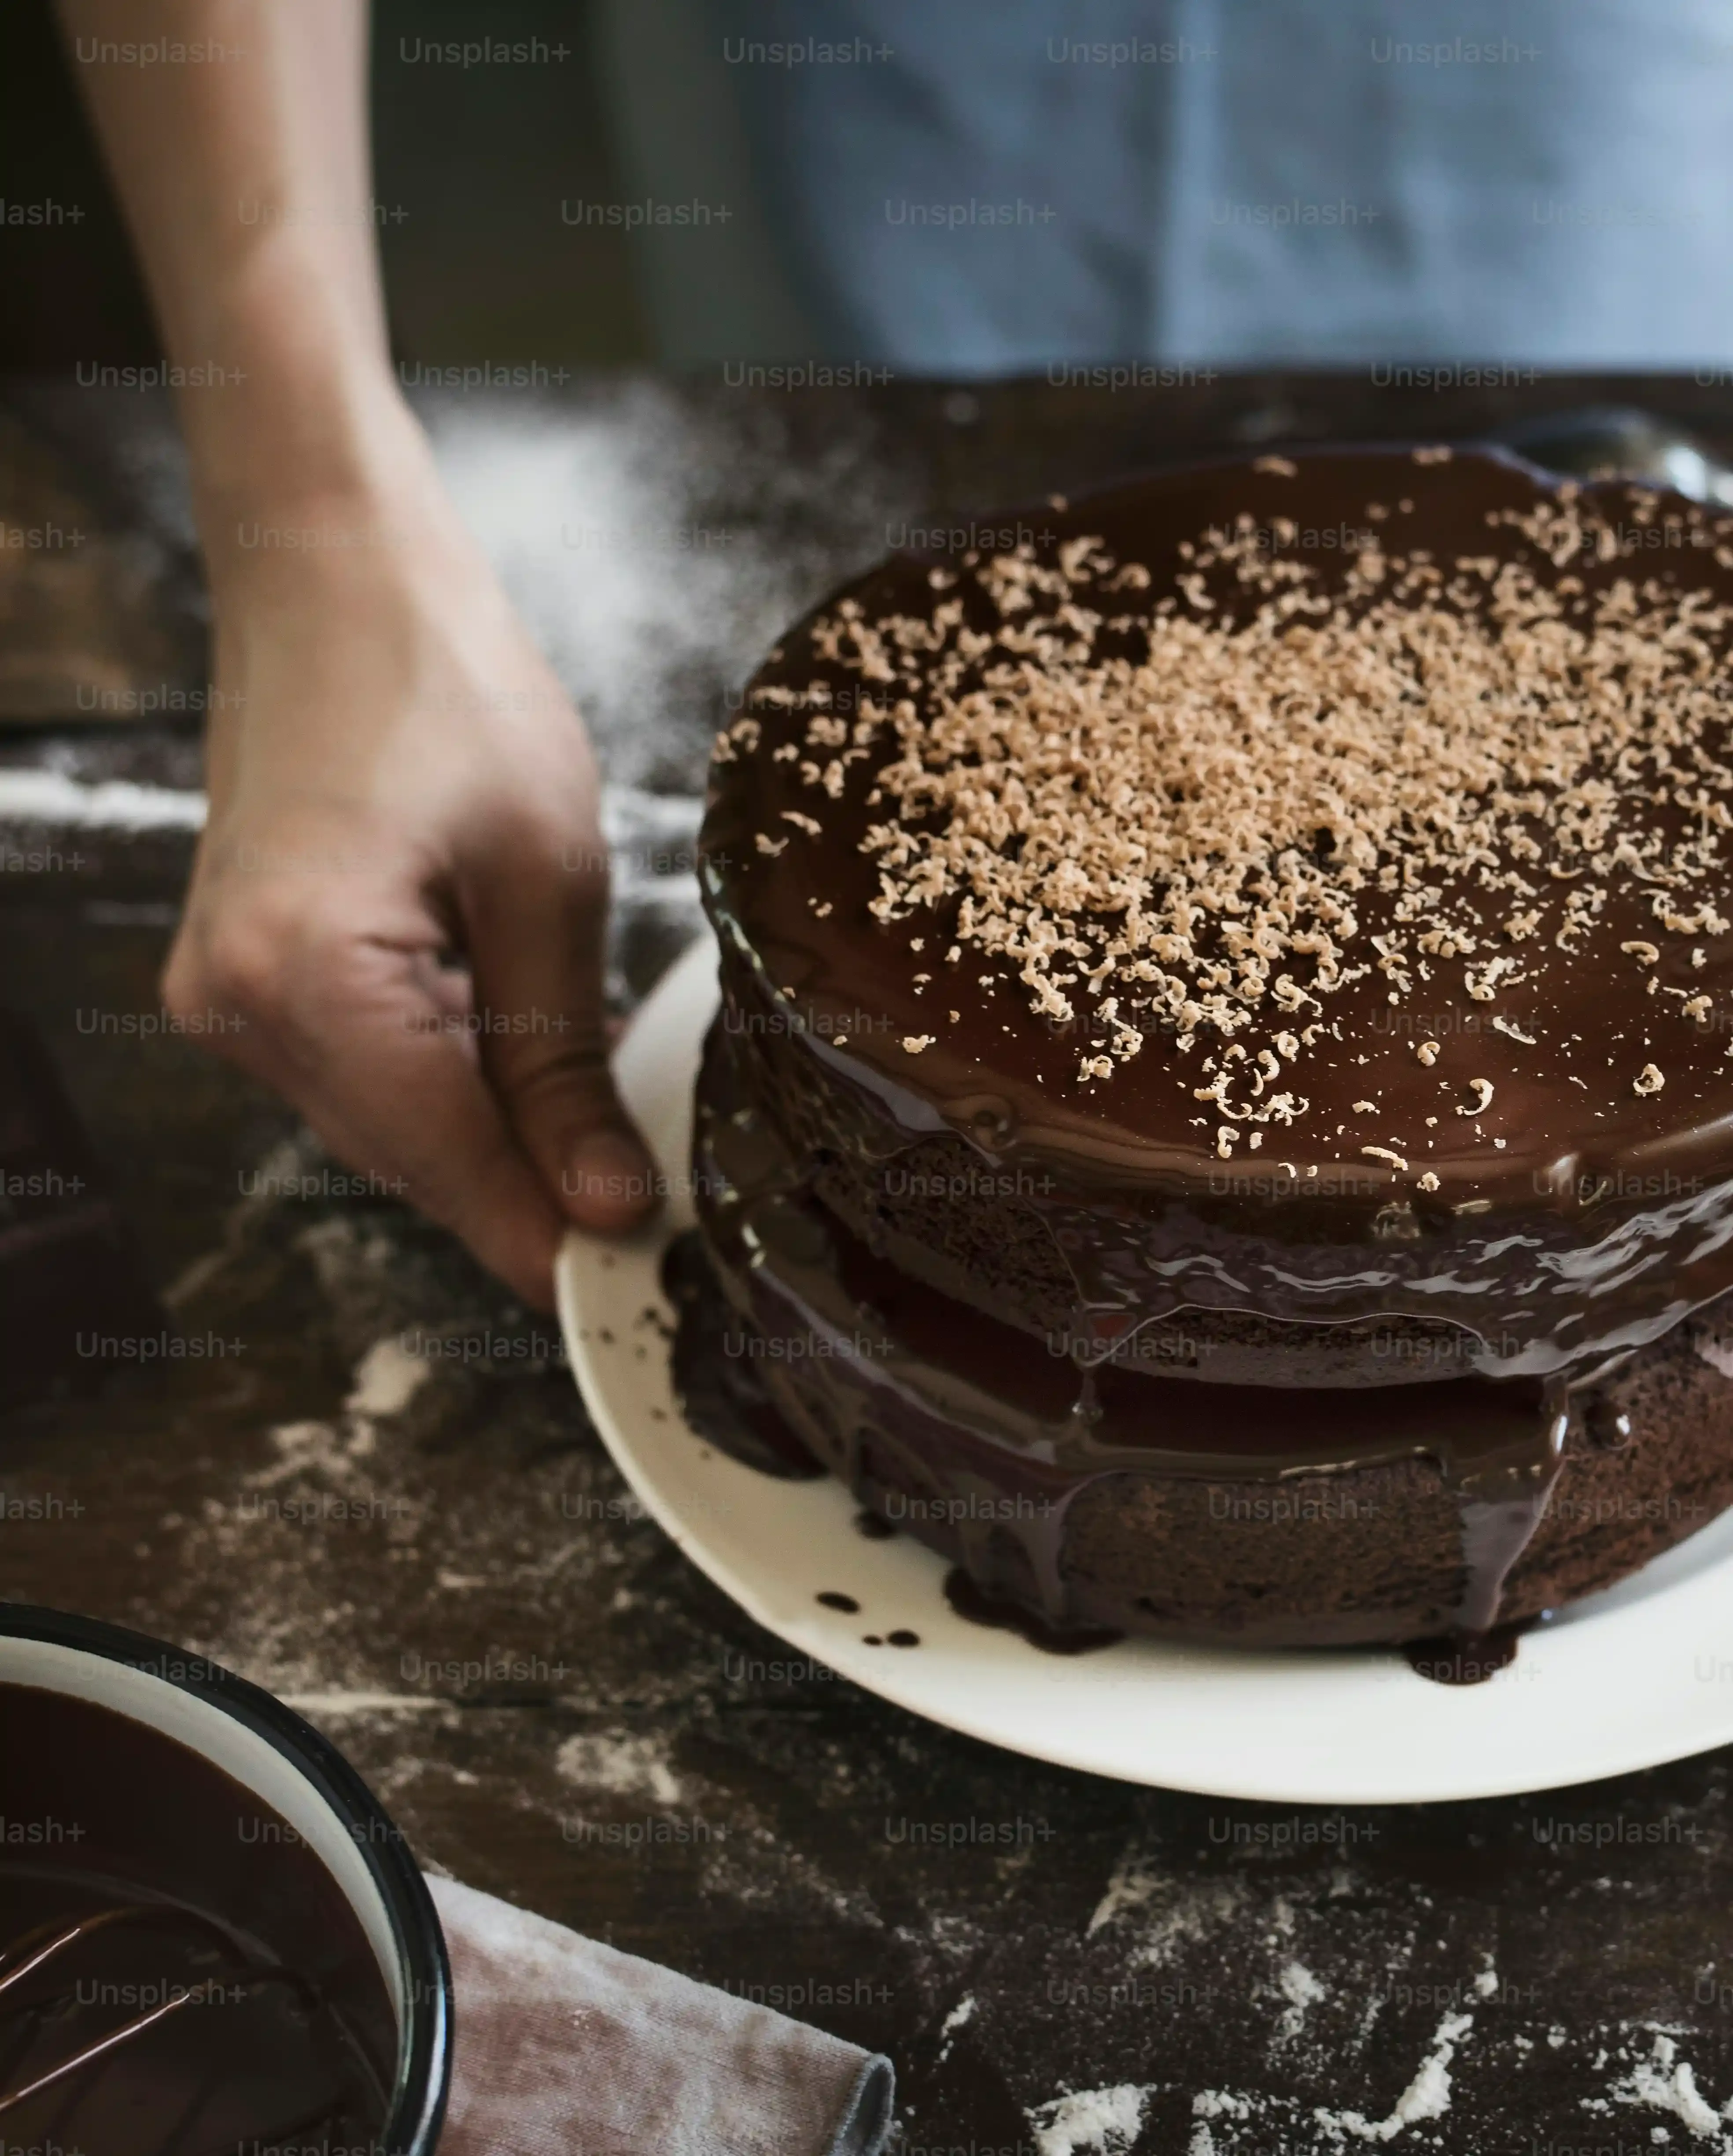
Alright, let's cut to the chase. When someone talks about a molten chocolate lava cake, they're not just describing a slightly gooey brownie. We're talking about a specific dessert, typically served warm, where the exterior is cooked through like a tender chocolate cake, but the interior remains dramatically liquid. Think of it as a small, individual chocolate fortress with a river of warm, rich chocolate waiting to spill out. It's the contrast between the set edges and the flowing center that defines it, creating that signature "lava" effect when you break into it with a spoon.
The Culinary Trick Up Its Sleeve
So, how do you get that magical molten center without just serving raw batter? The standard approach, perfected by chefs like Jean-Georges Vongerichten (often credited with popularizing it), isn't usually about stuffing a truffle inside (though some recipes do that). The real genius lies in timing and temperature. You bake a rich, chocolatey batter just long enough for the outside to firm up and form a cake-like structure, while the heat hasn't fully cooked the center, leaving it in that glorious, liquid state. It requires precision, sure, but it's less complicated than it sounds. Getting the ideal molten chocolate lava cake recipe means understanding this delicate balance.
- Small, individual serving size
- Cooked cake exterior
- Warm, liquid chocolate interior
- Best served immediately after baking
- Often paired with ice cream or berries
The Moment of Truth
The payoff for getting the timing right is that first spoonful. You pierce the cake's surface, and like a tiny chocolate volcano, the warm, dark liquid oozes out onto the plate. It's a bit dramatic, absolutely delicious, and frankly, makes you feel like you've accomplished something impressive, even if you followed a simple molten chocolate lava cake recipe. It’s a dessert built on anticipation and delivery, a simple concept executed well that provides maximum chocolate impact in a relatively short amount of time.
Gathering Your Arsenal: Ingredients for Your Molten Chocolate Lava Cake Recipe
The Essential Lineup for Lava Glory
Alright, troop, let's talk supplies. You can't conjure a magnificent molten chocolate lava cake out of thin air, though wouldn't that be nice? The good news is the ingredient list for a killer molten chocolate lava cake recipe isn't overly complicated. We're talking standard pantry staples, mostly. Butter, sugar, eggs, a touch of flour, and cocoa powder. But the real star, the one ingredient you absolutely cannot skimp on, is the chocolate itself. Using quality chocolate here makes a world of difference. Think good dark or semi-sweet chocolate, something you'd actually enjoy eating straight from the bar.
Here's your basic shopping list:
- Good quality dark or semi-sweet chocolate (around 60-70% cocoa solids)
- Unsalted butter
- Granulated sugar
- Large eggs
- Egg yolks (these add richness and help with the molten center)
- All-purpose flour
- A pinch of salt (enhances the chocolate flavor)
- Cocoa powder (for dusting the ramekins)
Prepping for Perfection: The Steps Before Baking Your Molten Chocolate Lava Cakes
Prepping for Perfection: The Steps Before Baking Your Molten Chocolate Lava Cakes
Greasing Those Ramekins: Your First Defense
Look, nobody wants a molten chocolate lava cake that refuses to budge from its container. It's a dessert, not a wrestling match. Prepping your ramekins is non-negotiable if you want that beautiful, clean release onto the plate. You need to butter them generously. Get into every nook and cranny. Think like you're buttering toast for a giant, except it's a tiny ceramic cup. After the butter, dust them with cocoa powder. This provides a dark background so any stray bits don't show, and adds another layer of chocolate flavor. Tap out the excess cocoa. Do this right, and your molten chocolate lava cake recipe success rate goes way up.
Melting the Magic: Chocolate and Butter Union
This is where the primary flavor base of your molten chocolate lava cake recipe comes together. You need to melt your good quality chocolate and unsalted butter together. Doing this gently is key. A double boiler is ideal, or a heatproof bowl set over a pot of simmering water. The goal is smooth, glossy, melted goodness, not seized, grainy sadness. Stir it occasionally, but don't rush it. Once it's melted and combined, pull it off the heat. Let it cool slightly while you work on the next steps. You don't want to scramble your eggs later by adding hot chocolate mixture.
- Use softened, not melted, butter for greasing.
- Dust with cocoa powder, not flour, for best color and flavor.
- Melt chocolate and butter over simmering water, not boiling.
- Do not overheat the chocolate mixture.
Whipping Up the Base: Eggs, Sugar, and Flour
While your chocolate cools, you'll work on the egg and sugar base. You want to beat the eggs and egg yolks with the sugar until they are thick, pale, and creamy. This step incorporates air and builds structure, crucial for the cake part of your molten chocolate lava cake recipe. This usually takes a few minutes with an electric mixer. Don't under-whip; you're looking for a ribbon effect when the whisk is lifted. Once that's done, gently fold in the flour and salt. Don't overmix here; you just want to combine them until no dry streaks remain. Overmixing develops gluten, which makes cakes tough – not what we want for a delicate lava cake.
Baking Your Molten Chocolate Lava Cake Recipe: The Crucial Timing
Baking Your Molten Chocolate Lava Cake Recipe: The Crucial Timing
Getting Your Oven Ready for Lava Action
so you've got your gorgeous batter in those perfectly prepped ramekins. Now comes the moment of truth: the oven. This isn't the time to guesstimate your oven temperature. Preheat it properly, usually somewhere between 375°F and 400°F (check your specific molten chocolate lava cake recipe, but this range is common). Why the range? Ovens vary wildly. Knowing your oven is key here. You want it hot enough to set the outside quickly but not so hot that it cooks the center solid before the edges are done. Place your ramekins on a baking sheet – this makes them easy to get in and out and catches any potential drips (though if you greased well, there shouldn't be any!).
Watching for the Magic Moment: Visual Cues Are Your Friend
This is the most critical part of any molten chocolate lava cake recipe: knowing *when* to pull them out. Forget the toothpick test; that's for fully cooked cakes. For lava cakes, you're looking for visual cues. The edges should look set and slightly pulled away from the sides of the ramekin. The center, however, should still look soft, maybe even a little jiggly if you gently nudge the baking sheet. It shouldn't look wet like raw batter, but definitely not firm. This usually takes 10-15 minutes, depending on your oven and the size of your ramekins. Err on the side of slightly underbaked if you're unsure; a little *too* much lava is better than a solid chocolate cake.
- Edges appear set and firm.
- Cake pulls slightly away from the ramekin sides.
- Center looks soft and slightly shiny.
- A gentle nudge might show a slight wobble in the center.
- No dry crumbs if you were to *very* gently touch the center (but don't!).
The All-Important Rest Before the Reveal
You've pulled them from the oven, they look perfect, the edges are set, the centers are quivering slightly. Resist the urge to immediately flip them! Let those glorious molten chocolate lava cakes rest in their ramekins for 2-3 minutes. This short rest allows the edges to firm up just a tiny bit more, making them stable enough to invert without collapsing. It also gives the molten center a moment to become truly liquid. After the rest, run a knife gently around the edge of each cake (if needed, but with proper greasing, you shouldn't). Place a plate upside down over the ramekin, and with a quick, confident flip, turn it over. Lift the ramekin, and behold! Your perfectly executed molten chocolate lava cake recipe success.
Serving and Troubleshooting Your Molten Chocolate Lava Cakes
Serving and Troubleshooting Your Molten Chocolate Lava Cakes
Serving Your Masterpiece (And What To Do When Things Go Sideways)
the flip was a success, and you've got these beautiful, individual chocolate volcanos sitting proudly on their plates. This is the moment. Serve them immediately, while the center is still perfectly molten. A scoop of vanilla ice cream melting into the warm chocolate is classic for a reason. Fresh berries add a nice tart contrast, cutting through the richness. Powdered sugar is a simple, elegant finish. But what if it didn't quite work? What if the center was solid? Or *too* liquid? Don't despair. A solid center usually means it was baked too long – maybe your oven runs hot, or you just left them in for an extra minute. Too liquid, like raw batter, means not long enough. Note the time, adjust for the next batch. Even a slightly overbaked lava cake is still a darn good chocolate cake, and a slightly underbaked one? Well, that's just extra lava, isn't it? Consider it a learning experience for perfecting *your* molten chocolate lava cake recipe.
Common Lava Cake Problems & Quick Fixes:
- Solid Center: Baked too long. Reduce baking time by 1-2 minutes next time. Check oven calibration.
- Center is Raw Batter (not just molten): Not baked long enough. Increase baking time by 1-2 minutes. Ensure batter was mixed properly (not under-mixed).
- Cake Sticks to Ramekin: Ramekin wasn't buttered and cocoa-dusted thoroughly enough. Be more generous next time, getting into all crevices.
- Cake Collapses When Flipped: Either rested too short a time, or center was too raw. Let rest slightly longer (3-4 minutes), or bake for another minute if centers were very loose.
The Sweet Aftermath: Enjoying Your Lava Cakes
So there you have it. Your kitchen might smell faintly of chocolate and triumph. You've navigated the surprisingly simple path to molten glory. Whether you serve them hot with a scoop of vanilla bean ice cream melting into the warm chocolate pool, or dust them with powdered sugar for a touch of elegance, these molten chocolate lava cakes are a reliable win. They prove you don't need a professional kitchen or a culinary degree to achieve restaurant-level dessert magic. Just a few ingredients, a little timing, and a willingness to embrace the gooey mess that is pure chocolate indulgence. Now, go forth and conquer your sweet tooth.