Table of Contents
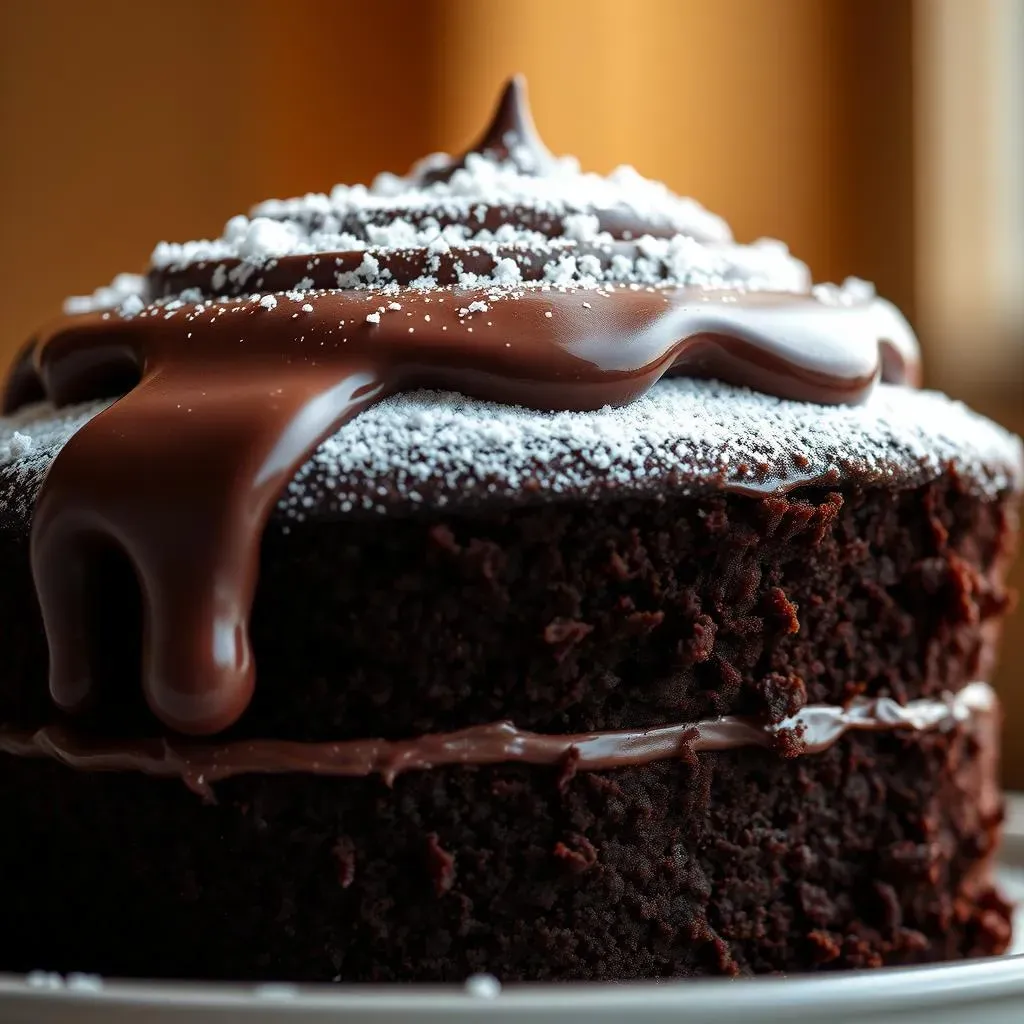
Ever dream of a chocolate cake that's so moist, it practically melts in your mouth? I'm talking about a seriously decadent, deeply chocolatey, moist layer chocolate cake that'll make you forget all other cakes. We're not messing around with dry, crumbly disappointments. This is the real deal – the kind of cake that gets requested for birthdays, holidays, and those "just because" moments. In this article, I'll walk you through the secrets to baking the most amazing moist layer chocolate cake you've ever tasted. We’ll start with the crucial ingredients that make all the difference, then move onto the technique to create that perfect moist crumb. Finally, we’ll top it all off with a silky smooth chocolate buttercream that will send your tastebuds into overdrive. So, grab your apron, preheat that oven, and let's get baking! Prepare to become a moist layer chocolate cake master.
The Secret to a Super Moist Chocolate Layer Cake
The Secret to a Super Moist Chocolate Layer Cake
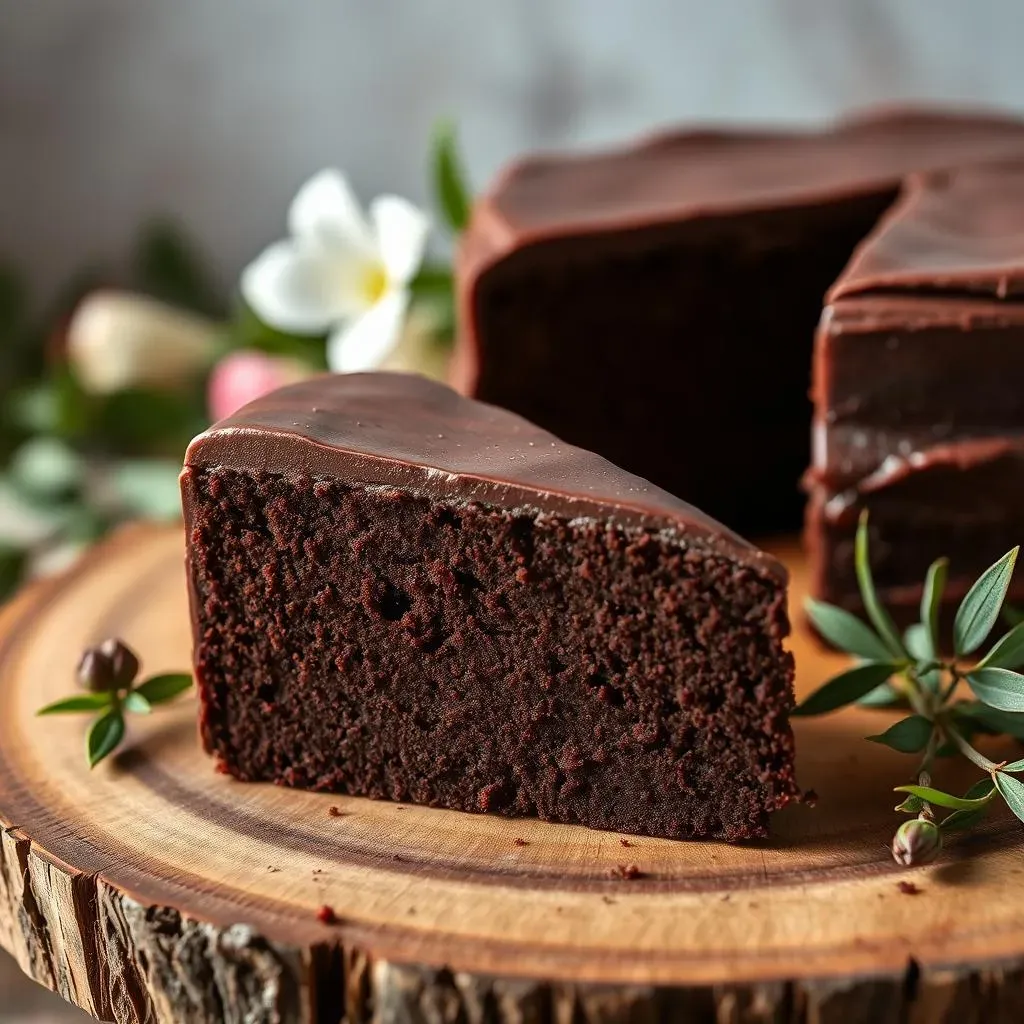
Okay, so you want the secret? It's not some magical ingredient or a fancy technique, it's actually a combination of a few key things working together. First, you absolutely need the right kind of cocoa powder. I'm talking about natural cocoa powder, not the Dutch-processed stuff. It has a slightly acidic nature that reacts with baking soda, giving your cake that beautiful lift. Next, it’s all about the liquids! We're using buttermilk, which is a game changer, and hot coffee. The buttermilk adds tenderness, while the hot coffee intensifies the chocolate flavor. Don't worry, your cake won't taste like coffee. It just makes the chocolate sing. Finally, don't be shy with oil. We’re not using butter in the batter here. Oil helps keep the cake moist for days.
It's really important to not overmix the batter. Once you add the wet ingredients to the dry, mix until just combined. Overmixing develops the gluten in the flour, which can make your cake tough. Think about it like you’re gently folding laundry, not wrestling a bear. And finally, don’t over bake it! Start checking for doneness a few minutes before the recipe says, you want to take it out when a toothpick inserted into the center comes out with just a few moist crumbs attached.
Ingredient | Why It Matters |
|---|---|
Natural Cocoa Powder | Provides acidity for lift and enhances chocolate flavor. |
Buttermilk | Adds tenderness and moisture. |
Hot Coffee | Intensifies the chocolate flavor. |
Oil | Keeps the cake moist for days. |
Building the Perfect Moist Layer Chocolate Cake
Building the Perfect Moist Layer Chocolate Cake
Layering Up for Success
Alright, let's talk about actually making this masterpiece. First, make sure your oven is preheated to the right temperature. This is crucial for even baking. Don't just set it and forget it, give it a few extra minutes to really get to that temperature. Now, prepare your cake pans. I like to grease them well and line the bottoms with parchment paper. It is a lifesaver when you need to get your cake out without it breaking into pieces. Divide the batter evenly between the pans. I use a kitchen scale to make sure each layer is the same size, but you don't have to be that precise. Just eyeball it. This helps make sure your cake is level and bakes evenly.
Next, you will be baking the cake. Don't open the oven door while your cake is baking unless you really have to. Opening the door lets out the heat and can cause your cake to sink. Start checking for doneness a few minutes before the recipe says, you want to take it out when a toothpick inserted into the center comes out with just a few moist crumbs attached, as I said before. Let the cakes cool in the pans for about 10 minutes before you turn them out onto a wire rack to cool completely. This prevents them from breaking while they are still warm and fragile. I know it's tempting to frost them right away, but patience is key here. You absolutely need to let them cool completely before frosting.
Leveling the Playing Field
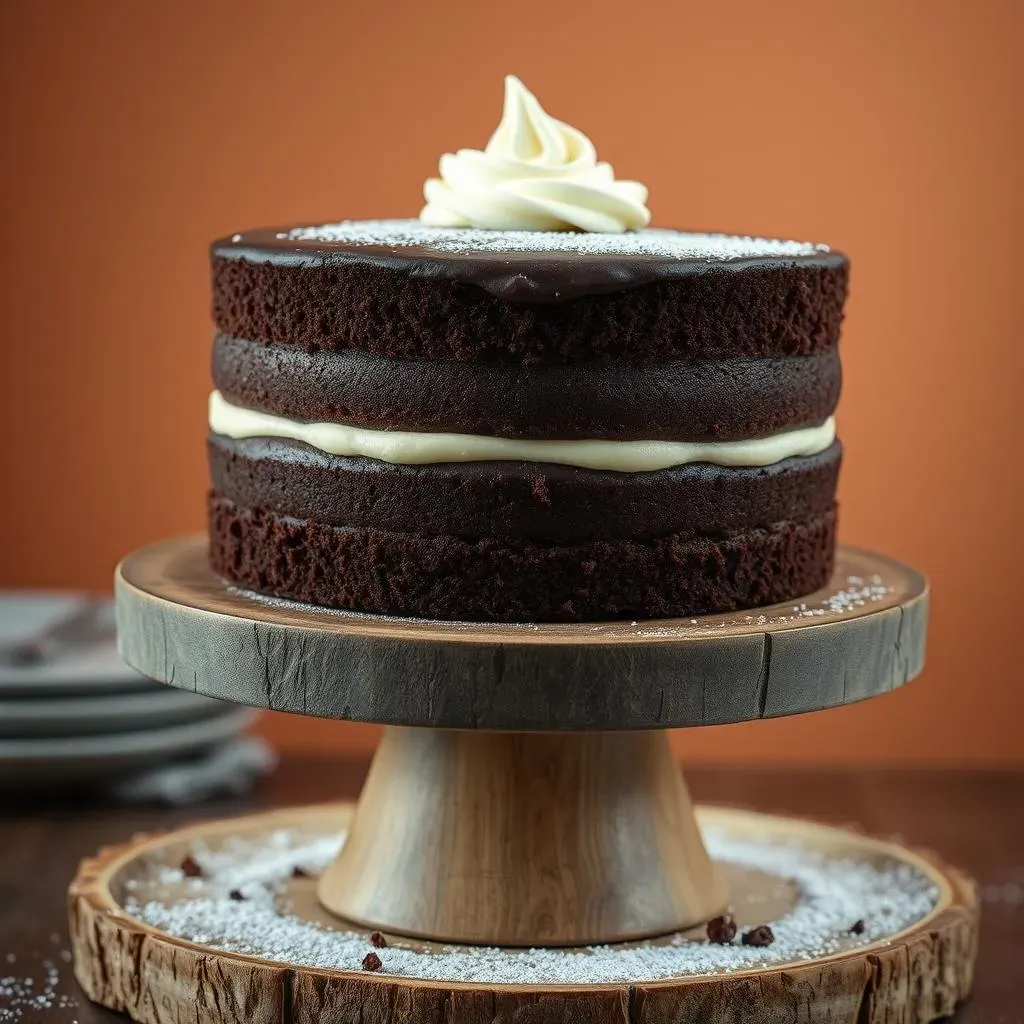
Once the cakes are completely cool, it's time to level them. If your cakes have a dome on top, you can use a long serrated knife to carefully slice off the domed part. This will make it easier to stack them and create a level cake. This is also a good time to trim off any crusty edges if you want. It is not necessary, but it will give a cleaner look. Now, you're ready to start assembling your moist layer chocolate cake. Place your first layer on a cake stand or plate. If you want to make sure your cake doesn't slide, you can place a little dab of frosting on the cake stand before you place the first layer. This helps to act like a glue.
Now, you need to spread a generous layer of frosting on top of the first cake layer. Make sure the frosting goes all the way to the edge. Place your second cake layer on top of the frosting, and repeat the process with more frosting. If you are making a three-layer cake, add the third layer and frost it. I like to do a crumb coat, which is a thin layer of frosting all over the cake, and then let it chill in the fridge for 15 minutes before adding the final layer of frosting. This seals in all the crumbs and gives you a super smooth finish.
- Use room temperature eggs for the cake.
- Level your cake layers with a serrated knife.
- Use a cake stand or plate to assemble your cake.
- Do a crumb coat before the final layer of frosting.
Frosting and Finishing Your Moist Layer Chocolate Cake
Frosting and Finishing Your Moist Layer Chocolate Cake
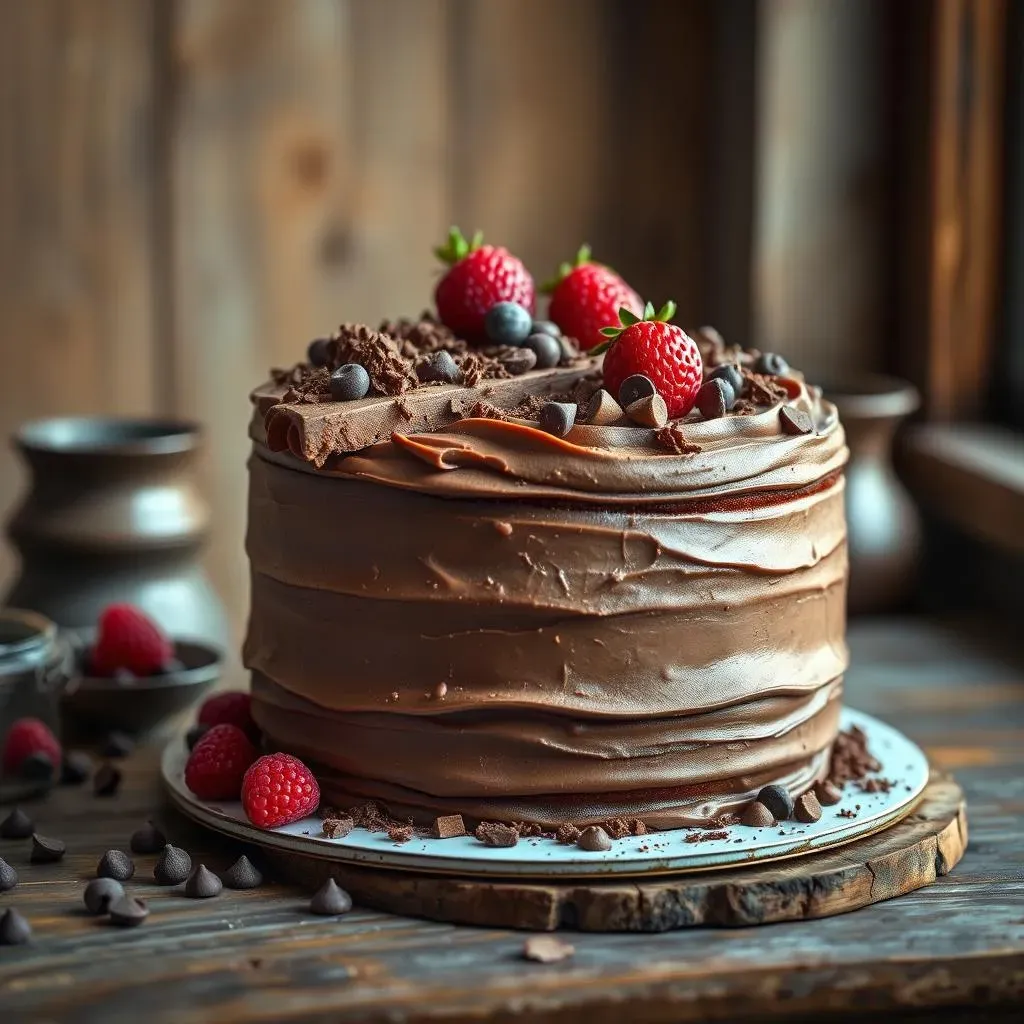
Okay, so you've baked this amazing, moist layer chocolate cake, and now it's time for the best part: frosting! We're not talking about some store-bought stuff here. We're making a silky smooth chocolate buttercream that's going to take this cake to the next level. It's actually pretty simple. Start with softened unsalted butter. Beat it until it's light and fluffy. Then, add in some powdered sugar, a little bit at a time, and unsweetened cocoa powder. Mix until it's combined. Finally, add some heavy cream, a tablespoon at a time, until you get the right consistency. You want it to be thick and spreadable, but not too stiff. Don’t be afraid to taste it and add more powdered sugar or cream until it’s perfect.
Once your frosting is ready, it's time to get decorating. If you did a crumb coat, your cake should be nice and chilled. Now, slather on the rest of your buttercream. I like to use an offset spatula to get a smooth finish, but you can use whatever you have. Don't worry about making it perfect. The goal here is to make it look delicious and inviting. If you're feeling fancy, you can add some chocolate shavings, chocolate chips, or even some fresh berries on top. I'm a big fan of a simple chocolate ganache drizzle, it adds a touch of elegance and extra chocolate flavor. Remember, this is your canvas. Have some fun with it! The most important thing is that it tastes amazing.
Frosting Ingredient | Purpose |
|---|---|
Unsalted Butter (softened) | Provides richness and structure. |
Powdered Sugar | Adds sweetness and thickness. |
Unsweetened Cocoa Powder | Boosts chocolate flavor. |
Heavy Cream | Creates a smooth, spreadable texture. |