Table of Contents
Okay, let's face it, a plain chocolate cake is like a good joke with no punchline, it's just not quite there. You know what I mean? But what if I told you that you could transform that humble cake into a show-stopping masterpiece? This isn't your grandma’s basic frosting swirls, we're talking about the world of modern chocolate cake decorating! Forget those tired old designs, we are heading into a new era of sleek ganache drips, gravity-defying chocolate sculptures, and painterly buttercream strokes. I'm going to walk you through everything, from the basic steps to the more advanced techniques. We'll explore essential tools, uncover creative ideas, and I'll even share some secrets that will make your cakes look like they came straight out of a magazine. Whether you're a beginner or a seasoned baker, get ready to unleash your inner artist and turn your chocolate cake into a work of art. So, grab your aprons, preheat those ovens, and let's get decorating!
Getting Started with Modern Chocolate Cake Decorating
Getting Started with Modern Chocolate Cake Decorating
Choosing Your Canvas: The Right Cake
First things first, you can't have a masterpiece without a good base, right? Think of your cake as the canvas for your chocolatey art. I'm not saying you need to be a master baker, but using a recipe that you know and love is important. A dense, moist chocolate cake works best because it can handle all the decorating we're about to do. Avoid cakes that are too crumbly or light, they’ll just make your life harder. If you’re feeling lazy, a box mix is okay too, just don't tell anyone I said that.
Let the cake cool completely before starting any decorating. This is not a suggestion, it's a rule. If the cake is still warm, your frosting will melt and slide right off. Imagine your perfect chocolate drip cake, now imagine that drip sliding off the table and making a mess, that's what a warm cake will do, so don't do it!
Frosting Fundamentals: Your Adhesive
Now that you have your cake, let's talk frosting. This is the glue that holds everything together, so you need to pick the right one. Chocolate buttercream is a classic choice, and it's also pretty easy to make. But don't limit yourself, you can use a ganache, a whipped cream frosting, or even a cream cheese frosting if you're feeling adventurous.
The key here is consistency. You want a frosting that is smooth and spreadable but not too runny. Think of it like peanut butter, if it's too thick it'll be hard to spread, and if it's too thin it'll drip everywhere. A good frosting should be easy to work with.
Also, don't be afraid to experiment with flavors! A hint of espresso, a dash of sea salt, or even some chili powder can take your frosting from good to amazing.
Frosting Type | Consistency | Best Use |
|---|---|---|
Chocolate Buttercream | Smooth, Spreadable | General Frosting, Piping |
Chocolate Ganache | Glossy, Pourable | Drips, Glazing |
Whipped Cream | Light, Airy | Filling, Light Frosting |
Simple Tools, Big Impact
You don't need a fancy cake decorating studio to get started, most of the time basic tools will do the trick, and you probably already have them in your kitchen. An offset spatula is your best friend for frosting evenly, a turntable will make your life a whole lot easier, especially if you're trying to get those smooth sides, and some piping bags and tips will allow you to add some interesting designs.
Don't stress about expensive tools. You can start with the basics and gradually build your collection as you gain experience. And remember, you can always improvise! A spoon can work instead of a spatula, or a ziplock bag with a corner cut off instead of a piping bag.
Techniques for Modern Chocolate Cake Decoration
Techniques for Modern Chocolate Cake Decoration
The Smooth Frosting Finish
Okay, so you've got your cake and your frosting ready to go. Now comes the part where you make it look professional, and it's all about getting that smooth finish. The key here is patience, not going to lie. You want to start with a thin layer of frosting, called a crumb coat. This seals in all those pesky crumbs and gives you a nice base. Don't worry about making it perfect, it's just a base. Chill the cake for about 15 minutes. This is important, do not skip this step, it will make your life so much easier.
Then, go in with your final layer of frosting, using your offset spatula to smooth it out. The turntable will be your best friend here, turning the cake as you smooth. Don't rush it, and if you see any air bubbles, just use your spatula to smooth them out. You can use a bench scraper to get super smooth sides, but don't feel like you need to, especially when you're starting out. Remember, practice makes perfect.
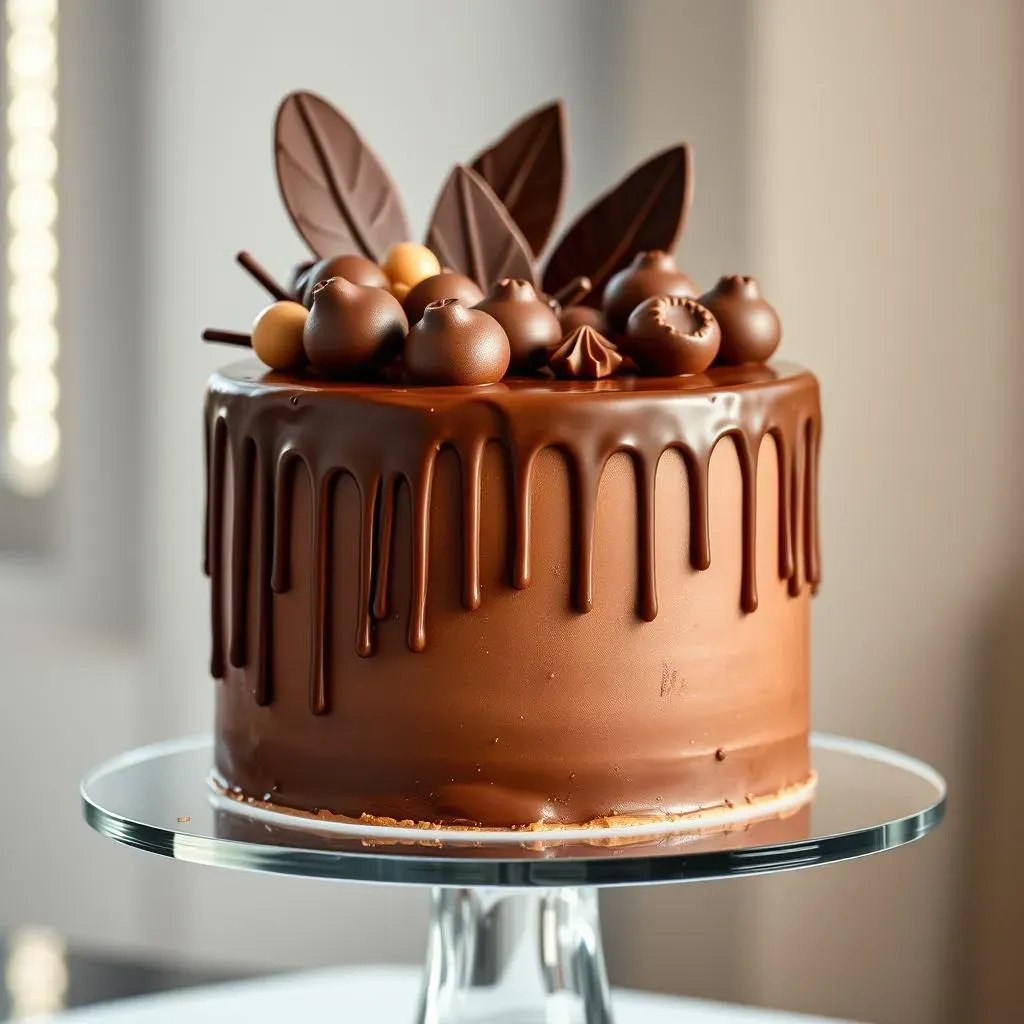
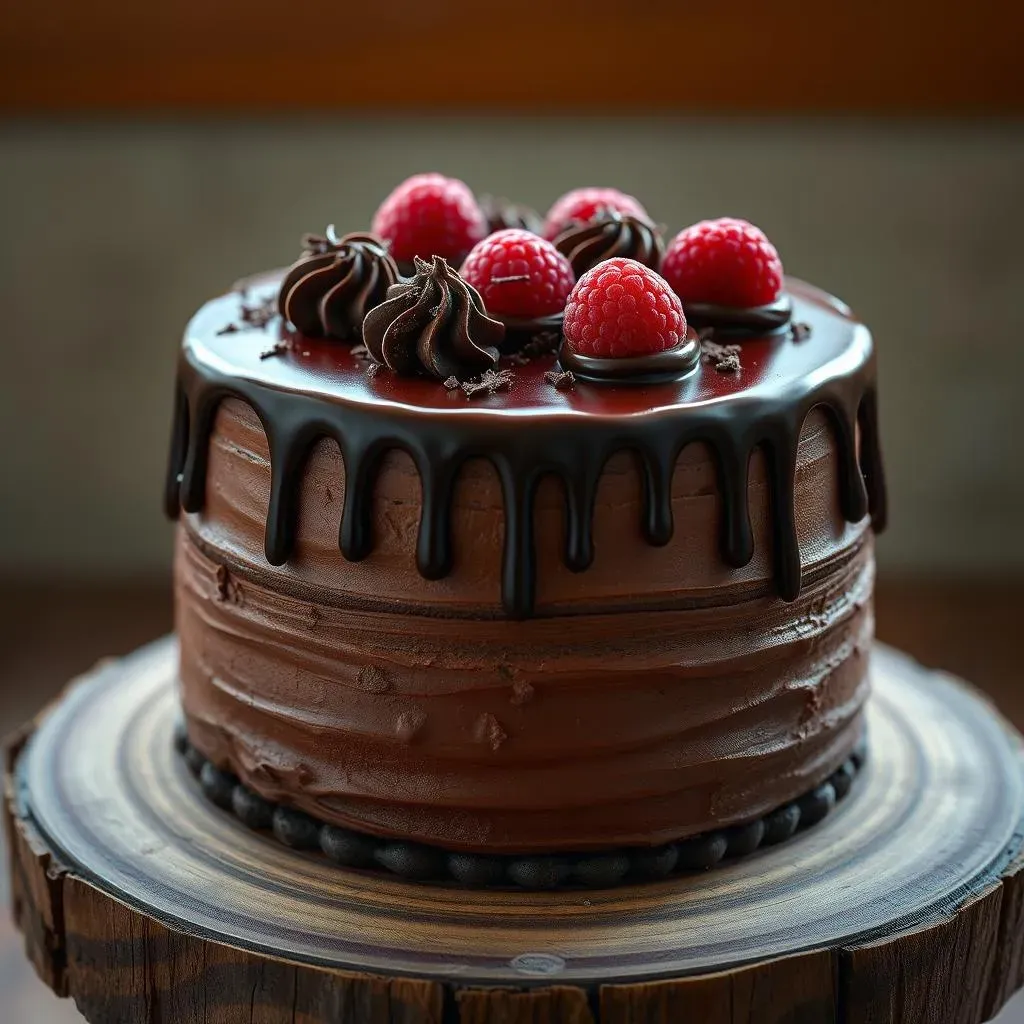
Chocolate Drips: The Art of the Cascade
Chocolate drips are everywhere these days, and for a good reason, they add a touch of elegance and drama to your cake. It's not as hard as it looks, it's just all about the right consistency. You want a ganache that's pourable but not too runny. Think of it like honey, it should slowly drip down the sides of the cake.
To get those perfect drips, pour the ganache over the top of the cake, letting it naturally flow down the sides. You can use a spoon or a piping bag, whatever you find easier. If you want longer drips, add more ganache, if you want shorter drips, add less. It's kind of like magic, watching the chocolate cascade down the cake. And if you mess up, don't worry, you can always add more ganache and try again.
Don't be afraid to experiment with different types of chocolate for your drips. White chocolate, milk chocolate, dark chocolate, they all give you different looks. You could even add a pop of color with some food coloring!
Drip Type | Consistency | Look |
|---|---|---|
Dark Chocolate Ganache | Smooth, Pourable | Elegant, Rich |
White Chocolate Ganache | Smooth, Pourable | Clean, Modern |
Colored Ganache | Smooth, Pourable | Playful, Fun |
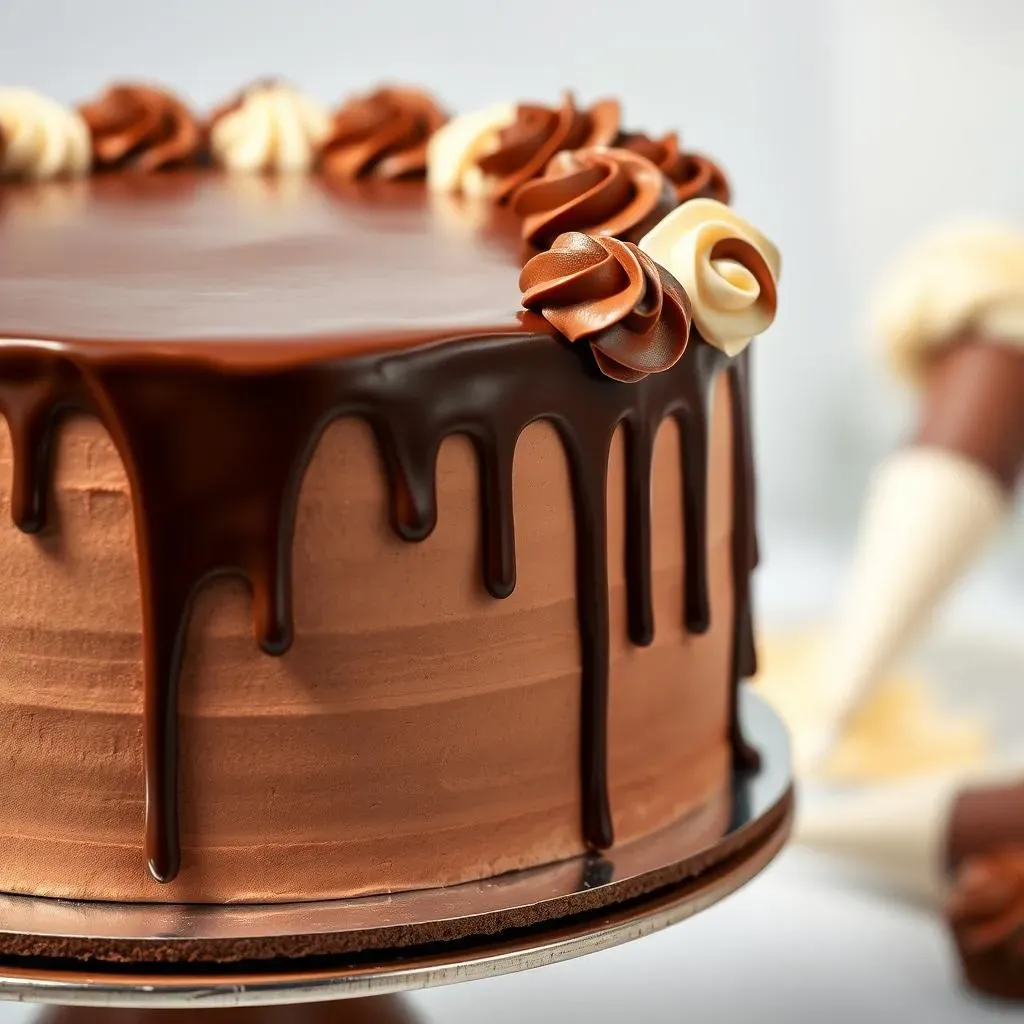
Piping Techniques: Adding Details
Piping can seem intimidating, but it's just a matter of practice. Start with some basic piping tips, like a star tip or a round tip. You can use these to create borders, swirls, rosettes, and even write messages on your cake. The key is to hold the piping bag steady and apply even pressure. It takes some time to get the hang of it, but once you do, you'll be amazed at what you can create.
Don't be afraid to try different piping techniques. There are tons of tutorials online that can teach you how to make everything from simple dots to intricate flowers. And remember, it doesn't have to be perfect. The beauty of handmade cakes is that they have a little bit of personality and charm.
"The best way to learn is by doing. Don't be afraid to make mistakes, they are part of the process." - Famous Pastry Chef.
Creative Ideas for Modern Chocolate Cake Decoration

Creative Ideas for Modern Chocolate Cake Decoration
Geometric Designs: Clean and Modern
Alright, let's ditch the frilly stuff for a minute and get geometric. Think sharp lines, bold shapes, and a super modern vibe. You can use stencils to create patterns with cocoa powder or powdered sugar, or even use a knife to score lines into your frosting. The cool part is, you can make it as simple or as complex as you want. A simple triangle pattern can look sleek, while a more intricate design can make your cake look like a piece of art. It's all about creating a visual impact with clean lines and shapes.
Don't be afraid to mix and match different shapes and sizes. You can even use edible markers to draw patterns directly onto your frosting. Or, for a really cool effect, try using different colored frostings to create a layered geometric design. The possibilities are endless, and the results are always impressive. This style is perfect for those who love a minimalist look with a touch of sophistication.
Textured Frosting: Adding Dimension
Now, if you're looking to add a little more "oomph" to your cake, textured frosting is the way to go. Instead of aiming for a perfectly smooth finish, you're intentionally creating texture and interest on the surface. You can use a spatula, a fork, or even a spoon to create swirls, peaks, and valleys in your frosting. It's like sculpting with frosting! This technique adds a ton of visual appeal and makes your cake look super unique.
There are so many different ways to create textured frosting. You can use a palette knife to create a rustic look, or a piping bag with different tips to make swirls and rosettes. You can even use a clean toothbrush to create a stippled effect. The best part about this technique is that it's super forgiving, so you don't have to worry about making mistakes. Just have fun with it and see what kind of textures you can create.
Texture Technique | Tools | Look |
|---|---|---|
Spatula Swirls | Offset Spatula | Rustic, Organic |
Fork Marks | Fork | Textured, Informal |
Piping Peaks | Piping Bag & Tip | Elegant, Dimensional |
Essential Tools for Modern Chocolate Cake Decorating
Essential Tools for Modern Chocolate Cake Decorating
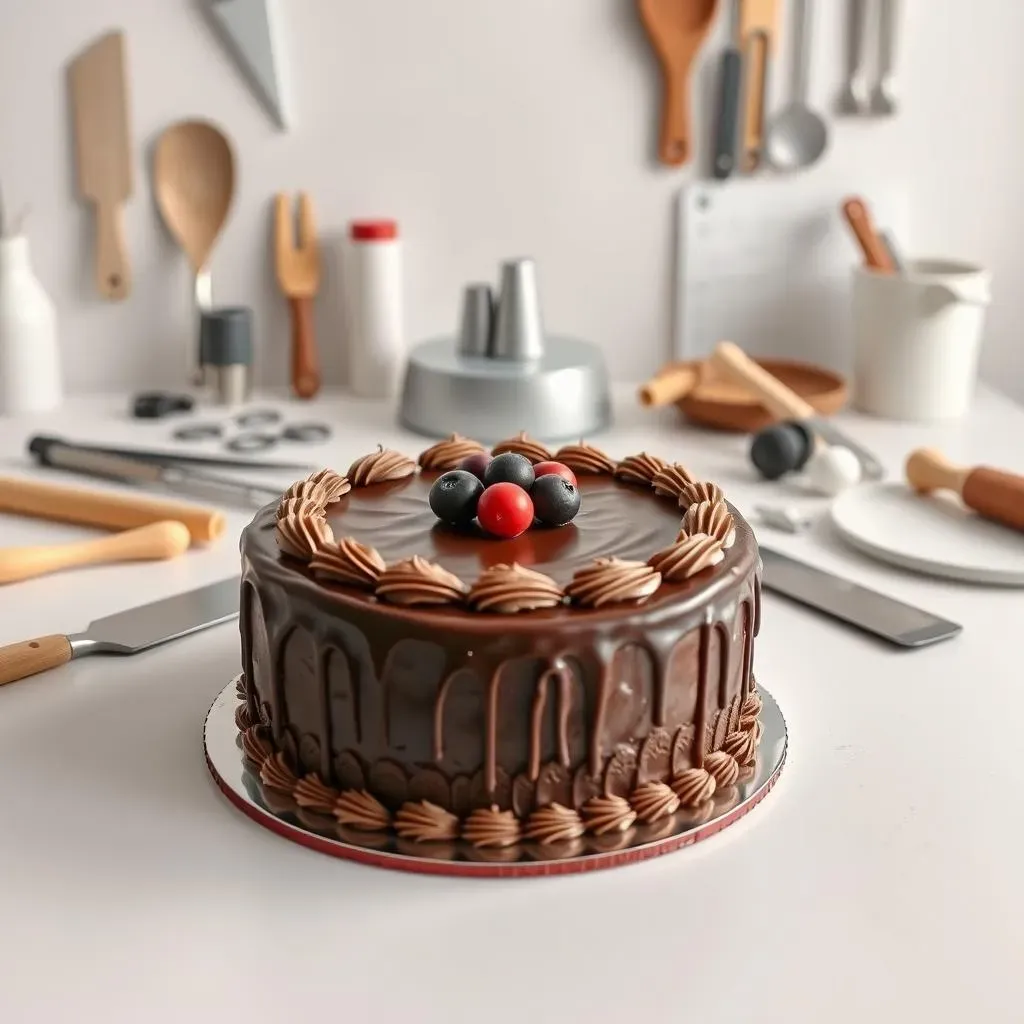
Must-Have Tools: Setting Up Your Station
Okay, so you're ready to dive into the world of modern chocolate cake decorating? Awesome! But before you start slinging frosting around like a Jackson Pollock painting, let's talk about the tools you'll need. Don't worry, you don't need a whole professional kitchen, but having the right equipment will make your life a whole lot easier. Think of it like having the right tools for a DIY project, you wouldn't try to build a house with just a spoon, would you?
First up, an offset spatula. This is your magic wand for smoothing frosting, spreading ganache, and all sorts of other decorating tasks. A turntable is also super helpful, it makes rotating your cake as you're decorating a breeze. Then we've got piping bags and tips, these are a must-have if you want to make pretty borders or create some cool designs. And lastly, a bench scraper, it's great for getting those perfectly smooth sides.
Tool | Purpose | Why It's Essential |
|---|---|---|
Offset Spatula | Smoothing Frosting, Spreading Ganache | Provides control, creates smooth surfaces. |
Turntable | Rotating the Cake | Allows even frosting and decorating. |
Piping Bags & Tips | Creating Borders, Designs | Adds detail, allows for creative expression. |
Bench Scraper | Smoothing Sides | Creates a flawless finish. |
Nice-to-Have Tools: Elevating Your Game
Now that we've covered the essentials, let's talk about some tools that are nice to have, but not strictly necessary. These are the tools that can take your decorating skills to the next level. Things like stencils, for creating geometric designs, or edible markers, for drawing patterns directly on the frosting. And for those who like to get fancy, a kitchen torch can help you melt chocolate for a nice shiny finish.
Don't feel like you need to run out and buy all of these things at once. Start with the basics, and as you gain experience and confidence, you can gradually add to your collection. Remember, the most important tool you have is your creativity! You can make amazing cakes with simple tools, it's all about your imagination.
Alternative Tools: Getting Creative with What You Have
Okay, so what if you don't have all the fancy tools? Don't stress! You can absolutely get creative with what you have in your kitchen. A spoon can work as a spatula, a ziplock bag with a corner cut off can be used as a piping bag, and a piece of cardboard can work as a bench scraper.
The point is, don't let a lack of fancy tools hold you back. You can create stunning cakes with simple, everyday items. It's all about thinking outside the box and using your imagination. Remember, cake decorating is about having fun and expressing yourself, so don't be afraid to get creative and experiment with whatever you have on hand.