Table of Contents
Ever stared at a dessert menu, zeroed in on the molten chocolate lava cake, and thought, "I wish I could make that at home"? Maybe you pictured a kitchen disaster, a dry cake, or no molten center at all. Good news: the restaurant-style dream isn't out of reach, and you don't need a culinary degree. This mini chocolate molten lava cake recipe is designed for real people who want real results – specifically, two perfect, individual cakes with that signature warm, gooey chocolate core. We're cutting through the fuss to give you a straightforward method using common ingredients. Forget the special equipment; we'll show you how it's done simply. In the following sections, we'll lay out everything: the exact ingredients you need, clear step-by-step instructions, smart tips to ensure that molten center oozes just right, and answers to common baking woes. Get ready to make this decadent dessert a reality.
Why Make This Mini Chocolate Molten Lava Cake Recipe?

Why Make This Mini Chocolate Molten Lava Cake Recipe?
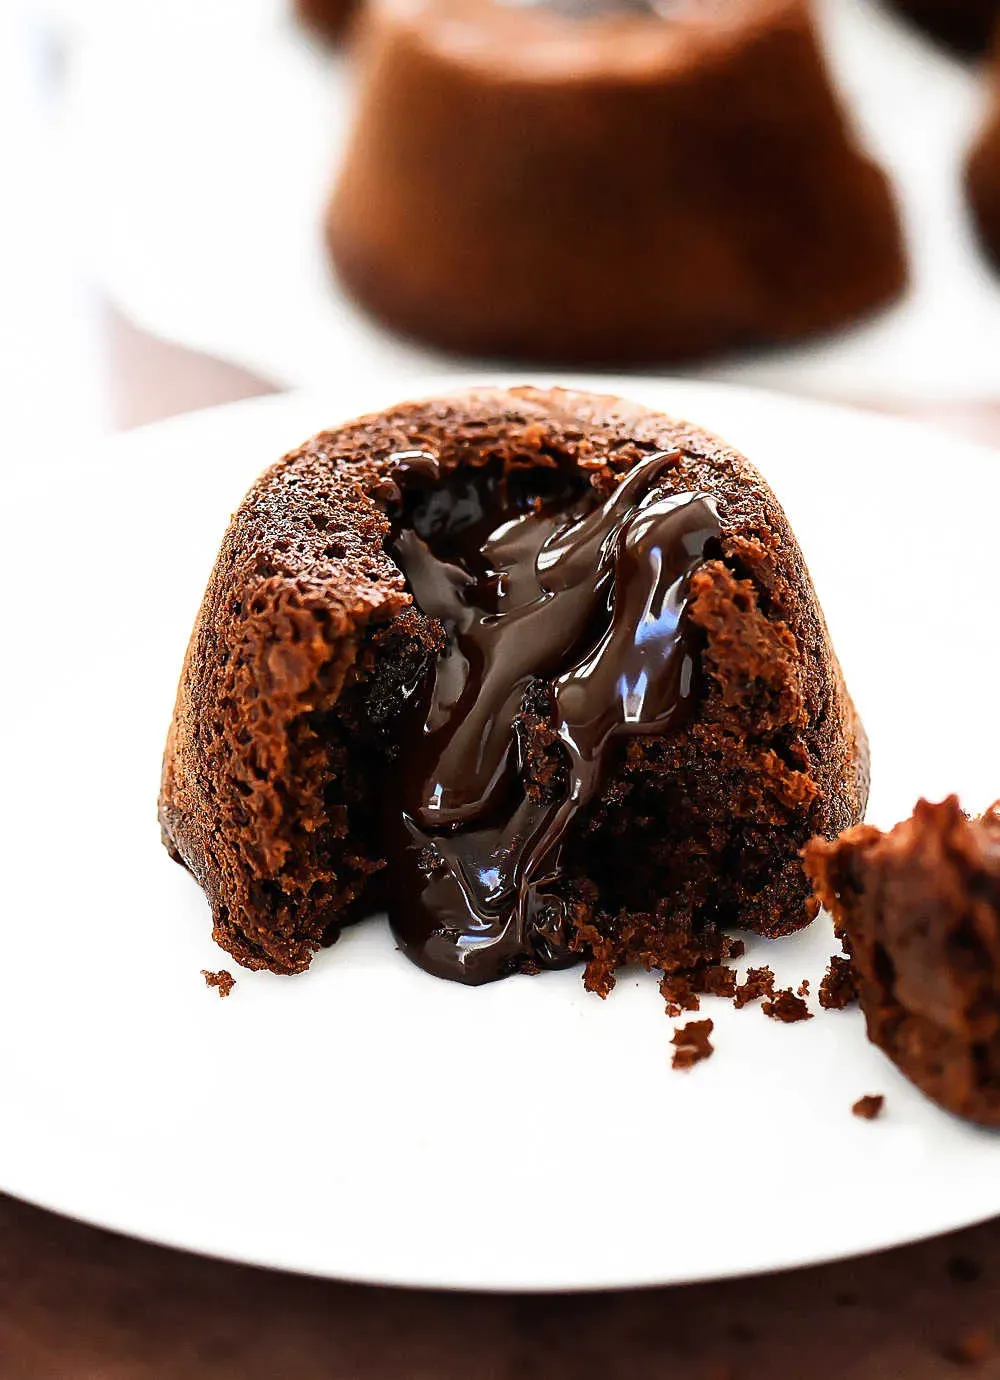
So, you're thinking about tackling a dessert that seems fancy but really isn't? You're wondering, "Why Make This Mini Chocolate Molten Lava Cake Recipe?" Look, most lava cake recipes out there either make a dozen cakes or require specialty ramekins you'll use once and then stash in the back of a cupboard. This one? It makes just two. Perfect for a quiet night in, a small celebration, or when you just need a serious chocolate fix without a week's worth of leftovers staring you down. It strips away the complexity, focusing on simple steps and readily available ingredients. The goal isn't just a cake; it's that moment when you cut into it and the warm, dark chocolate center spills out. It’s impressive, yes, but more importantly, it’s achievable for anyone who can follow basic instructions. No professional pastry chef skills required, just a desire for warm, gooey chocolate goodness right at home.
Ingredients You Need for Mini Chocolate Lava Cakes

Ingredients You Need for Mini Chocolate Lava Cakes
Alright, let's talk turkey, or rather, chocolate. When it comes to the Ingredients You Need for Mini Chocolate Lava Cakes, the good news is you're not heading to a specialty store for obscure items. We're talking pantry staples mostly. You'll need some unsalted butter, because controlling the salt is key here. Then there's the star: good quality chocolate. This isn't the time for that waxy stuff you get near the checkout counter. Grab a decent bar of bittersweet or semi-sweet chocolate – the better the chocolate, the better your molten center will be. Eggs are next, and getting them to room temperature helps everything mix smoothly, so pull them out ahead of time if you can. Sugar, a splash of vanilla extract for depth, and a tiny bit of all-purpose flour to give the cakes structure are the rest of the crew. See? Nothing too wild.
Baking Your Perfect Mini Chocolate Molten Lava Cake Recipe
Baking Your Perfect Mini Chocolate Molten Lava Cake Recipe
Getting the Base Mix Just Right
Alright, so you've got your ingredients lined up. The first real step in Baking Your Perfect Mini Chocolate Molten Lava Cake Recipe is melting that good chocolate and butter together. Do this gently. A double boiler is classic, but honestly, the microwave works fine if you go low and slow. Chop the chocolate into small pieces so it melts evenly. Combine the butter and chocolate in a heatproof bowl and heat it up, stirring frequently, until it's smooth and glossy. Don't scorch it – burnt chocolate is a tragedy no one needs. Once that's melted, you'll whisk in the sugar until it's dissolved. Then, crack in those room-temperature eggs, one at a time, whisking well after each addition. Finally, add the vanilla and the tiny bit of flour. Don't overmix the flour; just get it combined. You should have a smooth, thick batter that smells heavenly.
Into the Oven They Go
Now for the actual baking part of this mini chocolate molten lava cake recipe. Remember how I said no special ramekins? Grab a standard muffin tin. Butter and flour two of the cups generously. Seriously, get every nook and cranny. This is crucial for getting the cakes out later without them sticking and falling apart, ruining that dramatic molten moment. Pour your batter evenly into the two prepared muffin cups. Don't fill them right to the brim, maybe about two-thirds full. Your oven needs to be hot, like 450°F hot. This high heat is the magic – it cooks the outside quickly while leaving the center liquid. Pop the tin into the preheated oven. These little guys bake fast, usually just 5 to 7 minutes. You're looking for the edges to be set and slightly pulled away from the sides, while the center still looks a bit soft and jiggly. Don't wait for the tops to look completely firm like a regular cupcake; that means you've overbaked them, and you'll have a solid cake, not a lava one. Pull them out as soon as they hit that sweet spot.
- Use good quality chocolate. It makes a difference.
- Don't skip buttering and flouring the muffin cups thoroughly.
- Ensure eggs are at room temperature for better emulsification.
- Heat the oven to a high temperature (450°F is standard).
- Watch the cakes closely; they bake quickly.
- Look for set edges and a slightly jiggly center.
- Remove from oven immediately when done.
Tips and Tricks for the Best Mini Chocolate Lava Cake Recipe
Tips and Tricks for the Best Mini Chocolate Lava Cake Recipe
Timing is Everything (Seriously)
Look, the biggest hurdle in getting that perfect molten center in your mini chocolate molten lava cake recipe isn't the ingredients or the mixing; it's the baking time. Overbake these little guys by thirty seconds, and you've got a chocolate cupcake. Underbake them, and you've got chocolate soup (which, while not the goal, isn't entirely awful either). You need to watch them like a hawk. The edges should be set, maybe just starting to pull away from the tin slightly, but the center should still look soft and, yes, jiggly. A slight wobble is your friend here. Don't trust the timer blindly; trust your eyes. Ovens vary, altitudes vary, moods vary. maybe not moods, but definitely ovens. If you're unsure, pull one out slightly early rather than late on your first try. You can always pop it back in for another minute if needed, but you can't unbake a solid cake.
- Edges set? Check.
- Center jiggly? Check.
- Tops still soft? Check.
- Pull them out!
Getting Them Out and What Comes Next
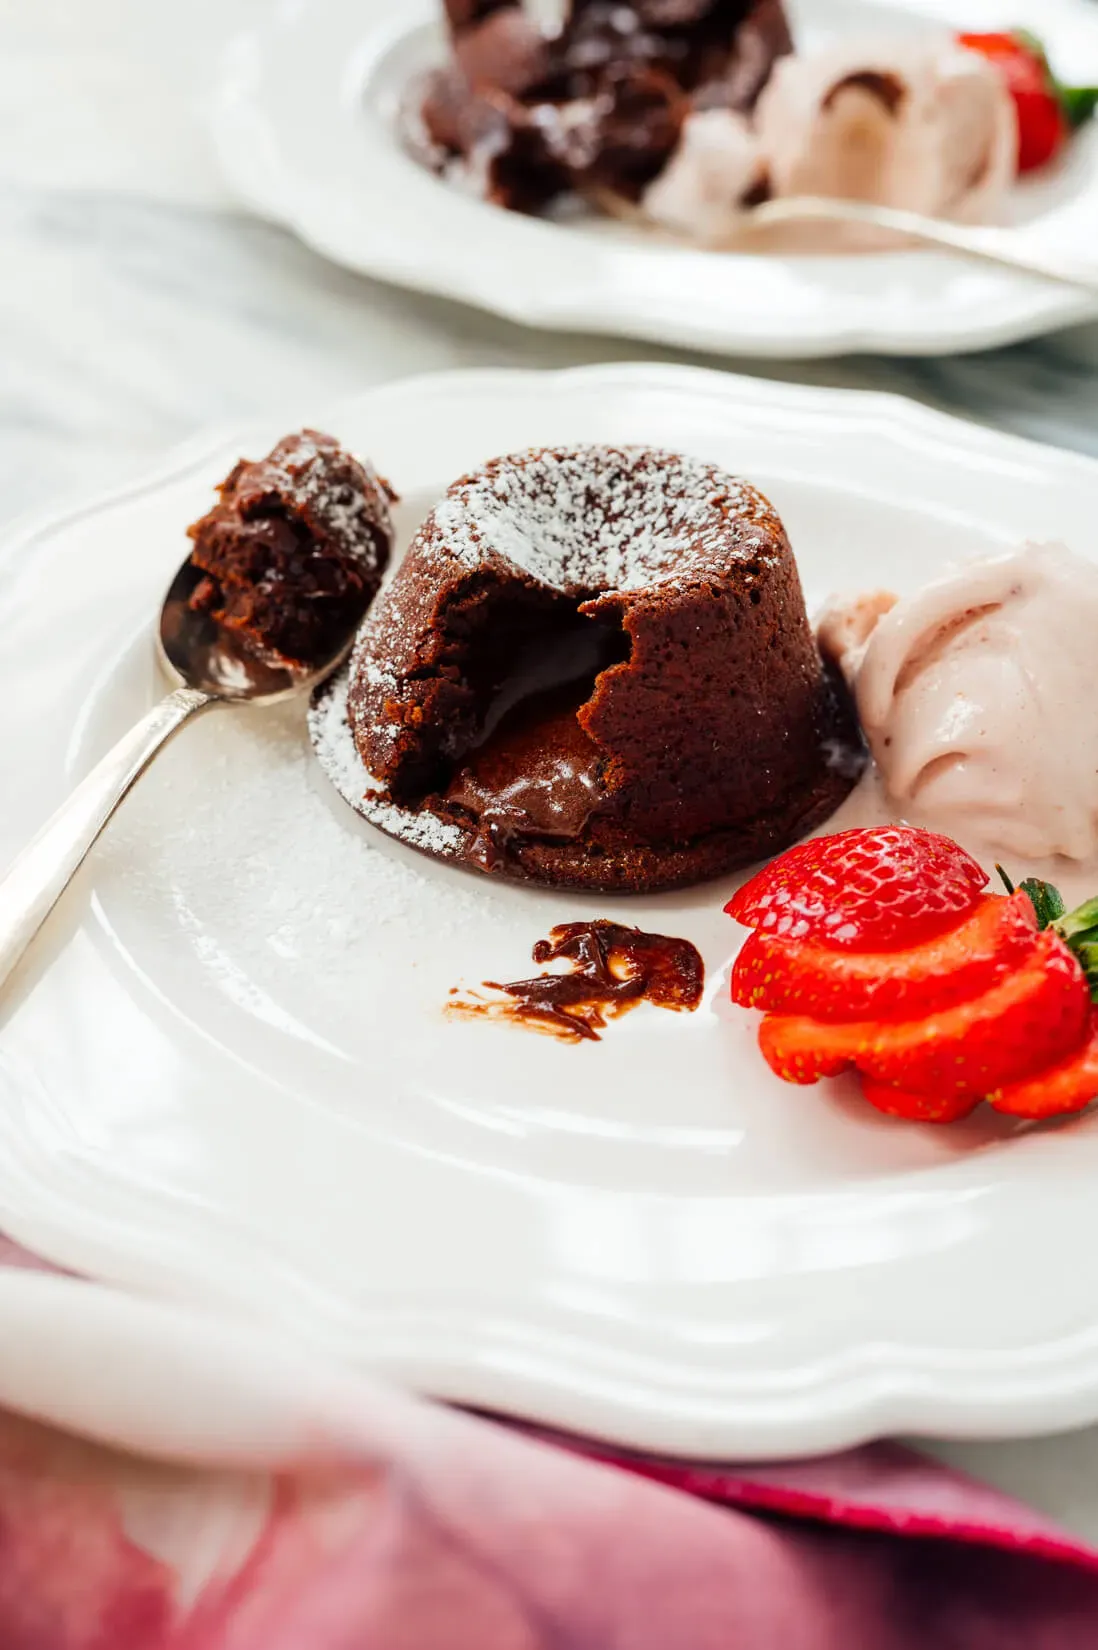
So they're out of the oven, looking gorgeous. Now for the slightly nerve-wracking part: getting them onto the plate without disaster. Remember how we buttered and floured those muffin cups like our lives depended on it? This is where that pays off. Let the cakes sit in the tin for just a minute or two – no longer! This lets them firm up just enough. Then, grab your serving plate, place it upside down over the two muffin cups, and carefully, confidently, flip the whole thing over. Give the bottom of the muffin tin a gentle tap. They should slide right out. If one is being stubborn, a thin offset spatula run carefully around the edge before flipping can help, but if you greased properly, they should drop like they owe you money. Serve them immediately. The whole point of a mini chocolate molten lava cake recipe is that warm, flowing center. Waiting is a crime against dessert. Dust them with powdered sugar, add a scoop of vanilla ice cream (the classic move), or some fresh berries if you're feeling fancy (or guilty). Just get that fork in there while they're hot.
FAQs About This Mini Chocolate Molten Lava Cake Recipe

FAQs About This Mini Chocolate Molten Lava Cake Recipe
Can I Make the Batter Ahead of Time?
Ah, the classic "can I prep this so I'm not frantic later?" question. Good thinking. For this mini chocolate molten lava cake recipe, you absolutely can make the batter ahead. Mix it up to the point where it's ready to pour into the muffin tin cups. Cover the bowl tightly with plastic wrap and stick it in the fridge. When you're ready to bake, pull the batter out and let it sit at room temperature for about 15-20 minutes while your oven preheats to that scorching 450°F. This helps ensure even baking and that crucial molten center. Don't try to bake it straight from the fridge; the timing will be all off, and you might end up with a solid cake.
What if I Don't Own a Muffin Tin?
No muffin tin? No problem. While the recipe is written for standard muffin cups because most people have them, you can totally use small ramekins if you happen to have those instead. Look for ramekins that hold about 4-6 ounces. The baking time might need a slight adjustment – maybe an extra minute or two – because ramekins hold heat differently than thin metal muffin tins. Just keep an eye on the edges and the jiggle factor, just like you would with the muffin tin. The principle remains the same: hot oven, quick bake, set edges, jiggly middle. Don't let a lack of specific bakeware stop your molten dreams.
- Standard muffin tin (greased and floured!)
- Small ramekins (4-6 oz)
- Oven-safe mugs (use caution, test first)
- Even small oven-safe bowls could work in a pinch
What's the Best Chocolate for a Gooey Center?
Choosing the right chocolate is pretty key to this mini chocolate molten lava cake recipe. You want something that melts smoothly and has good flavor. Skip the chocolate chips designed to hold their shape in cookies; they often have stabilizers that prevent them from melting into that luscious, flowing lava. Opt for a good quality chocolate bar. Bittersweet (around 60-70% cacao) gives you a deep, intense chocolate flavor that isn't overly sweet, which I personally prefer with something this rich. Semi-sweet is also fine if you like things a bit sweeter. Just make sure it's a bar you'd happily eat on its own. Chop it up finely so it melts quickly and evenly with the butter. This isn't the place to skimp; the chocolate *is* the molten lava.
Your Mini Lava Cake Victory Lap
So there you have it. No need for fancy restaurants or questionable takeout. This mini chocolate molten lava cake recipe puts a genuinely impressive dessert within reach, even if your baking experience amounts to burning toast. You followed a few simple steps, waited patiently (or maybe not so patiently), and now you've got two warm, intensely chocolatey cakes just waiting to spill their guts onto the plate. They're not complicated, they don't require obscure ingredients, and frankly, they taste better because you made them yourself. Eat them while they're hot. Don't wait. The molten center is the whole point, and gravity isn't waiting for your Instagram photo.