Table of Contents
Ever dreamt of perfectly cute mini chocolate cakes, only to end up with dry, dense, or burnt disappointments? Baking, while fun, can sometimes feel like a frustrating science experiment gone wrong. Don't worry, you're not alone! Even the most seasoned bakers face these hurdles. This article is your go-to guide for "mini chocolate cakes troubleshooting." We'll explore the most common baking mishaps that can plague your mini chocolate cakes, from sunken middles to cakes stuck in the pan. Think of it as your baking rescue mission! We'll break down why these problems happen and, most importantly, how to fix them. We’ll also equip you with tips to prevent these baking blunders from happening again. Get ready to transform your baking fails into future triumphs, and become a mini chocolate cake master.
Why Your Mini Chocolate Cakes Went Wrong: Common Issues
Why Your Mini Chocolate Cakes Went Wrong: Common Issues
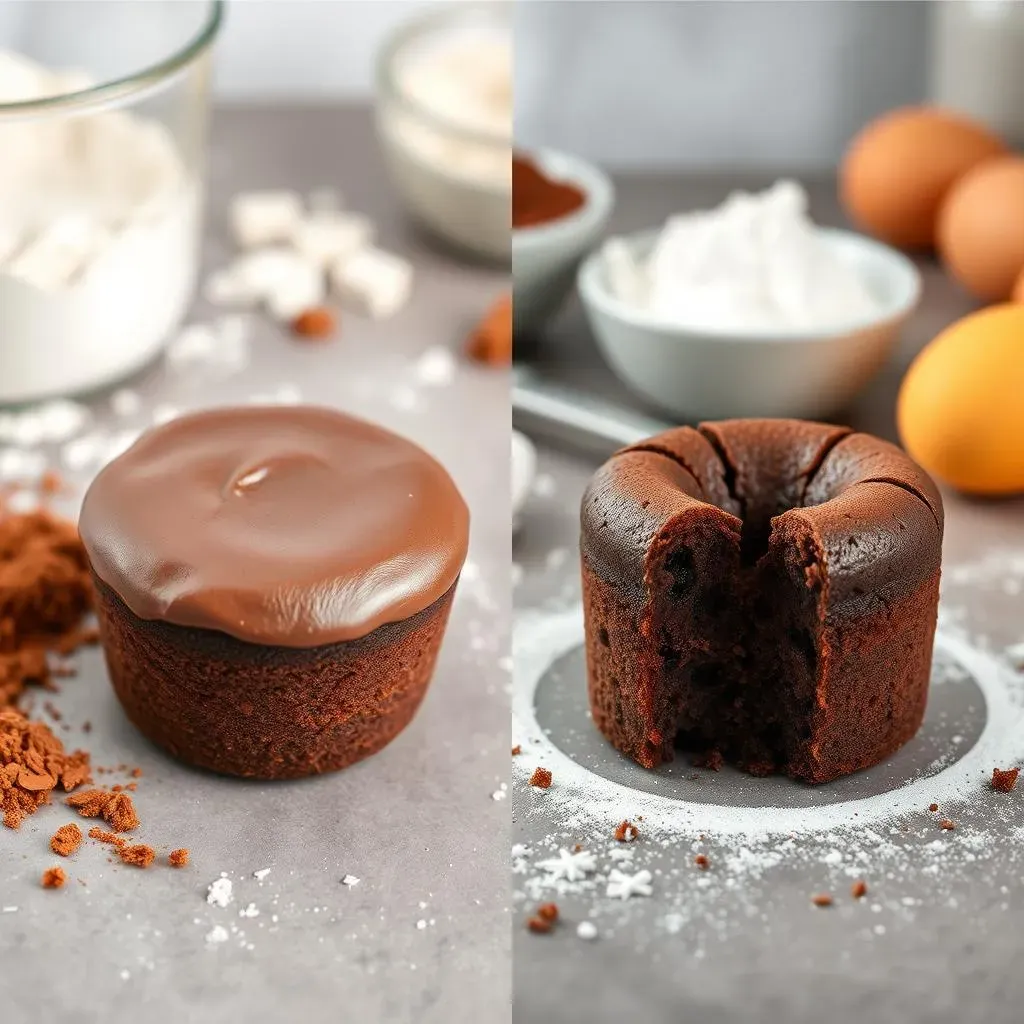
The Dry Cake Dilemma
Okay, let's talk about the dreaded dry cake. It's like biting into a desert, and nobody wants that! Usually, this happens because there's too much flour or not enough fat in the batter. Think of it like a sponge; if you pack too much stuff in it (flour), it won't soak up the moisture (butter, oil, eggs) properly. And if you don't have enough fat, the cake loses its moistness during baking, leaving you with a crumbly, sad little cake. Overbaking is another culprit; it's like leaving a sponge out in the sun, it will dry out quickly. A good rule of thumb is to check your mini cakes a little earlier than the recipe suggests, just to be safe.
Another reason is the wrong type of fat. Using all butter can sometimes make a cake a little drier than using a mix of butter and oil. Oil helps keep things moist, while butter adds flavor. Also, sometimes it's not the ingredients, but how you measure them. If you’re scooping flour straight from the bag, you might be packing it in too tightly. Always spoon flour into your measuring cup, and then level it off with a knife. This helps make sure you're getting the correct ratio of ingredients, it is a fine art, you know.
The Dense and Flat Cake Fiasco
Now, let’s tackle the dense and flat cake situation. Imagine your cake is trying to be a fluffy cloud, but instead, it's a heavy rock. This usually happens when the batter is overmixed. Overmixing develops the gluten in the flour, which makes the cake tough and dense instead of light and airy. Think of it like kneading bread dough too much, it becomes chewy. Another cause is old or inactive raising agents like baking powder or baking soda. If they're past their expiration date, they won't give your cake that lift it needs, leaving you with a flat, sad cake. Always double-check the dates before you start baking.
Also, sometimes it's not about the ingredients, but the oven. If your oven temperature is too low, the cake won't rise properly, resulting in a flat top. On the other hand, if your oven temp is too high, the cake will rise too quickly and then collapse. It's like trying to inflate a balloon too fast; it'll pop, or in the case of your cake, deflate. Making sure your oven is properly preheated and at the correct temperature is key. And don't open the oven door too often while baking, it lets out the heat and can also cause the cake to collapse. Patience, my friend, is a baker's best friend.
Problem | Possible Cause | Solution |
|---|---|---|
Dry Cake | Too much flour, not enough fat, overbaking | Use correct measurements, add fat, check early |
Dense Cake | Overmixing, old raising agents | Mix gently, check dates |
Flat Cake | Oven temperature too low/high, old raising agents | Preheat correctly, check dates |
Quick Fixes for Mini Chocolate Cake Mishaps

Quick Fixes for Mini Chocolate Cake Mishaps
Rescuing Dry Mini Cakes
Alright, so your mini cakes are drier than a desert? Don't panic, we can totally fix this! First, the easiest solution is to slather them with a generous layer of frosting or buttercream. Think of it as a moisture blanket, it will help soften them up. If you're feeling a bit more adventurous, you can transform your dry cakes into something entirely new. Crumble them up and layer them in a trifle with some custard, whipped cream, and berries. It’s like a delicious, forgiving dessert that hides all the evidence of your baking mishap. Cake pops are another great option, just mix the crumbled cake with frosting, shape them into balls, and dip them in melted chocolate. No one will ever know they were once dry!
And here's a little secret: a simple syrup can be a game-changer. Mix equal parts of sugar and water, heat it until the sugar dissolves, and then brush it over your dry cakes while they are still warm. It's like giving them a little spa treatment, and they'll soak up the moisture and become wonderfully soft. This is especially useful if you're going to frost them later. This method will make your cake moist and flavorful. Remember, baking isn't about perfection, it's about creativity and problem-solving. So, embrace the imperfections and get ready to transform those dry little guys into something delicious.
Saving Dense and Flat Mini Cakes
Okay, so your cakes are dense and flat, not exactly the fluffy clouds you were hoping for. Don’t throw them away just yet! Just like the dry cake rescue, we can totally work with this. First, let’s talk about the crumble method. Just like dry cakes, you can transform these dense little guys into cake pops. The frosting will add moisture and help bind everything together. You can also use them as a base for a trifle, layering them with other delicious ingredients. The density won't matter as much when they’re mixed with other components. Think of it as a textural adventure, where the density becomes a feature, not a flaw.
If your cake is flat, it might not be as visually appealing, but it can still be delicious. Frosting can work wonders, covering up the flat surface and adding a touch of elegance. You can also get creative with your toppings, adding sprinkles, chopped nuts, or chocolate shavings to distract from any flatness. And remember, taste is what truly matters. Even if your cakes aren't picture-perfect, if they taste good, that's all that really matters. So, don't be too hard on yourself, embrace the imperfections, and enjoy the deliciousness of your rescued cakes.
Problem | Quick Fix |
|---|---|
Dry Cake | Frosting, trifle, cake pops, simple syrup |
Dense Cake | Cake pops, trifle |
Flat Cake | Frosting, creative toppings |
Preventing Mini Chocolate Cake Problems Next Time
Preventing Mini Chocolate Cake Problems Next Time
Mastering the Art of Mini Cake Baking
Okay, let's talk about how to avoid these mini cake disasters in the first place. It’s all about being a bit of a detective and paying attention to the details. First off, always make sure your ingredients are fresh. Those old baking powder and soda can be sneaky culprits! Check the expiration dates, and if you're unsure, it’s best to buy new ones. It’s like using old batteries in a toy; they just won’t work as well. And when it comes to measuring, precision is your best friend. Use measuring cups and spoons, and don’t just eyeball it. Spoon your flour into the measuring cup and level it off with a knife, instead of scooping it directly from the bag. It's like following a map; the right measurements will lead you to your destination, a perfect cake!
Also, be mindful of your mixing. Overmixing the batter is a big no-no, it's like making a superhero too strong, the cake will become tough. Mix until just combined, and don't worry about a few lumps, they will bake out. And preheating your oven is crucial, it’s like warming up your car before a long drive. Make sure it’s at the right temperature before you put your mini cakes in, and try not to open the door too often while they're baking. This lets out the heat and can cause your cakes to collapse. Be patient and use a timer and check your mini cakes a little before the time the recipe says, it's better to be safe than sorry. A toothpick inserted into the center should come out clean when they’re done. Following these steps will make you a mini cake baking pro in no time, and you'll be baking perfect cakes every time.
Preventive Measure | Why It Helps |
|---|---|
Fresh Ingredients | Ensure proper rising and texture |
Precise Measuring | Correct ingredient ratios for balanced results |
Gentle Mixing | Avoids tough, dense cakes |
Proper Oven Temp | Ensures even baking and prevents collapsing |