
Table of Contents
Ever stared at a gorgeous layer chocolate cake, wondering about all the secrets behind its perfect layers and decadent frosting? You're not alone! Baking a layer chocolate cake can feel like a big adventure, and that's why we've put together this guide to answer all your burning questions. From why your cake might be dry to how to achieve those flawless, even layers, we've got you covered. Think of this as your friendly guide to navigating the world of layer chocolate cake FAQs. We'll start with the basics, tackling the most common questions about ingredients and techniques. Then, we'll move on to troubleshooting those tricky issues that can pop up. Next, we'll explore some fun variations to spice up your cake game. Finally, we'll wrap up with tips on how to store and serve your masterpiece so it’s perfect every time. So, grab your apron, and let's get baking!
Layer Chocolate Cake Basics: Answering Your Top Questions
Layer Chocolate Cake Basics: Answering Your Top Questions
What Makes a Good Layer Cake?
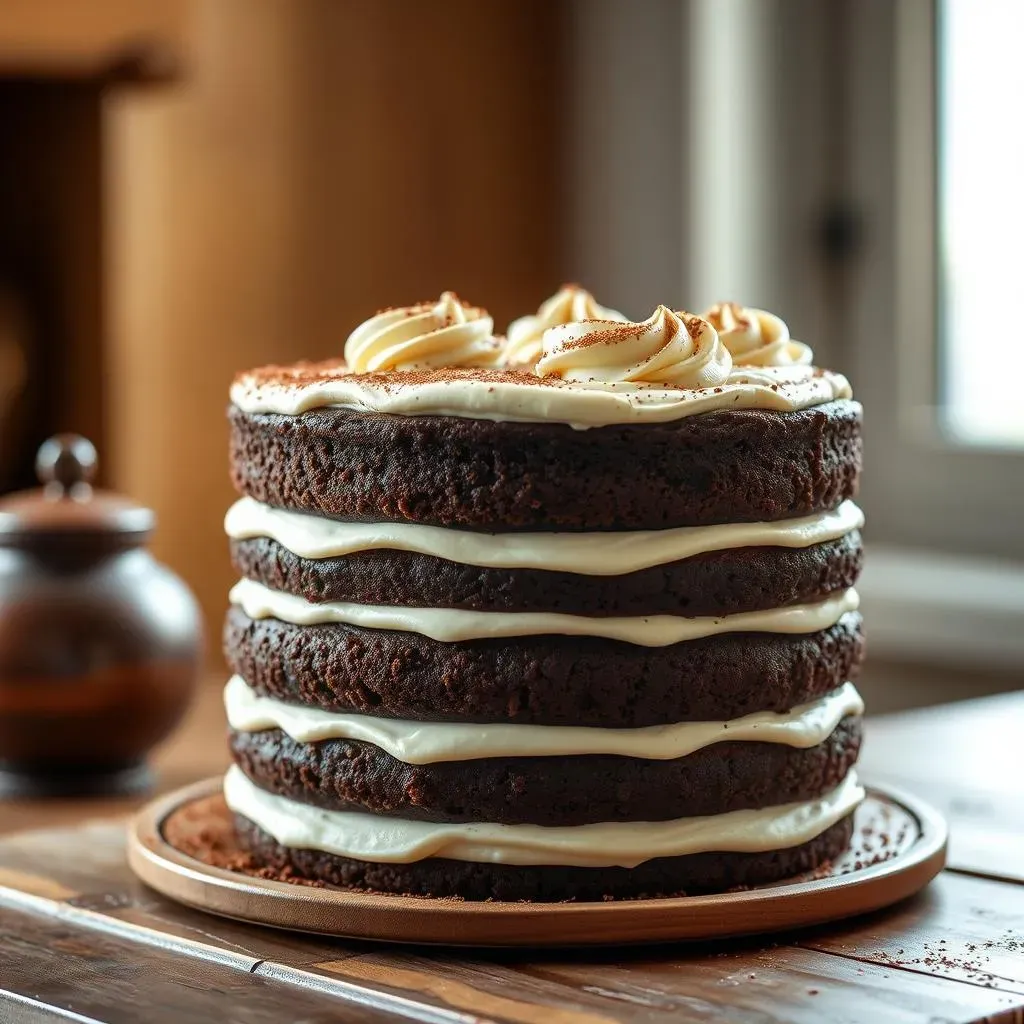
So, you're dreaming of a sky-high chocolate layer cake? It's more than just stacking some baked goods, you know. A truly great layer cake needs a few key things going for it. First, the cake itself should be moist and tender, not dry and crumbly. Think of it like a sponge, soaking up all that delicious frosting. The layers should be even, not like a wobbly tower. And finally, the frosting needs to be the perfect complement to the cake, not too sweet, not too bland, just right.
I remember one time, I tried to make a layer cake and the layers were all different thicknesses. It looked like a leaning tower of Pisa made of chocolate! It tasted okay, but it definitely wasn't winning any beauty contests.
Key Ingredients: What You Really Need
Let's talk ingredients, because they're the backbone of any good cake. You'll need flour, of course, and not just any flour. Cake flour is your friend for super tender layers, but all-purpose works too. Then comes sugar, the sweetness master. Don't skimp on the good stuff, but also don't go overboard. Cocoa powder is essential for that rich chocolate flavor. I always use unsweetened cocoa, because it gives me control over the sweetness. Baking powder or baking soda helps the cake rise, so you don't end up with a flat pancake. And finally, liquids like milk or buttermilk, plus oil or butter, keeps the cake moist.
I once tried to substitute baking soda for baking powder, and it was an absolute disaster. The cake tasted like soap, and it didn't rise at all! It's safe to say, I've learned my lesson about using the right ingredients.
Ingredient | Why it's Important |
|---|---|
Cake Flour | Creates a tender crumb. |
Cocoa Powder | Provides rich chocolate flavor. |
Baking Powder/Soda | Helps the cake rise. |
Buttermilk/Milk | Adds moisture. |
Oil/Butter | Adds flavor and moisture. |
Common Questions: Let's Clear Things Up
Now, let's tackle some common questions. "Can I use oil instead of butter?" Absolutely! Oil makes for a super moist cake. "Do I need to use buttermilk?" It does make the cake more tender, but you can use milk with a little lemon juice or vinegar as a substitute. "What if I don't have cake flour?" All-purpose flour works, but you may want to sift it for a lighter texture. "How do I make sure my layers are even?" Use a scale to measure batter into each pan, and level the tops with a knife before baking. Don't worry if your first attempt is not perfect. Baking is a learning curve, and even the pros have their off days.
I remember when I first started baking, I was so afraid of making mistakes. But the more I baked, the more I realized that mistakes are just part of the process. And sometimes, those mistakes lead to even better results. So, don't be afraid to experiment and have fun with it!
Troubleshooting Your Layer Chocolate Cake: Common Issues and Fixes
Troubleshooting Your Layer Chocolate Cake: Common Issues and Fixes
Why is My Cake Dry?
Okay, so your cake is drier than the Sahara. Not ideal, right? This is a super common issue, and there are a few usual suspects. Over-baking is a big one. If you leave your cake in the oven too long, it'll lose moisture. Also, not enough liquid in the batter can lead to dryness. Make sure you're measuring your milk or buttermilk correctly. Another thing: too much flour! It absorbs moisture, so be precise with your measurements. And finally, sometimes your oven temperature is off. It might be running hotter than you think, which can also dry out your cake.
I once baked a cake that was so dry, it could have doubled as a hockey puck. I realized later that I had accidentally added an extra half cup of flour. It was a tough lesson, but now I'm super careful about measuring!
My Cake Layers are Uneven
Uneven layers can be frustrating, making your cake look like it's about to topple over. This often happens when the batter isn’t distributed evenly in the pans. One pan might have more batter than the other, causing one layer to be thicker. Also, if your oven has hot spots, one side of the cake might rise more than the other. Make sure you rotate your pans halfway through baking to promote even baking. Also, leveling the batter in the pans with a spatula before baking can help a lot. Finally, if all else fails, you can always trim the tops of the layers once they're cooled using a serrated knife to achieve a level surface.
I have a terrible oven that has hot spots, the amount of times I have to rotate the pans is crazy. I have a system now, I put a timer on when to rotate, and when to remove the cake.
Issue | Possible Cause | Solution |
|---|---|---|
Dry Cake | Over-baking, not enough liquid, too much flour | Reduce baking time, measure liquids correctly, be precise with flour |
Uneven Layers | Uneven batter, oven hot spots | Distribute batter evenly, rotate pans, level batter before baking |
Cake sticking to pan | Not greased and floured properly | Grease and flour pan well or use parchment paper |
Cake sinking in the middle | Oven temperature too low, overmixing | Increase oven temperature, avoid overmixing |
My Cake is Sticking to the Pan!
Okay, cake sticking to the pan is a baker's nightmare. You spend all that time making the batter, baking it, and then it's all stuck! This usually happens when you don't grease and flour your pans properly. Make sure you coat every nook and cranny of the pan with butter or cooking spray, then dust it with flour. Don't forget the corners! Another trick is to use parchment paper rounds at the bottom of the pan. This creates a barrier between the cake and the pan, which makes removal a breeze. And always, always let your cake cool in the pan for a bit before trying to remove it. This helps it firm up and reduces the risk of it breaking.
I've had cakes that were so stuck to the pan, I thought I'd have to eat them straight out of it. Now, I always use parchment paper rounds. It's a game-changer, trust me!
Layer Chocolate Cake Variations: From Simple to Spectacular
Layer Chocolate Cake Variations: From Simple to Spectacular
Simple Swaps: Easy Flavor Boosts
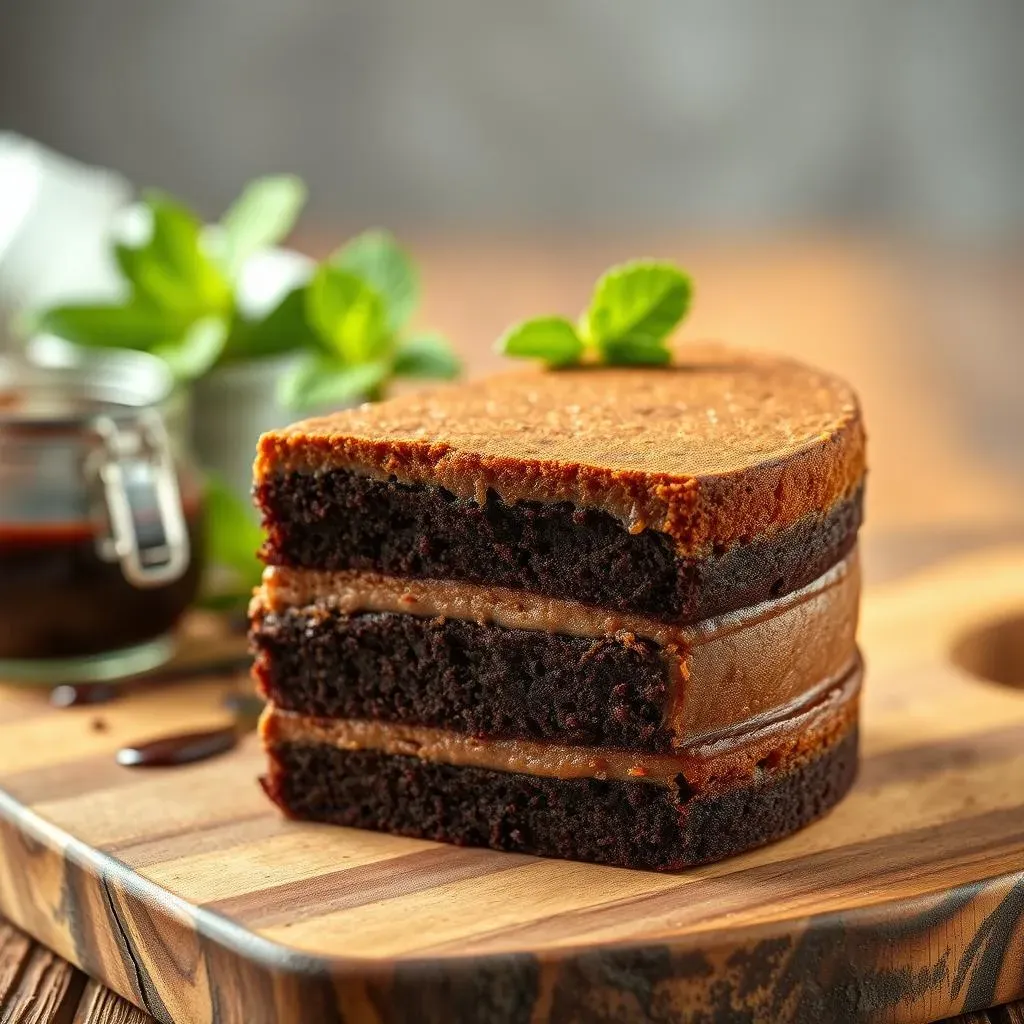
Okay, so you've nailed the basic chocolate layer cake. Now, let's talk about how to make it sing! You don’t need to be a pastry chef to add some pizzazz. Simple swaps can take your cake from "good" to "wow". Start with the liquids. Instead of regular milk, try using coffee for a mocha twist, or buttermilk for extra tang. For the chocolate, use different types of cocoa. Dutch-processed cocoa will give a deeper, more intense flavor. You can also add a teaspoon of espresso powder to really make the chocolate flavor pop. And don't forget about extracts! A touch of vanilla or almond extract can work wonders.
I remember one time, I added a bit of orange zest to my chocolate cake batter. It was a total game changer! The citrus notes perfectly complemented the rich chocolate. It was like a little party in my mouth!
Adding Layers of Flavor: Fillings and Frostings
Now, let’s talk fillings and frostings, because that’s where the real magic happens. Don't just settle for a basic chocolate frosting. Try a whipped ganache for a light, airy texture, or a cream cheese frosting for a tangy kick. You can also add layers of flavor with different fillings, like raspberry jam, caramel, or even a chocolate mousse. If you're feeling fancy, make a simple syrup flavored with your favorite liquor and brush it on the cake layers before frosting. This will keep them super moist and add an extra layer of deliciousness. Get creative and don't be afraid to experiment with different combinations!
I once made a cake with a salted caramel filling and a dark chocolate ganache. It was so good, I almost didn't want to share it. Almost.
Flavor Boost | How to Do It |
|---|---|
Coffee | Substitute milk with strong brewed coffee |
Dutch-Processed Cocoa | Use for a deeper chocolate flavor |
Espresso Powder | Add to enhance chocolate flavor |
Extracts | Vanilla, almond, or peppermint |
Liquor Syrup | Brush on layers for added moisture and flavor. |
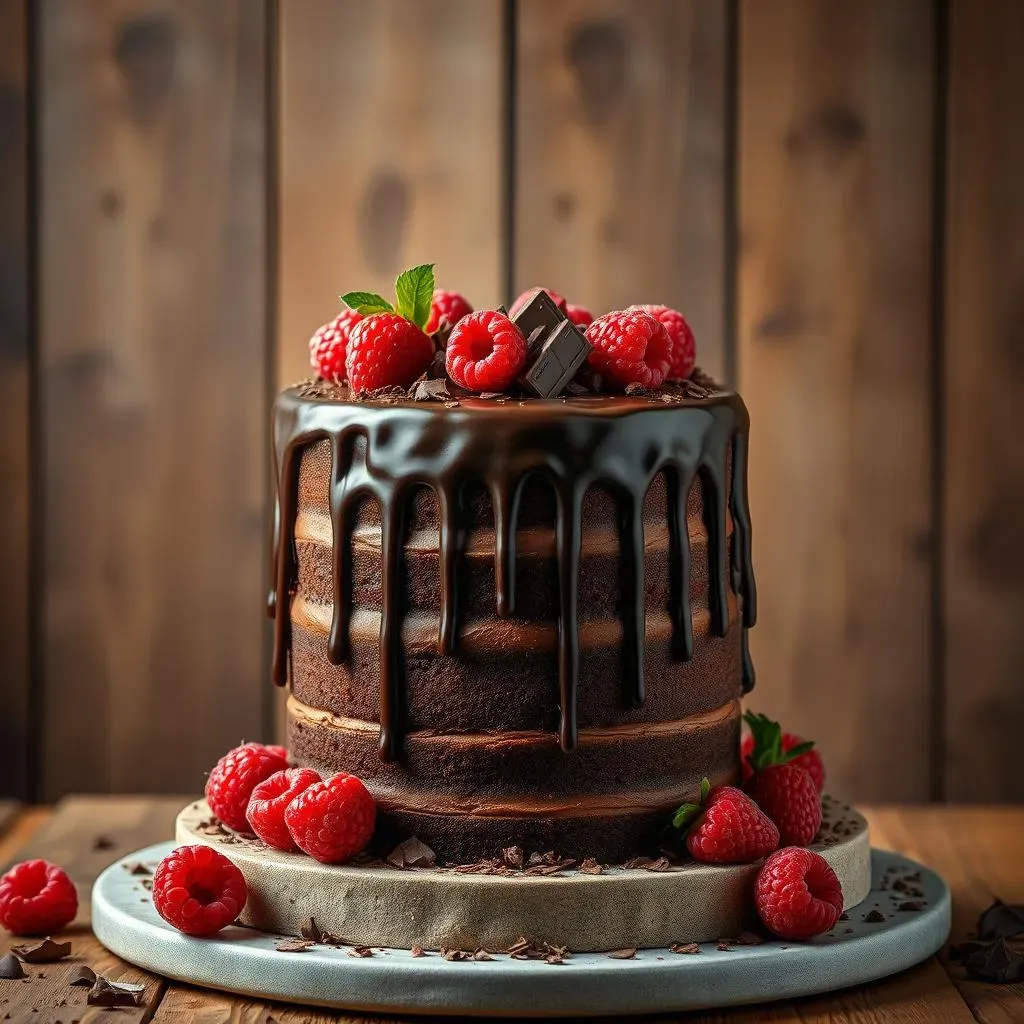
Spectacular Designs: Elevating Your Cake
Finally, let's discuss how to make your layer cake a showstopper. It's not just about the taste, it's also about the visual appeal. Think about using different frosting techniques, like piping, ombre effects, or a "naked" cake look. You can also add decorations, like chocolate shavings, fresh fruit, or edible flowers. If you’re feeling ambitious, try making a drip cake with melted chocolate or caramel. And don't be afraid to experiment with different colors. A pop of color can really make your cake stand out. Remember, baking is an art form, so have fun and let your creativity shine!
I love making drip cakes. It's so satisfying to watch the melted chocolate cascade down the sides of the cake. It's like a little piece of art that you can eat!
“A party without cake is just a meeting.” – Julia Child
Layer Chocolate Cake Storage and Serving: Tips for Success
Layer Chocolate Cake Storage and Serving: Tips for Success
How to Store Your Cake: Keeping it Fresh
Alright, you've baked this magnificent layer chocolate cake, and now you're wondering, "How do I keep this beauty fresh?" Well, the first rule is to let it cool completely before storing. Warm cake in a container creates condensation, which can make your frosting soggy. Once cooled, you can store it at room temperature for a day or two if it's not frosted with something that needs refrigeration. The most important thing is to keep it covered, either with a cake dome or in an airtight container. For longer storage, you can refrigerate it, but make sure to bring it to room temperature before serving for the best flavor and texture.
I once stored a cake in the fridge without covering it. It absorbed all the smells from the other food, and it tasted like a mix of onions and chocolate. It was a culinary disaster that I don't want to repeat.
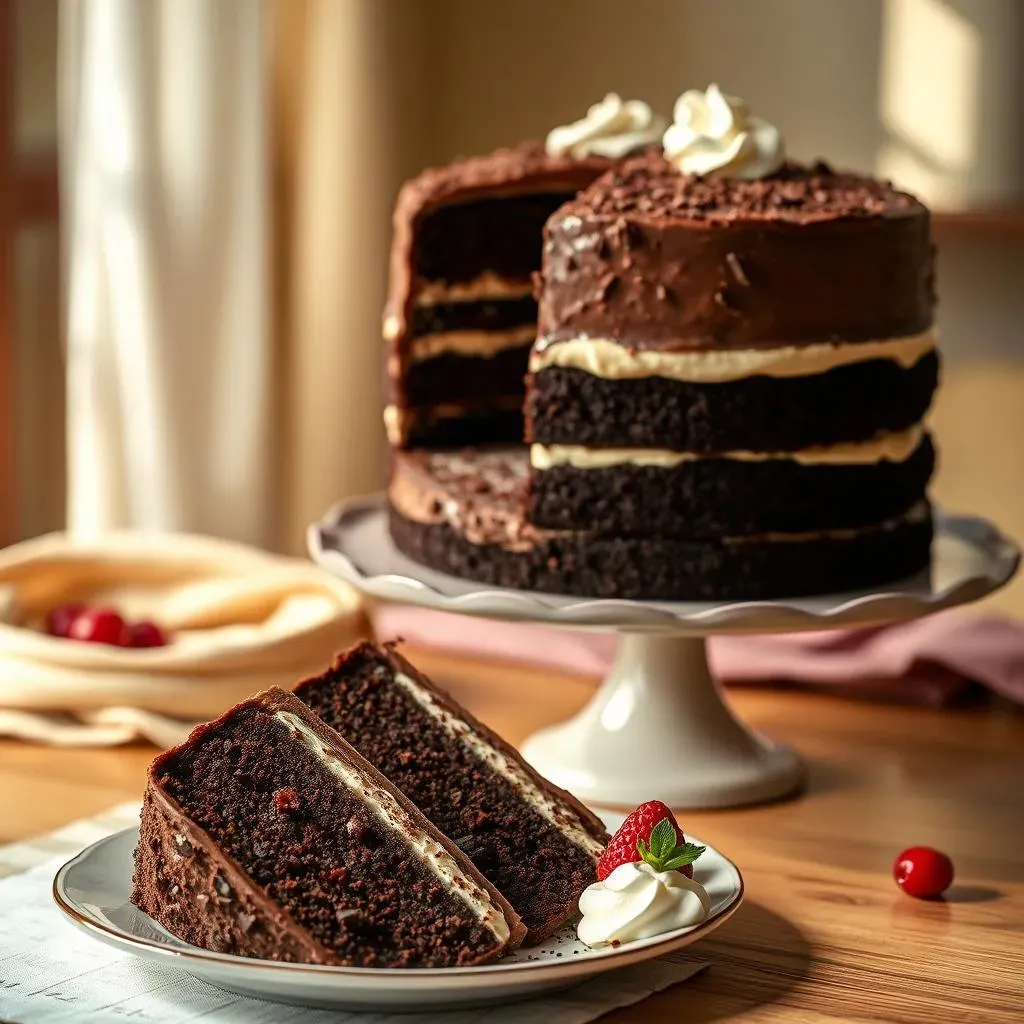
Serving Suggestions: Presentation Matters
Okay, you've stored your cake like a pro, now let's talk about how to serve it so that it looks as good as it tastes. When slicing, use a long, serrated knife and wipe it clean between each slice for neat cuts. Serve each slice on a plate with a dollop of whipped cream or a scoop of ice cream. If you're feeling fancy, add some fresh berries, chocolate shavings, or a drizzle of caramel sauce. And don't forget about the presentation! A pretty cake stand or platter can make all the difference. When it comes to serving, remember that it's not just about the taste but also about the experience. Make it memorable!
I love adding a little sprig of mint to each slice of cake. It adds a touch of elegance and makes it look like it came straight from a fancy bakery.
Storage Method | Duration | Notes |
|---|---|---|
Room Temperature | 1-2 days | Keep covered, best for unfrosted cakes |
Refrigerator | Up to 5 days | Bring to room temperature before serving |
Freezer | Up to 3 months | Wrap tightly in plastic wrap and foil |