Table of Contents
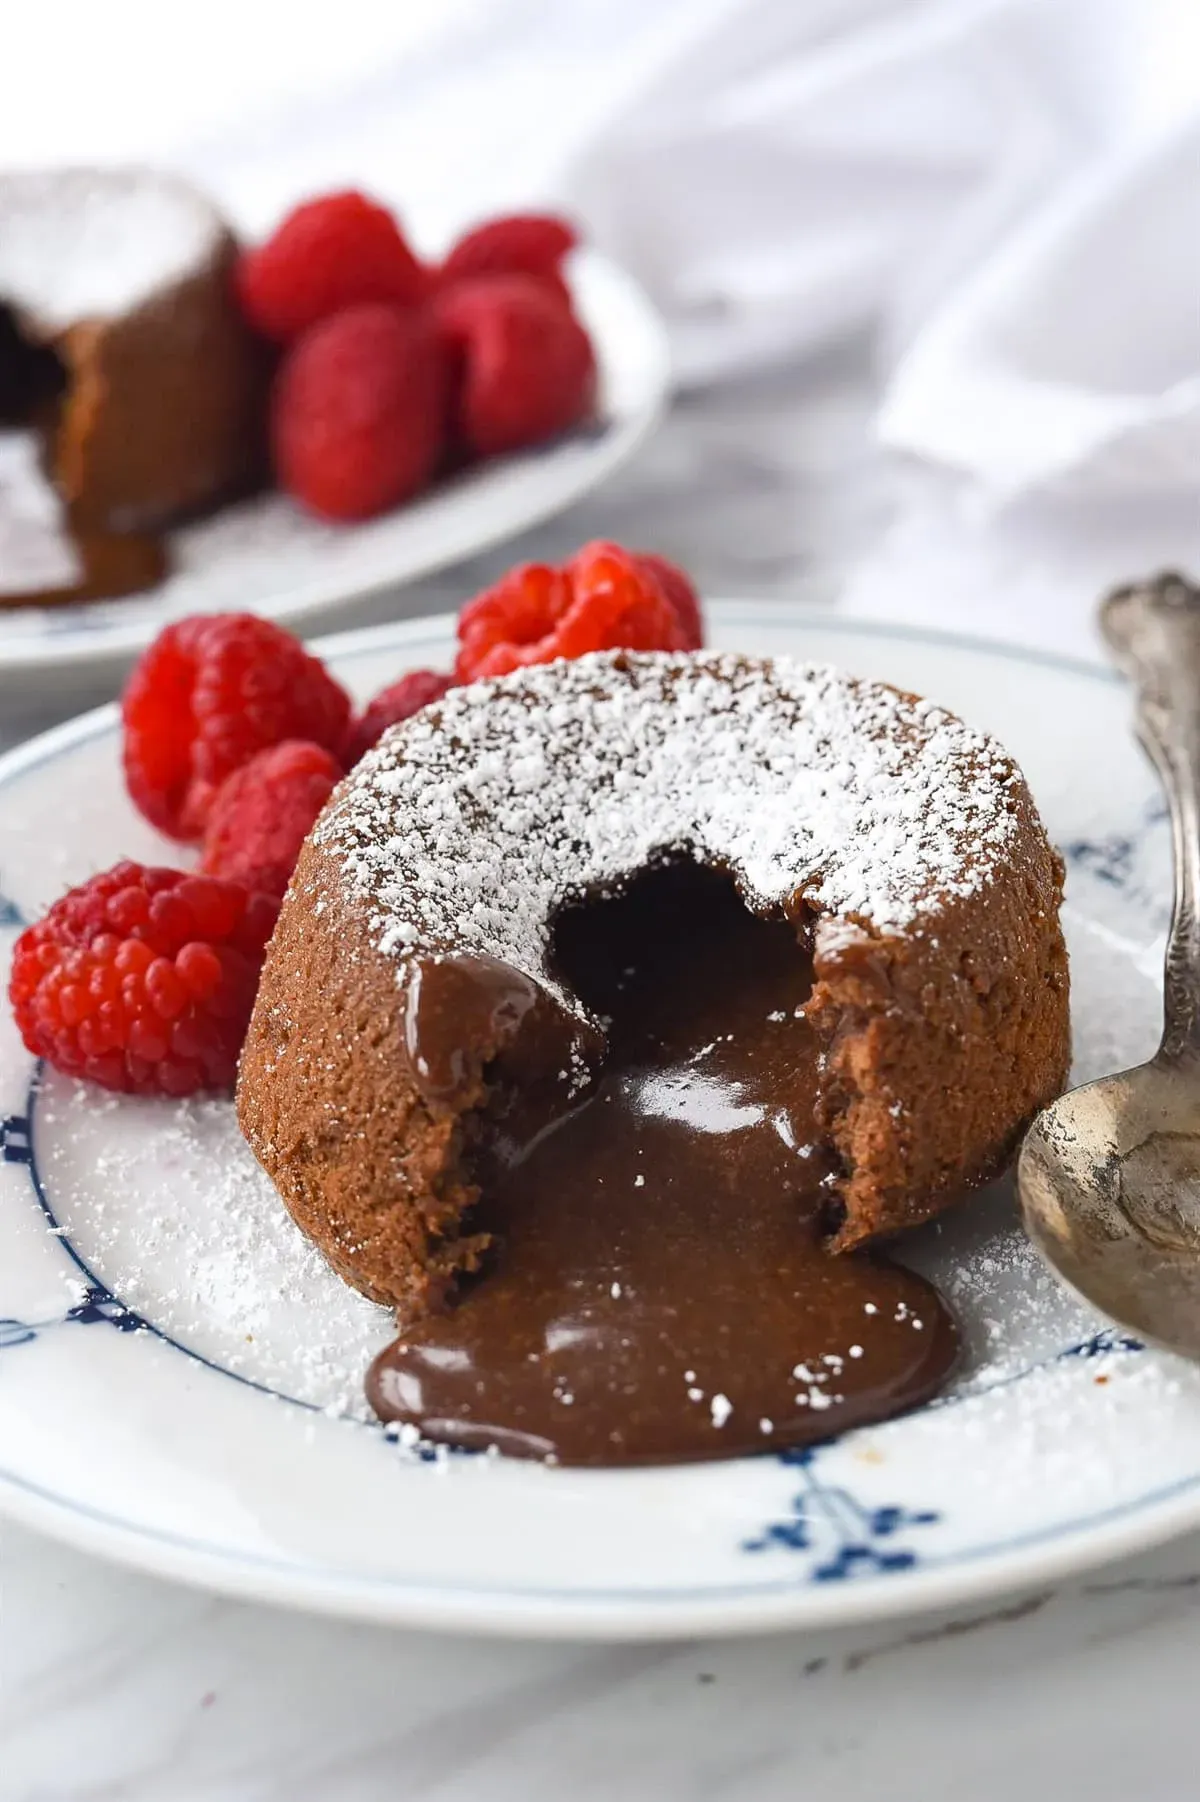
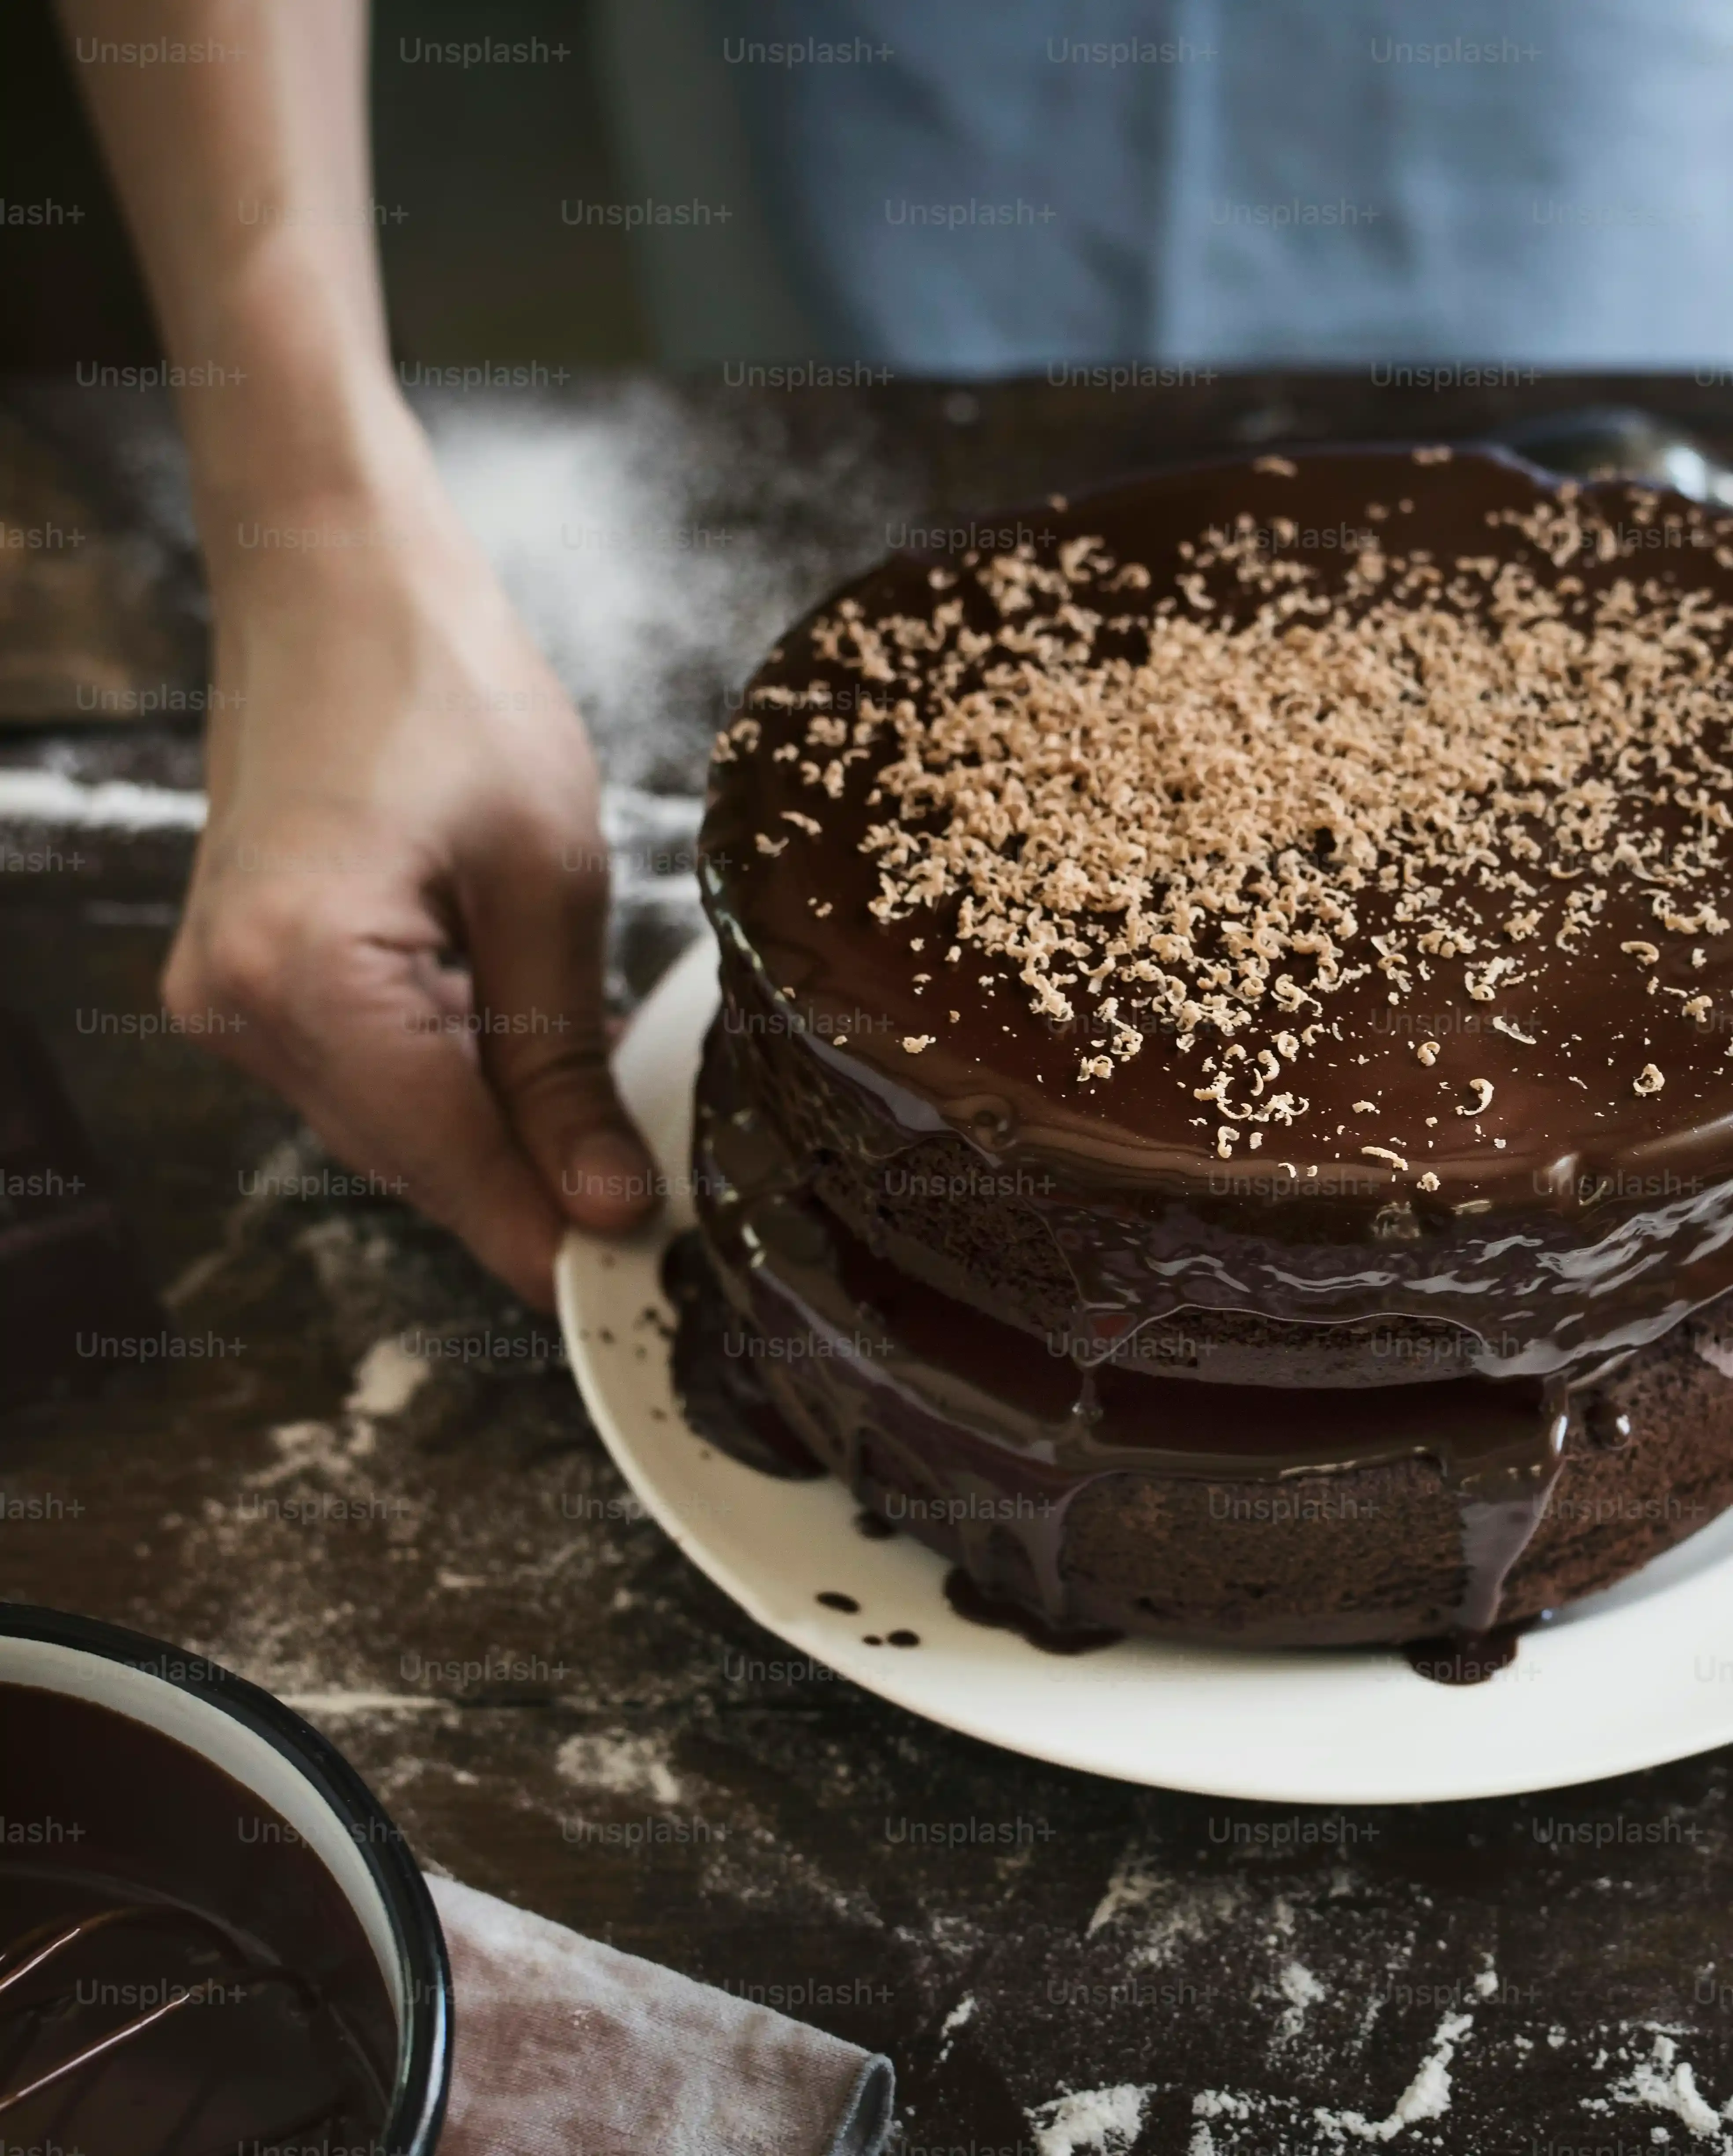
Ever stare into the pantry abyss, gripped by a chocolate craving that demands immediate, molten satisfaction? You don't want a cookie. You don't want a brownie. You want that moment of truth: the spoon piercing a delicate chocolate crust, releasing a glorious cascade of warm, liquid chocolate. That’s the magic of a lava cake. But let's be honest, chasing that perfect molten core can lead to disappointment. Too long in the oven and you've got a dense chocolate muffin. Too short, and it's just raw batter. It's a high-stakes game, and nobody likes a chocolate failure.
Why You Need This Lava Chocolate Cake Recipe
Why You Need This Lava Chocolate Cake Recipe
Because Life Needs More Molten Chocolate
Look, we've all been there. It's been a long day, the news is... well, the news, and the only thing that feels right is sinking a spoon into something warm, rich, and unapologetically decadent. This isn't just *a* dessert; it's an experience. It's the culinary equivalent of a warm hug, delivered via cocoa beans and butter. You don't need a special occasion. You don't need to be a fancy baker. You just need the desire for pure, unadulterated chocolate bliss that explodes onto the plate. This particular lava chocolate cake recipe cuts through the complexity, delivering that iconic molten center without making you want to throw your mixing bowl across the kitchen.
Avoiding the Dreaded Chocolate Hockey Puck
Let's talk about failure. Specifically, lava cake failure. It's a common tragedy. You follow a recipe, you wait with bated breath, you invert the ramekin, and... nothing flows. You're left with a solid, slightly dry, intensely disappointing puck of chocolate cake. Or worse, it collapses into a raw, unappetizing puddle. This recipe tackles those potential pitfalls head-on. It’s calibrated for that sweet spot where the edges are set just right, providing structure, while the center remains a glorious, flowing river of chocolate. It minimizes the variables that lead to disaster, giving you confidence even if your baking track record is, shall we say, checkered.
- Achieve guaranteed molten centers
- Skip the overly complicated steps
- Impress guests (or just yourself)
- Satisfy urgent chocolate needs quickly
Gathering Ingredients for Your Lava Chocolate Cake
Gathering Ingredients for Your Lava Chocolate Cake
Quality Matters When Gathering Ingredients for Your Lava Chocolate Cake
Alright, let's talk ingredients. This isn't the time to skimp or grab whatever dusty bag of chocolate chips has been lurking in the back of the pantry since the last millennium. When you're making something this simple, every component pulls its weight. Think of it like building a small, perfect machine; each part needs to be exactly right. For a stellar lava chocolate cake recipe, the quality of your chocolate and butter makes a massive difference. You're aiming for intense flavor, not just sweetness, and a smooth, luxurious texture. Don't sabotage your molten dreams before you even start by using subpar stuff.
The Power Players: Chocolate and Butter
Your chocolate choice is critical. Skip the waxy melting wafers or cheap milk chocolate. You want good quality dark or semi-sweet chocolate. Look for something with a cocoa percentage around 60-70%. Ghirardelli, Lindt, or even a good quality store brand baking bar works well. Chop it finely so it melts evenly. As for butter, unsalted is the standard here. It gives you control over the salt level in the final cake. Melt these two together gently; you don't want to scorch the chocolate and introduce bitter notes. A double boiler or careful microwaving in short bursts, stirring frequently, is your friend.
- Good Quality Dark or Semi-Sweet Chocolate (60-70% cocoa)
- Unsalted Butter
- Large Eggs
- Egg Yolks
- Granulated Sugar
- Pinch of Salt
- All-Purpose Flour
Rounding Out the Team: Eggs, Sugar, and Flour
Eggs provide structure and richness. You'll use both whole eggs and extra yolks. The extra yolks contribute to that gooey, fudgy texture that complements the molten center. Sugar adds sweetness, obviously, but also helps with tenderness and moisture. Use plain granulated sugar. A tiny pinch of salt is non-negotiable; it brightens the chocolate flavor and keeps the cake from tasting flat. Finally, just a touch of all-purpose flour provides minimal structure, just enough to hold the cake together while allowing the center to remain liquid. Too much flour, and you're back to that hockey puck problem we discussed. Measure carefully.
Mixing Up Your Perfect Lava Chocolate Cake Batter
Mixing Up Your Perfect Lava Chocolate Cake Batter
Mixing Up Your Perfect Lava Chocolate Cake Batter
Alright, you've got your melted chocolate and butter looking all glossy and inviting. Now for the rest of the crew. In a separate bowl, whisk your eggs, egg yolks, and sugar together. You're not aiming for meringue here, just mix until they're combined and slightly lighter in color. Think pale yellow, not fluffy clouds. This incorporates a little air and helps with texture. Now, the crucial part: gently fold the dry ingredients (that tiny bit of flour and salt) into the egg mixture. Do not, under any circumstances, beat this like you're angry at it. Overmixing develops gluten, and gluten is the enemy of a tender, molten cake. Just mix until the streaks of flour disappear. Then, carefully fold in your melted chocolate and butter mixture. Again, *fold*, don't beat. You want a smooth, homogenous batter, but stop the second everything is just combined. Lumps of flour are bad, but overmixing is worse.
- Whisk eggs and sugar until pale.
- Gently fold in flour and salt.
- Fold in melted chocolate/butter mixture last.
- Mix *just* until combined.
Baking Your Lava Chocolate Cake: The Critical Timing
Baking Your Lava Chocolate Cake: The Critical Timing
Heat is Your Friend (But Don't Overdo It)
Now comes the moment of truth, the part that makes or breaks your molten dreams: Baking Your Lava Chocolate Cake: The Critical Timing. You've got your beautiful batter portioned into ramekins (make sure they were prepped properly – sprayed and dusted!). Your oven needs to be *hot*. Like, 450°F (230°C) hot. This high heat is crucial. It sets the outside of the cake quickly, creating that firm shell, while the inside stays delightfully undercooked and molten. Think of it as a controlled thermal shock. Pop those ramekins in the screaming hot oven and set a timer. This isn't a recipe where you can wander off and scroll through social media for ten minutes. We're talking 6 to 8 minutes, maybe 9 depending on your oven's personality and the exact size of your ramekins. The edges should look set, pulling slightly away from the sides, but the very center should still look soft and jiggly when you gently nudge a ramekin. If it looks solid, you've gone too far. If it looks like raw batter all the way to the edge, give it another minute. Trust your eyes, but more importantly, trust your timer and your gut feeling based on that jiggly center.
Serving Tips & Troubleshooting Your Lava Chocolate Cake
Serving Tips & Troubleshooting Your Lava Chocolate Cake
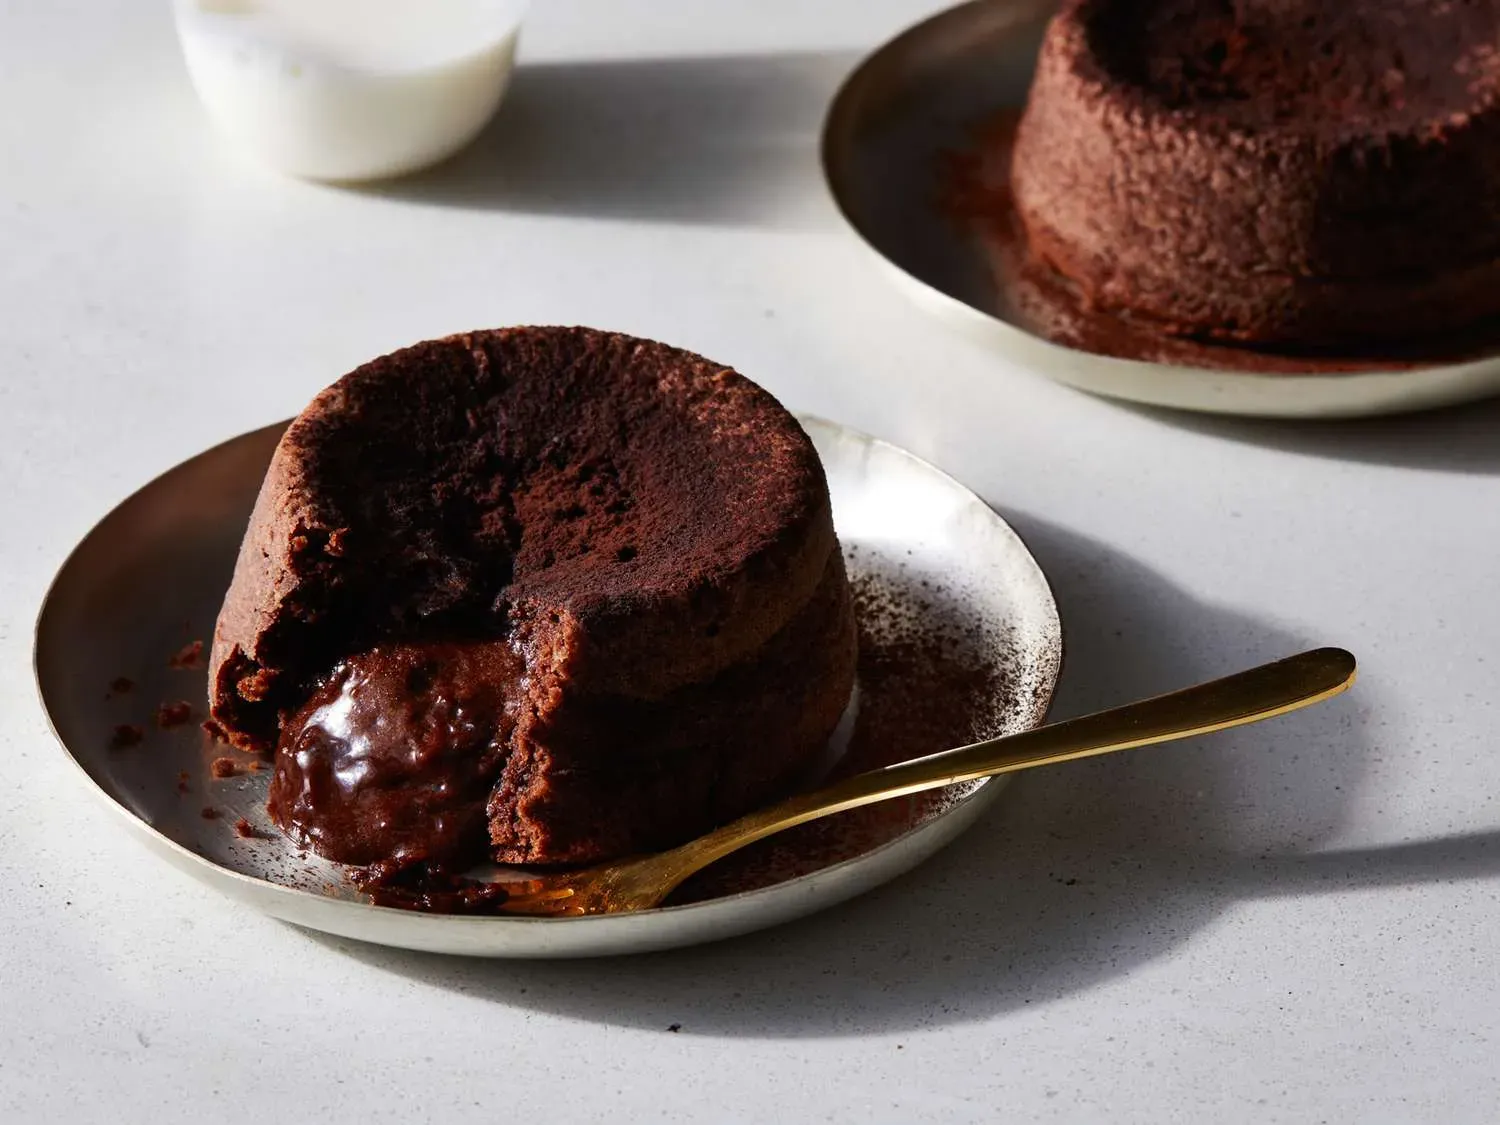
The Grand Reveal and What If It Goes Sideways?
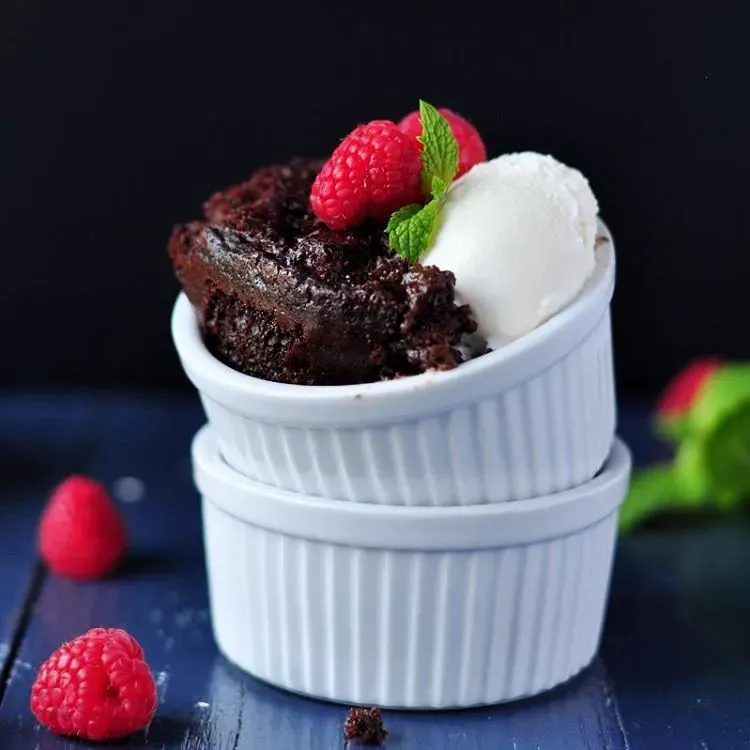
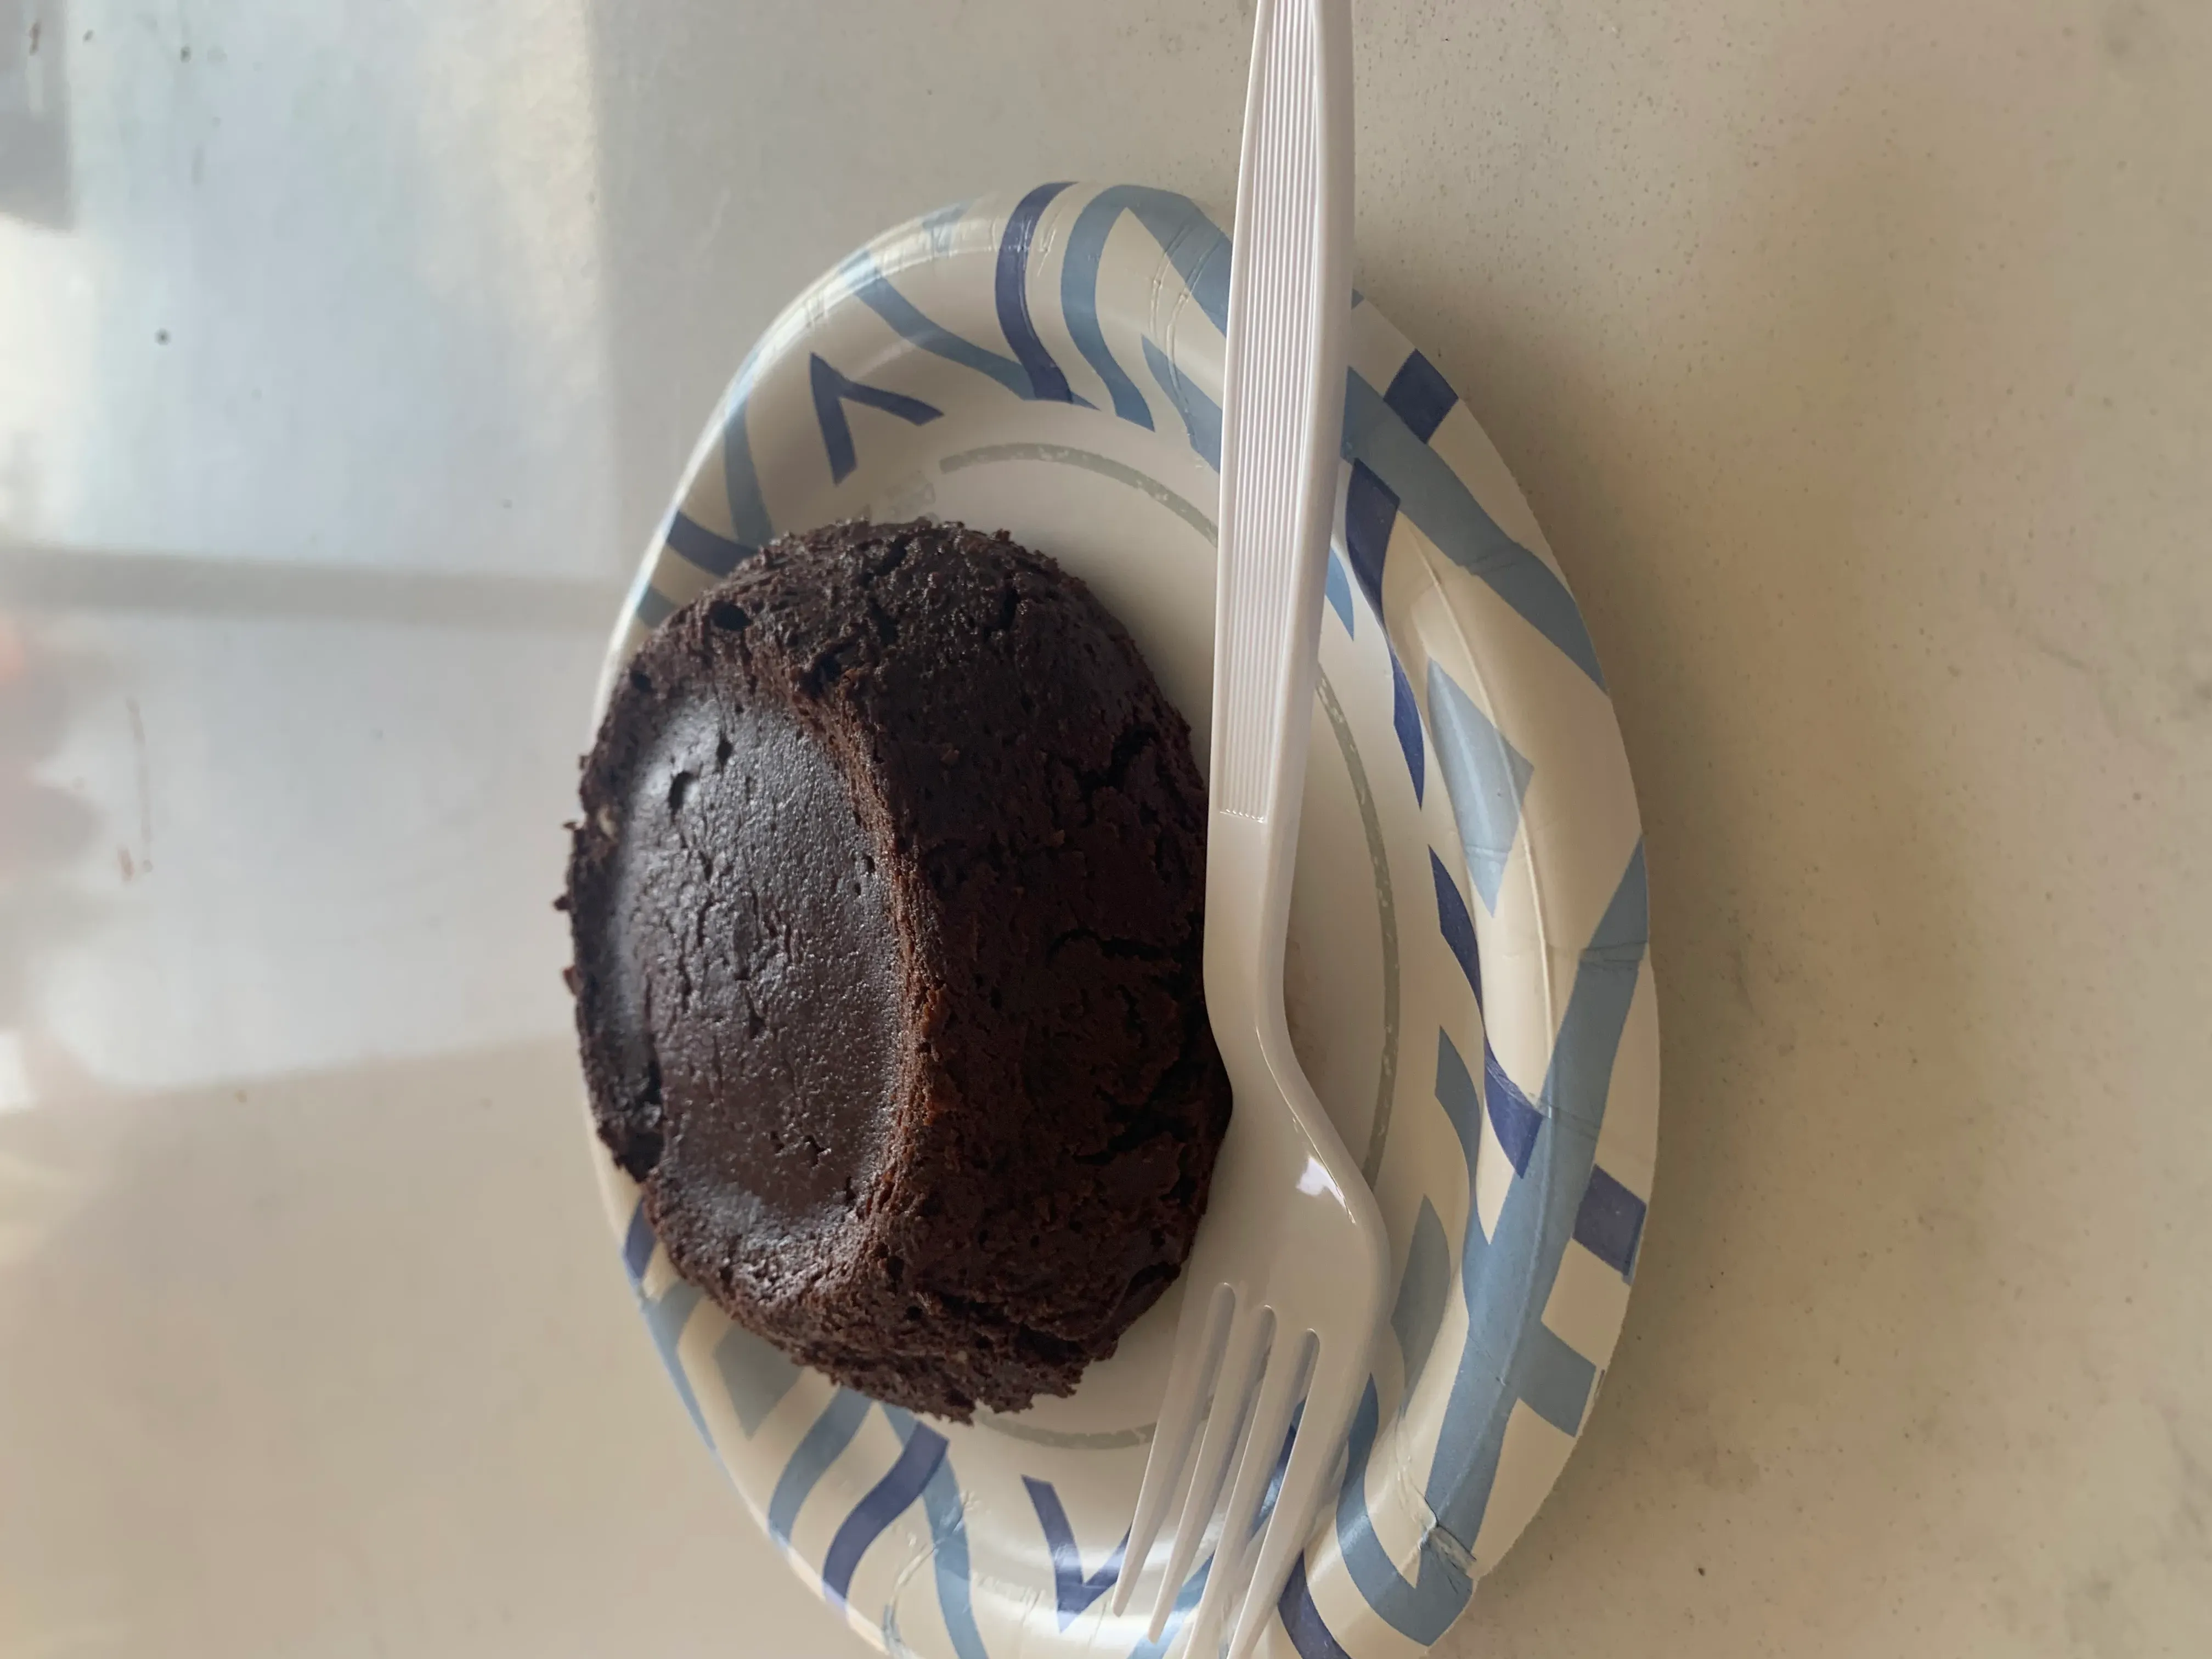
the timer has dinged, the edges are set, and the centers are doing that tantalizing jiggle. This is it. The moment of truth. Let those beautiful lava cakes rest in their ramekins for just one minute. Seriously, one minute is all they need. Any longer, and the carryover heat keeps cooking that precious molten core. Any less, and they might not hold their shape when you flip them. Grab a serving plate, place it upside down over the ramekin, and with a swift, confident motion, flip the whole contraption over. Lift the ramekin slowly. If you've done everything right, a perfectly formed chocolate cake should be sitting there, ready to unleash its molten glory. What if it sticks? Happens. Sometimes a gentle tap on the bottom of the ramekin helps. If it still won't budge, your prepping wasn't thorough enough, or you waited too long. Eat it with a spoon straight out of the ramekin. Nobody's watching. Or if they are, they're just jealous.
- Rest cake 1 minute before inverting.
- Use a swift flip motion with the plate.
- Tap ramekin gently if it sticks.
- If all else fails, embrace the ramekin-spoon method.
Wrapping Up Your Lava Cake Adventure
So there you have it. You’ve navigated the butter melting, the chocolate chopping, the egg whisking, and the delicate dance with your oven. If you followed the steps and paid attention to that crucial baking window, you should now be staring down a warm, individual chocolate cake with a center just waiting to erupt. It’s not magic; it’s just following a solid lava chocolate cake recipe and respecting the process. Slice into it, watch the chocolate ooze, and enjoy the fact that you pulled it off without resorting to store-bought mix. Go ahead, take a bow. You earned that bite of molten glory.