Table of Contents
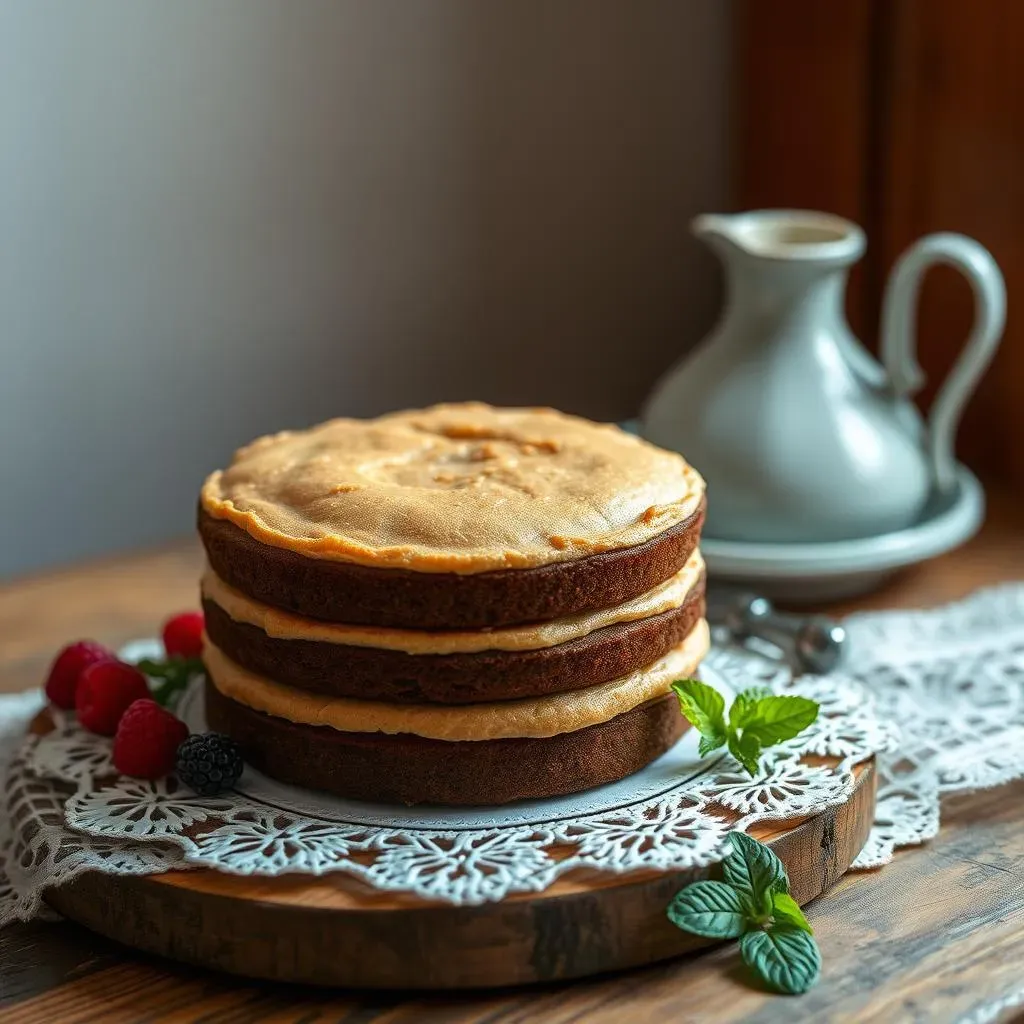
Ever dream of a chocolate cake that’s both sturdy enough to stack high and light enough to practically float off your fork? I did! That's why I'm so excited to share this recipe for a truly amazing fluffy layer chocolate cake. This isn't your average, dense fudge cake; we're talking soft, tender layers with a deep, rich chocolate flavor that isn't overly sweet. We're using Dutch-processed cocoa for that concentrated taste and gorgeous dark color. Think of it as the superhero of chocolate cakes – strong enough to hold its shape, yet delicate enough to melt in your mouth. In this article, I'll walk you through the secrets to achieving this perfect balance. We'll cover everything from using different pan sizes, to ingredient swaps, and even how to make sure your cake is ready for stacking and carving. Plus, I'll share my tips for storing and making it ahead of time, along with answers to some frequently asked questions. Get ready to bake the best fluffy layer chocolate cake you've ever tasted!
Taste and Texture of This Fluffy Layer Chocolate Cake
Taste and Texture of This Fluffy Layer Chocolate Cake
The Soft Crumb Secret
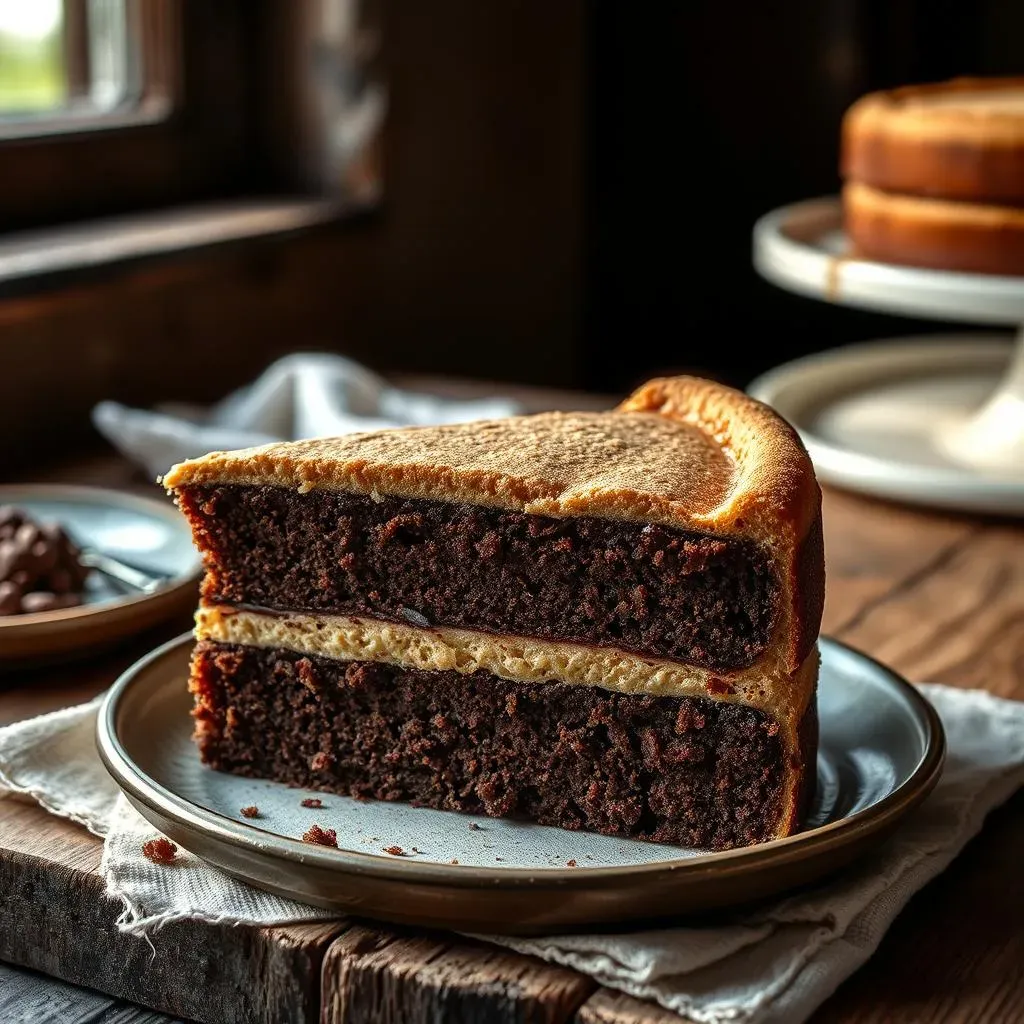
Let's talk about what makes this fluffy layer chocolate cake different. It's all about the crumb – that's the inside texture of the cake. We're not going for a dense, fudgy texture here. Instead, imagine a super soft, almost sponge-like interior. It should be light and airy, like a cloud, but with enough body to hold its shape when you slice into it. It's the kind of cake that practically melts in your mouth, making you want to take another bite right away. It's not dry, though. It's moist, but not wet – a perfect balance.
Now, about the chocolate flavor. This cake is chocolatey, yes, but it’s not overwhelmingly sweet. We want the rich, deep notes of chocolate to shine without being cloying. That's why we're using Dutch-processed cocoa. It's less acidic than regular cocoa, and it gives the cake a more intense chocolate flavor and a beautiful dark color. Think of it like the difference between a regular cup of coffee and a rich, dark roast. It's all about that depth and complexity.
Texture | Flavor | Sweetness |
|---|---|---|
Soft, light, and airy crumb | Rich, deep chocolate | Balanced, not overly sweet |
No Fudgy Business Here
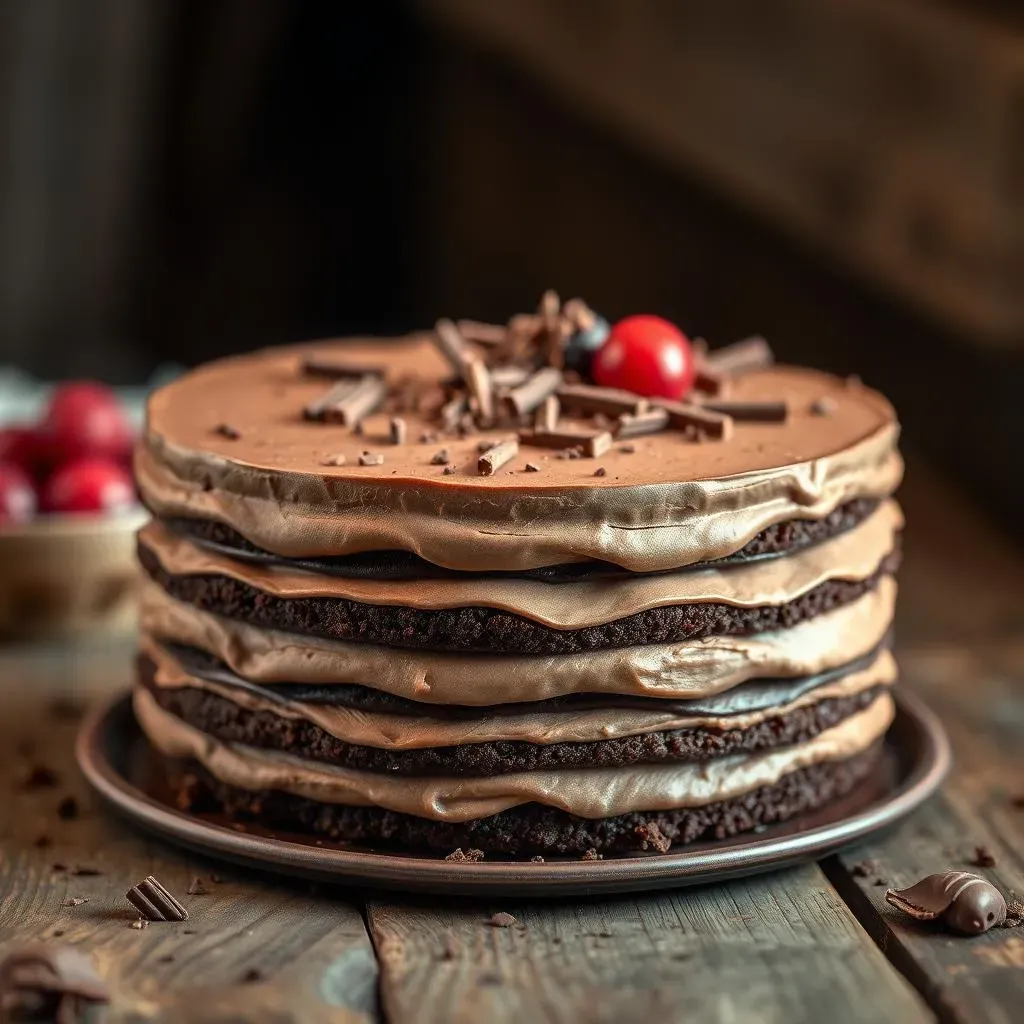
You see, some chocolate cakes are all about that fudgy, dense texture. And hey, there’s a time and place for that! But this fluffy layer chocolate cake is different. It's not fudgy or chewy. It’s more delicate and refined. Imagine biting into a piece of chocolate cloud – that's what we're aiming for. It should be so tender that it practically dissolves on your tongue, leaving behind a satisfying chocolatey taste. It's the kind of cake that you could easily eat a whole slice of (or two!).
The goal is to create a cake that's not only delicious but also structurally sound. It needs to be sturdy enough to stack into multiple layers, support frosting, and even hold the weight of fondant if you're feeling fancy. We want a cake that's both beautiful and tasty, the kind that will impress your friends and family. So while it’s light and airy, it's also strong, like a superhero in disguise. We’re not just making any cake; we're crafting a masterpiece.
“A balanced cake is a happy cake.” – Some Wise Baker (Probably)
Baking Your Fluffy Layer Chocolate Cake in Different Pans
Baking Your Fluffy Layer Chocolate Cake in Different Pans
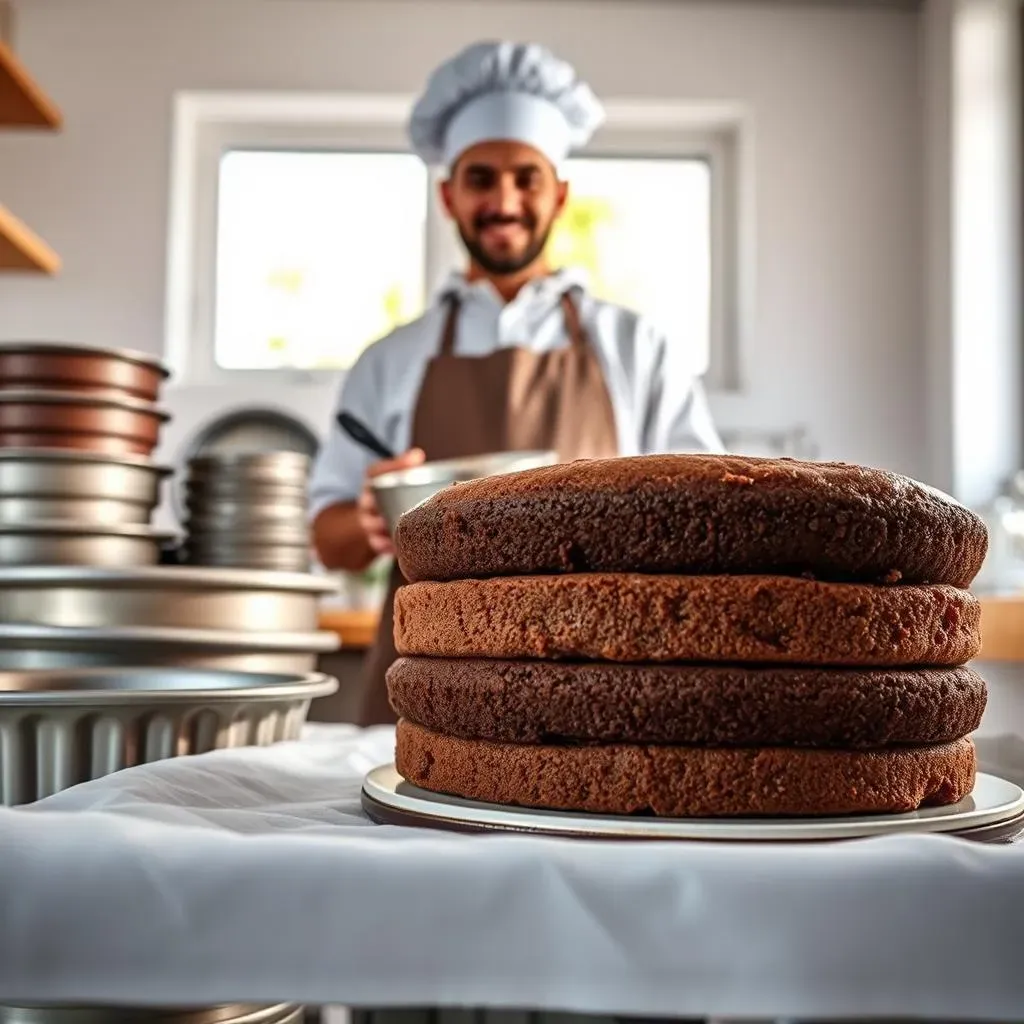
Choosing the Right Pan Size
Okay, so you're ready to bake, but what if you don't have the exact pan size the recipe calls for? Don't worry, I got you! This fluffy layer chocolate cake recipe is pretty flexible. You can absolutely make it in different sizes, but there are a few things to keep in mind. For example, if you want to make a smaller cake, say in 6-inch pans instead of 8-inch, you'll need to adjust the baking time and the amount of batter you put in each pan. You don’t want a cake that overflows, or one that’s too thin! It’s all about finding the right balance.
Think of it like this: if you're making a tiny cake, you'll want to bake it for a shorter time, and if you're making a bigger cake, you'll need to bake it longer. It’s like adjusting the volume on your music – you need to find the right setting. And of course, if you're using a different pan size, you might need to adjust the amount of batter you use. Usually, smaller pans mean less batter per pan, and larger pans mean more. It's all about making sure the cake layers are the right thickness and bake evenly.
Pan Size | Baking Time Adjustment | Batter Adjustment |
|---|---|---|
6-inch | Shorter baking time | Less batter per pan |
8-inch | Standard baking time | Standard batter amount |
9-inch | Slightly longer baking time | More batter per pan |
Adjusting for Depth and Doneness
When it comes to baking this fluffy layer chocolate cake in different pans, another thing to consider is the depth of the pan. Deeper pans will need a slightly longer baking time because the heat has to travel further to reach the center of the cake. Shallower pans, on the other hand, will bake faster. It's like cooking a steak – a thicker steak needs more time on the grill than a thinner one. You’ll want to monitor the cake closely to make sure it bakes evenly, and you do not end up with a burnt outside and a raw middle.
And how do you know when your cake is done? The cake tester is your best friend! Insert a cake tester or a toothpick into the center of the cake. If it comes out clean, or with just a few moist crumbs attached, you’re golden. If it’s covered in wet batter, the cake needs a bit more time in the oven. It's like checking if a plant needs water – if the soil is dry, it’s time to water it. The same goes for your cake – if it’s not quite done, give it a little more time in the oven. It's all about being patient and paying attention to the details.
"The pan is just a vessel; the cake is the star." - Me, right now
How To Make The Best Fluffy Layer Chocolate Cake for Stacking & Carving
How To Make The Best Fluffy Layer Chocolate Cake for Stacking & Carving
The Importance of a Sturdy Base
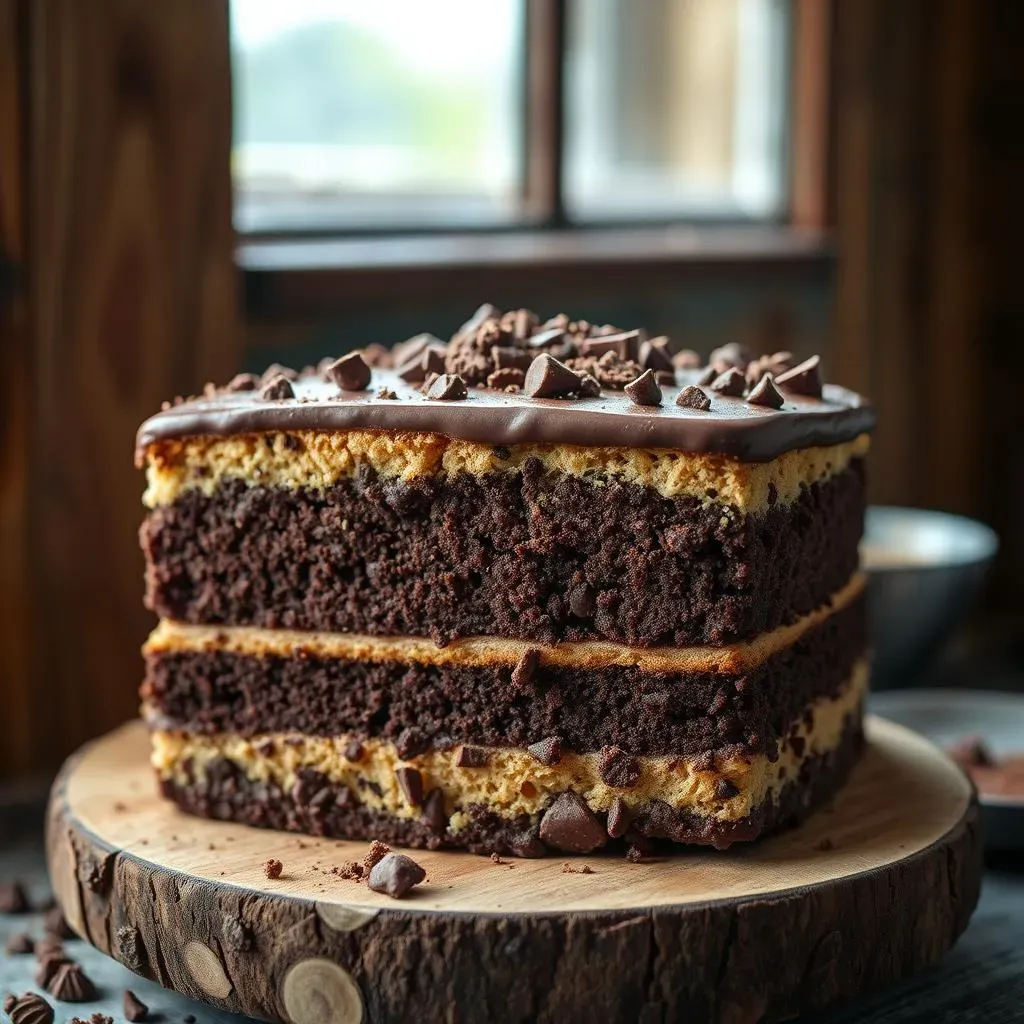
Alright, let’s talk about making this fluffy layer chocolate cake not just delicious, but also structurally sound, especially if you plan on making a multi-tiered masterpiece. The secret here isn’t some magical ingredient, but rather the way we’ve balanced the recipe. We're aiming for a cake that's light and airy, but also has the backbone to hold its shape. Think of it like building a house – you need a solid foundation, right? The same goes for our cake. We want it to be strong enough to support the weight of other layers, frosting, and even some decorations, without collapsing or crumbling. It's all about getting that perfect balance between tenderness and sturdiness, and that's exactly what this recipe is designed for.
This means we’re not making a cake that’s too moist or too dense. Too moist, and it’ll be like trying to stack wet sponges. Too dense, and it’ll be heavy and prone to cracking. Instead, we're going for that “just right” texture, so that each layer sits nice and flat on top of the other. It's like building with LEGOs – each piece needs to fit perfectly. It's important to let the cake cool completely before even thinking about stacking. Warm cake is fragile cake. And remember, patience is key here. Rushing the process is a recipe for disaster. It’s like trying to run a marathon without training – you'll probably end up hurting yourself (or in this case, your cake).
Cake Characteristic | Why It's Important for Stacking |
|---|---|
Sturdy Texture | Prevents collapsing under weight |
Flat Layers | Ensures stable stacking |
Complete Cooling | Hardens structure for handling |
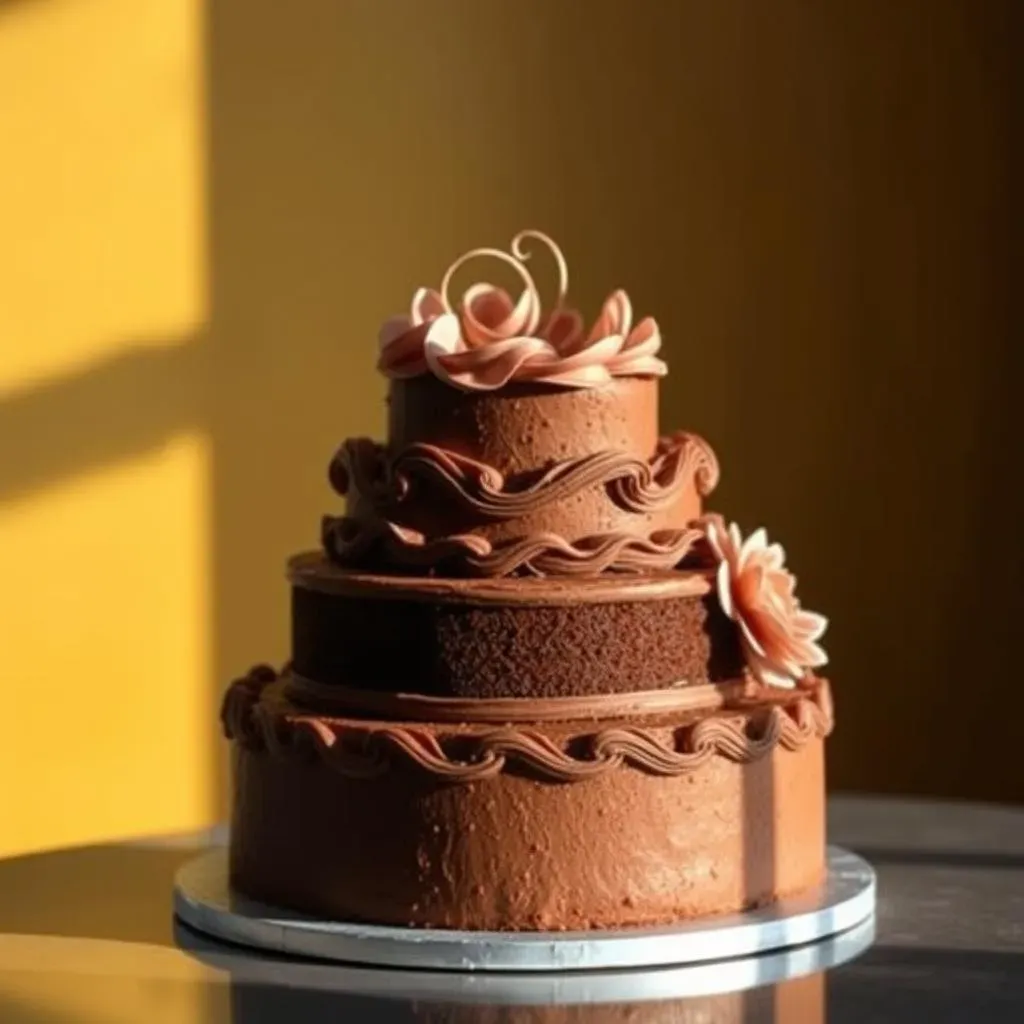
Tips for Carving and Shaping
Now, let’s say you want to get a little creative with your fluffy layer chocolate cake and carve it into a specific shape. Maybe it’s a birthday cake shaped like a number, or a whimsical design for a special occasion. The good news is that this cake is actually very cooperative when it comes to carving. Because of its sturdy, yet tender crumb, it can hold its shape pretty well when you’re cutting and shaping it. But, there are a few tips that will make the process much smoother. First, make sure your cake is completely cool. Warm cake is soft and will tear easily. It's like trying to carve a sculpture out of warm butter – it's just not going to work. Second, use a long, serrated knife. The serrated edge will help you cut through the cake without tearing it. It's like using a saw instead of a butter knife – much cleaner cuts.
And finally, don’t be afraid to take your time. Carving a cake is a bit like sculpting – it’s an art form that requires patience and a steady hand. You can even use a template if you're working on a specific shape. And if you accidentally carve off a little too much? No worries! Cake scraps are delicious. And you can totally use them in trifles, cake pops, or just eat them as a reward for a job well done. It's like having a little snack while you work. Remember, making a cake is supposed to be fun, so embrace the process and don't stress too much about imperfections. They just add to the cake's character.
"Carving a cake is like sculpting with sweetness." - A very happy baker
Ingredients & Substitutions for Your Fluffy Layer Chocolate Cake
Ingredients & Substitutions for Your Fluffy Layer Chocolate Cake
The Core Ingredients
Alright, let's break down the key players in this fluffy layer chocolate cake recipe. First up, we've got our star ingredient: Dutch-processed cocoa powder. This stuff is a game-changer because it gives the cake that deep, rich chocolate flavor and that gorgeous dark color. It's not the same as regular cocoa, so don't go swapping them out unless you're prepared for a slightly different result. Next, we have the usual suspects – flour, sugar, eggs, and butter. These form the base of our cake, providing the structure and the moisture. But the real magic happens when we bring in the wet ingredients. We’re using buttermilk, which is going to add a slight tang and make the cake extra tender. It also helps activate the baking soda which makes the cake rise.
And don’t forget the oil! A little bit of oil makes the cake extra moist. It's like adding a secret ingredient that keeps the cake from drying out. You could use vegetable oil, canola oil, or even a light olive oil – it's your call. Vanilla extract is also crucial, it’s what boosts all the flavors, making the cake taste even better. It's like a conductor leading an orchestra, making sure all the flavors are in harmony. And finally, we need baking soda and baking powder. These are the leavening agents that give our cake its rise and that light, fluffy texture. They’re like the cake’s personal cheerleaders, making sure it gets all the lift it needs.
Ingredient | Role | Why It's Important |
|---|---|---|
Dutch-processed cocoa | Flavor and color | Intense chocolate taste and dark hue |
Buttermilk | Moisture and tenderness | Adds tang and activates leavening |
Oil | Moisture | Keeps the cake from drying out |
Baking soda & powder | Leavening | Makes the cake rise and fluffy |
Smart Swaps and Substitutions
Now, what if you're missing an ingredient or have some dietary restrictions? No problem! This fluffy layer chocolate cake recipe is pretty flexible, and there are a few smart swaps you can make. If you don't have buttermilk on hand, you can make a quick substitute by adding a tablespoon of lemon juice or vinegar to a cup of milk. Let it sit for a few minutes and you have your very own buttermilk. It might not be the exact same, but it'll do the trick. If you're out of oil, you can use melted butter or even applesauce as a substitute. It's like swapping out a tool in your toolbox – you might not have the exact one, but you can still get the job done with something similar.
For those who are gluten-free, you can use a gluten-free flour blend. Just make sure it's a blend that's designed for baking, and not just for bread. You might need to add a bit of xanthan gum to help with the texture, but it's a small price to pay for a delicious gluten-free cake. And if you're egg-free, you can use flax eggs or applesauce as a substitute. It's like adapting a recipe to your needs, making sure that everyone can enjoy a slice of this delicious cake. Remember, baking is all about experimenting and finding what works best for you. Don't be afraid to try new things and put your own spin on the recipe. It's your cake; bake it your way!
“Flexibility is the spice of baking.” – A very resourceful baker
Storage and Make Ahead Tips for Your Fluffy Layer Chocolate Cake
Storage and Make Ahead Tips for Your Fluffy Layer Chocolate Cake
Keeping Your Cake Fresh
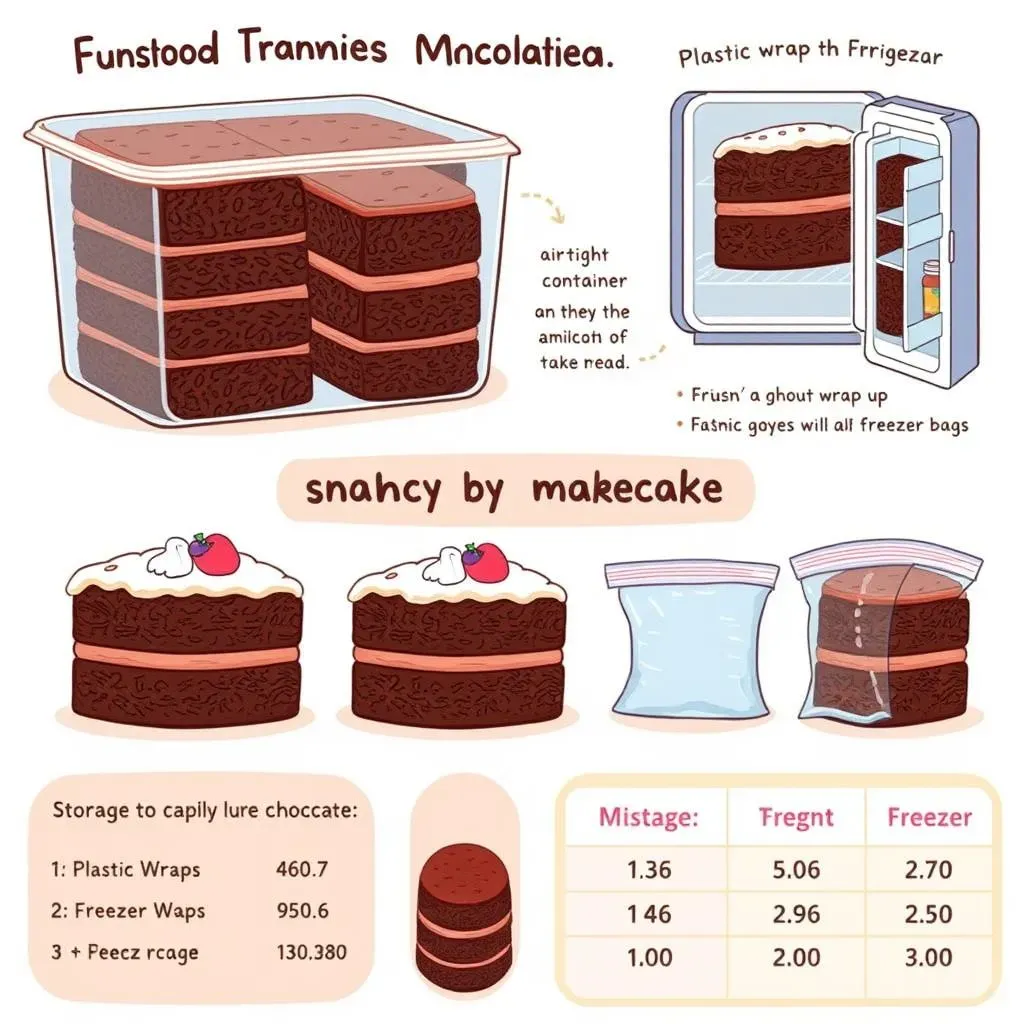
Okay, so you've baked this amazing fluffy layer chocolate cake, and maybe you're not planning to eat it all right away, or perhaps you want to bake it ahead of time for a special occasion. No sweat! This cake is pretty forgiving when it comes to storage. If you’re planning to eat it within a day or two, you can store it at room temperature, but make sure it's in an airtight container or wrapped tightly in plastic wrap. This will keep it from drying out. Think of it like tucking your cake into bed for the night – you want it to stay cozy and fresh. If you live in a really warm place, you might want to store it in the fridge, but be sure to bring it back to room temperature before serving for the best taste and texture.
Now, if you need to store it for longer, like a week or two, your freezer is your best friend. You can freeze the cake layers individually after they’ve cooled completely. Wrap each layer tightly in plastic wrap, and then place them in a freezer-safe bag or container. This will keep them from getting freezer burn, which is basically the cake equivalent of frostbite. And when you’re ready to use them, just thaw them in the fridge or at room temperature. It’s like having a secret stash of cake ready whenever you need it. Remember to always let the cake come to room temperature before frosting or serving for the best texture.
Storage Method | Duration | Best For |
|---|---|---|
Room Temperature | 1-2 days | Short-term storage |
Refrigerator | Up to 5 days | Warm climates |
Freezer | Up to 2 months | Long-term storage |
Making Your Cake in Advance
What about making the cake ahead of time? Absolutely! This fluffy layer chocolate cake is perfect for making ahead. You can bake the cake layers a day or two before you plan to assemble and frost it. Just make sure they're completely cool before wrapping them up and storing them. It's like getting a head start on a project – you can focus on the fun stuff, like decorating, when the time comes. If you're freezing the layers, you can even bake them weeks in advance. Just make sure you label them with the date, so you don't end up with a mystery cake in your freezer. It’s like having a time machine that lets you bake whenever it's convenient for you.
And here’s a pro tip: if you’re baking the cake ahead for a multi-tiered masterpiece, you might want to brush the layers with a simple syrup. This will keep them extra moist and delicious, even if they’re stored for a bit. It's like giving your cake a little spa treatment, making sure it stays pampered and ready for its big debut. Remember, the key to a great make-ahead cake is proper storage. Don't skip the airtight containers and plastic wrap – they're your best friends when it comes to keeping your cake fresh. It's like a superhero team, working together to make sure your cake is a success. And who doesn't love a superhero team?
“A cake stored well is a cake that's ready to party.” – A very organized baker
Frequently Asked Questions About Fluffy Layer Chocolate Cakes
Frequently Asked Questions About Fluffy Layer Chocolate Cakes
Why is my cake not fluffy?
Ah, the million-dollar question! If your fluffy layer chocolate cake isn't quite living up to its name, there are a few culprits we can investigate. First, make sure your baking powder and baking soda are fresh. If they're old, they won't give your cake the lift it needs. Think of them like tiny superheroes – they need to be at the peak of their powers to do their job. Also, avoid overmixing your batter. Once you add the flour, mix just until everything is combined. Overmixing develops the gluten in the flour, which can make your cake tough instead of fluffy. It’s like working dough too much – it becomes hard and chewy, not soft and airy. And finally, don't open the oven door too often while your cake is baking. This can cause the temperature to drop, which will make your cake fall flat. It’s like letting the air out of a balloon – it won’t stay inflated.
Another thing to consider is the oven temperature. If your oven is too hot, the cake might rise too quickly and then collapse. It’s like trying to run a marathon at a sprint – you’ll burn out fast. Make sure your oven is calibrated correctly and bake at the recommended temperature. Also, be sure to measure your ingredients accurately, especially the flour and leavening agents. Too much flour will make your cake dense, and too little baking powder or soda will prevent it from rising properly. It's like following a map – if you don't follow it carefully, you'll end up in the wrong place. Baking is a science, so precision is key. Don't worry though, with a little bit of attention to detail, you'll be baking fluffy cakes in no time!
Problem | Possible Solution |
|---|---|
Cake is dense | Use fresh baking powder/soda, don't overmix batter |
Cake is flat | Avoid opening oven door, check oven temp |
Cake is tough | Measure ingredients accurately |
Can I make this cake ahead of time?
Absolutely! This fluffy layer chocolate cake is a great make-ahead dessert. You can bake the layers a day or two in advance, wrap them tightly in plastic wrap, and store them at room temperature. Or, if you need to store them for longer, wrap them well and freeze them for up to two months. It's like having a secret weapon in your kitchen – a delicious cake ready to go whenever you need it. Just make sure the layers are completely cool before wrapping them, or they will get soggy. And when you’re ready to assemble the cake, let the layers thaw completely before frosting. This will give you the best results. It’s all about planning ahead and making sure your cake is as fresh and tasty as possible.
And if you're planning to frost the cake ahead of time, that's totally fine too. Just make sure to store the frosted cake in the fridge, and let it come back to room temperature for the best taste and texture. It's like getting a head start on a project – you can focus on the fun stuff, like decorating, when the time comes. You can even assemble the whole cake the day before, as long as you keep it properly wrapped and refrigerated. It's like having a superhero sidekick – your cake is always ready for any occasion. Remember, the key to success with make-ahead cakes is all about proper storage. Don't skip the plastic wrap and airtight containers – they’re your best friends when it comes to keeping your cake fresh and delicious.
"A well-planned cake is a stress-free cake." - Some very smart baker.