Table of Contents
Ever get that chocolate cake craving but dread the long list of ingredients and complicated steps? I have, countless times! That's why I went on a mission to find the easiest chocolate cake recipe possible, one that uses minimal ingredients. And guess what? I cracked the code. This isn't some overly complicated, fancy dessert. This is about getting a delicious, satisfying chocolate cake using just four ingredients. Yes, you read that right, four! No eggs, no butter, no oil, just pure chocolate goodness. We're talking about a recipe so simple, even a ten-year-old could whip it up. This article will show you why this easy chocolate cake recipe with little ingredients works so well, guide you through the simple steps, give you tips to ensure baking success, and address any burning questions you might have. Ready to make the easiest cake ever? Let's bake!
Why This Easy Chocolate Cake Recipe Works
Why This Easy Chocolate Cake Recipe Works
Simplicity is Key
Okay, let's be real, most cake recipes are like a science experiment. You need a million ingredients, precise measurements, and a stand mixer that costs more than my car. This recipe? It's the opposite of that. It works because it strips things back to the bare essentials. We're talking four ingredients that are probably already in your pantry. Self-rising flour does the heavy lifting with the leavening, cocoa brings the chocolate punch, sugar adds sweetness, and milk binds it all together. That's it. No fussy steps, just simple ingredients doing their thing.
The Magic of Self-Rising Flour
The real MVP here is the self-rising flour. It’s not just flour; it's flour with baking powder and salt already mixed in. This is what makes the cake rise without needing a ton of other stuff. This pre-mixed convenience means less measuring and less chance of messing up. It’s like having a mini-baker already in your flour bag. That's why this cake is so easy, and why it actually works without all the usual suspects like eggs or butter.
Ingredient | Role in the Cake |
|---|---|
Self-Rising Flour | Provides structure and lift |
Unsweetened Cocoa Powder | Adds chocolate flavor |
Granulated Sugar | Adds sweetness |
Whole Milk | Binds ingredients together |
No Eggs, No Problem
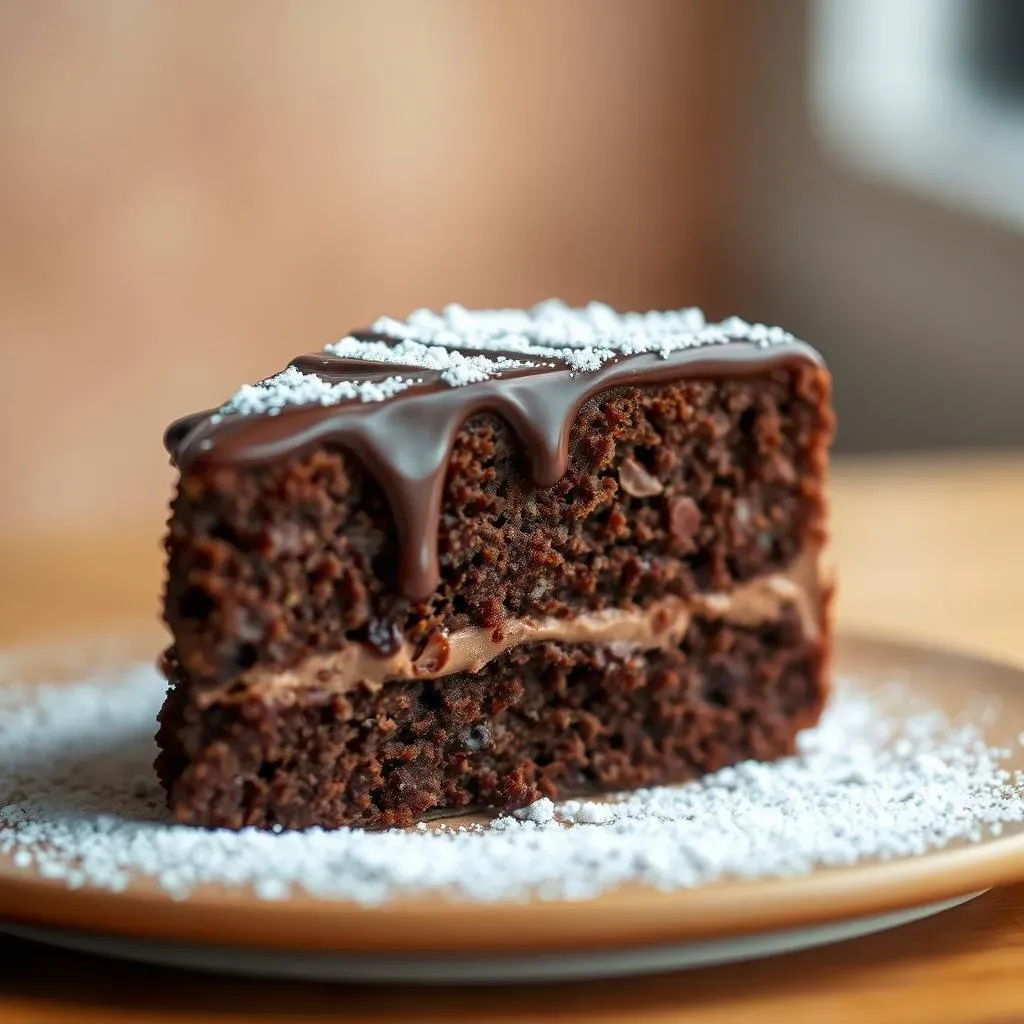
You might be thinking, "No eggs? How can that possibly work?" Well, eggs usually add moisture and richness, but in this recipe, we're getting our moisture from the milk. The cake might be a bit denser than a traditional cake, but it's still incredibly moist and fluffy. The lack of eggs also makes this recipe perfect for anyone with egg allergies or if you just happen to be out of eggs. It's a testament to how clever baking can be with the right ingredients, and it proves that you don’t need a dozen ingredients to make a satisfying cake.
“The best cakes are the ones that are made with love and minimal effort." - Someone who loves cake
Simple Steps for a 4Ingredient Chocolate Cake

Simple Steps for a 4Ingredient Chocolate Cake
Mix the Dry Ingredients
Alright, let's get started! Grab a bowl, any bowl will do, no need to be fancy. Now, dump in your self-rising flour and the unsweetened cocoa powder. Use a whisk to mix these two together. This step is important because you want to distribute the cocoa evenly through the flour. Think of it like fluffing up a pillow, you want it light and airy. Don't worry about being too precise, just make sure there are no big clumps of cocoa hiding in the corners.
This is the part where you can get your kids involved if you have them. It’s super easy and they love feeling like they are helping out. Even if they make a little mess, it's all part of the fun!
Add the Wet Ingredients
Next, pour in the sugar, followed by the milk. Now, you can use that whisk again, or a spoon if you prefer. I like using a whisk, it makes the mixture come together nicely. Mix until everything is combined, and you have a smooth, chocolatey batter. It should look like melted chocolate ice cream, yum! Don't overmix, just stir until everything is just combined. Overmixing can lead to a tough cake, and we definitely don’t want that.
Step | Action |
|---|---|
1 | Whisk together self-rising flour and cocoa powder |
2 | Add sugar and milk to the dry ingredients |
3 | Mix until just combined |
Bake to Perfection
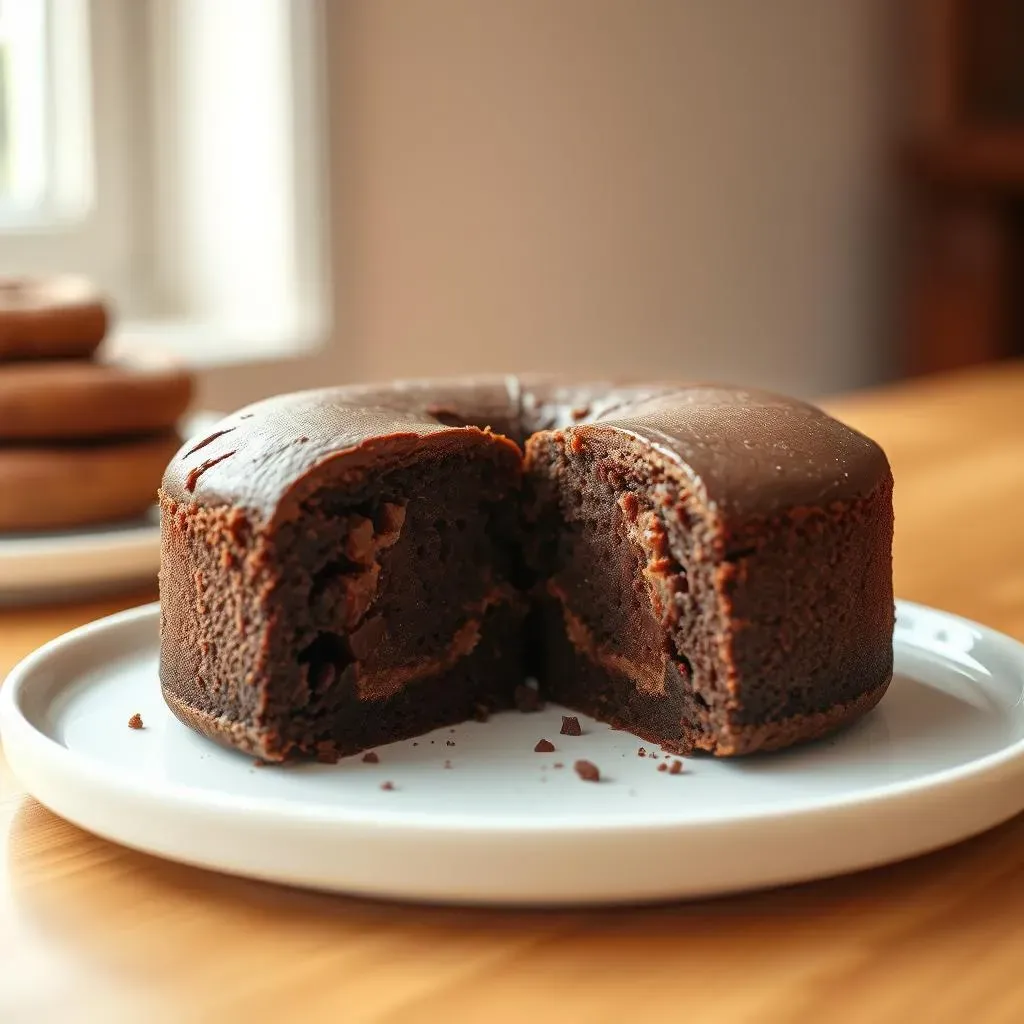
Now, pour your batter into a greased cake pan. I usually use an 8-inch round pan, but you can use whatever you have on hand. Just make sure it's greased well, or use parchment paper to prevent the cake from sticking. Pop it into a preheated oven at 350°F (175°C). Bake for about 25-30 minutes, or until a toothpick inserted into the center comes out clean. This is the hardest part, waiting for the cake to bake! Once it's done, let it cool in the pan for a bit before taking it out to cool completely. Now for the best part, enjoy!
“Baking is therapy; cake is the result." - A wise baker
Tips for the Best Easy Chocolate Cake
Tips for the Best Easy Chocolate Cake
Don't Skip the Sift
Okay, so you're probably thinking, "Sifting? Seriously?" I know, it sounds like extra work, but trust me on this one. Sifting the flour and cocoa powder together before adding the wet ingredients makes a huge difference. It gets rid of any lumps and makes the dry ingredients super light and airy. This means your cake will be less dense and more fluffy. I used to skip this step all the time, and my cakes were always a bit…meh. Now that I sift, it’s like a whole new world of fluffy cake goodness. It's a small step, but it's worth it, promise!
The Milk Matters
While this recipe is super forgiving, the type of milk you use can affect the final result. I usually use whole milk because it makes the cake richer and more moist. But, if you're out of whole milk, you can absolutely use other types of milk. Full-fat almond milk or oat milk works well too. Just keep in mind that lower-fat milks might make the cake a bit drier. You could also try adding a tablespoon of oil if you’re using a low-fat milk, it adds extra moisture. Experiment and see what works best for you. Baking is all about figuring out what you love, right?
Milk Type | Effect on Cake |
|---|---|
Whole Milk | Richer, more moist |
Full-Fat Almond Milk | Good substitute, similar results |
Oat Milk | Good substitute, slightly different flavor |
Low-Fat Milk | May result in a drier cake |
Cooling is Crucial
Alright, your cake is out of the oven, it smells amazing, and you’re super tempted to cut into it right away, I get it. But you have to resist! Letting the cake cool in the pan for about 10-15 minutes is so important. It lets the cake settle and firm up a bit, which makes it easier to remove from the pan. Then, let it cool completely on a wire rack before you even think about frosting it, or taking a bite. If you try to cut it while it's still warm, it might crumble. Patience is key here, and the reward is a perfectly sliced, delicious piece of cake.
“A balanced diet is a slice of cake in each hand." - A cake enthusiast
Easy Chocolate Cake Recipe: Reader Questions and Answers

Easy Chocolate Cake Recipe: Reader Questions and Answers
Can I Use Gluten-Free Flour?
This is a question that pops up quite a bit, and it's a good one. The short answer is, yes, you *can* try using gluten-free flour. However, it’s not a guaranteed one-to-one swap. Gluten-free flours often behave differently than regular flour, and you might need to add a binder like xanthan gum to help with the structure. Some readers have reported that their cakes turned out a bit dry or didn't rise as much when using gluten-free blends. If you do try it, I recommend looking for a gluten-free blend that’s specifically designed for baking. You might need to experiment a bit to get the right consistency, so don't be discouraged if your first attempt isn't perfect! Baking is a learning experience, and sometimes you have to try a few times to get it just right.
I once tried a gluten-free version for a friend, and it was a bit of a flop, it was more like a dense chocolate brownie. It wasn't bad, but it wasn't the light, fluffy cake we were aiming for. So, just be aware of the potential pitfalls if you are trying to make gluten free.
Flour Type | Expected Result |
|---|---|
Self-Rising Flour (Regular) | Fluffy, moist cake |
Gluten-Free Blend | May be denser, potentially drier; requires adjustments |
My Cake Didn't Rise Properly! What Went Wrong?
Oh no, a flat cake is such a bummer! If your cake didn’t rise properly, there could be a few reasons. One common culprit is using old or expired self-rising flour. The baking powder in self-rising flour loses its potency over time, so make sure your flour is fresh. Another possibility is that your oven temperature was off, so try using an oven thermometer to make sure you are at the right temperature. Also, be careful not to overmix the batter. Overmixing can develop the gluten in the flour and make the cake dense and flat. Remember, just mix until everything is combined, and no more. Lastly, make sure you are using the right size pan, if the pan is too big the cake might be too thin and not rise correctly. If you are still having problems, you might want to check the temperature of your oven. It can be frustrating when a cake doesn’t turn out right, but don't give up! A little experimentation can go a long way.
I remember one time my cake came out so flat, I could have used it as a plate. Turns out, my oven was running way too low! Now I always double check.
“The only way to do great work is to love what you do. And eat cake." - A wise person.
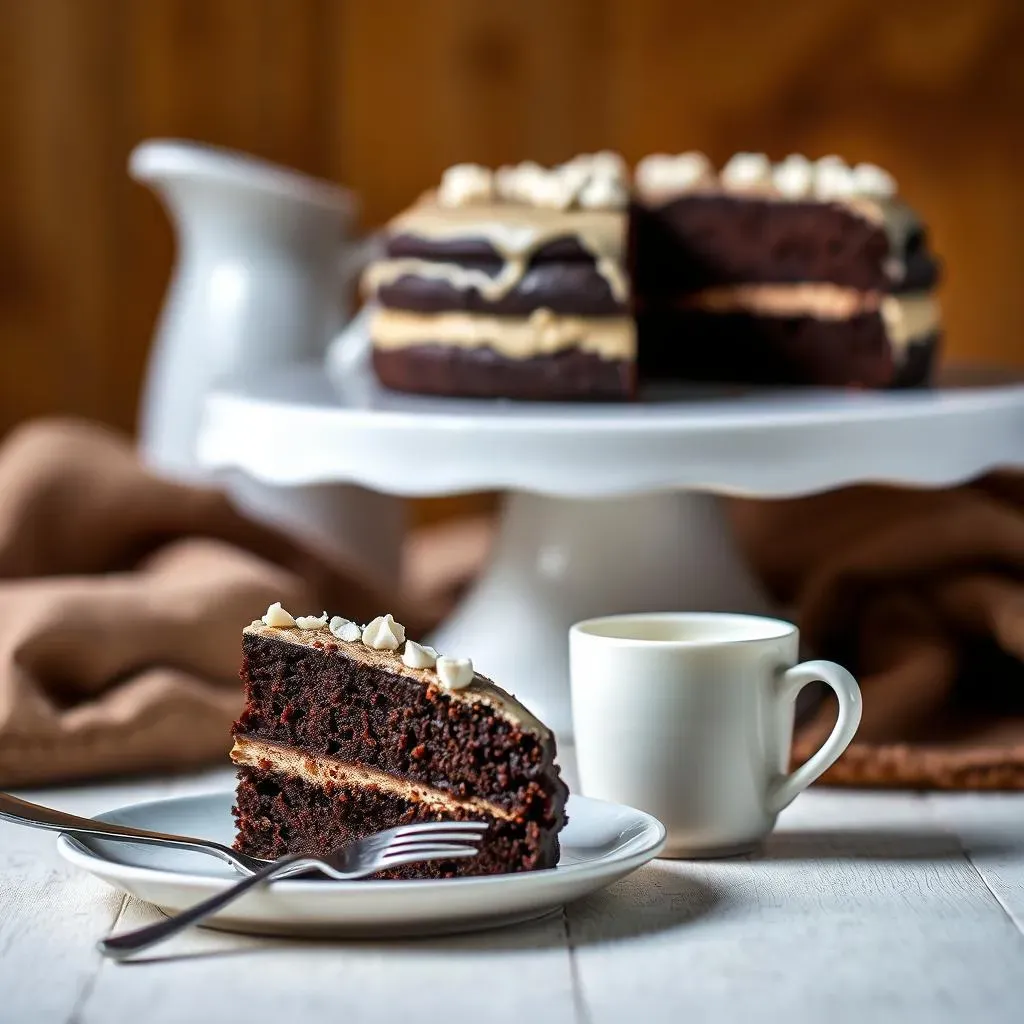
Wrapping Up: Your Easy Chocolate Cake Success
So there you have it, a ridiculously easy chocolate cake recipe with little ingredients that actually works. It’s proof that you don't need a pantry full of fancy items or hours in the kitchen to bake something yummy. Whether you're a baking newbie or a seasoned pro looking for a quick fix, this recipe is your go-to. Remember, baking should be fun, not stressful. Now, go on and enjoy your cake; you've earned it! And don't forget, if you have any more questions or amazing tweaks, share them in the comments below. Happy baking!