Table of Contents
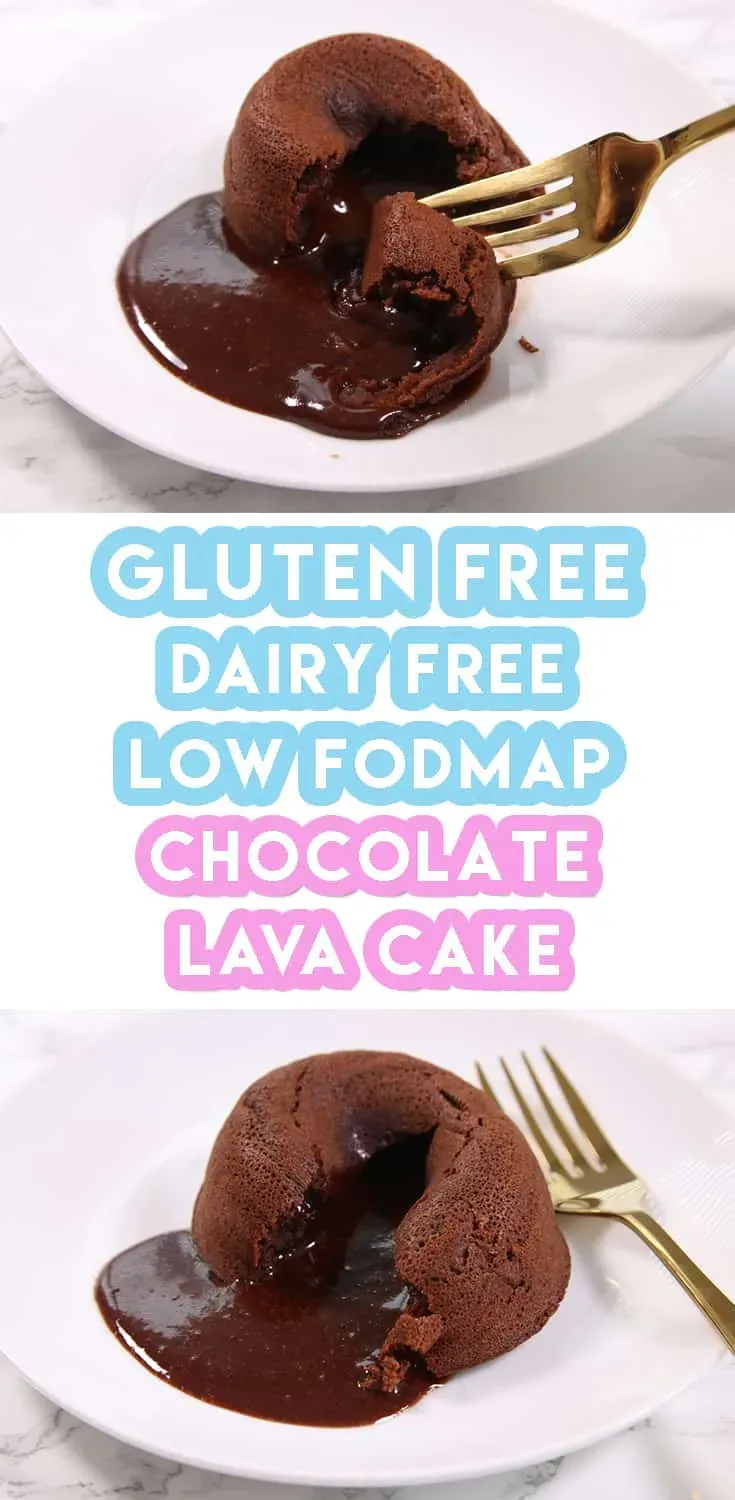
Craving that decadent, gooey chocolate lava cake but need it to be dairy-free? It often feels like a quest for a mythical dessert, doesn't it? Finding a truly reliable dairy free chocolate lava cake recipe that actually delivers that molten center without compromising on flavor or texture can be a real challenge. Many attempts end up as solid, sad chocolate pucks instead of the luscious, flowing delight you pictured.
Cracking the Code: Delicious Dairy Free Chocolate Lava Cake
Cracking the Code: Delicious Dairy Free Chocolate Lava Cake
The Dairy-Free Lava Cake Dilemma
Let's be honest, achieving that perfect, molten center in a chocolate lava cake feels like culinary alchemy even with dairy. Take away the butter and cream, staples of that rich texture and structure, and the challenge multiplies. Many attempts result in a cake that's either too dry, too dense, or just a solid chocolate muffin masquerading as something more exciting. It's frustrating when your spoon hits bottom and there's no glorious, warm chocolate river flowing out. You followed a recipe, used substitutes, but it just didn't *work*.
The fat content and specific proteins in dairy butter and chocolate contribute significantly to the cake's structure and the way it sets around that uncooked center. Replicating this requires understanding *why* those ingredients function as they do and finding dairy-free alternatives that can perform a similar job. It's not just a simple one-to-one swap; it's a thoughtful reformulation.
Essential Dairy-Free Players for Molten Magic
So, what makes a dairy free chocolate lava cake recipe actually succeed? It comes down to smart ingredient choices. You need a high-quality dairy-free butter alternative that melts and behaves similarly to real butter, providing richness and helping to create that crucial barrier for the molten center. Coconut oil can work, but sometimes imparts a flavor or behaves differently in terms of structure.
Then there's the chocolate itself. You need a good dairy-free dark chocolate, ideally around 60-70% cacao, that melts smoothly and provides intense flavor. The higher cocoa butter content in quality dark chocolate is key to the "lava" texture when melted. Don't skimp here; a cheap, waxy chocolate will ruin everything. We'll also rely on a bit more liquid than a traditional recipe might use in the "lava" part of the batter to ensure it stays fluid during baking.
- High-quality dairy-free butter alternative
- Good dairy-free dark chocolate (60-70% cacao)
- Plant-based milk (almond, soy, oat work well)
- A touch more liquid for the molten core
- Quality cocoa powder for depth of flavor
The Science of the Ooze (Without the Udder)
Here's the trick to cracking the code: the "lava" isn't just raw batter. It's a batter that's been specifically formulated to set *just enough* around the edges while remaining liquid in the middle when baked at a high temperature for a short time. The high heat rapidly cooks the exterior, forming the cake structure, while the center stays relatively uncooked and molten.
In a dairy-free version, getting this balance right requires careful attention to ratios and timing. Too much flour, and it all sets. Too little liquid, and it becomes a fudgey solid. We're essentially creating a self-saucing pudding disguised as a cake. It's a delicate dance between fat, liquid, and flour, all performed quickly in a hot oven. Getting the baking time spot-on is non-negotiable; seconds can mean the difference between lava and loaf.
Mastering the Dairy Free Chocolate Lava Cake Recipe: StepbyStep
Mastering the Dairy Free Chocolate Lava Cake Recipe: StepbyStep
Melting Magic: Getting Started Right
let's get down to business. The first crucial step in our dairy free chocolate lava cake recipe adventure is melting the chocolate and your chosen dairy-free butter alternative. Don't just chuck them in a pan over high heat and hope for the best. That's a recipe for burnt chocolate sadness.
Gentle heat is your friend here. Use a double boiler – a heatproof bowl set over a pot of simmering water – or microwave in short bursts, stirring frequently. You want a smooth, glossy mixture, not something grainy or scorched. This melted base sets the stage for everything else, so take your time and do it right. Think of it as laying the foundation for your molten masterpiece.
Building the Batter: Mixing for Success
Once your chocolate and butter are a perfectly melted pool, it's time to incorporate the other ingredients. Whisk in the sugar and a splash of plant-based milk. Then add your egg (or egg substitute, if you're going that route – though eggs really help with structure here). Whisk vigorously until everything is well combined and looks smooth and rich. Don't overmix, but make sure there are no streaks of unincorporated ingredients.
Finally, gently fold in the flour and cocoa powder. The key word is "fold." You're not trying to develop gluten here; you just want to bring the dry ingredients into the wet until *just* combined. Overmixing flour makes cakes tough, and we're aiming for tender edges around that liquid center. Prepare your ramekins by greasing them generously with dairy-free butter and dusting with cocoa powder. This step is non-negotiable unless you want your beautiful cakes permanently fused to the dish.
- Use a double boiler or microwave in 30-second bursts for melting.
- Whisk wet ingredients until smooth before adding dry.
- Fold in flour and cocoa gently – stop mixing when no dry streaks remain.
- Generously grease and cocoa-dust your ramekins.
- Place ramekins on a baking sheet for easy handling.
Baking Blitz: Timing is Everything
Now for the moment of truth: baking. Pop those prepared ramekins onto a baking sheet and slide them into a preheated oven (usually around 400°F or 200°C). This high heat is essential for cooking the outside quickly while leaving the inside molten. Baking time is critical and often varies slightly depending on your oven and the size of your ramekins. It's usually somewhere between 8 and 12 minutes.
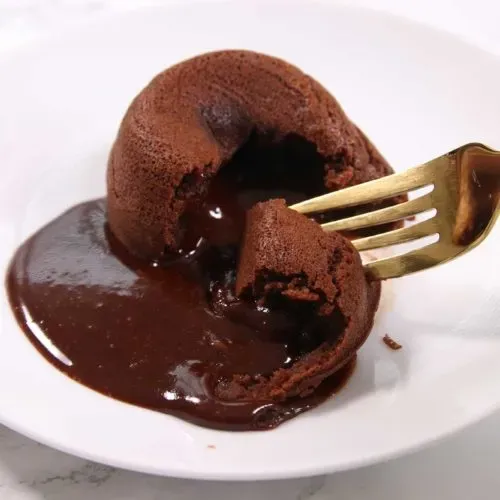
How do you know they're done? The edges should look set and slightly pulled away from the sides of the ramekin, while the center still looks soft and maybe just a little wobbly when you gently shake the dish. There shouldn't be wet batter visible around the edges, but the middle definitely shouldn't look fully cooked and firm. Pull them out immediately. Seriously, standing there debating for an extra minute is how you end up with chocolate muffins. Let them cool for just a minute or two in the ramekins before inverting them onto serving plates. This brief rest helps them set up just enough to hold their shape during the flip.
Tips and Tricks for the Perfect Dairy Free Chocolate Lava Cake
Tips and Tricks for the Perfect Dairy Free Chocolate Lava Cake
Ingredient Intel: Don't Skimp on Quality
Look, trying to make a stellar dairy free chocolate lava cake recipe with mediocre ingredients is like trying to build a spaceship out of cardboard boxes. It just won't fly. The quality of your dairy-free chocolate and butter alternative matters immensely. Cheap chocolate often has stabilizers that prevent it from melting into that gorgeous, flowing lava. It can also taste waxy or just...sad.
Invest in a good-quality dairy-free dark chocolate, something you'd happily eat on its own. Aim for 60-70% cacao. For the butter, find a brand known for baking. Some coconut oils can be tricky – they melt at a lower temperature, which might affect how the cake sets around the molten center. Read reviews, maybe test a couple if you're serious about perfecting this.
Temperature Tactics: The Oven is Your Ally (or Enemy)
Baking these little beauties is a high-stakes game of chicken with your oven. The high temperature (around 400°F/200°C) is crucial. It creates a thermal shock, setting the outside rapidly while the inside stays gooey. If your oven runs cool, or you don't preheat it properly, you'll end up with fully cooked cakes.
Always preheat your oven for at least 15-20 minutes. Get an oven thermometer if you suspect your oven's temperature dial is lying to you (they often do). And whatever you do, don't open the oven door every two minutes to check on them. You lose precious heat, and that disrupts the quick-setting process. Trust the timer and your initial test batch.
- Always preheat oven fully (use a thermometer if unsure).
- Bake at 400°F (200°C) for that crucial rapid set.
- Do NOT open the oven door during baking.
- Know your oven – baking times are estimates, not dogma.
- Test a single cake first if it's your first time with a new recipe or oven.
The Flip and the Finish: Presentation is Key
You've baked them perfectly, the edges look set, and the centers are just a little wobbly. Resist the urge to immediately dig in. Let them rest in the ramekins for 1-2 minutes. This brief pause allows the edges to firm up just enough so they don't collapse when you invert them.
To invert, place your serving plate upside down over the ramekin, hold them together firmly, and flip. A gentle tap on the bottom of the ramekin usually helps the cake release. Sometimes, a stubborn one needs a little coaxing around the edge with a knife, but be careful not to mangle your masterpiece. Serve immediately! That molten center waits for no one.
Serving Up molten Magic: Ideas for Your DairyFree Creation
Serving Up molten Magic: Ideas for Your DairyFree Creation
Classic Pairings for Your Dairy-Free Lava Cake
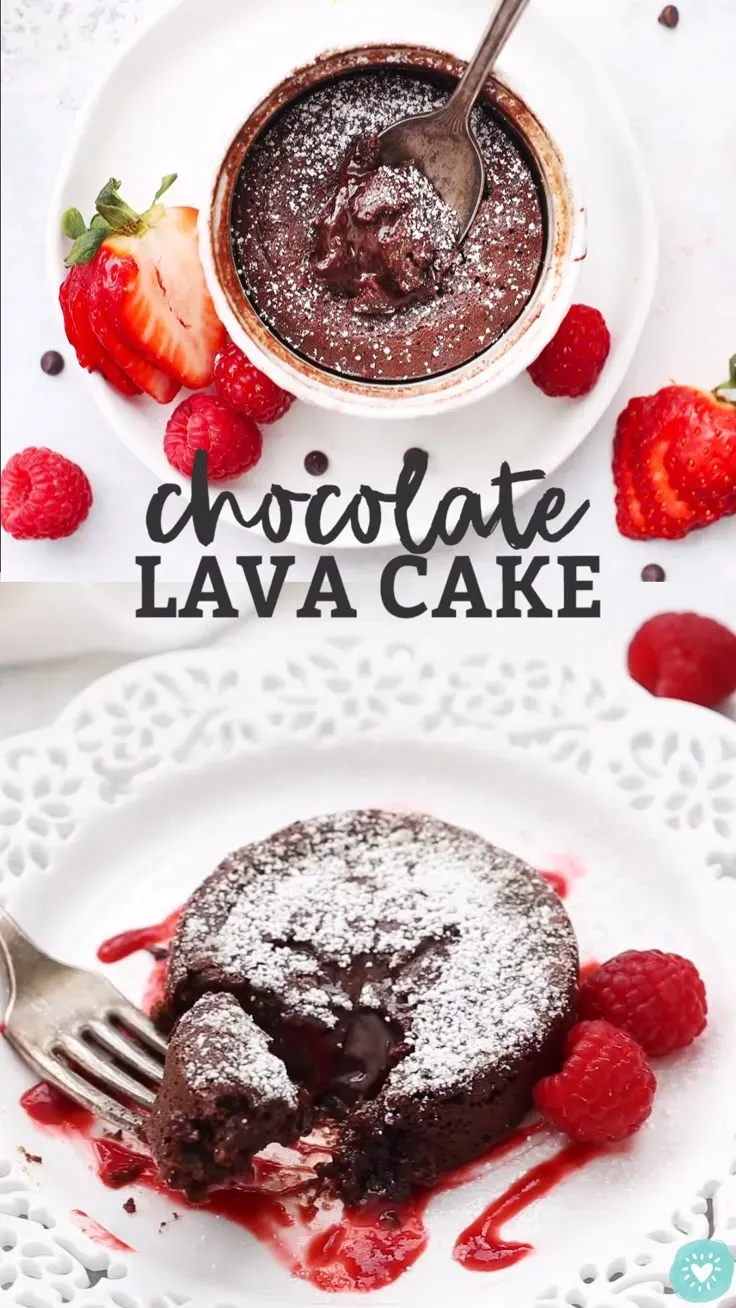
you've successfully navigated the treacherous waters of the dairy free chocolate lava cake recipe and emerged victorious with a perfectly molten creation. Now comes the fun part: eating it. The simplest, and arguably best, way to serve this dark, gooey goodness is warm, right out of the ramekin (after that crucial minute or two of cooling, of course). A dusting of powdered sugar is traditional and adds a nice visual contrast to the deep chocolate.
But let's be real, who stops there? A scoop of dairy-free vanilla ice cream melting into that hot lava is a classic for a reason. The cold creaminess against the warm, rich chocolate is a sensory experience that's hard to beat. Another simple yet effective pairing is a dollop of dairy-free whipped cream. It adds a lightness that cuts through the intensity of the chocolate. Don't overthink it for the first go; sometimes the classics are classic because they just work.
Elevating the Experience: Beyond the Basics
Ready to get a little more creative with your dairy free chocolate lava cake recipe presentation? Think about adding contrasting flavors and textures. A scattering of fresh raspberries or strawberries adds a bright, slightly tart counterpoint to the sweet richness. A drizzle of raspberry coulis or a simple berry sauce can elevate the dish significantly.
Consider a sprinkle of flaky sea salt over the top right before serving – it enhances the chocolate flavor beautifully. For a bit of crunch, toasted nuts like hazelnuts or pecans are fantastic. Or, lean into coffee notes with a mocha twist; a tiny bit of espresso powder in the batter or a coffee-flavored dairy-free ice cream on the side can be a game-changer. Don't be afraid to experiment once you've mastered the basic cake; the molten core is a perfect canvas.
- Fresh berries (raspberries, strawberries)
- Berry coulis or sauce
- Flaky sea salt sprinkle
- Toasted nuts (hazelnuts, pecans)
- Dairy-free coffee ice cream
- A small shot of espresso poured over (for the bold)
Mission Accomplished: Your Dairy-Free Lava Cake Triumph
So there you have it. No more settling for second best or dry, disappointing attempts. You've navigated the path to a truly decadent dairy free chocolate lava cake recipe that delivers on its promise of a molten, chocolatey heart. It takes a little attention to detail, sure, but the payoff is a dessert that proves you don't need dairy to achieve pure indulgence. Go forth and bake, and maybe share, if you're feeling generous. Just try not to eat them all straight from the oven – though we wouldn't judge.