
Table of Contents
Ever dream of a dessert that's both incredibly decadent and surprisingly easy to make? You're in luck, because that's exactly what this article is about! We're diving headfirst into the world of the chocolate lava cake simple recipe, a dessert that looks like it came from a fancy restaurant but is totally doable in your own kitchen. Forget complicated techniques and hard-to-find ingredients; this recipe is all about simplicity without compromising on that rich, gooey, molten chocolate center we all crave. We'll walk you through every step, from gathering your basic ingredients to baking the perfect lava cake, and give you some pro tips to make sure your dessert is a showstopper. Get ready to impress your friends, family, or just yourself with this easy-to-follow guide. By the end of this, you'll be a lava cake master! Plus, we'll cover some serving suggestions to elevate your dessert experience. Let's get baking!
Simple Ingredients for Your Chocolate Lava Cake
Simple Ingredients for Your Chocolate Lava Cake
Alright, let's talk about what you'll need for these little pockets of chocolate heaven. It's not a long list, which is part of the magic. First, you'll need some good-quality dark chocolate, the kind you'd actually enjoy eating plain. Think of it as the star of the show, so don't skimp! Then, grab some unsalted butter; it adds richness and a lovely melt-in-your-mouth texture. We're also going to need a few eggs, some sugar (just the regular white stuff works great), and a little bit of all-purpose flour to give the cakes some structure. Oh, and don't forget a pinch of salt to balance out all the sweetness. That's pretty much it! These simple items, when combined in the right way, create something truly special. It's like a magic trick, but with ingredients you probably already have.
Ingredient | Why It Matters |
|---|---|
Dark Chocolate | Provides the rich, intense chocolate flavor. |
Unsalted Butter | Adds moisture, richness, and that melt-in-your-mouth texture. |
Eggs | Bind the batter and contribute to the gooey center. |
Sugar | Adds sweetness and helps with the cake's structure. |
All-Purpose Flour | Provides the cake's structure and prevents it from being too runny. |
Salt | Balances the sweetness and enhances the other flavors. |
StepbyStep Guide to a Perfect Chocolate Lava Cake
StepbyStep Guide to a Perfect Chocolate Lava Cake
Melting the Chocolate and Butter
Okay, let's get started! First, grab a heatproof bowl and toss in your dark chocolate and unsalted butter. You can either microwave it in short bursts, stirring in between, or melt it over a double boiler. The key here is to go slow and steady, you don’t want to burn the chocolate and have it become grainy. It should be smooth and glossy, like liquid velvet. Once it’s all melted and combined, set it aside for a moment to cool slightly. This is super important, because we don’t want hot chocolate to cook the eggs when we mix them later. It might seem like a small detail, but trust me, it makes a big difference for that gooey center.
Mixing the Batter
Now, in a separate bowl, whisk together your eggs and sugar until they're nice and pale. This might take a minute or two, but it's worth it. Next, gently pour the slightly cooled chocolate mixture into the egg mixture, while whisking. Then, add in a pinch of salt and your flour, and fold it in until everything is just combined. Be careful not to overmix the batter, as this can make the cakes tough. We want them light and airy, with that molten core. It’s like building a tiny chocolate cloud, ready to burst with flavor. At this stage, your batter should be smooth, rich, and smelling absolutely divine. If you have a helper at this stage, you might want to guard it from hungry fingers.
Step | Action | Why? |
|---|---|---|
1 | Melt chocolate and butter | Creates the smooth, rich base |
2 | Whisk eggs and sugar | Adds lightness and structure |
3 | Combine mixtures | Creates the batter |
4 | Fold in flour and salt | Binds and balances flavors |
Baking and Serving
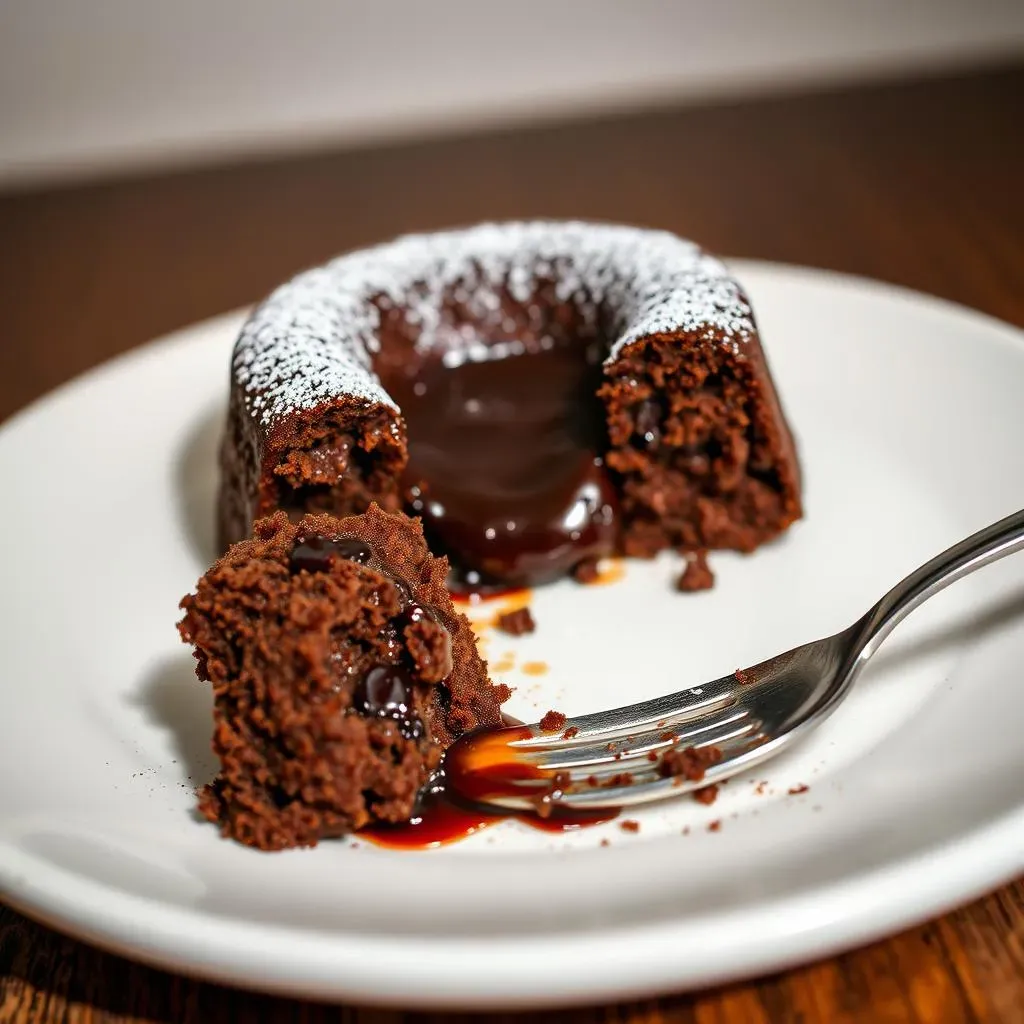
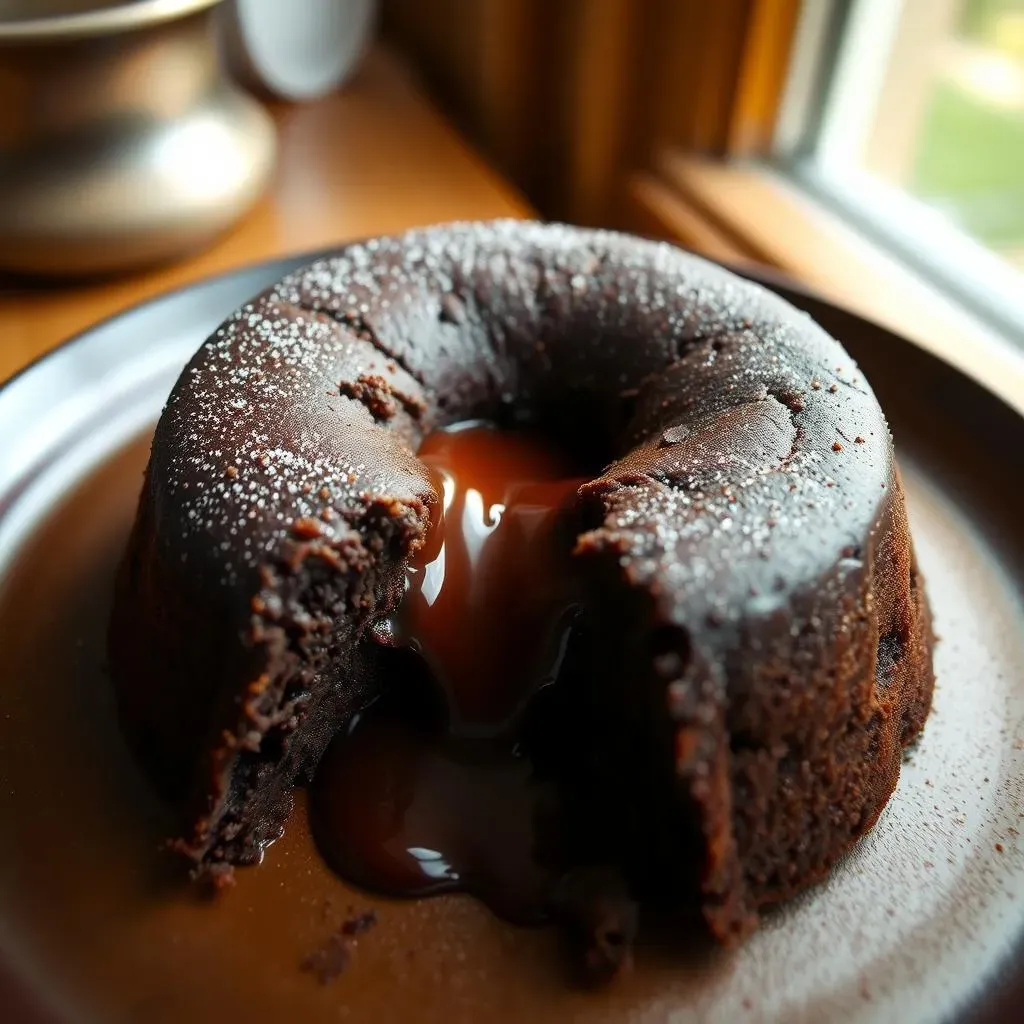
Alright, time to bake! Preheat your oven, and grease and lightly flour your ramekins or muffin tin. Pour the batter evenly into your prepared molds. Now, the baking time depends on the size of your molds, but we're generally talking about 12-15 minutes. The edges should be set, but the center should still be soft. It's like a delicate dance between cooked and molten. Let them cool for a minute or two, then, carefully invert them onto your serving plates. Serve immediately with a scoop of vanilla ice cream or a sprinkle of powdered sugar. It's showtime! The first cut into the cake should reveal that gooey, flowing chocolate center, and that’s when you know you’ve nailed it.
"The best moments are those that make you say 'wow!' - and these lava cakes are definitely one of them." - Some random person on the internet.
Chocolate Lava Cake: Pro Tips and Serving Ideas
Chocolate Lava Cake: Pro Tips and Serving Ideas
Mastering the Molten Center
Alright, let's talk secrets to that perfect lava flow. First off, room-temperature eggs are your friend. They blend more smoothly into the batter and help create that gooey texture. Don't skip the step of letting the melted chocolate cool slightly before mixing it with the eggs. If it's too hot, you'll end up with scrambled eggs in your batter—and no one wants that! Also, keep a close eye on the baking time. Every oven is a bit different, so start checking a minute or two before the recipe suggests. The edges should be firm, but the center should still wobble slightly. It's a delicate balance, but you'll get the hang of it. Think of it as a "choose your own adventure" with a chocolatey reward at the end.
Tip | Why It Matters |
|---|---|
Room-temperature eggs | Blend more smoothly, better texture. |
Cool melted chocolate | Prevents cooked eggs. |
Monitor baking time | Ensures molten center. |
Serving Suggestions
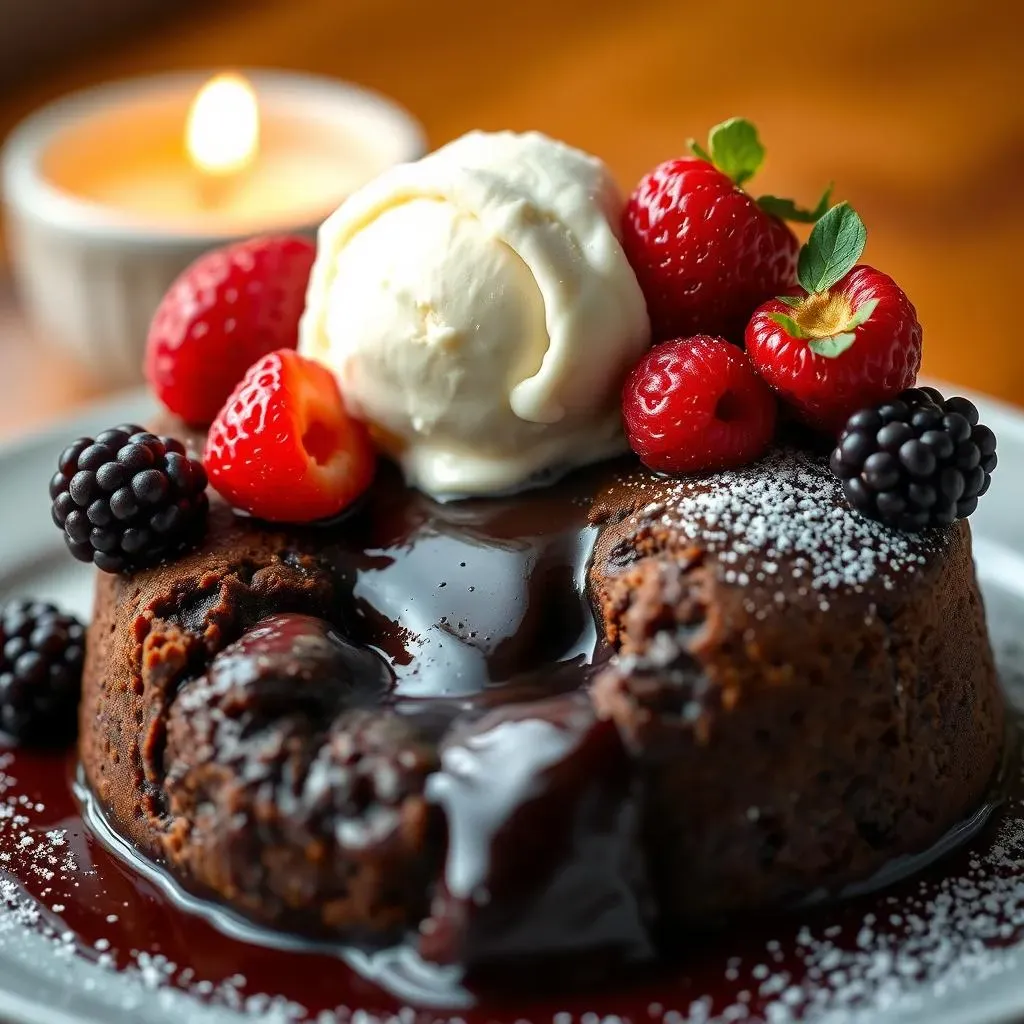
Okay, your lava cakes are out of the oven, and the aroma is making your mouth water. Now, let's talk about how to serve these beauties. A classic pairing is a scoop of vanilla ice cream; the coldness contrasts perfectly with the warm cake. You can also add a dollop of whipped cream or a sprinkle of powdered sugar for extra elegance. Fresh berries, like raspberries or strawberries, can add a pop of color and a touch of tartness. If you're feeling adventurous, try drizzling some caramel or chocolate sauce over the top. The goal is to create a dessert that's not only delicious but also a feast for the eyes. Remember, presentation is half the battle, or at least half the enjoyment.
Troubleshooting and Variations
Sometimes, things don't go exactly as planned, and that's okay! If your cakes don't have a molten center, it's likely they were baked a bit too long. Next time, try reducing the baking time by a minute or two. If the batter seems too runny, you might have used too much butter or not enough flour. You can also experiment with different types of chocolate. Milk chocolate will make the cake sweeter, while semi-sweet or bittersweet will give a more intense flavor. Feel free to add nuts, chocolate chips, or even a pinch of espresso powder to your batter for some extra flavor. The world is your oyster, or in this case, your chocolate lava cake.
"The only bad chocolate lava cake is the one you didn't try to make" - Me
The Sweet Ending: Your Perfect Lava Cake
So, there you have it—a simple yet stunning chocolate lava cake recipe that's sure to impress. We've covered everything from the essential ingredients to those crucial baking tips, ensuring your lava cakes emerge with that signature molten center. Remember, the key is not to overbake! Whether you're celebrating a special occasion or just craving a decadent treat, this recipe is your go-to. Now, go ahead and enjoy the fruits (or rather, the cakes!) of your labor. Don't be afraid to experiment with toppings and flavors to make it your own. Happy baking, and even happier eating!