
Table of Contents
Ever stare at a dessert menu, eyes locked onto that molten chocolate magic, and think, "Yeah, like I could ever pull that off"? Or maybe you've tried making one at home, only to end up with a sad, solid brownie puck instead of that glorious, gooey center. We get it. The elusive chocolate lava cake can feel like culinary rocket science.
Why Try the Chocolate Lava Cake Recipe Natasha's Kitchen Style?
Why Try the Chocolate Lava Cake Recipe Natasha's Kitchen Style?
Let's be real, baking can be intimidating. Especially when you're aiming for something as specific as a molten center that doesn't collapse into a puddle or bake into a solid brick. There are countless lava cake recipes out there, each promising the perfect result, but many fall short, leaving you with wasted ingredients and dashed dessert dreams. Thechocolate lava cake recipe Natasha's Kitchenisn't just another recipe floating around the internet; it's earned a reputation for being remarkably consistent. Why bother sifting through endless options when this one consistently delivers that signature gooey middle without demanding professional pastry chef skills? It cuts through the usual baking drama, offering a clear path to a dessert that actually looks and tastes like the picture.
So, why choose this particular recipe? Let's break it down:
- It's known for its reliability – less guesswork, more gooey center.
- The ingredient list is straightforward, no obscure items needed.
- It simplifies the process, making it accessible even for novice bakers.
- It consistently produces that desirable contrast between cake edge and molten core.
Gathering Ingredients for the Chocolate Lava Cake Recipe Natasha's Kitchen
Gathering Ingredients for the Chocolate Lava Cake Recipe Natasha's Kitchen
The Non-Negotiables for Molten Success
Alright, so you're ready to dive into thischocolate lava cake recipe Natasha's Kitchenstyle? Great. Step one, before you even think about preheating that oven, is getting your ducks in a row with the ingredients. Don't overthink this; it's not a scavenger hunt for exotic spices. You'll need the usual suspects, but quality matters here. Think good butter, proper baking chocolate – none of that waxy stuff that barely melts.
We're talking about the foundational elements that make or break that molten center. You need unsalted butter, because controlling the salt is key. Good quality semi-sweet chocolate is crucial; it provides the richness without being overly bitter or too sweet. Eggs, of course, are the binder and help create that delicate cake structure. Sugar adds sweetness and helps with the texture. A little flour gives it just enough structure to hold its shape while keeping the inside liquid. Simple stuff, right? But don't skimp on quality.
Why Ingredient Quality Actually Matters
Now, you might be tempted to grab whatever chocolate chips are cheapest at the store. Resist that urge. Using decent chocolate isn't just about being fancy; it directly impacts how well the center melts and how rich the flavor is. That cheap stuff often has stabilizers that prevent it from melting into a smooth, flowing liquid. You want chocolate that melts like, well, chocolate should. This recipe relies on that pure melt.
And the butter? Unsalted is your friend. Different brands of salted butter have varying amounts of salt, making it hard to get a consistent flavor. Start with unsalted and add a pinch of fine salt yourself if the recipe calls for it (which this one often does). It’s these small details in ingredient selection that elevate thechocolate lava cake recipe Natasha's Kitchenfrom just okay to truly impressive. It’s the difference between a murky puddle and a glossy, flowing lava river.
- Unsalted Butter: Essential for controlling salt levels.
- Good Quality Semi-Sweet Chocolate: Melts properly, delivers rich flavor.
- Large Eggs: Provide structure and richness.
- Granulated Sugar: Sweetness and texture.
- All-Purpose Flour: Just enough structure to hold the shape.
- Pinch of Salt: Enhances the chocolate flavor.
StepbyStep: Making the Chocolate Lava Cake Recipe Natasha's Kitchen
StepbyStep: Making the Chocolate Lava Cake Recipe Natasha's Kitchen
Mixing and Baking Your Way to Molten Bliss
you've got your good chocolate, your decent butter, and the rest of the gang lined up for thechocolate lava cake recipe Natasha's Kitchen. Now comes the fun part – actually making the thing. The beauty of this recipe is it doesn't require a culinary degree or a stand mixer the size of a small car. You start by melting the butter and chocolate together gently. Think double boiler or careful microwaving in short bursts, stirring frequently, because burnt chocolate is a crime against humanity. Once that's smooth and glossy, you whisk in the sugar until it starts to dissolve a bit. Then come the eggs and maybe an extra yolk or two (that's often the secret to extra richness and a more reliable flow), followed by a splash of vanilla. Finally, you gently fold in the flour. Don't overmix it; you're not trying to develop gluten here, just bring it together. The batter will be thick but pourable.
Common Fixes for Your Chocolate Lava Cake Recipe Natasha's Kitchen Bake
Common Fixes for Your Chocolate Lava Cake Recipe Natasha's Kitchen Bake
Troubleshooting: When Your "Lava" Goes Missing
so you followed thechocolate lava cake recipe Natasha's Kitchento the letter, pulled the ramekins from the oven, and... nada. No glorious molten center. Just a perfectly decent, yet utterly disappointing, individual chocolate cake. What gives? The most common culprit is simple: overbaking. Those few extra minutes you thought couldn't hurt? They turned your liquid gold into solid chocolate. Ovens can be finicky beasts, and baking times are often just a guideline. Your oven might run hotter than the recipe assumes, or maybe your ramekins conduct heat differently. The key is to watch them like a hawk during the last few minutes. The edges should look set and slightly pulled away from the sides, but the center should still look soft and jiggly when you gently nudge a ramekin.
Another factor can be the size and material of your ramekins. A wide, shallow dish will bake faster than a narrow, deep one. If your cakes are baking too fast and solidifying before the outside sets, try reducing the oven temperature slightly and baking for a few extra minutes. It's a delicate balance, for sure, but catching them at that sweet spot where the edges are firm and the center still gives is crucial for that signature lava flow.
Dealing with Collapses and Stickage
You dodged the solid cake bullet, but now your beautiful creation either sinks dramatically in the middle or refuses to leave the ramekin in one piece. Frustrating, right? If your lava cake collapses, it could be underbaking – you pulled it too soon, and the structure wasn't quite set enough to support itself outside the oven. It's a fine line between molten and collapsed. Ensure the edges are truly set before removing them. Temperature fluctuations can also play a role; avoid opening the oven door repeatedly while they're baking.
As for sticking, this is where your prep work pays off. Did you butter and flour those ramekins thoroughly? And we mean thoroughly. Get into every nook and cranny. Some bakers even butter and then dust with cocoa powder instead of flour for a seamless chocolate look. If they still stick, let them cool for just a minute or two after removing from the oven – sometimes a tiny bit of cooling helps them release, but don't wait too long or the center might set. A gentle run of a thin knife around the edge before inverting can also help persuade stubborn cakes.
- Oven too hot? Reduce temp by 15-20 degrees F.
- Baking too long? Shorten bake time and check earlier.
- Ramekins sticking? Butter AND flour (or cocoa powder) thoroughly.
- Cake collapsing? Might be slightly underbaked; ensure edges are set.
- Watch the jiggle! Center should still look soft when gently moved.
Serving and Enjoying Your Perfect Chocolate Lava Cake
Serving and Enjoying Your Perfect Chocolate Lava Cake
The Grand Reveal: Inverting and Indulging
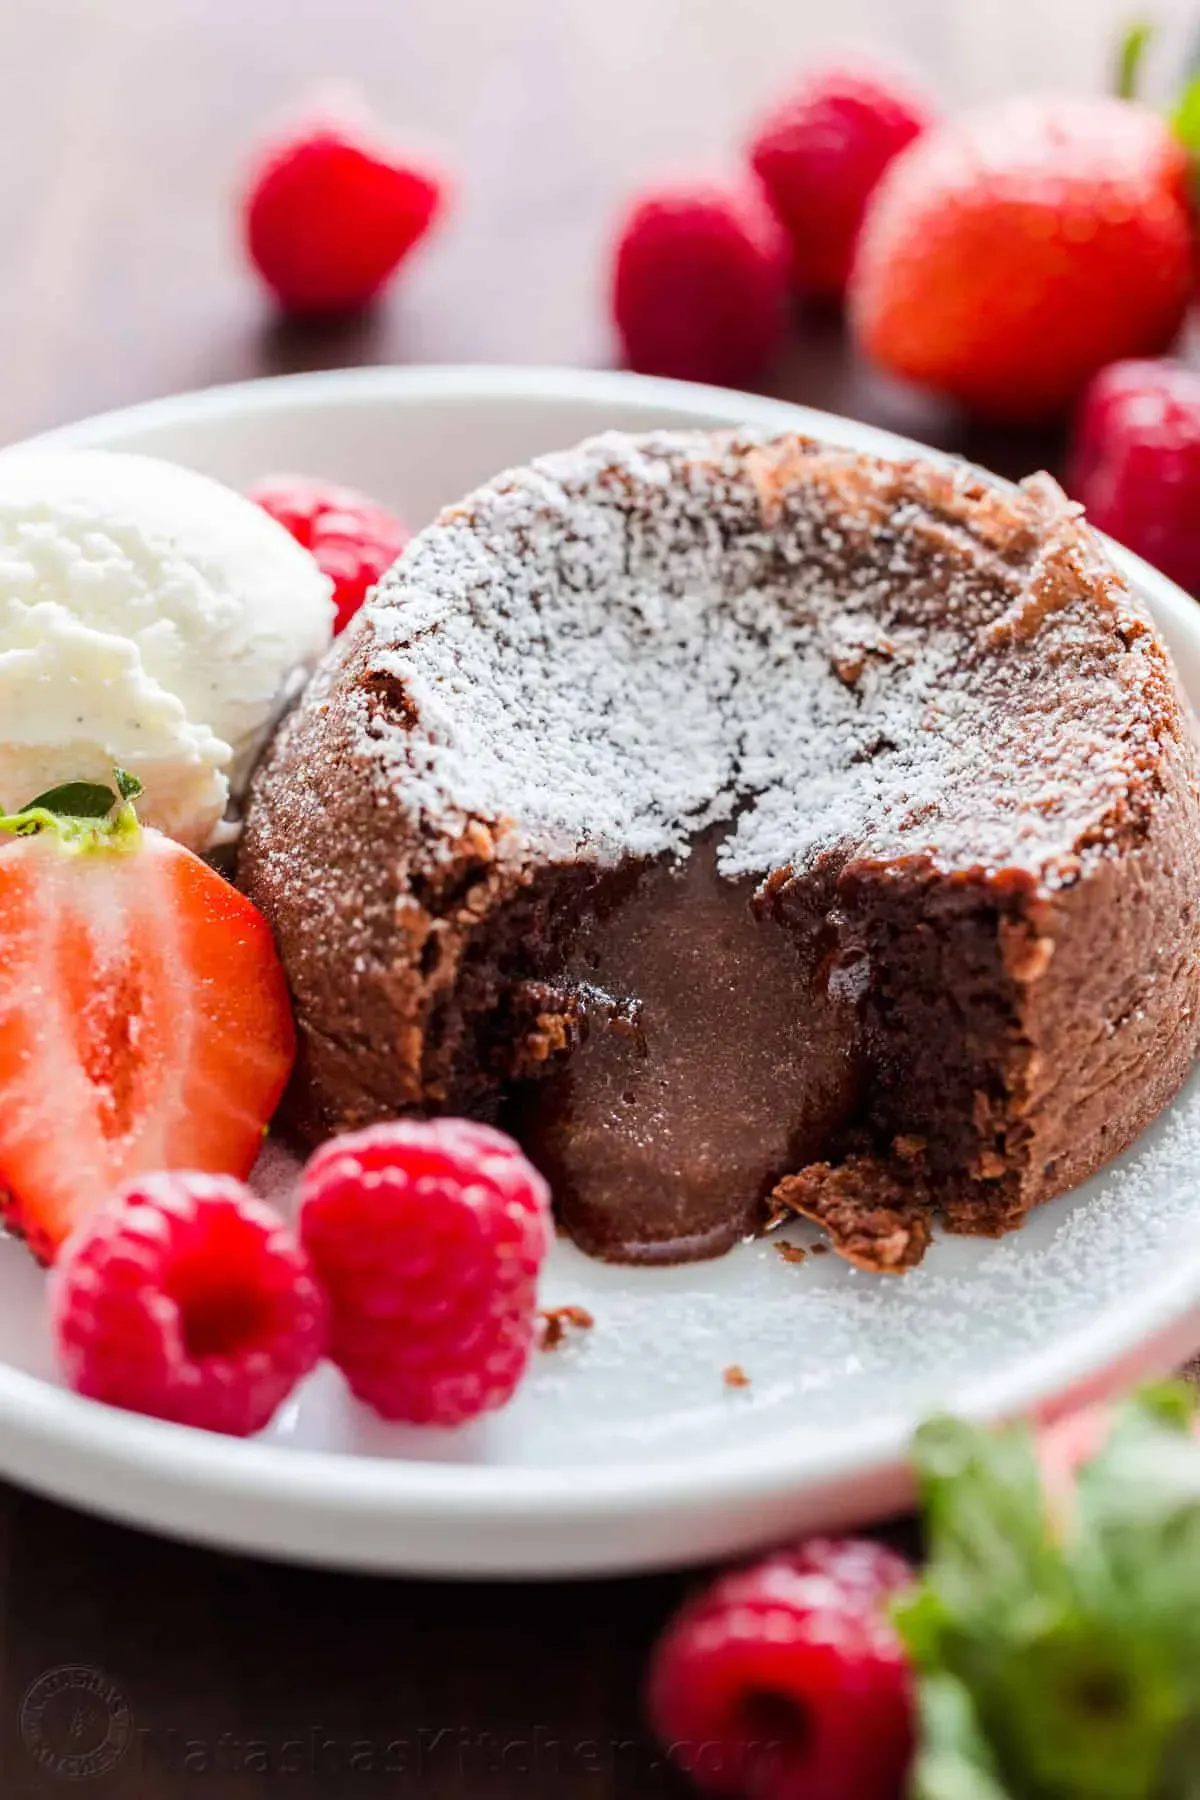
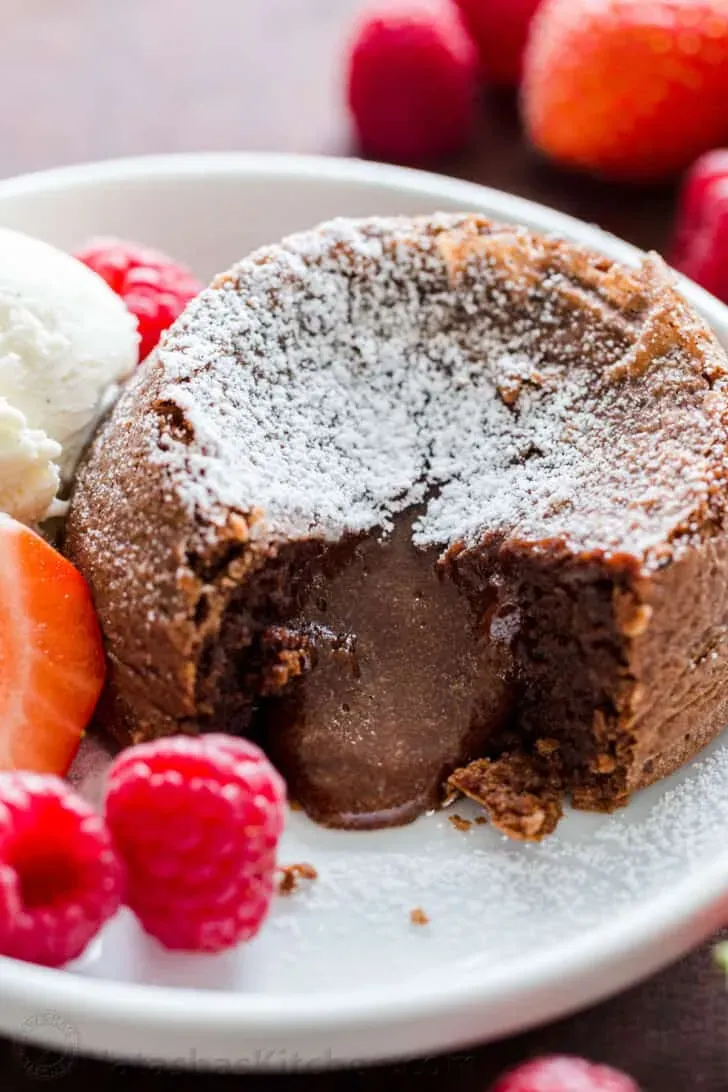
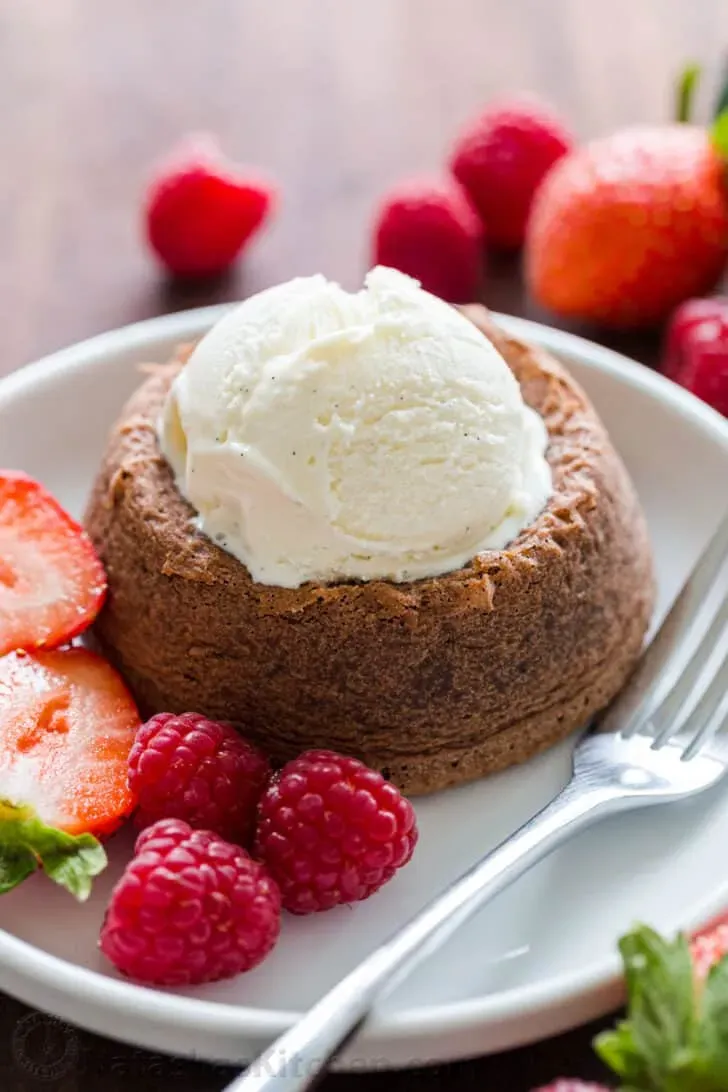
Alright, the moment of truth. You've successfully navigated the baking minefield of thechocolate lava cake recipe Natasha's Kitchen. The ramekins are out, they look promising, the edges are set, and you resisted the urge to poke the center. Now, for the payoff. Let them sit for maybe a minute – just enough so you don't burn your fingers, but not so long that the magic sets. Grab a plate, put it over the ramekin, and flip it confidently. Give the ramekin a little tap on the bottom if needed, and lift it off slowly. If you buttered and floured (or cocoa-dusted) properly, it should slide out, revealing a beautiful, slightly domed chocolate cake. The classic move is to serve it warm, immediately. Pair it with a scoop of good vanilla bean ice cream – the cold contrast with the warm, molten chocolate is non-negotiable, frankly. A dusting of powdered sugar or a few fresh raspberries are nice touches, but the real star is that moment you plunge your spoon in and the rich, dark chocolate lava spills out. That's the money shot, the reason you went through all this.
Your Chocolate Lava Cake Victory Awaits
So there you have it. Ditching the complicated methods and following thechocolate lava cake recipe Natasha's Kitchenversion really does simplify things. No need for culinary degrees or a kitchen full of obscure gadgets. Just a few basic ingredients, careful timing, and the willingness to trust the process. You've got the steps, you know what to watch out for, and you're equipped to troubleshoot the common pitfalls. Go ahead, preheat that oven and get ready to impress yourself (and maybe a friend or two) with a dessert that actually lives up to the hype. That molten center isn't just a myth; it's entirely within your reach.