Table of Contents
Alright, let's be honest. Sometimes, the craving for something deeply, undeniably chocolatey hits hard and fast. You don't have hours to spend baking, maybe you just need a single serving of pure bliss *right now*. Hauling out mixing bowls, preheating the oven, and waiting what feels like an eternity just isn't in the cards. This is precisely the scenario where knowing a solid **chocolate lava cake recipe microwave** becomes less of a convenience and more of a necessity. We're not talking about some sad, rubbery excuse for cake here. We mean a legitimate, rich, molten-centered delight that goes from zero to decadent in mere minutes, using arguably the most underappreciated appliance in your kitchen. Forget the fancy patisserie; your microwave is about to become your best friend. We'll cut through the fluff and show you the simple steps, the essential ingredients, and even how to fix it if things don't go exactly as planned. Get ready to experience instant gratification.
Why Bother with Microwave Lava Cake?
Why Bother with Microwave Lava Cake?
When the Craving Hits Like a Train
Let's cut to the chase. You've just finished dinner, or maybe it's 9 PM on a Tuesday, and suddenly, a specific, urgent need for warm, gooey chocolate takes over your entire being. This isn't a gentle suggestion; it's a demand from deep within your soul. Firing up the oven, waiting for it to preheat, mixing a whole batch of cake batter that will inevitably lead to questionable life choices later in the week – who has time for that? The microwave isn't just an appliance for reheating coffee; it's a dessert-delivery system for moments of peak chocolate desperation. We're talking from zero to molten in under two minutes. If speed is your priority, and sometimes it absolutely should be, then understanding a **chocolate lava cake recipe microwave** is non-negotiable.
Single Serving Salvation (or Shared Bliss)
How many times have you baked a beautiful, full-sized cake only to have half of it languish on the counter, eventually becoming a sad, stale monument to your good intentions? Or, worse, you've eaten the entire thing yourself over 48 hours, leading to a sugar-induced existential crisis. The beauty of the microwave method is portion control. You can whip up just one serving for yourself. Or, if you're feeling generous (or have a partner who's also suffering from the chocolate fiend), you can easily make two. It's tailor-made for immediate gratification without the commitment, or the potential regret, of a larger bake.
- Instant gratification: Satisfy cravings pronto.
- Portion control: Make just one or two servings.
- Minimal mess: Fewer dishes than traditional baking.
- Quick cleanup: Rinse a mug, done.
- Energy efficient: No need to heat a whole oven.
Dispelling the Myth: It's Not Just Fast, It's Good
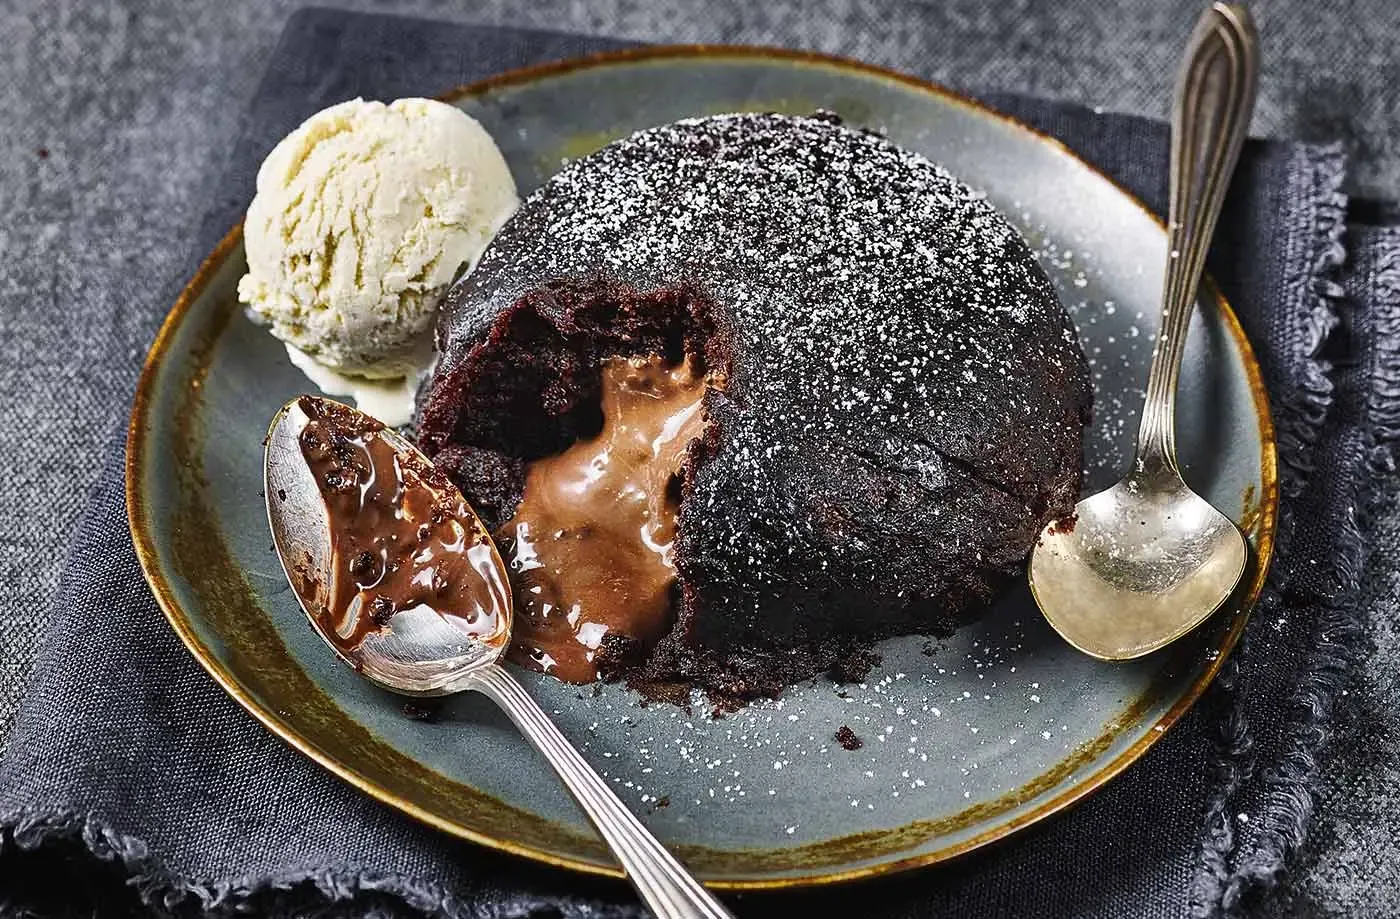
I can hear the skeptics now. "Microwave cake? Sounds like rubber." And honestly, for many microwave mug cakes, you wouldn't be entirely wrong. But a lava cake is different. The magic here lies in the specific ratio of ingredients and the quick, intense heat that cooks the outside while leaving the center perfectly molten. When done correctly, this isn't a compromise on quality for speed. It's a different kind of bake, optimized for the microwave's unique cooking properties. You get that rich, fudgy cake exterior contrasting with the warm, liquid chocolate core. It's a legitimate dessert experience, not just a sad stand-in.
Gathering Your Arsenal: Ingredients for the Quickest Cake
Gathering Your Arsenal: Ingredients for the Quickest Cake
The Dry Stuff: Flour, Sugar, Cocoa, and a Pinch of Power
so you're ready to ditch the oven drama and embrace the microwave magic. First things first: what do you actually need? Think of this as your minimal combat kit for chocolate emergencies. You'll need a bit of all-purpose flour, just a tablespoon or two, nothing crazy. This gives the cake structure. Granulated sugar is next; it brings the sweetness and helps create that moist texture. Don't skimp entirely, but you can adjust slightly based on your sweet tooth. Then comes the star of the dry team: cocoa powder. Use unsweetened cocoa powder for that deep, intense chocolate flavor. None of that pre-sweetened stuff unless you want a sugar bomb. Finally, a tiny pinch of baking powder. This provides just enough lift to make it cakey around the edges without turning the whole thing into a balloon. It's a small amount, but it makes a difference.
Wet Essentials and the Melty Heart: Milk, Egg, Butter, and Chocolate
Now for the liquids and the absolute critical component – the chocolate. You'll need a splash of milk, any kind works, just enough to bring the batter together. A single egg yolk is key. The yolk adds richness and helps create that fudgy texture; you typically don't need the whole egg for such a small batch. Melted butter is next, adding moisture and flavor. Unsalted is usually better so you control the salt level. And the main event? The chocolate itself. This isn't the time for cheap chocolate chips if you want a truly molten center. You want good quality chocolate, either chopped from a bar or decent chocolate chips, but a chunk of chocolate bar melts more reliably into that lava core. Dark or semi-sweet works best to balance the sweetness of the batter. This is the ingredient that separates a good microwave cake from a legendary one.
- All-purpose flour
- Granulated sugar
- Unsweetened cocoa powder
- Baking powder
- Milk
- Egg yolk
- Melted butter
- Good quality chocolate (chopped or chips)
The Real Deal: Crafting Your Chocolate Lava Cake Recipe Microwave Style
The Real Deal: Crafting Your Chocolate Lava Cake Recipe Microwave Style
Mixing Magic: Combining the Dry and Wet
Alright, let's get our hands (metaphorically) dirty. Grab your mug – a standard coffee mug works perfectly. First, measure your dry ingredients directly into the mug. That's your flour, sugar, cocoa powder, and that tiny pinch of baking powder. Give it a quick stir with a fork or a small whisk to break up any clumps and make sure everything's evenly distributed. This little step prevents finding pockets of plain flour later. Now, make a small well in the center of the dry mix. Crack that single egg yolk into the well. Add your milk and the melted butter. Don't just dump it all in; pour it gently. Now, using your fork, start mixing from the center outwards. You're aiming for a smooth batter, but don't overmix it like you're whipping meringue. A few small lumps are totally fine. Just make sure there's no dry flour left at the bottom or sides.
The Molten Core and Microwave Timing
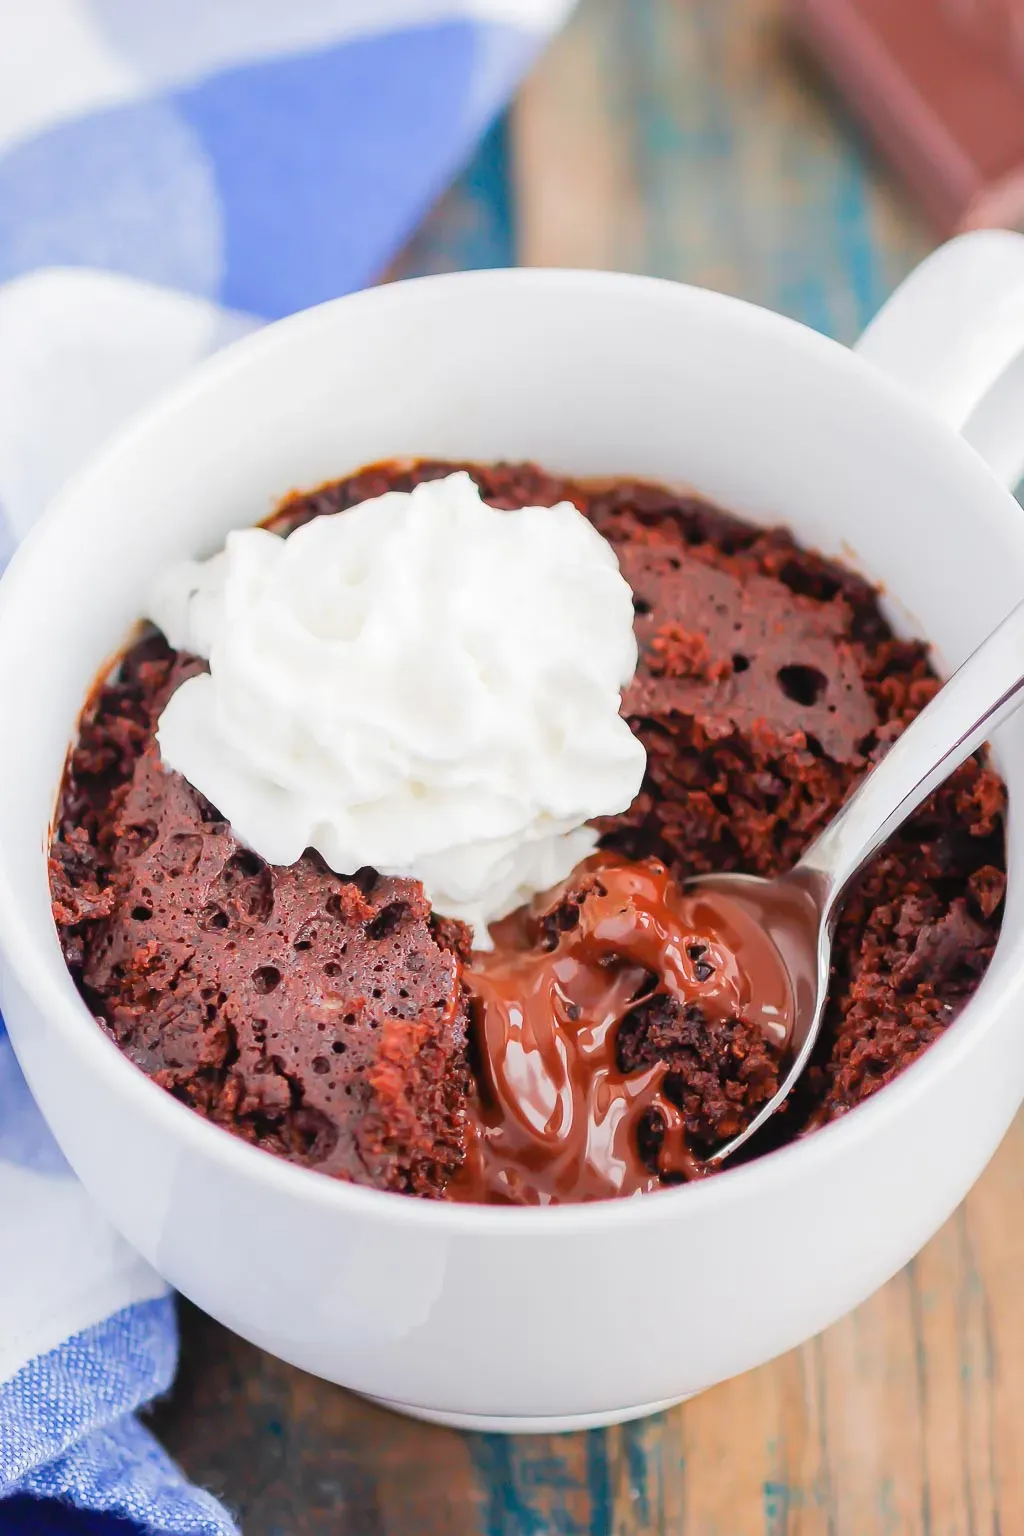
Here's where the "lava" part comes in. Once you have your batter mixed, take your good quality chocolate. If it's a bar, break off a piece about the size of a large chocolate chip or a small square. If you're using chips, a small cluster works. Gently push this chocolate chunk(s) right into the center of the batter. Don't stir it in; you want it to stay as one piece so it melts into that glorious liquid pool. Now, the crucial part: the microwave. Power levels vary wildly, and this is where a little trial and error might be needed the first time. Start with about 60-75 seconds on high power. You're looking for the edges to look set and slightly puffed, while the center still looks noticeably wet and maybe even a little jiggly. If it looks completely cooked on top, you've likely gone too long and have a standard mug cake, not lava. If the center is still mostly raw batter, pop it back in for another 10-15 seconds. Watch it closely!
- Use a standard coffee mug.
- Mix dry ingredients first, then add wet.
- Don't overmix the batter.
- Push the chocolate chunk into the center; do not stir.
- Microwave on high power for 60-75 seconds initially.
- Edges should be set, center still wet.
- Add 10-15 second increments if needed.
- Watch it like a hawk during the last 30 seconds.
What Went Wrong? Troubleshooting Microwave Lava Cake Mishaps
What Went Wrong? Troubleshooting Microwave Lava Cake Mishaps
When Your Lava Turns to Solid Rock (Or Raw Batter)
So, you followed the steps, watched the clock, but pulled out a mug that's either a solid chocolate puck or still mostly liquid batter? Welcome to the slightly wild west of microwave cooking, where power levels are more like suggestions than strict rules. If your cake is solid, you simply nuked it too long. The intense microwave energy cooked the center completely, leaving you with a dense mug cake instead of a molten core. Conversely, if it's still sloshing around like chocolate soup, it didn't get enough time or perhaps your microwave is less powerful than you thought. Getting the perfect **chocolate lava cake recipe microwave** timing down often takes one or two tries in your specific microwave. It's less about the recipe being wrong and more about calibrating the machine.
Level Up Your Lava: Variations and Serving Suggestions
Level Up Your Lava: Variations and Serving Suggestions
Beyond Basic Chocolate: Flavor Boosts
Alright, so you've mastered the basic **chocolate lava cake recipe microwave** and it's saving your life on a regular basis. But why stop there? This little mug cake is a perfect canvas for experimentation. Want a hint of coffee? Stir in a teaspoon of instant espresso powder with the dry ingredients. Craving something minty? A tiny drop of peppermint extract in the wet mix before stirring works wonders, or push a couple of Andes mints into the center instead of plain chocolate. You could even add a pinch of cayenne pepper for a subtle kick – chocolate and chili is a classic for a reason. Don't be afraid to play around; the stakes are low when it's just a single serving.
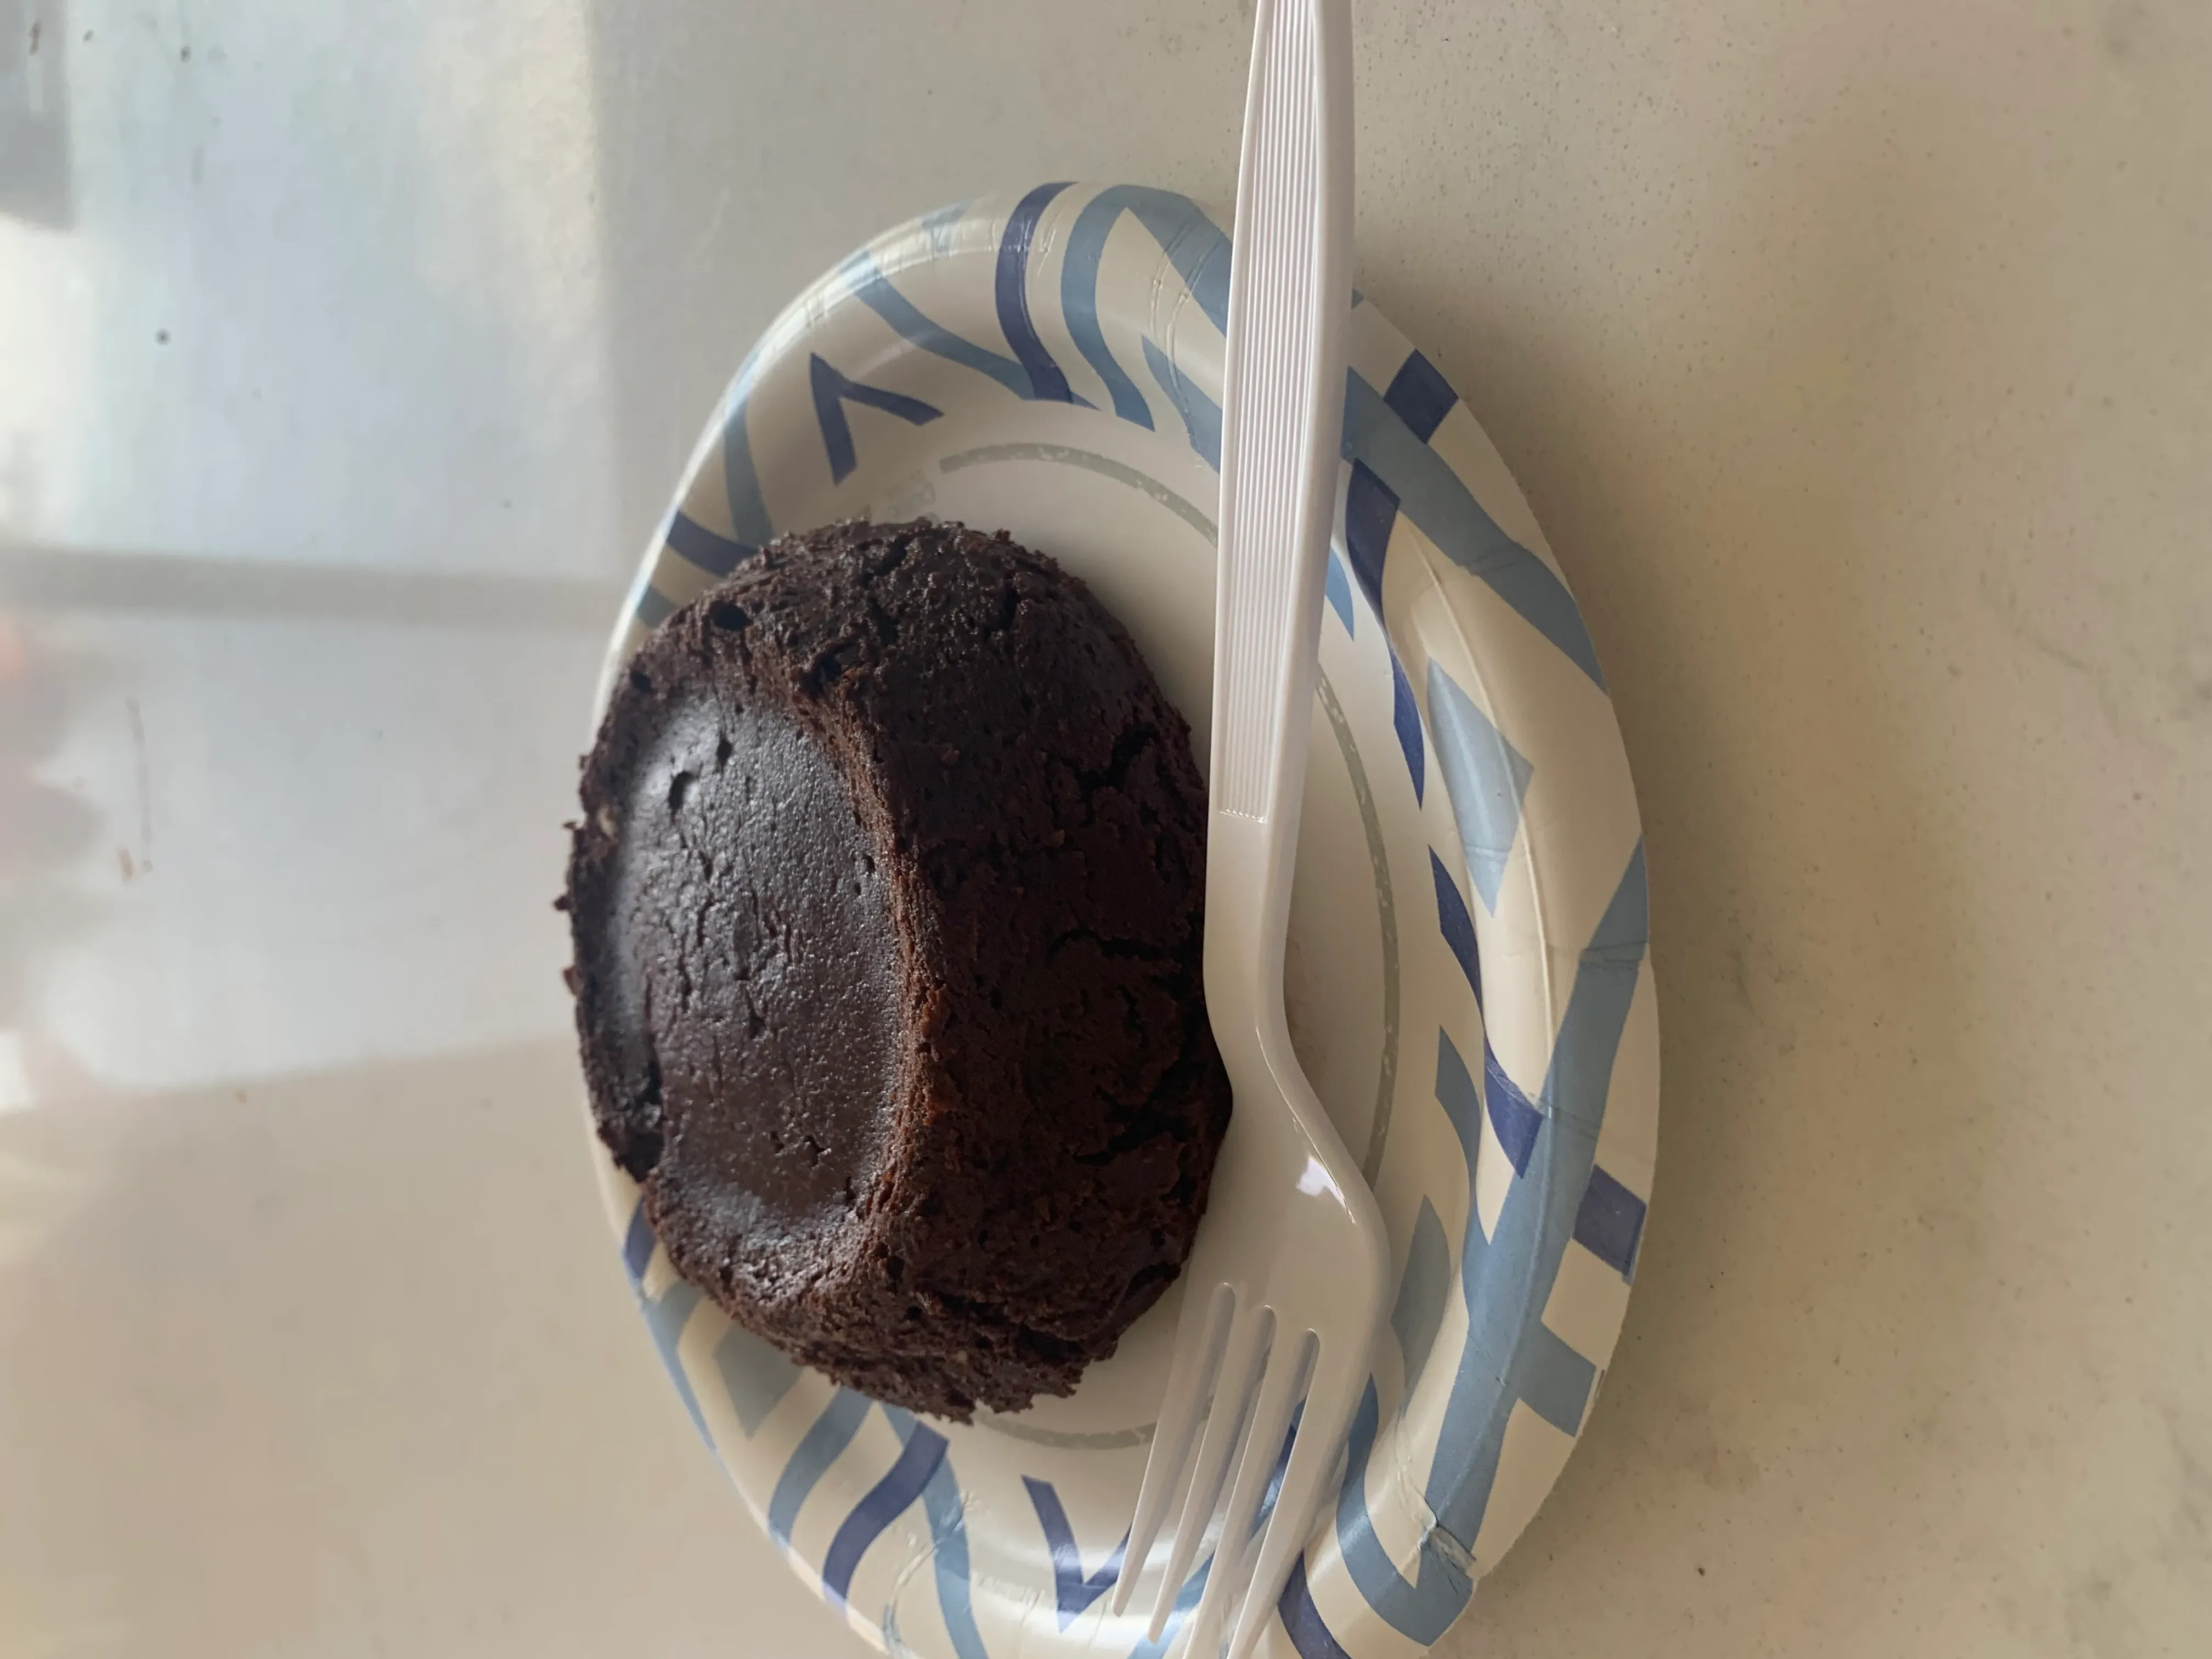
Serving Suggestions: Dress Up Your Mug
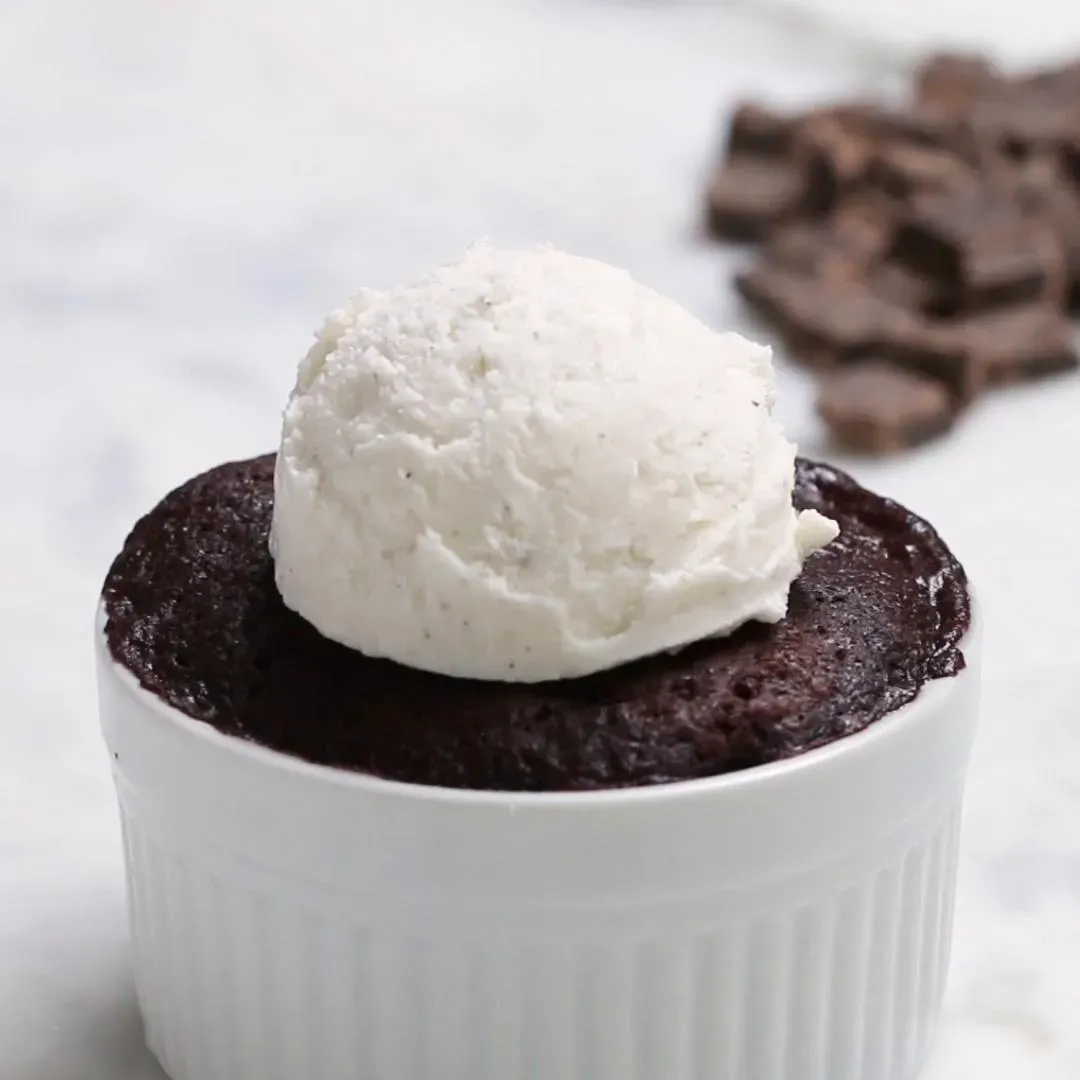
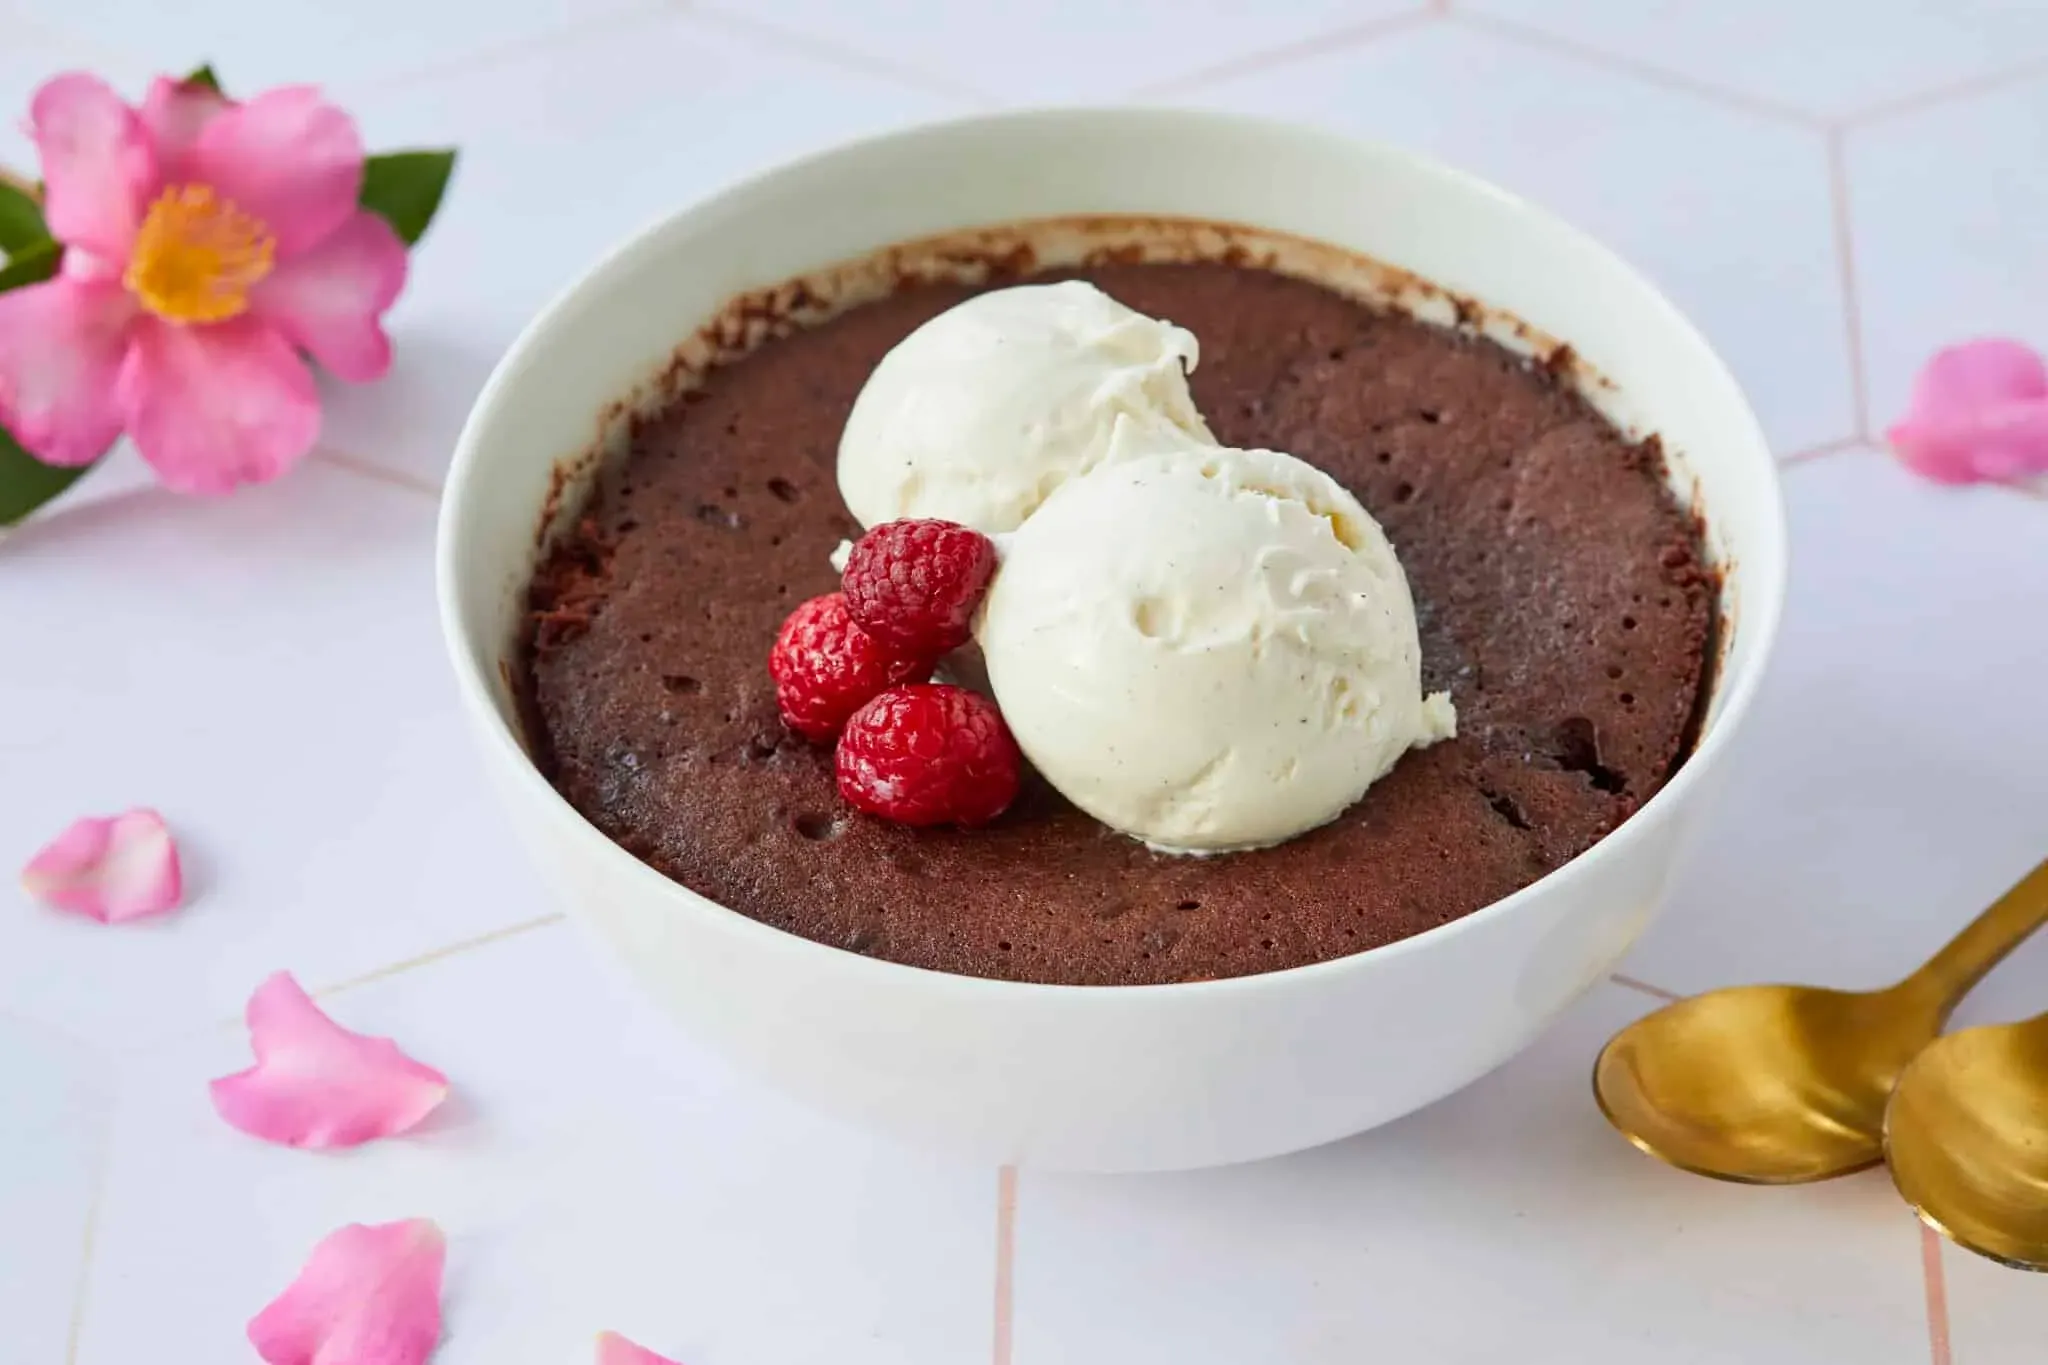
Eating it straight out of the mug with a spoon is perfectly acceptable, even encouraged on desperate nights. But if you're feeling fancy, or trying to convince someone this isn't just a rushed microwave job, a little presentation goes a long way. A scoop of vanilla ice cream melting slowly over the warm cake is pretty much non-negotiable for peak indulgence. A dollop of whipped cream, maybe dusted with extra cocoa powder or chocolate shavings? Classic. A few fresh raspberries or strawberries add a nice tart contrast to the richness. Or, for true decadence, drizzle a little caramel sauce or peanut butter over the top. Remember, you put in minimal effort for the cake itself, so you have leftover energy for toppings.
- Vanilla ice cream (essential, arguably)
- Whipped cream (canned is fine, no judgment)
- Fresh berries (raspberries, strawberries)
- Caramel or peanut butter drizzle
- Powdered sugar dusting
- Chocolate shavings or cocoa powder
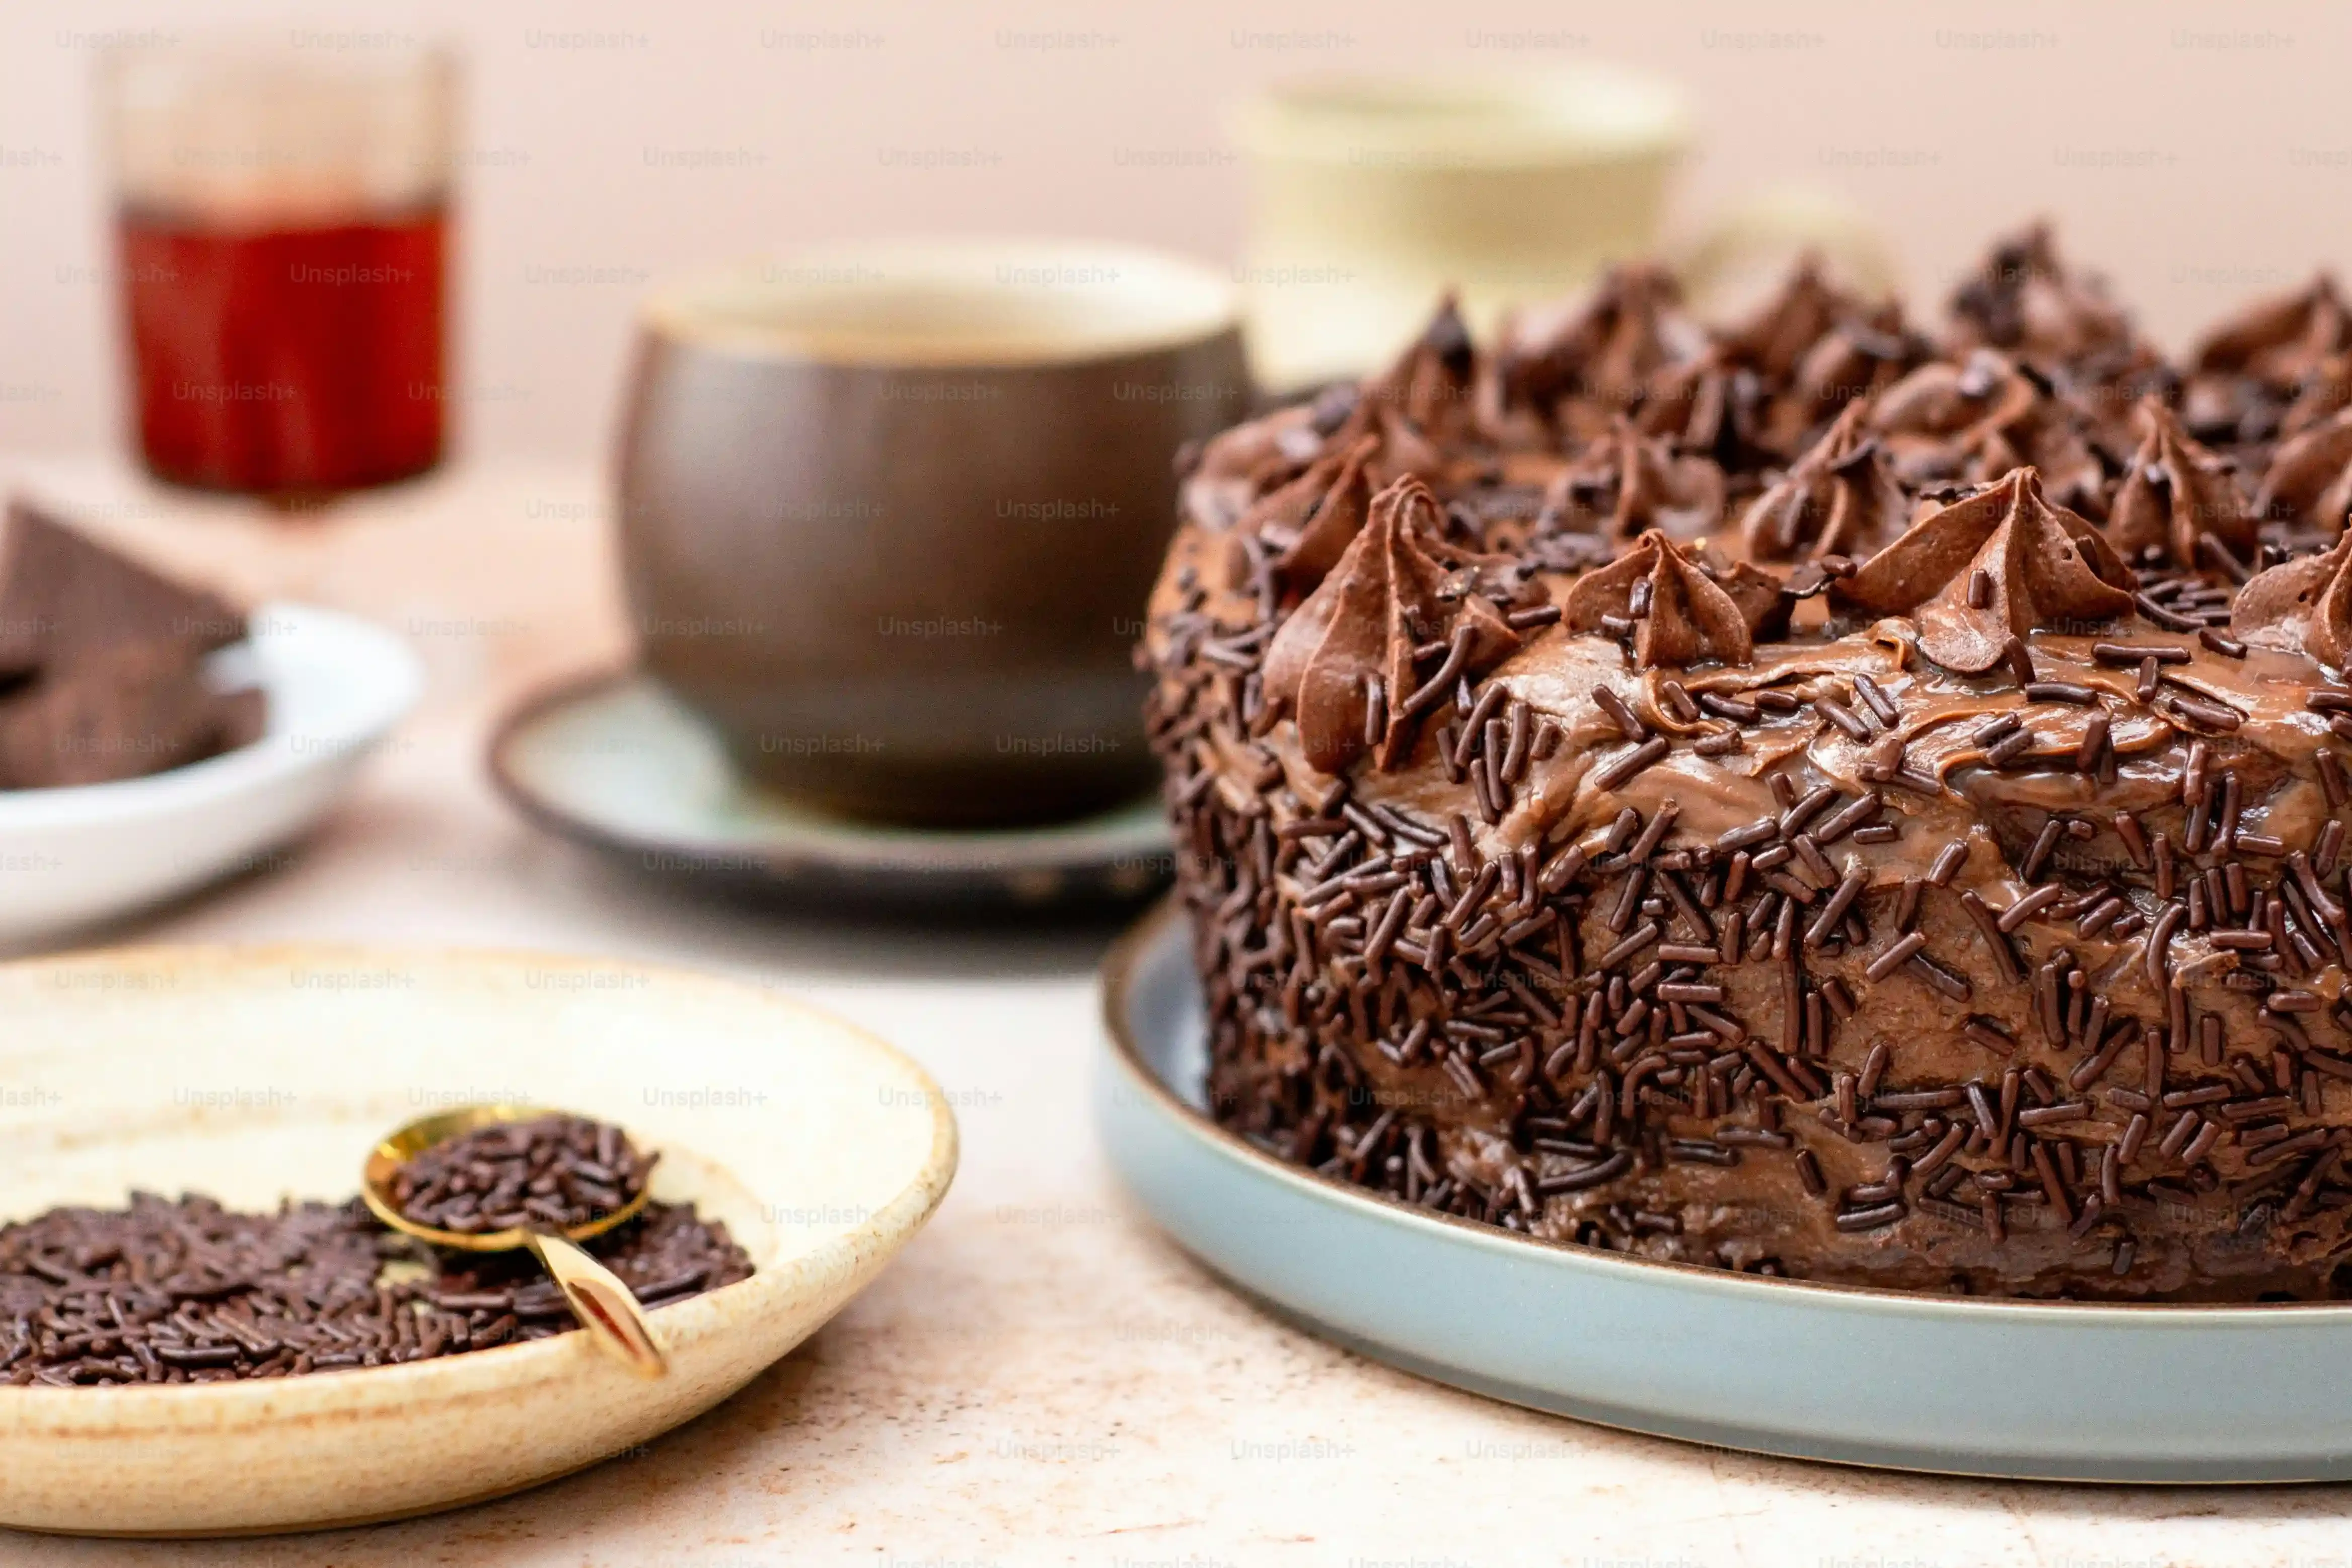
Different Chocolates, Different Lavvas
The type of chocolate you use for the molten core makes a huge difference in the final "lava" consistency and flavor. Using a good quality dark chocolate (70% cocoa or higher) gives you a deep, intense, slightly less sweet lava. Semi-sweet chocolate is a safe bet, offering a good balance. Milk chocolate will give you a sweeter, creamier lava, but be warned, it can sometimes seize up or cook faster in the microwave, so watch it carefully. White chocolate? That's a whole different beast, and honestly, a white chocolate lava cake is a different recipe entirely, primarily because white chocolate isn't actually chocolate in the traditional sense. Stick to actual chocolate for the best results here.
Frequently Asked Questions About Microwave Lava Cake
Frequently Asked Questions About Microwave Lava Cake
Can I use different types of chocolate for the lava?
Absolutely, and this is where you can really play around with your **chocolate lava cake recipe microwave**. As we touched on earlier, the type of chocolate you embed in the center dictates the flavor and texture of your molten core. Dark chocolate gives you a more intense, less sweet lava, which is my personal favorite for balancing the cake's sweetness. Semi-sweet is the standard go-to, reliably melting into that classic gooey center. Milk chocolate will yield a sweeter, creamier lava, but it's a bit more finicky in the microwave and can sometimes overcook or seize up faster than darker varieties. Experimentation is key here to find your perfect molten match.
My cake overflowed the mug! What gives?
Ah, the classic microwave mug cake explosion. Annoying, right? This usually happens for a couple of reasons when you're making your **chocolate lava cake recipe microwave**. The most common culprit is using a mug that's too small. The batter needs room to rise slightly as it cooks. A standard 8-10 ounce coffee mug is usually sufficient, but if yours is on the smaller side, consider using a slightly larger one next time. Another reason can be overmixing the batter, which can develop the gluten too much and cause it to puff up excessively. Finally, sometimes just slightly reducing the cooking time can prevent the dramatic overflow.
- Use a larger mug (8-10 oz minimum).
- Avoid overmixing the batter.
- Slightly reduce cooking time if it's a recurring issue.
Can I make this ahead of time?
The whole point of a **chocolate lava cake recipe microwave** is the speed and immediacy, so making it ahead of time kind of defeats the purpose of the *microwave* part. The magic is in pulling it out of the microwave and having that warm, molten center ready to go. If you were to make the batter ahead and refrigerate it, the cooking time would change significantly, and you risk the chocolate solidifying in the fridge, preventing it from melting properly in the short microwave burst. This is truly a 'make and eat immediately' kind of dessert. Think of it as your emergency chocolate button, not something for meal prep.
Your Instant Chocolate Fix Awaits
So there you have it. No need to wait for a special occasion, no endless cleanup, just a few simple ingredients and a couple of minutes standing by your microwave stand between you and a warm, gooey chocolate lava cake. This **chocolate lava cake recipe microwave** method proves that quick doesn't have to mean compromising on decadence. It's a practical solution for that sudden sweet tooth, a late-night treat, or just because you deserve a little moment of rich, molten goodness. Give it a shot; you might just find your new favorite way to indulge.