Table of Contents
Hosting dinner for six people often brings the age-old question: what's for dessert? You want something that feels special, maybe even a little fancy, but doesn't require a pastry chef's degree or leave your kitchen looking like a war zone. You need a showstopper, something with that "wow" factor that makes guests lean in. Forget juggling multiple components or spending hours chilling layers.
Gathering What You Need for the Chocolate Lava Cake for 6
Gathering What You Need for the Chocolate Lava Cake for 6
The Essential Lineup: Ingredients You Can't Skip
Alright, let's talk turkey, or rather, chocolate. Before you even think about preheating the oven, you need to round up your supplies. This isn't a recipe where you can wing it with whatever's in the pantry. Getting the ingredient list right is the absolute first step in **Gathering What You Need for the Chocolate Lava Cake for 6**. The star of the show, obviously, is the chocolate itself. Don't skimp here. Grab a good quality bittersweet or semi-sweet chocolate bar, something you'd actually enjoy eating plain. Chocolate chips *can* work in a pinch, but a chopped bar melts smoother and generally tastes better. You'll also need unsalted butter, eggs (usually whole eggs plus a few extra yolks for richness), sugar, and just a touch of all-purpose flour. That flour is key; it gives the cake structure but not so much that it prevents the center from staying molten.
Prep Work & Flavor Boosters: Setting the Stage
Once you've got the main players, there are a couple of supporting actors and some crucial prep steps. You'll need cocoa powder or extra flour for dusting your ramekins – this is non-negotiable unless you enjoy serving your lava cakes stuck to the dish. A tiny pinch of salt can actually make the chocolate flavor pop more, counteracting the sweetness without making it taste salty. Some folks like to add a teaspoon of instant espresso powder too; it doesn't make the cake taste like coffee, but it seriously deepens the chocolate notes. Think of it as chocolate's best friend. Prepping your ramekins properly ensures that beautiful, clean release when you invert the cakes.
- Good quality bittersweet or semi-sweet chocolate (around 6-8 ounces)
- Unsalted butter (about 1 stick or 1/2 cup)
- Large eggs (usually 2 whole eggs + 2-4 yolks)
- Granulated sugar (about 1/2 cup, maybe slightly less depending on chocolate sweetness)
- All-purpose flour (just 2-3 tablespoons)
- Vanilla extract (1 teaspoon)
- Pinch of salt (optional, but recommended)
- Cocoa powder or flour for dusting ramekins
Your Kitchen Arsenal: Tools for Lava Success
Beyond the ingredients, you need the right tools lined up. You absolutely must have six ramekins. These are individual ceramic dishes, usually 4-6 ounces in size. Trying this in a single dish won't work for that individual lava effect, and scaling up random bowls is a gamble. You'll also need a couple of mixing bowls (one for melting, one for whisking eggs/sugar), a whisk, a rubber spatula for scraping down the sides, and a baking sheet to place the ramekins on (makes them easier to get in and out of the oven). For melting the chocolate and butter, a small saucepan over low heat or a double boiler setup works perfectly. A sieve is handy for sifting the flour and cocoa powder, helping prevent lumps.
Whipping Up the Batter: Your Chocolate Lava Cake Recipe Steps
Whipping Up the Batter: Your Chocolate Lava Cake Recipe Steps
Melting Chocolate and Butter: The Foundation of Lava
ingredients gathered, ramekins prepped. Now, the real magic starts: bringing the chocolate and butter together. This is the heart of your **chocolate lava cake recipe for 6**. Grab that good quality chocolate you chopped and your unsalted butter. Combine them in a heatproof bowl set over a pot of simmering water (a double boiler setup) or in a small saucepan over very low heat. Go slow here. Low and slow is the name of the game to avoid scorching that precious chocolate. Stir gently and continuously until everything is smooth, glossy, and completely melted. Once it's a beautiful, liquid chocolate dream, take it off the heat. Let it sit for just a minute or two to cool down slightly.
Whisking Eggs and Sugar: Building Structure and Sweetness
While your chocolate cools slightly, turn your attention to the eggs and sugar. In a separate mixing bowl, crack your whole eggs and add the extra yolks. Toss in the granulated sugar and the vanilla extract. Now, whisk them like you mean it. You're not trying to make meringue here, but you want to whisk until the mixture is pale yellow and slightly thickened. This usually takes about 2-3 minutes of vigorous whisking. This step incorporates air and creates structure, ensuring your cake isn't just a solid block but has that delicate crumb around the molten center.
Quick Check: Are Your Ingredients Ready?
- Chocolate & Butter: Smooth, melted, slightly cooled?
- Eggs & Sugar: Pale yellow, slightly thickened from whisking?
- Ramekins: Buttered and dusted?
Combining Everything: The Final Batter Mix
Now for the grand finale of the batter-making process. Pour the slightly cooled melted chocolate-butter mixture into the whisked egg-sugar mixture. Fold it in gently with a rubber spatula. Don't overmix; just combine until streaks of egg disappear and you have a uniform, dark, luscious batter. Finally, sift the small amount of flour (and salt/espresso powder if using) directly over the batter. Fold this in just until you see no dry streaks of flour. Stop right there. Overmixing the flour develops gluten, which makes cakes tough – the opposite of what we want for that tender lava flow. You've just made the batter for your perfect **chocolate lava cake recipe for 6**.
Baking Bliss: Getting That Perfect Lava Flow (Chocolate Lava Cake Recipe for 6)
Baking Bliss: Getting That Perfect Lava Flow (Chocolate Lava Cake Recipe for 6)
Preheating is Non-Negotiable
Look, baking is chemistry, and like any good science experiment, temperature matters. A lukewarm oven is the enemy of a perfect lava cake. You need intense, quick heat to set the outside of the cake while the inside stays gloriously gooey. Crank your oven to a hot 400°F (200°C). Give it ample time to come up to temperature – don't trust the little light to tell you it's ready right away. Wait another 10-15 minutes after the light goes off just to be sure. Place your filled, prepped ramekins onto a baking sheet. This makes them easy to handle and catches any potential drips, saving you from a sticky oven floor cleanup later. Getting the oven temperature right is the first critical step in nailing your **chocolate lava cake recipe for 6**.
Timing is Everything (Seriously, Watch Them!)
Here's where most people stumble. Baking lava cakes is not the time to wander off and catch up on emails. They bake fast, and the difference between molten center and solid chocolate puck is often less than a minute. For most ovens and ramekin sizes, you're looking at a baking time of 10 to 14 minutes. You'll know they're ready when the edges look set and slightly pulled away from the ramekin, but the very center still looks soft and maybe even a little wobbly when you gently shake the baking sheet. If the entire top looks firm and cooked through, you've gone too far. Pull them out the second the edges are set. Trust your eyes more than the clock here.
Visual Cues for Perfect Lava Cakes:
- Edges are set and firm.
- Center still looks soft, possibly slightly sunken.
- A gentle shake shows a slight wobble in the middle.
- No wet batter visible on the surface (except maybe the wobbly center).
Cooling and Inverting for the Grand Reveal
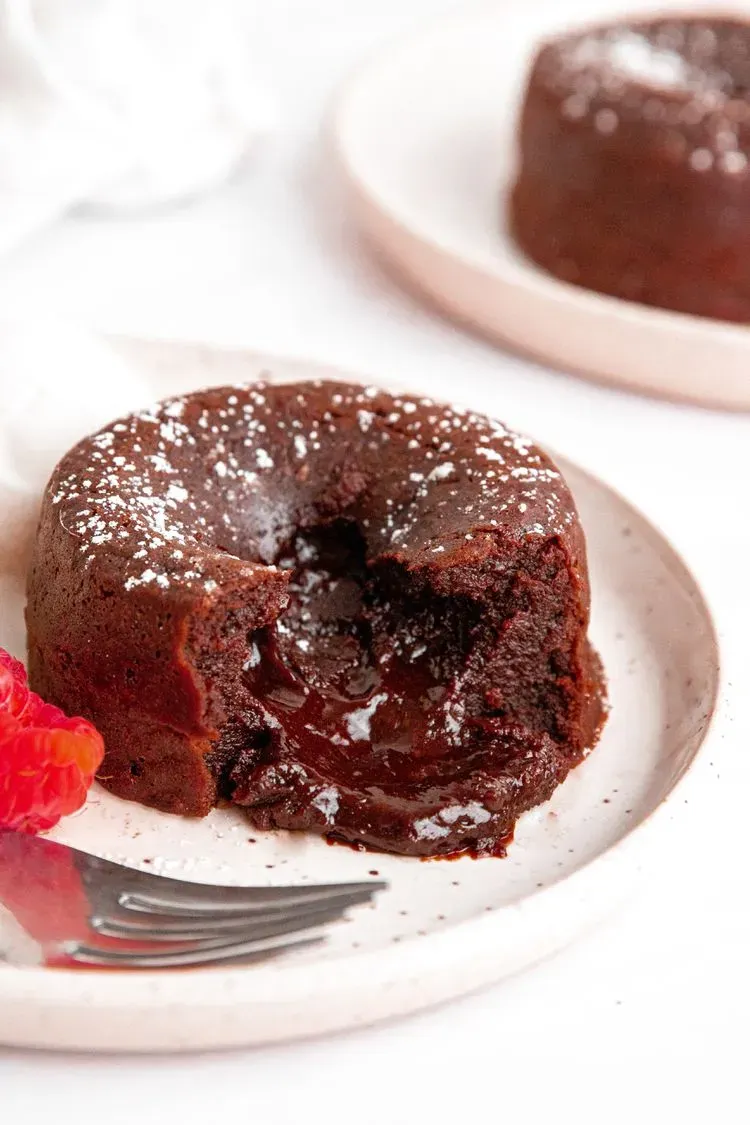
Resistance is futile; you'll want to dive in immediately. Don't. Let the cakes rest in their ramekins on the baking sheet for just 1-2 minutes. This brief pause allows the edges to firm up slightly more, making them easier to invert without breaking apart. Any longer, and the residual heat keeps cooking that precious center. Once they've rested, grab your serving plates. Carefully run a small knife around the edge of each cake to ensure it's not sticking. Place a serving plate upside down over a ramekin, and with confidence (and oven mitts!), flip the whole thing over. Lift the ramekin straight up. If you prepped them correctly and timed the bake, you should be greeted with a beautiful cake and a glorious, gooey cascade of chocolate lava. If one sticks, don't panic. Sometimes a gentle tap on the bottom of the ramekin helps. Worst case, serve it in the ramekin – it still tastes amazing.
Serving & Savoring Your Decadent Chocolate Lava Cakes
Serving & Savoring Your Decadent Chocolate Lava Cakes
The Moment of Truth: Inverting and Presenting
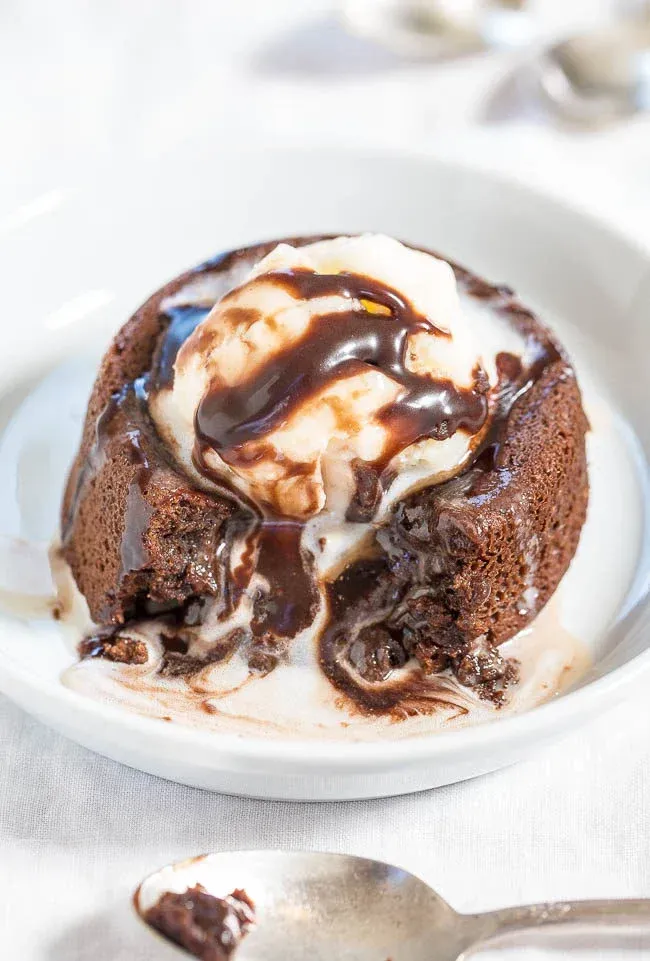
you've successfully baked these beauties using our **chocolate lava cake recipe for 6**. They've rested for that crucial minute or two. Now comes the dramatic part – the inversion. You've buttered and dusted those ramekins diligently, right? Good. Place a serving plate upside down over the ramekin, hold them together firmly, and flip with confidence. Lift the ramekin straight up. If the stars align (and you followed the steps!), a perfect little cake will sit on the plate, its edges holding firm, hinting at the molten core within. Sometimes, one might stick a bit. A gentle tap on the bottom or sides of the ramekin usually coaxes it out. And if it absolutely refuses? Serve it in the ramekin with a spoon. It loses zero points for taste or molten goodness.
Elevating the Experience: Toppings and Pairings
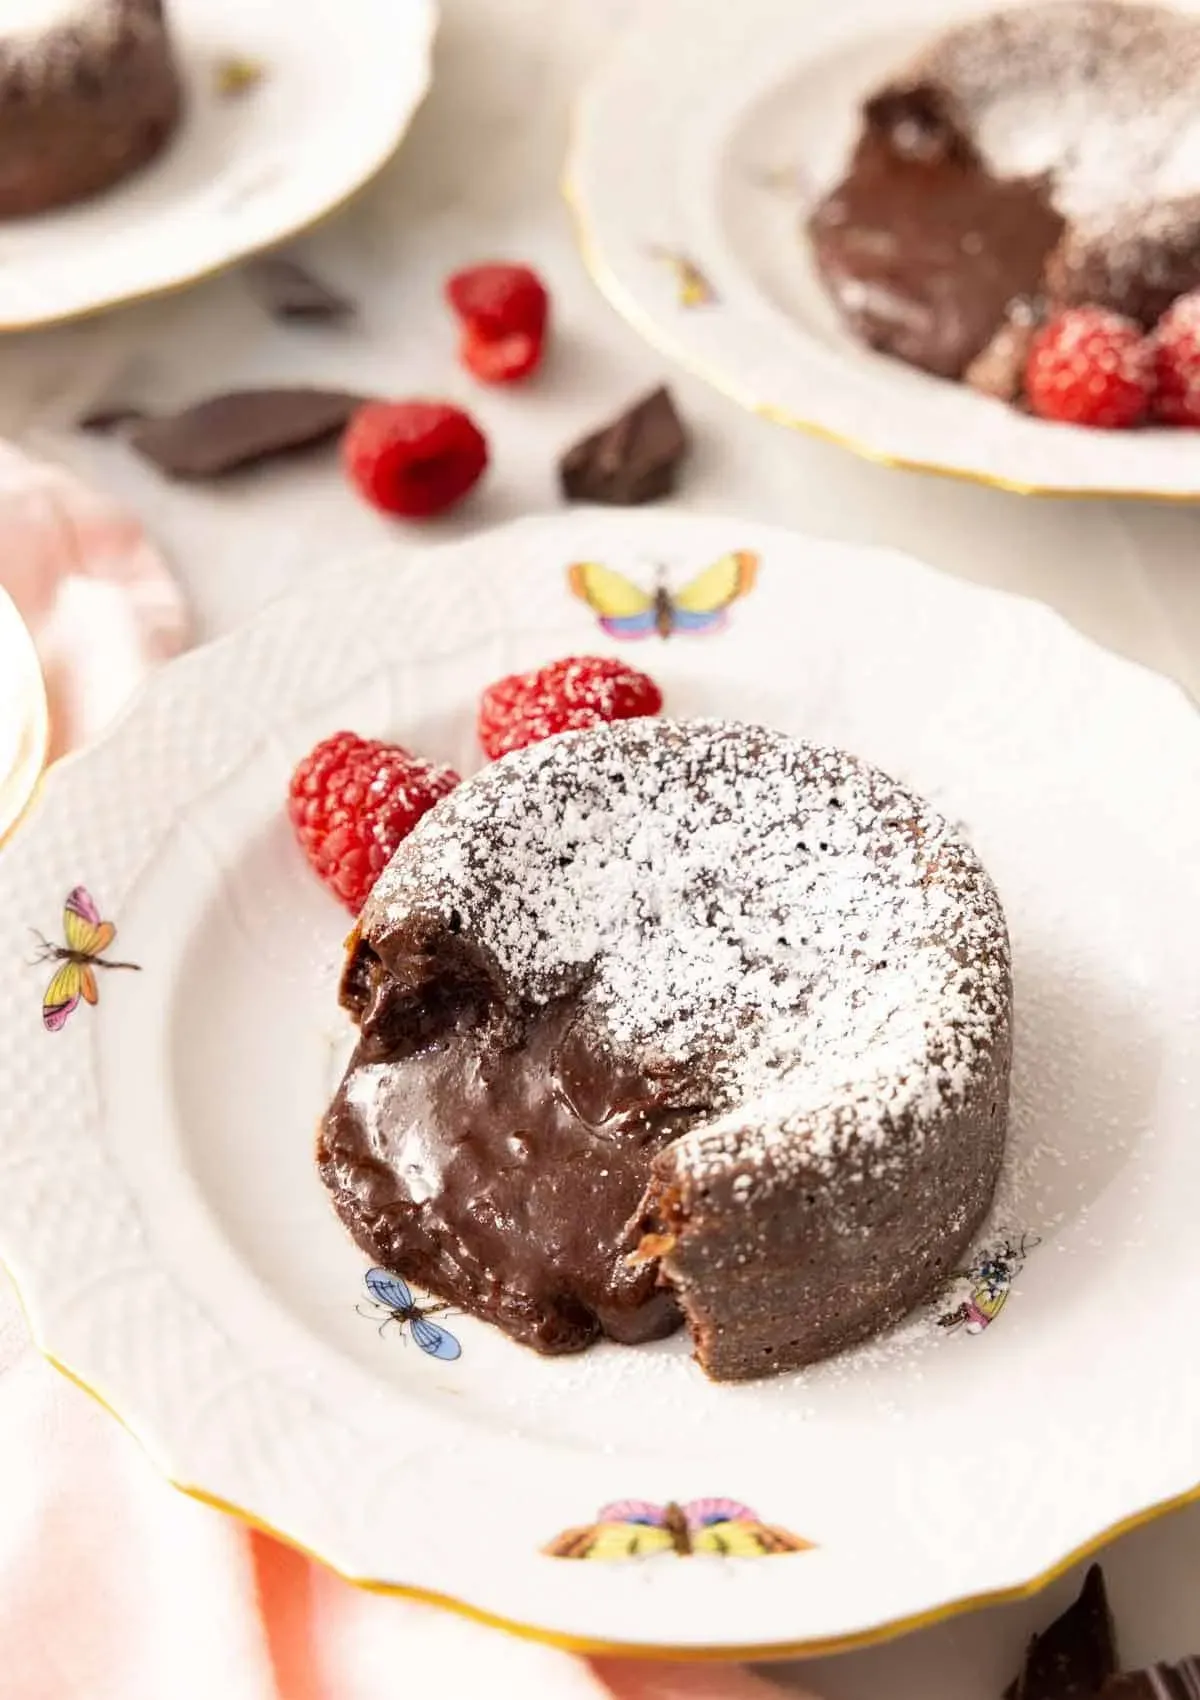
Serving a warm, gooey chocolate lava cake on its own is perfectly acceptable, even glorious. But adding a little something extra takes it from great to unforgettable. A classic pairing is a scoop of good quality vanilla bean ice cream. The cold, creamy contrast against the hot, rich chocolate is pure magic. A dollop of fresh whipped cream is another easy win. If you want to get slightly fancier, a raspberry sauce or fresh berries add a bright, tart counterpoint to the deep chocolate. Even a simple dusting of powdered sugar or a drizzle of caramel or chocolate sauce can make it feel more special. Think about what flavors play well with intense chocolate.
Popular Lava Cake Pairings & Toppings:
- Vanilla Bean Ice Cream (the undisputed champion)
- Fresh Whipped Cream (light and airy)
- Raspberry Sauce or Fresh Berries (adds tartness)
- Powdered Sugar (simple elegance)
- Caramel Sauce Drizzle (extra indulgence)
- Mint Sprig (for a touch of color and freshness)
Enjoying Now or Later: Handling Leftovers (If Any)
Let's be honest, with a **chocolate lava cake recipe for 6**, there usually aren't leftovers. But hey, maybe someone had a massive dinner. If you end up with an un-eaten cake, cover it and refrigerate it. Reheating is simple: pop the ramekin back into a preheated oven at 350°F (175°C) for about 5-10 minutes, or microwave it carefully for 30-60 seconds, checking frequently, until the center is warm and gooey again. The texture might change slightly upon reheating compared to fresh, but it's still darn good. You can also bake these ahead of time, refrigerate the unbaked batter in the ramekins, and then add a couple of minutes to the baking time straight from the fridge when you're ready to serve. That's a host's secret weapon right there.
Your Chocolate Lava Cake Triumph
So there you have it. No need to sweat over complicated dessert menus or spend your evening frantically assembling something fragile. This chocolate lava cake recipe for 6 delivers exactly what it promises: individual molten masterpieces that look far more difficult to pull off than they actually are. You've navigated the ingredients, mixed the batter, and timed the bake just right to achieve that glorious, flowing chocolate core. Serve these warm, maybe with a scoop of vanilla ice cream if you're feeling extra, and watch your guests' eyes light up. You've earned those compliments, and your secret? It's just a solid recipe and knowing exactly when to pull them from the oven. Now go enjoy the applause.
