Table of Contents
Ever made a batch of luscious chocolate frosting, only to find it’s gone hard as a rock or mysteriously separated a few days later? Frustrating, right? This article is your ultimate guide to conquering the world of chocolate frosting storage. We'll explore the best methods for keeping your frosting fresh and delicious, whether you prefer room temperature storage, the fridge, or even the freezer. We'll cover everything from the ideal containers to use to how to revive frosting that's gone a little astray. Mastering chocolate frosting storage isn't just about extending shelf life; it's about ensuring every bite of your cakes, cupcakes, and brownies is as decadent as the first. Prepare to become a chocolate frosting storage expert! Get ready to dive into the delicious details of chocolate frosting storage, and say goodbye to wasted frosting forever!
Keeping Your Chocolate Frosting Fresh: Room Temperature Storage
Keeping Your Chocolate Frosting Fresh: Room Temperature Storage
Choosing the Right Container
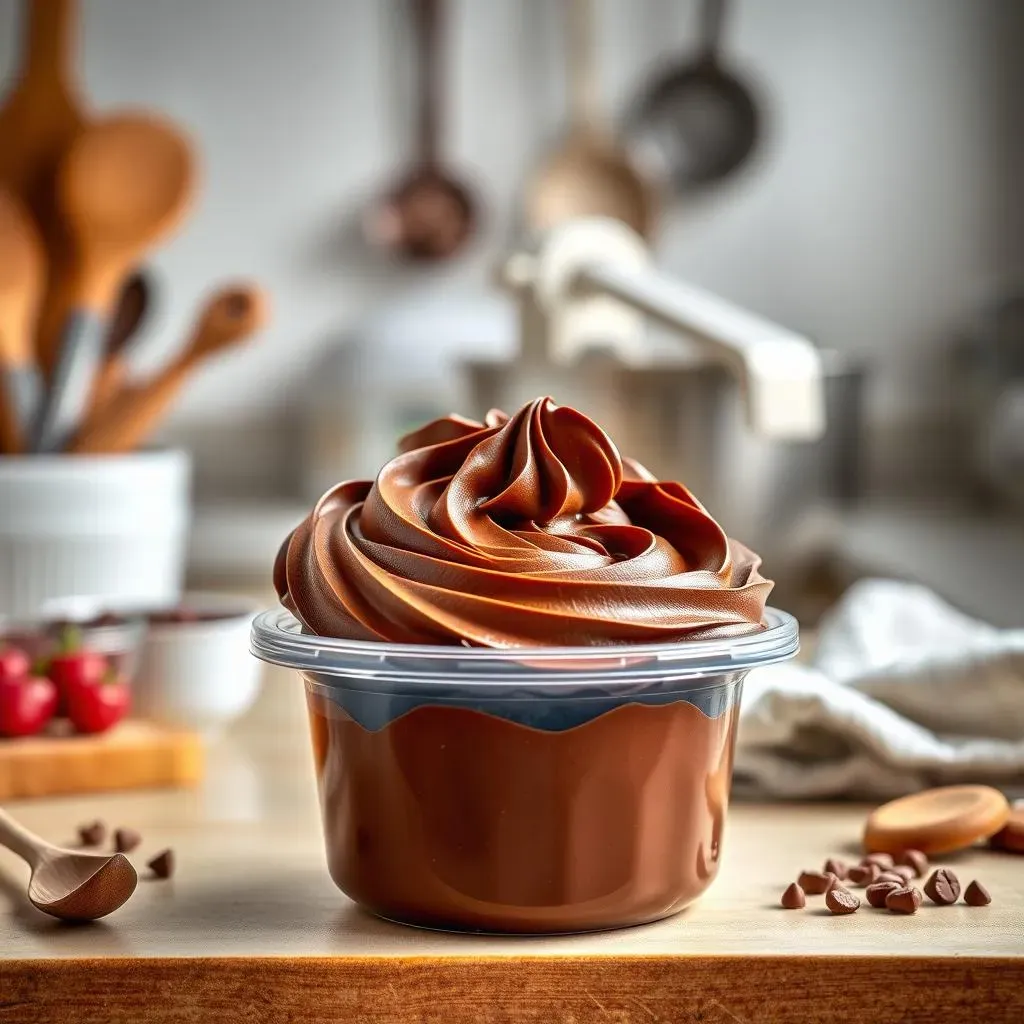
The key to successful room temperature chocolate frosting storage is using an airtight container. Think of it like this: you wouldn't leave a delicious cake out uncovered, would you? The same principle applies to your precious frosting. Air is the enemy here, introducing moisture and bacteria that can ruin your frosting's texture and flavor. Glass or high-quality plastic containers are ideal. Make sure the lid seals tightly, preventing any unwanted air from sneaking in. A poorly sealed container is a recipe for disaster – a dried-out, crusty frosting disaster.
Avoid using porous containers like terracotta pots. They'll absorb moisture, leading to your frosting drying out. Also, opt for containers that are the appropriate size for the amount of frosting you have. Overfilling a container can lead to frosting being squished and potentially spoiling faster. Remember, the goal is to keep your frosting snug and protected from the elements.
Container Type | Pros | Cons |
|---|---|---|
Airtight Glass | Durable, reusable, prevents air exposure | Can be heavier, potentially breakable |
Airtight Plastic | Lightweight, less breakable | May not be as durable, can absorb odors |
Location, Location, Location: Where to Store Your Frosting
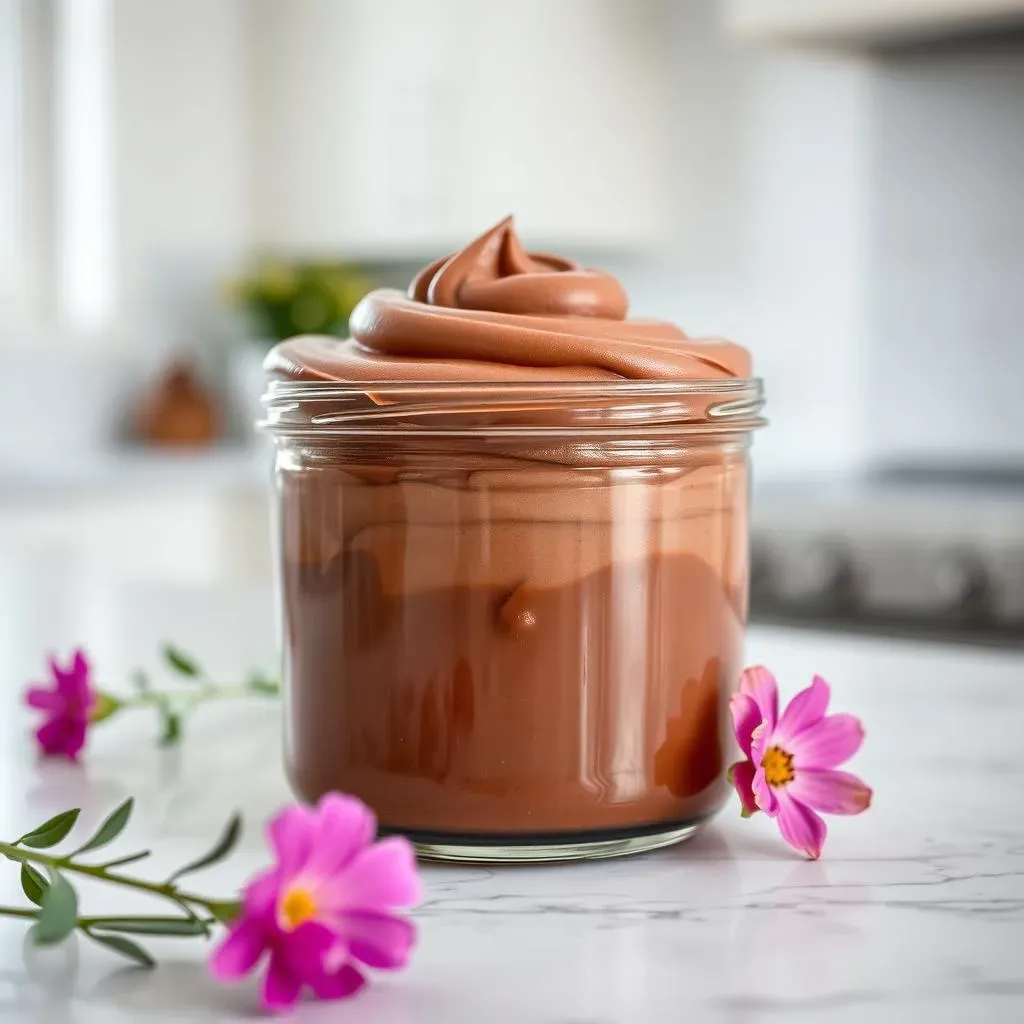
Once you've got your airtight container, the location matters. Keep your frosting away from direct sunlight, heat sources (like the stove or oven), and areas with high humidity. Imagine your frosting as a delicate flower – it needs a cool, dark, and dry environment to thrive. The coolest part of your kitchen, away from any heat sources, is your best bet. Think of it as a little frosting sanctuary. A consistently cool temperature helps prevent the frosting from softening or separating.
Avoid placing your frosting near strong-smelling foods. Chocolate frosting is a delicate flavor; it can easily absorb odors from nearby items. Imagine the horror of your beautiful chocolate frosting suddenly smelling like garlic or onions. Nobody wants that. Proper placement is crucial for maintaining the integrity of your sweet treat.
- Cool, dark area
- Away from direct sunlight
- Away from heat sources (oven, stove)
- Away from strong-smelling foods
How Long Will It Last?
Even with the best storage practices, room temperature chocolate frosting isn’t meant for long-term storage. Most frostings are best used within 2-3 days at room temperature. After that, you risk bacterial growth and a significant decline in quality. Trust me, you'll taste the difference. Think of it like this: the fresher the frosting, the better it tastes. Always err on the side of caution. If it smells off or looks separated, it's time to toss it. Food safety should always be your top priority.
Remember, these guidelines are for *properly stored* frosting. If your frosting isn't stored correctly, it could spoil much faster. Always check your frosting before using it. If it has an unusual odor, texture, or appearance, discard it immediately. It's better to be safe than sorry.
Refrigerating and Freezing Chocolate Frosting: Best Practices

Refrigerating and Freezing Chocolate Frosting: Best Practices
Refrigerating Your Chocolate Frosting
The refrigerator is your friend when it comes to extending the life of your chocolate frosting. While room temperature storage is fine for a couple of days, refrigeration significantly increases its shelf life. Before popping your frosting into the fridge, ensure it's completely cooled down. Warm frosting will cause condensation in your container, which can lead to unwanted moisture and affect the texture. Think of it as a spa day for your frosting; it needs to cool off before its next adventure.
Store your cooled frosting in an airtight container, just as you would at room temperature. This prevents unwanted odors and moisture from affecting the flavor and consistency. A well-sealed container is crucial for maintaining the quality of your frosting. Remember, the fridge isn't a magic bullet; it helps slow down spoilage, but it doesn't stop it completely.
Refrigeration Tip | Why It Matters |
|---|---|
Cool completely before refrigerating | Prevents condensation and moisture |
Use an airtight container | Keeps out odors and moisture |
Freezing Chocolate Frosting: A Long-Term Solution
Freezing your chocolate frosting is a fantastic way to preserve it for longer periods. This is especially helpful if you've made a large batch or want to have some ready for future baking projects. To freeze your frosting, first, cool it completely. Then, transfer it to a freezer-safe container. Ensure the container is airtight to prevent freezer burn (ice crystals that can affect the texture). You can even portion it out into smaller containers for easier thawing and use.
Freezing frosting is a bit like putting it into suspended animation. It preserves its flavor and texture remarkably well. When you're ready to use it, thaw it in the refrigerator overnight. This gradual thawing prevents separation and ensures your frosting is smooth and creamy. Once thawed, give it a good stir to restore its consistency before using. It's like waking up a sleeping giant, ready to conquer cakes and cupcakes.
- Cool completely before freezing
- Use a freezer-safe, airtight container
- Thaw in the refrigerator overnight
- Stir well before using
How Long Can You Keep it Refrigerated or Frozen?
Refrigerated chocolate frosting typically lasts for about a week to 10 days. After that, its quality will start to decline, and the risk of spoilage increases. Always check for any signs of spoilage before using. Frozen chocolate frosting, on the other hand, can last for up to three months if stored properly. This makes it a convenient option for long-term storage. Remember, freezing and refrigeration are tools to extend the life of your frosting, not to make it immortal.
Proper storage is key to extending the shelf life of your frosting. If you notice any unusual changes in color, texture, or smell, it's best to discard the frosting. Food safety should always be your top priority. It's better to err on the side of caution. Enjoy your perfectly stored frosting, but always prioritize safety.
Troubleshooting Chocolate Frosting Storage Problems: Tips and Tricks

Troubleshooting Chocolate Frosting Storage Problems: Tips and Tricks
My Frosting Separated! What Happened?
Oh, the dreaded separated frosting! This happens when the fat (usually butter) in your frosting separates from the other ingredients. It often looks like oil has pooled on top. This usually happens due to temperature fluctuations. If your frosting got too warm, the butter might have melted and separated. It could also be due to improper storage—a container that wasn't airtight enough. Don't despair! You can often fix this. Try gently whisking or beating the frosting with a hand mixer. Start slowly, adding a tablespoon or two of milk or cream if needed to help re-emulsify the ingredients. If it's still grainy, you might need to start over, but a gentle hand can usually save the day.
Sometimes, over-mixing can also cause separation. If your recipe calls for a specific mixing time, stick to it! Over-mixing incorporates too much air, which can destabilize the frosting and lead to separation. Always follow your recipe to the letter, especially when it comes to mixing times. A little patience goes a long way!
Problem | Possible Cause | Solution |
|---|---|---|
Separated Frosting | Temperature fluctuations, improper storage, over-mixing | Whisk or beat gently, add a little milk or cream if needed |
Grainy Frosting | Incorrect ingredient ratios, improper mixing | Check recipe, try again |
My Frosting is Too Hard or Too Soft!
The consistency of your frosting is crucial for its success. If it's too hard, it's likely been exposed to cold temperatures for too long. This is common if you've left it in the fridge for an extended period. If it's too soft, it's probably been exposed to warmth or humidity. The solution here is simple: adjust the temperature! If it's too hard, let it sit at room temperature to soften. If it's too soft, pop it in the fridge for a bit to firm up. Remember, these are simple fixes. Don't panic!
Sometimes, the problem isn't the temperature, but the ingredients themselves. If you used too much butter, the frosting might be too soft. If you used too much powdered sugar, it might be too hard. Always double-check your recipe and make sure you're using the correct measurements. Accurate measurements are essential for achieving the desired consistency. A little bit of attention to detail goes a long way.
- Too hard? Let it sit at room temperature.
- Too soft? Refrigerate for a short time.
- Check your recipe for ingredient ratios.