
Table of Contents
Let's face it, sometimes you just need a dessert that doesn't whisper, it screams. You want something rich, something dramatic, something that makes people stop and say, "Wow, you made that?" Forget those polite little cupcakes. We're talking about a showstopper. A centerpiece. A dessert that delivers on its promise of pure, unadulterated chocolate bliss.
What Exactly is a Chocolate Eruption Mousse Cake?
What Exactly is a Chocolate Eruption Mousse Cake?
More Than Just Cake: Defining the Eruption
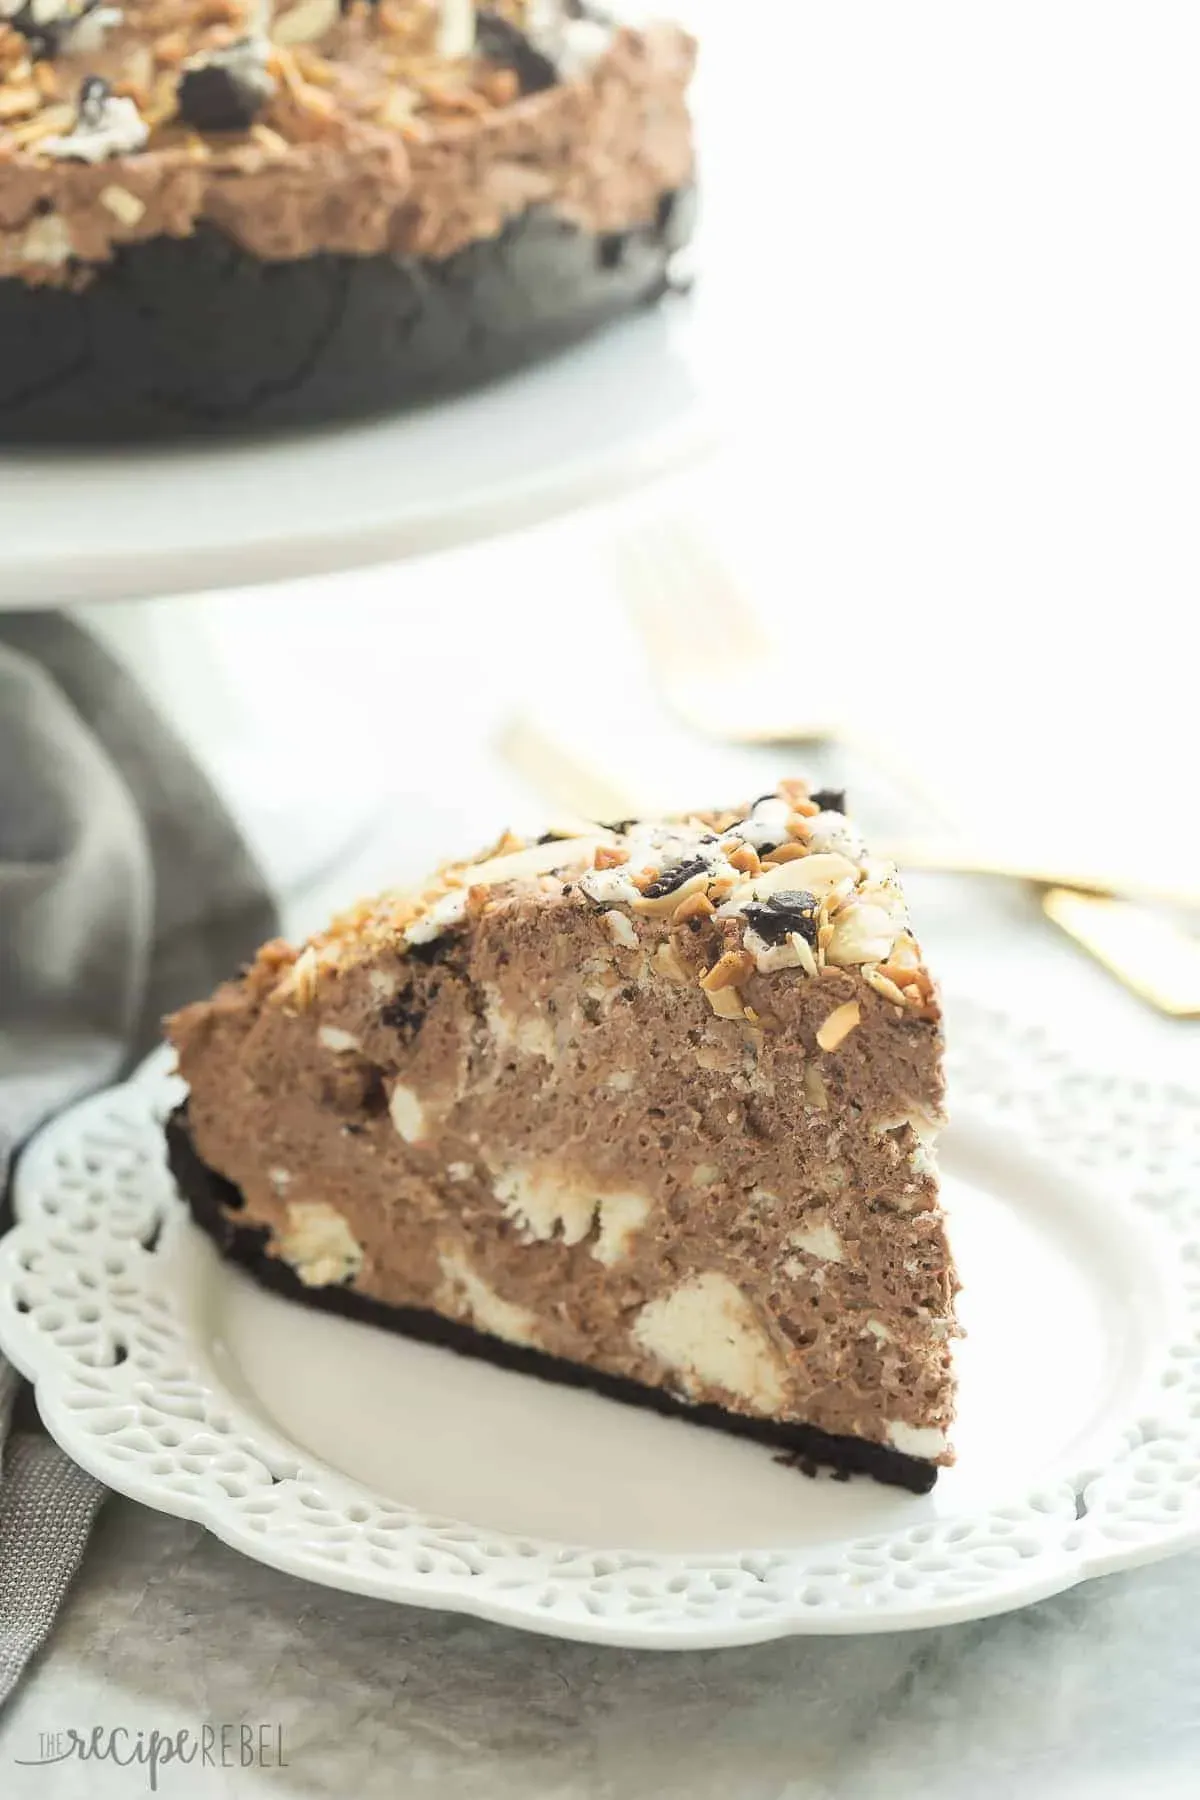
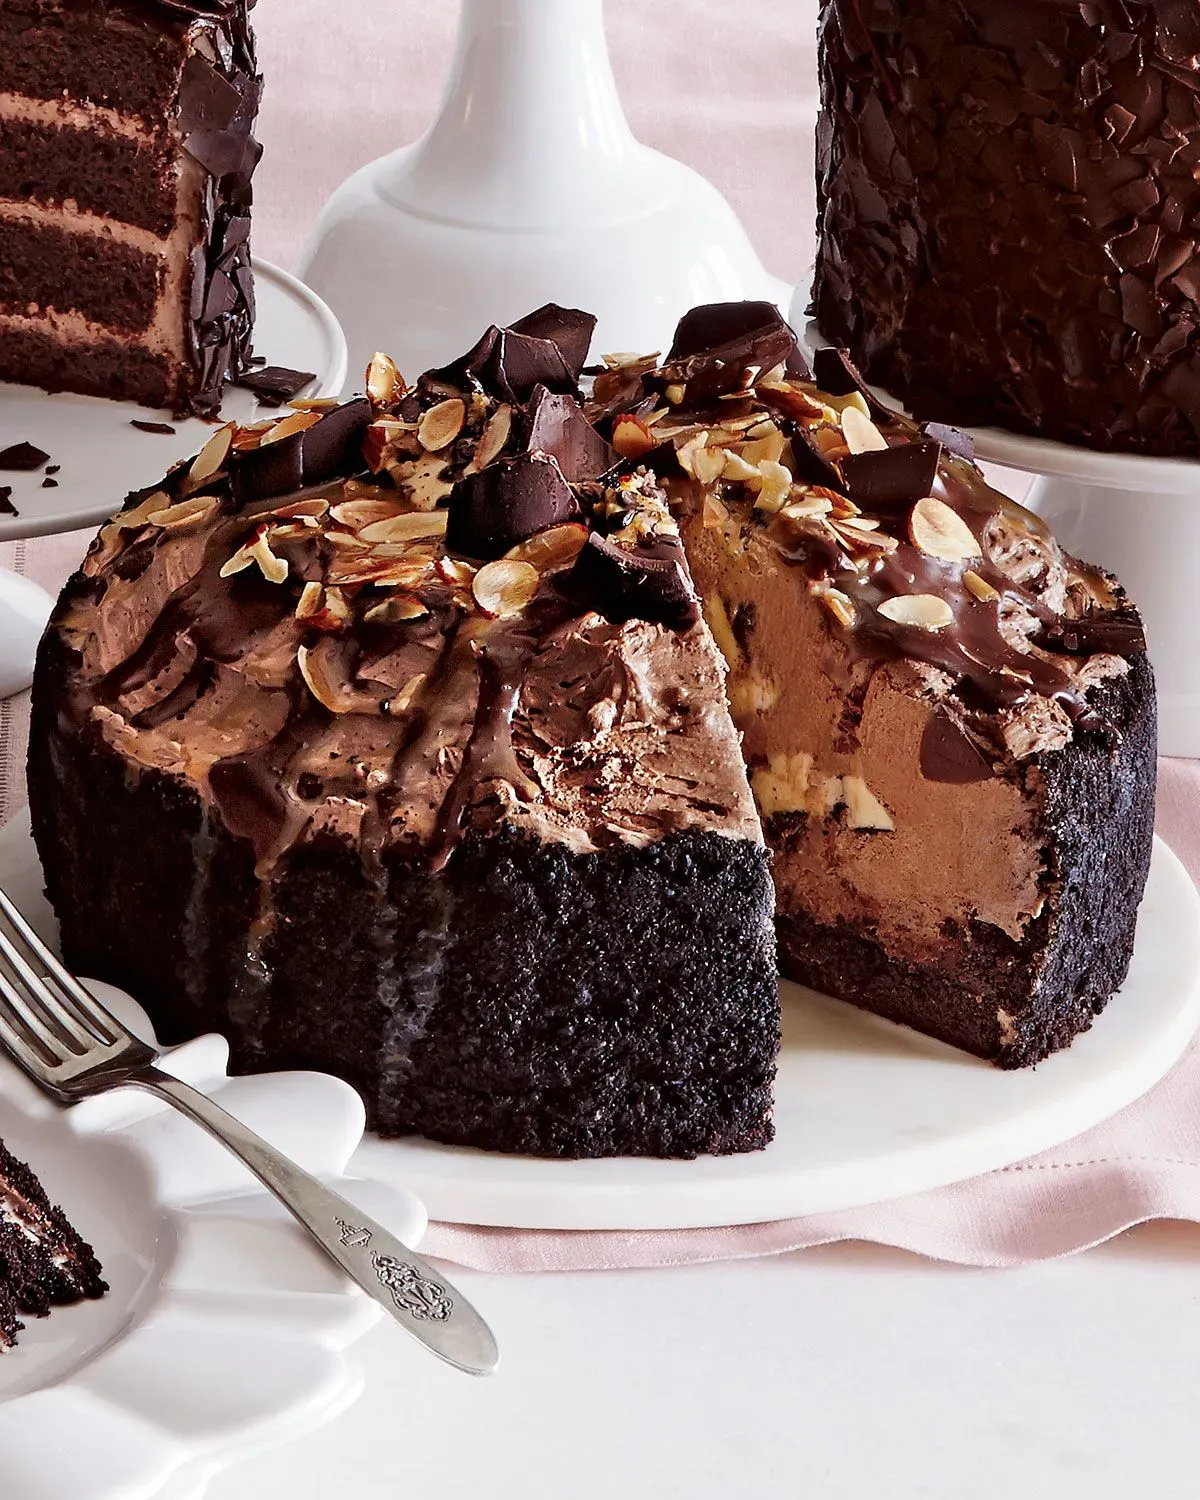
So, you've seen the pictures, right? That glorious cascade of chocolate or caramel spilling from the center of a cake? That’s the essence of what makes a chocolate eruption mousse cake stand out. It's not just a standard layer cake with some frosting. It's engineered for drama. Think of it as a delicious science experiment where the delicious part is guaranteed to succeed. The "eruption" isn't some happy accident; it's a deliberate core of something molten and rich, designed to flow when the cake is cut. This specific technique is what gives the chocolate eruption mousse cake its name and its undeniable appeal.
The Anatomy of a Decadent Disaster (The Good Kind)
Breaking down this beast reveals its clever construction. At its base, you usually find a dense, often fudgy chocolate cake layer. This provides a sturdy foundation and deep chocolate flavor. Piled high on top is the star texture contrast: a light, airy chocolate mousse. This isn't heavy pudding; it's whipped and delicate, melting in your mouth. But the real magic, the "eruption" part of the chocolate eruption mousse cake recipe, hides within. It's typically a reservoir of warm, pourable ganache or a rich caramel sauce, sometimes studded with nuts or toffee bits for extra texture and flavor. Cutting into the cake releases this sweet, molten core.
What exactly goes into that "eruption" center?
- Warm Chocolate Ganache: A classic, intensely chocolatey flow.
- Salted Caramel Sauce: Adds a sweet and salty counterpoint.
- Peanut Butter Ganache: For the chocolate and peanut butter lovers.
- Toffee Bits or Chopped Nuts: Adds crunch to the smooth flow.
Why the Drama Matters
The appeal of this cake goes beyond just taste; it's the spectacle. Serving a chocolate eruption mousse cake is an event. The moment the knife slices through and the warm filling spills out? That gets gasps. It’s visually stunning and promises an extra layer of gooey indulgence with every bite. It takes a familiar dessert concept – cake and mousse – and elevates it with a touch of theater. It’s the kind of dessert that makes you feel like a culinary wizard, even if you just followed a solid chocolate eruption mousse cake recipe. It’s decadent, it’s fun, and frankly, it’s hard to resist.
Essential Ingredients for Your Chocolate Eruption Mousse Cake Recipe
Essential Ingredients for Your Chocolate Eruption Mousse Cake Recipe
Building the Chocolate Foundation
Alright, let's talk ingredients for this chocolate eruption mousse cake recipe. You can't build a chocolate monument without good chocolate, right? This isn't the time for those waxy chips you bought on sale. You need quality. Think bittersweet or semi-sweet chocolate, something with a decent cocoa percentage. This is going to be the backbone of your cake layers and the mousse. Using a good quality cocoa powder for the cake batter is also crucial for that deep, dark color and intense flavor. Don't skimp here; the final taste hinges on it.
Here are a few chocolate types to consider:
- Good quality bittersweet or semi-sweet chocolate bars (around 60-70% cocoa)
- Unsweetened natural cocoa powder
- Dutch-process cocoa powder (for a different flavor profile in the cake)
- High-quality milk chocolate (if you prefer a sweeter mousse)
Dairy, Eggs, and the Usual Suspects
Beyond the chocolate, you'll need the standard baking crew. Butter, sugar, eggs, flour, baking soda, baking powder, salt – the usual suspects for the cake part. For the mousse, you're looking at heavy cream, often egg yolks for richness (cooked into a custard base for safety and texture), and sometimes gelatin or agar-agar to help it set properly without being too dense. Milk or buttermilk might show up in the cake batter to keep things moist. Using room-temperature ingredients for the cake batter helps everything emulsify properly, leading to a smoother texture.
Crafting the Molten Heart
Now, the fun part of the essential ingredients for your chocolate eruption mousse cake recipe: the eruption itself. This molten core needs to be pourable when warm but thick enough not to just soak into the cake immediately. That means more chocolate, usually melted with heavy cream to create a rich ganache. Sometimes butter is added for gloss and fluidity. If you're going the caramel route, you'll need sugar, butter, and cream, cooked carefully to a beautiful amber color. A pinch of salt in the caramel is non-negotiable – it cuts the sweetness and makes the flavor pop. Don't forget any nuts or toffee bits if you plan to mix them into the eruption.
What makes the best eruption?
Eruption Type | Key Ingredients | Flavor Profile |
|---|---|---|
Classic Ganache | Chocolate, Heavy Cream | Intense, Pure Chocolate |
Salted Caramel | Sugar, Butter, Heavy Cream, Salt | Sweet, Buttery, Salty Counterpoint |
Peanut Butter Ganache | Chocolate, Peanut Butter, Heavy Cream | Nutty, Rich, Familiar Comfort |
Baking the Dream: Your StepbyStep Chocolate Eruption Mousse Cake Recipe
Baking the Dream: Your StepbyStep Chocolate Eruption Mousse Cake Recipe
Getting the Cake Layers Just Right
Alright, time to get our hands dirty and actually bake this thing. First up in our chocolate eruption mousse cake recipe journey is the cake itself. You need a solid foundation, something moist and chocolatey that won't crumble under the weight of the mousse and the molten core. Follow your chosen recipe carefully, paying attention to details like sifting dry ingredients and not overmixing. Overmixing develops too much gluten and can make your cake tough, and nobody wants a tough eruption cake. Bake until a toothpick inserted into the center comes out with just a few moist crumbs attached, not wet batter. Let those layers cool completely on a wire rack. Trying to assemble with warm cake is a one-way ticket to a chocolate landslide.
Crafting the Mousse and the Molten Core
While your cake layers are cooling, tackle the mousse and the eruption filling. The mousse needs time to chill and set, so make it first. This usually involves whipping heavy cream to stiff peaks and folding it into a chocolate base, often a cooled custard or melted chocolate mixture. Be gentle when folding; you want to keep that airy texture. For the eruption filling, whether it's ganache or caramel, you're basically melting chocolate with cream or cooking sugar and butter. The key here is consistency. You want it pourable when warm, but not so thin it disappears into the cake. Let it cool slightly but keep it warm enough to flow later. Some recipes call for chilling the ganache slightly before creating the "well" in the cake.
Common Mousse Mistakes to Avoid:
- Over-whipping the cream: You'll get butter, not mousse.
- Not cooling the chocolate base: Hot chocolate melts the whipped cream.
- Aggressive folding: Deflates the mousse, making it dense.
- Not chilling long enough: Results in a floppy, unmanageable mess.
Assembling Your Chocolate Volcano
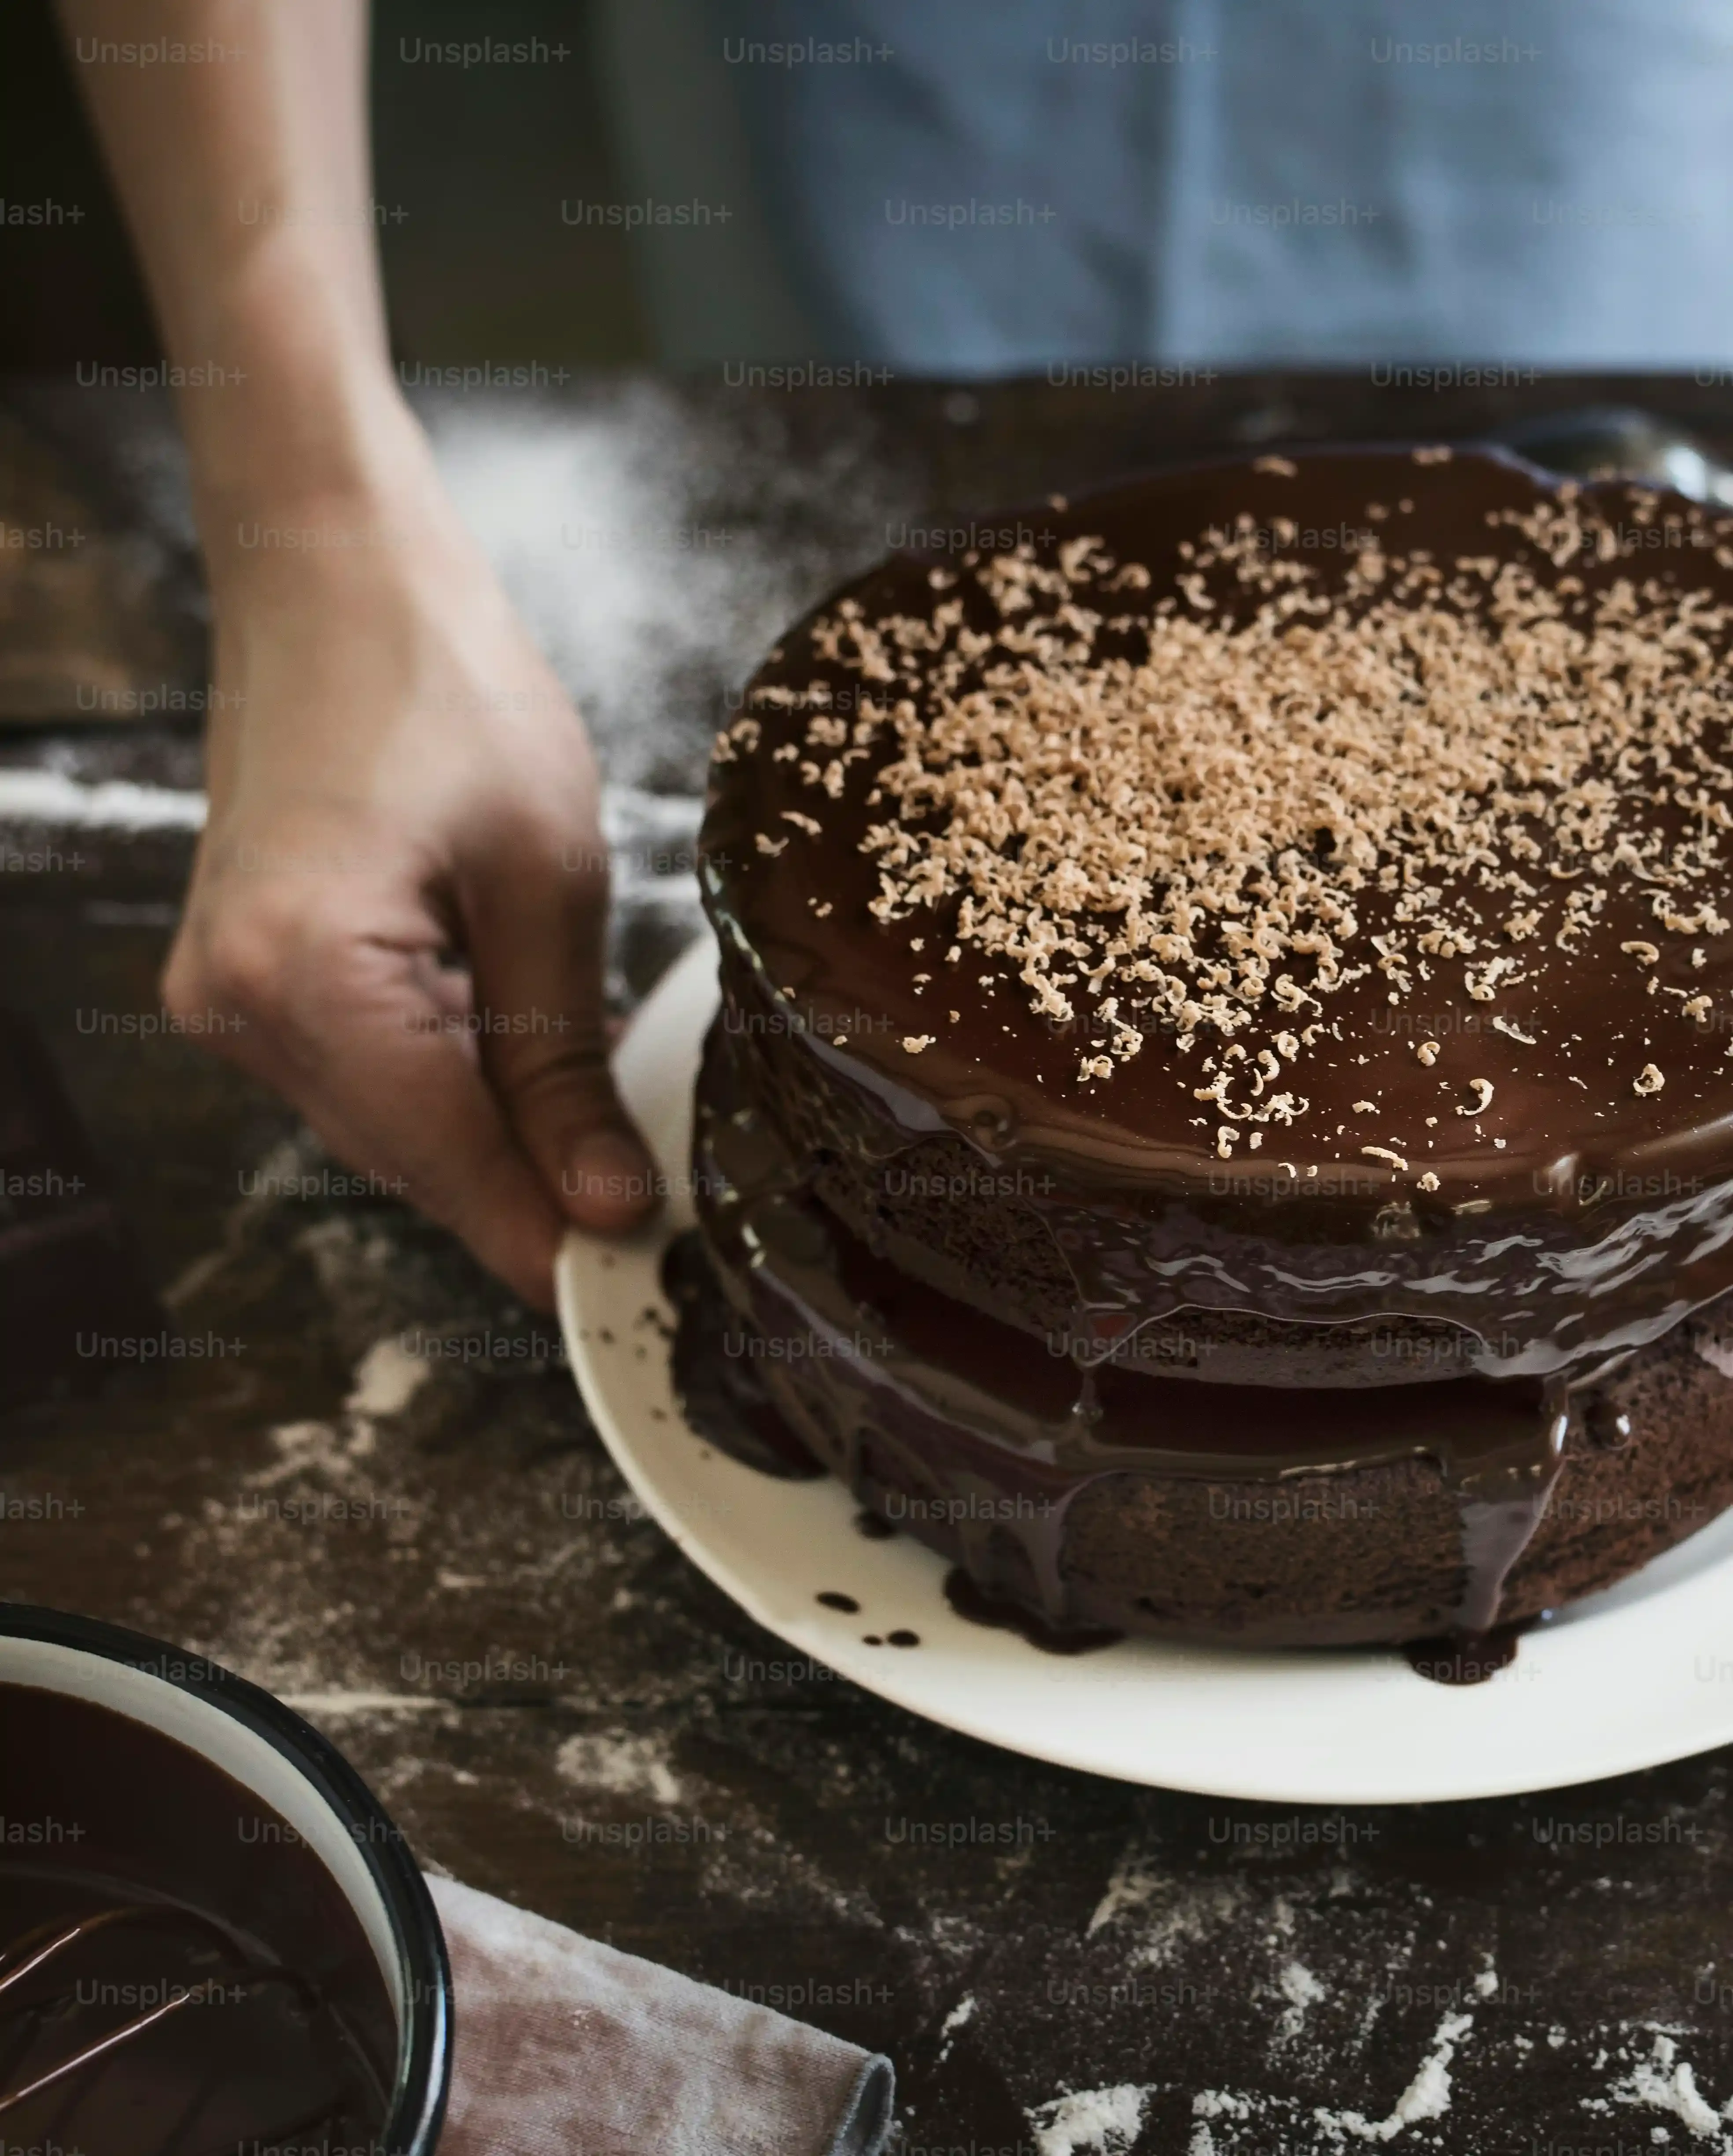
Now for the grand finale of the assembly process for this chocolate eruption mousse cake recipe. Place one cooled cake layer on your serving plate or cake stand. If your recipe calls for it, brush it with a simple syrup or liqueur for extra moisture. Next, spread a layer of your prepared chocolate mousse over the cake layer. Now, for the eruption magic: gently create a well or dam in the center of the mousse layer using a spoon or spatula. This is where your warm ganache or caramel goes. Pour the slightly cooled, still-pourable filling into this well. Carefully place the second cake layer on top, pressing down gently around the edges of the well to contain the filling. Finish by covering the top and sides with the remaining chocolate mousse. Chill the entire cake thoroughly for several hours, or ideally overnight, before slicing. This lets everything set and ensures that dramatic eruption when you cut into it.
Troubleshooting Your Chocolate Eruption Mousse Cake
Troubleshooting Your Chocolate Eruption Mousse Cake
When the Cake Crumbles (or Sinks)
So, you pulled the cake layers out, and they look... less than impressive. Maybe they sank in the middle, or the edges are tough, or it just feels too dense. Don't toss it yet. This happens, even with a solid chocolate eruption mousse cake recipe. Sinking centers are often due to opening the oven door too early, the oven temperature being off, or sometimes, just plain old underbaking. If it's just a slight dip, you can often level it off. If it's a crater, you might have to bake another layer, or accept a slightly less perfect base. Toughness? That's usually overmixing the batter. You can't fix tough cake, but you can learn for next time. Ensure your ingredients are at room temperature and mix until *just* combined.
Mousse Meltdowns and Eruption Failures
This is where things can get dramatic, and not in the good, erupting way. Your mousse didn't set? Probably didn't whip the cream enough, or the chocolate base was too warm when you folded them together, or you didn't chill it long enough. Mousse needs structure and time. If it's just a little loose, a longer chill might save it. If it's soup, you might need to start over, ensuring your steps for the chocolate eruption mousse cake recipe mousse part are followed precisely, especially the chilling times. As for the eruption not flowing? It was likely too cool or too thick. The core needs to be warm enough to pour but not hot enough to melt everything around it. Gentle reheating can sometimes fix a reluctant flow.
Common Troubleshooting Fixes:
- Cake Sinks: Check oven temp, avoid opening door, ensure proper baking time.
- Mousse Won't Set: Re-whip cream (if not overmixed already), ensure chocolate base is cool, chill longer.
- Eruption Too Thick: Gently warm the ganache/caramel slightly.
- Eruption Soaks In: Ensure the "well" in the mousse is defined and the eruption isn't too hot.
Assembly Anxiety and Presentation Problems
Putting this beast together can feel like stacking Jell-O on a tightrope. If your mousse isn't firm, assembly is a nightmare – it'll slide, bulge, and refuse to cooperate. This circles back to the mousse setting issue. Make sure it's properly chilled and firm before you start stacking. Creating that central well for the eruption needs a delicate hand; too deep and you risk breaking through the cake layer; too shallow and there's nowhere for the filling to sit. Use an offset spatula for smoothing the mousse on the outside – it's your best friend here. Uneven layers? Level the cake layers before you start stacking. A sharp serrated knife is key for a clean cut that shows off that dramatic chocolate eruption mousse cake recipe center.
Serving Suggestions and Storage Tips for the Chocolate Eruption Mousse Cake
Making the Cut: Serving Your Chocolate Volcano
So, you've successfully built your chocolate eruption mousse cake. It's chilled, it's gorgeous, and now comes the moment of truth: slicing into it. For that perfect, dramatic eruption, make sure the cake is well-chilled, but not frozen solid. Use a sharp knife, preferably one that's been warmed slightly under hot water and dried. This helps get a clean cut through the mousse and cake layers without dragging. Wipe the knife clean between slices for the prettiest presentation. Cut generous wedges – this isn't a diet food, after all. The magic happens as you lift the slice and the warm, molten center spills onto the plate. Serve it as is, or with a few simple accompaniments that won't compete with the main event.
Consider these simple additions:
- A dollop of lightly sweetened whipped cream
- Fresh berries (raspberries or strawberries work well)
- A scoop of vanilla bean ice cream (classic pairing)
- A dusting of cocoa powder or powdered sugar
Keeping the Dream Alive: Storing Leftovers
Let's be real, there might not be many leftovers of this chocolate eruption mousse cake. But if by some miracle there are, you need to store it properly to keep it tasting its best. The key is airtight storage and refrigeration. Slice any remaining cake and place the pieces in an airtight container. If you have a whole section left, cover the cut side with plastic wrap before putting it in the container. The mousse is delicate and will absorb odors from the fridge, so proper sealing is crucial. It will keep in the refrigerator for about 3-4 days. Freezing is possible, but the texture of the mousse can change slightly when thawed. If you do freeze, wrap individual slices tightly in plastic wrap and then foil before placing in a freezer bag or container. Thaw overnight in the refrigerator.
Your Chocolate Eruption Triumph
So there you have it. You've navigated the layers, mastered the mousse, and created your very own chocolate eruption mousse cake. It wasn't magic, just following the steps. Now comes the best part: slicing into it and watching that rich center flow, or simply enjoying the look on someone's face when they take their first bite. You made a dessert that doesn't just taste good; it makes a statement. Go ahead, take a bow. You earned it.