Table of Contents
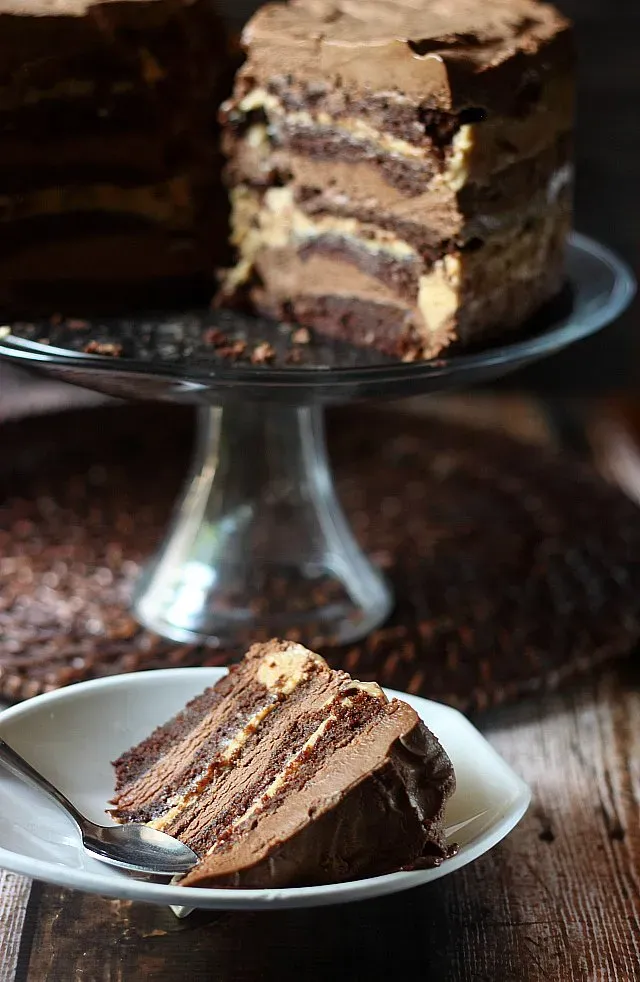
Let's be honest, sometimes you just need a dessert that makes people pause. Not just a cookie or a brownie, but something that demands attention, maybe even a little applause. Something that looks like it took hours of painstaking effort, even if it was… well, not *that* bad. If you've ever stared at a bakery window, wishing you could create that level of edible artistry at home without enrolling in pastry school, you're in the right place.
Getting Started: Ingredients for This Chocolate Caramel Mousse Cake Recipe
Getting Started: Ingredients for This Chocolate Caramel Mousse Cake Recipe
Gathering Your Flavor Arsenal
Alright, let's dive into the guts of this thing – the ingredients for your chocolate caramel mousse cake recipe. Think of this stage as prepping your battlefield. You can't win the war for dessert supremacy with subpar troops. Quality here isn't just some snobby baker talk; it genuinely impacts the final taste and texture. For the chocolate elements, ditch the "chocolate flavored" chips and grab some real baking chocolate. Bittersweet or semi-sweet works best, providing depth without being overly sweet, especially with the caramel coming into play. Your cocoa powder matters too – a good quality Dutch-processed cocoa gives a richer, darker color and smoother flavor than natural cocoa.
For the caramel layer, you'll need standard granulated sugar, butter, and heavy cream. Simple enough, right? But the magic happens when they're cooked just right. Don't forget vanilla extract and a pinch of salt – that salt is non-negotiable; it cuts through the sweetness and makes the caramel pop. For the cake layer itself, it's pretty standard stuff: flour, sugar, eggs, milk, oil, baking powder, baking soda, and more cocoa. Make sure your leavening agents aren't ancient; expired baking powder is a one-way ticket to a flat, sad cake.
The Checklist Before You Bake
Before you even pull out a single bowl, do a full inventory. There's nothing more frustrating than being halfway through mixing the cake batter only to realize you're short on cocoa powder. Measure everything out beforehand. Seriously. It takes an extra ten minutes but saves potential disasters. Get your eggs out of the fridge early so they're at room temperature – they incorporate better into batter, leading to a more even texture. Make sure your heavy cream is chilled for whipping the mousse later; warm cream just won't cooperate.
Also, read through the recipe *before* you start. It sounds obvious, but how many times have you gotten to a step and thought, "Wait, I needed softened butter for *that* part?" Knowing what's coming helps you prep correctly. This chocolate caramel mousse cake recipe involves distinct steps, so having everything ready for each stage makes the whole process feel less like a chaotic kitchen experiment and more like controlled deliciousness.
- High-quality baking chocolate (bittersweet or semi-sweet)
- Dutch-processed cocoa powder (for intense color/flavor)
- Heavy cream (cold for whipping, room temp for caramel)
- Unsalted butter (softened for cake, cubed for caramel)
- Granulated sugar
- Large eggs (room temperature)
- All-purpose flour
- Vanilla extract
- Salt (essential for caramel)
Building the Base: The Cake Layer in Your Chocolate Caramel Mousse Cake
Building the Base: The Cake Layer in Your Chocolate Caramel Mousse Cake
Getting the Foundation Right
so you've got your ingredients lined up. Now we tackle the cake layer, which is the unsung hero in this whole chocolate caramel mousse cake recipe saga. Think of it as the sturdy foundation for your skyscraper of deliciousness. You don't want some dry, crumbly mess that falls apart when you try to slice it. The goal here is a moist, tender chocolate cake that can hold its own against the rich mousse and gooey caramel. We're not aiming for a towering sponge; a thinner layer works best so the mousse and caramel get their time in the spotlight too. Pay attention to not overmixing the batter once you add the flour; that's a surefire way to develop too much gluten and end up with a tough cake. And for the love of all that is good, do not overbake it. A slightly underbaked cake is better than a dry one in this scenario.
Whipped Perfection: Creating the Chocolate Mousse Layer
Whipped Perfection: Creating the Chocolate Mousse Layer
Melting Magic: Starting the Mousse Base
you've got your cake base sorted. Now for the star of the show, or at least the cloud-like co-star: the chocolate mousse. This is where the chocolate caramel mousse cake recipe really gets its name. We're not making some sad, gelatinous pudding here. We want light, airy, intensely chocolatey goodness. The first step is melting your good quality chocolate. Do this gently. A double boiler is your best friend here – a bowl set over a pot of simmering water. Don't let the bottom of the bowl touch the water, and for the love of all that is holy, do not get a single drop of water into that melting chocolate. Water will seize it up faster than you can say "ruined batch." Stir it occasionally until it's smooth and glossy. Let it cool slightly while you move on; you don't want to cook your eggs or deflate your cream with hot chocolate.
Whipping and Folding: The Delicate Balance
While your chocolate cools, whip your *very cold* heavy cream. This is crucial. Cold cream whips better and holds its structure. Whip it until it holds medium-stiff peaks. You want it fluffy, but not so stiff that it looks curdled or buttery. Think soft clouds, not concrete. In a separate bowl, you'll likely beat some egg yolks with sugar over a gentle heat to create a sabayon or just temper them with some of the warm melted chocolate, depending on your specific chocolate caramel mousse cake recipe variation. This adds richness and stability. Once combined and slightly cooled, it's time for the delicate dance: folding the whipped cream into the chocolate mixture. This isn't a vigorous stirring contest. Use a spatula and gently fold, bringing the mixture from the bottom up and over. This traps those air bubbles you worked so hard to create in the whipped cream. Over-mixing here is the enemy; you'll lose all that glorious airiness.
Folding whipped cream into chocolate:
- Use a large rubber spatula.
- Add about one-third of the whipped cream first.
- Gently fold to lighten the chocolate mixture.
- Add the remaining whipped cream in two additions.
- Cut down through the center and fold outwards.
- Stop as soon as no white streaks of cream remain.
- Don't worry if it's not perfectly uniform; better slightly under-mixed than deflated.
Setting the Stage: Chilling for Perfection
You've got your beautifully airy, chocolatey mousse ready. Resist the urge to just eat it all with a spoon right now (though a small taste test is highly encouraged, you know, for quality control). This mousse needs time to set. Pour it over your cooled cake layer in the prepared pan. Smooth the top gently. Don't fuss with it too much; the less you handle it, the lighter it stays. Cover the pan carefully – plastic wrap pressed gently onto the surface helps prevent a skin from forming. Then, into the fridge it goes. This isn't a quick chill. Mousse needs a good few hours, ideally four to six, or even overnight, to firm up properly. This setting time is non-negotiable for a successful chocolate caramel mousse cake recipe; it ensures clean slices later and gives the flavors time to meld. Patience is key in the final stretch before the caramel joins the party.
Sticky Sweetness: Adding the Caramel to Your Chocolate Caramel Mousse Cake
Sticky Sweetness: Adding the Caramel to Your Chocolate Caramel Mousse Cake
The Sugar Transformation: From Granules to Gold
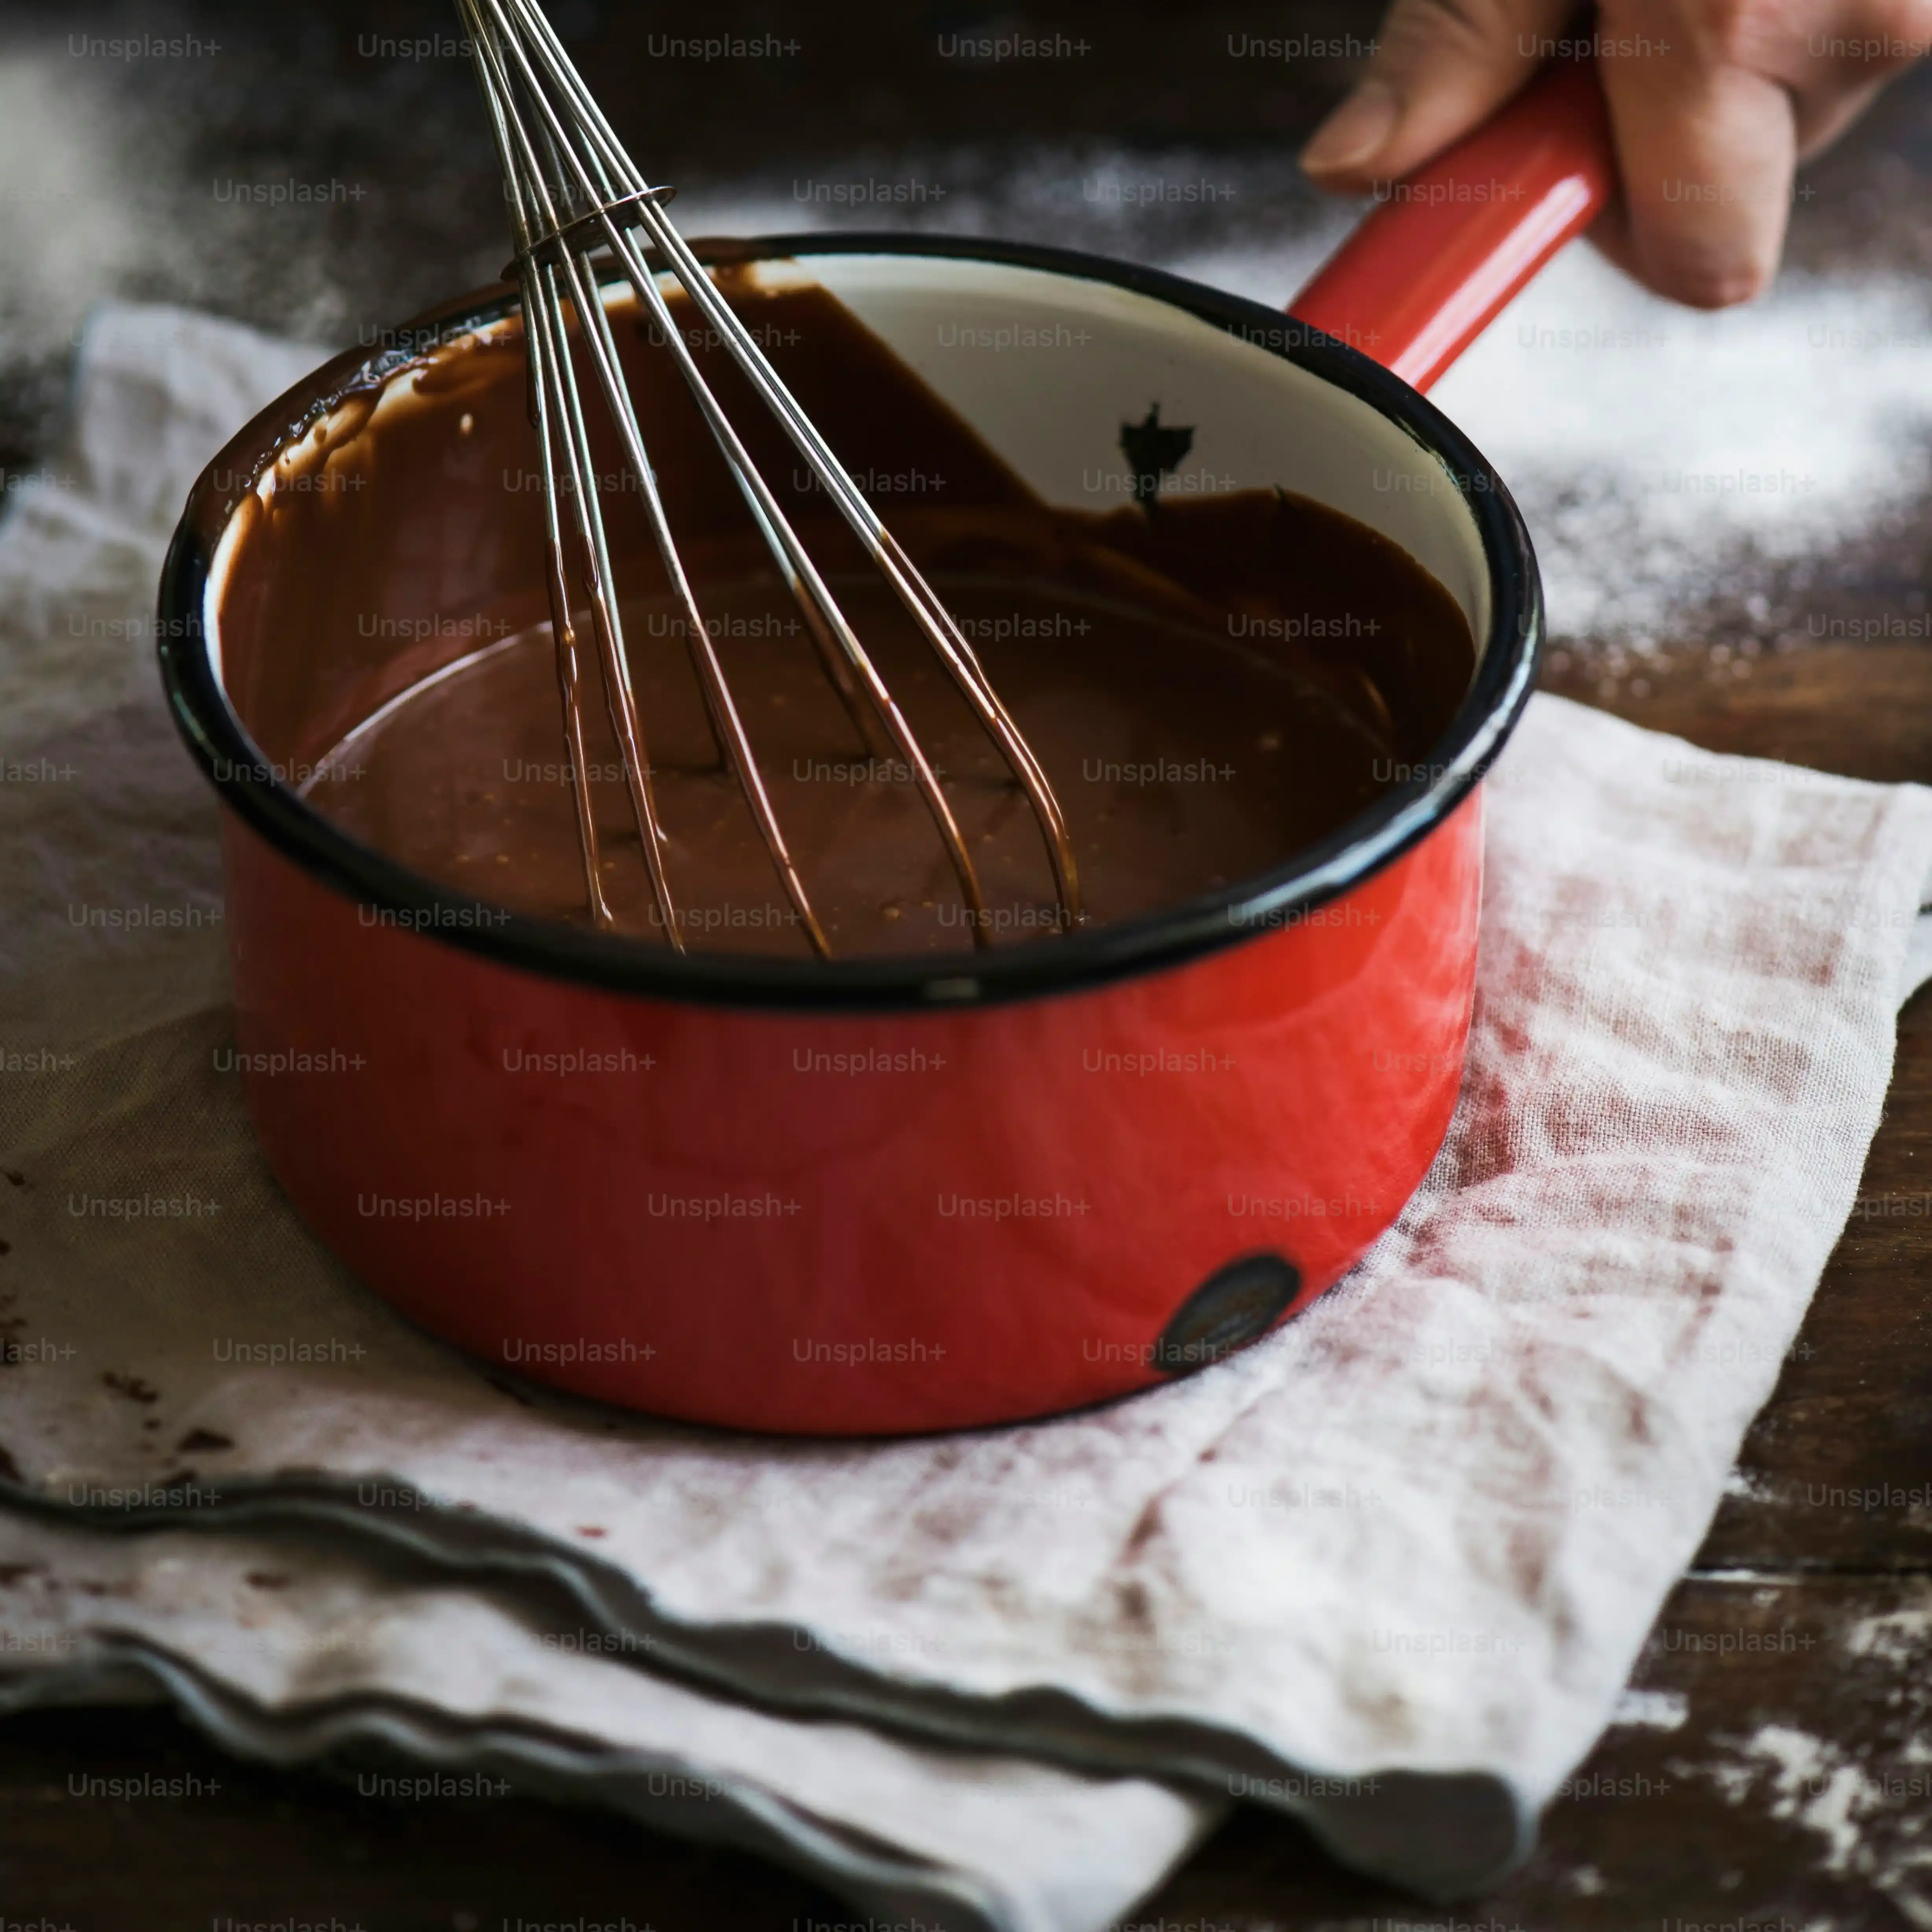
deep breaths. Making caramel can feel a little intimidating the first few times. It's essentially controlled burning of sugar, which sounds way more dramatic than it is. But seriously, molten sugar is hotter than the surface of the sun, so pay attention. You'll need a heavy-bottomed saucepan – this helps distribute heat evenly and prevents hotspots that can burn your sugar in patches. Pour your granulated sugar into the pan in an even layer. Add a little water if your chocolate caramel mousse cake recipe calls for it (sometimes called wet caramel), or just let it go dry. Turn the heat to medium. Now, here's the key: resist the urge to stir constantly. You can gently swirl the pan as the sugar starts to melt around the edges, but stirring can cause crystals to form, ruining your smooth caramel.
Watch it like a hawk. It will start to melt around the edges first, then the clear liquid will slowly creep inwards, eventually turning a pale amber, then a richer, darker gold. You're looking for a deep, reddish-amber color, like old pennies. Too light, and it tastes just like sugar; too dark, and it's burnt and bitter. This happens fast once the color starts developing, so don't walk away to check your phone or pet the cat. Once it hits that perfect color, immediately pull it off the heat.
Adding the Richness: Butter, Cream, and That Crucial Salt
So, you've got your beautiful amber sugar off the heat. Now comes the excitement. Carefully, and I mean *carefully*, whisk in your butter, cubed and at room temperature. It will bubble up violently and steam like a tiny volcano, so stand back. Keep whisking until the butter is completely melted and incorporated. Next, slowly pour in your warm heavy cream while whisking constantly. Again, prepare for more bubbling and steaming. Using warm cream instead of cold helps reduce the temperature shock and makes it less likely to seize up. Whisk until the mixture is smooth and uniform.
Finally, whisk in your vanilla extract and that pinch of salt. Taste it. Does it need a tiny bit more salt? Probably. That salt is what elevates caramel from merely sweet to truly craveable. It cuts through the richness and brightens the flavor profile, which is essential when pairing it with the deep chocolate in your chocolate caramel mousse cake recipe. Let it cool slightly in the pan for a few minutes, then transfer it to a heatproof bowl or jar to cool completely. It will thicken significantly as it cools.
Common Caramel Pitfalls & How to Avoid Them:
- Crystallization: Don't stir dry sugar too early. If using wet caramel, ensure no sugar crystals are left on the sides of the pan (wipe with a wet pastry brush if needed).
- Burning: Watch the color constantly; it darkens quickly. Use a heavy-bottomed pan. Remove from heat immediately when the desired color is reached.
- Seizing when adding cream/butter: Ensure butter is room temperature and cream is warm. Add them slowly and whisk constantly.
- Lumps: Keep whisking until everything is smooth after adding butter and cream.
Putting It All Together: Assembling Your Masterpiece
Putting It All Together: Assembling Your Masterpiece
The Grand Finale: Layering Your Chocolate Caramel Mousse Cake
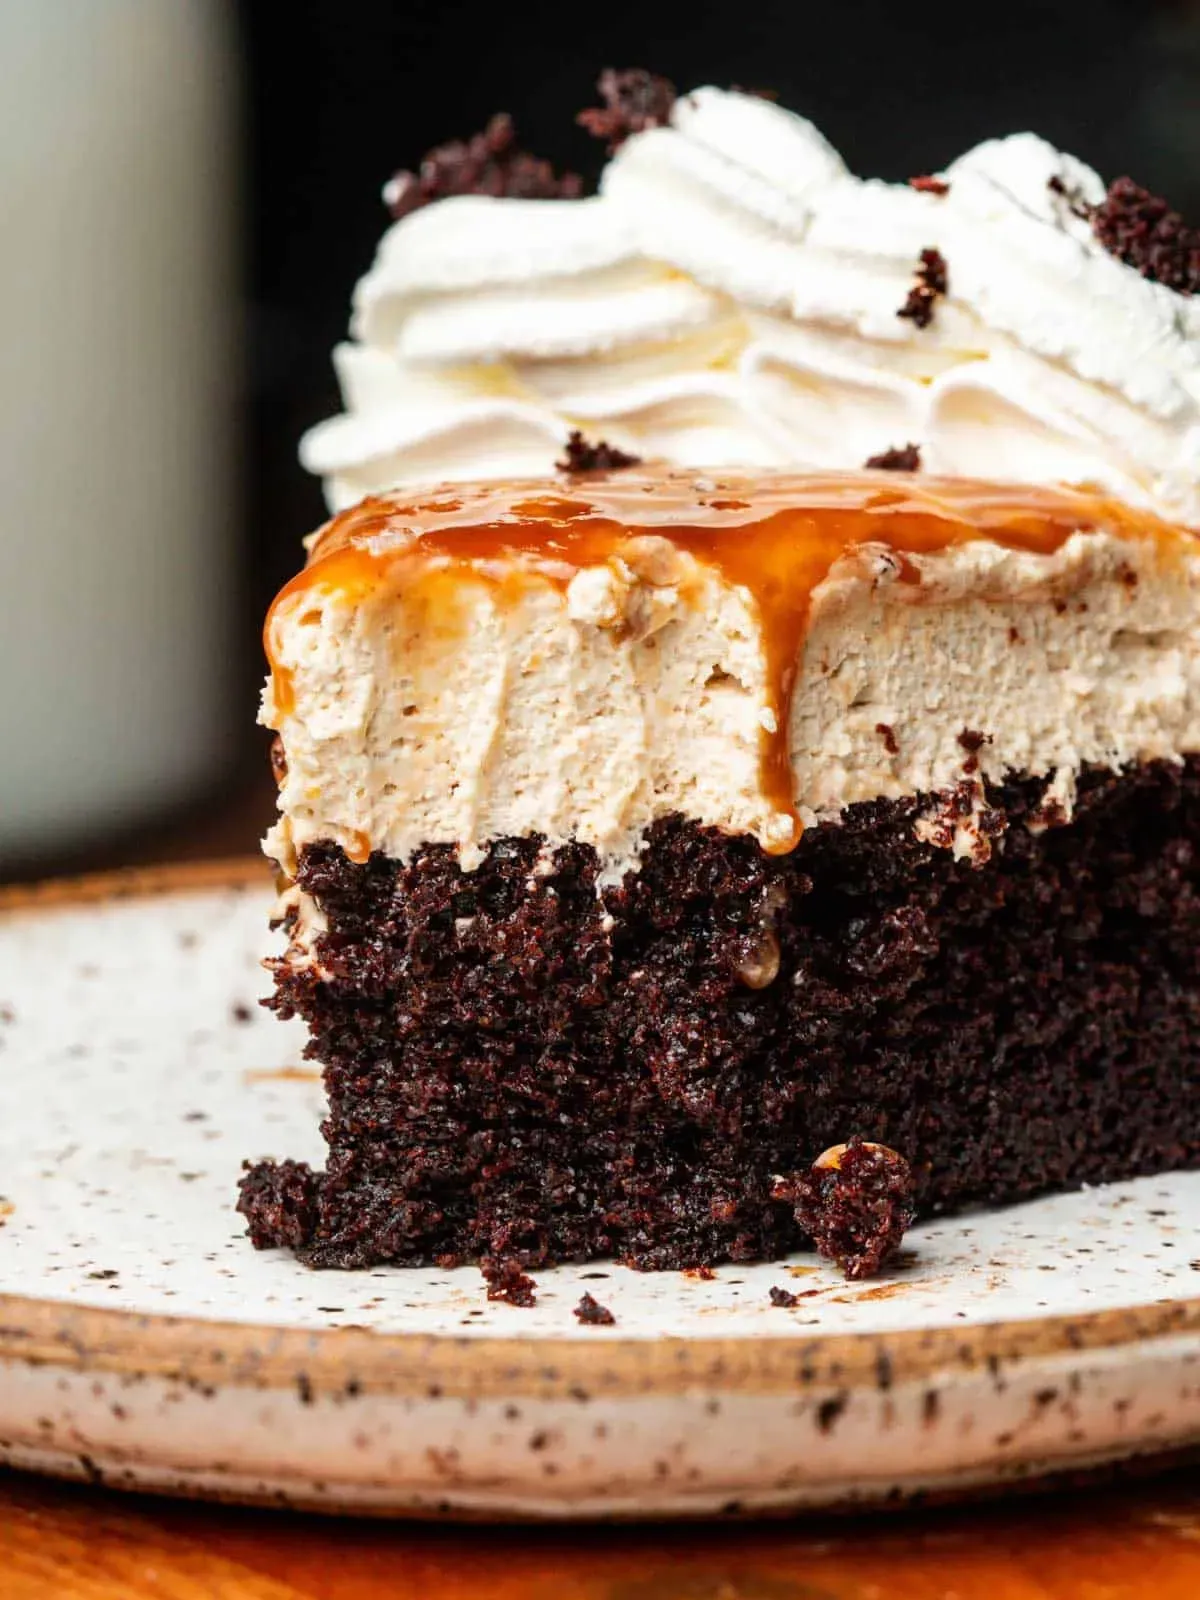
you've got your sturdy chocolate cake layer chilling, your velvety chocolate mousse is set firm, and that glorious, slightly salty caramel has cooled to a pourable-but-thick consistency. This is where the magic happens, where all your hard work comes together into the showstopper chocolate caramel mousse cake recipe you envisioned. Assuming you used a springform pan (highly recommended for easy release), make sure the cake layer is sitting pretty at the bottom. Now, gently pour or spoon the set chocolate mousse over the cake. Spread it out evenly to the edges. Don't press down too hard; you don't want to compact that lovely airiness you worked for. Once the mousse layer is smooth, it's time for the liquid gold – the caramel. You can drizzle it artfully or pour it in a layer over the mousse. A thin layer spread almost to the edges works beautifully, allowing it to peek out when sliced. If your caramel is too stiff, warm it ever so slightly, just enough to make it pourable again, but don't make it hot enough to melt the mousse.
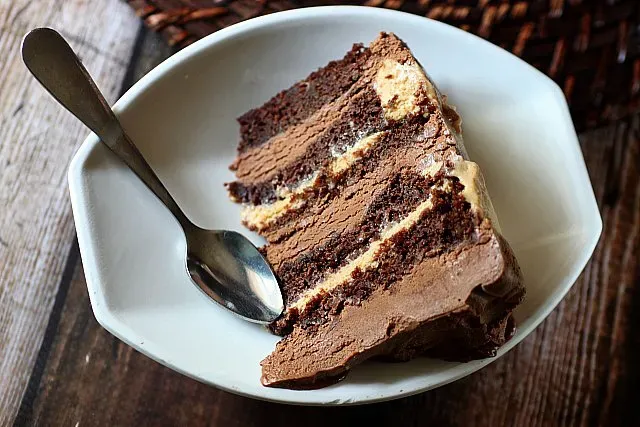
Your Chocolate Caramel Mousse Cake Awaits
So there it is. You've navigated the layers – the solid foundation of cake, the airy structure of the mousse, the sticky situation with the caramel. It wasn't rocket science, though sometimes dealing with hot sugar feels like a high-stakes experiment. Now you have this impressive thing sitting in your fridge. It looks good, smells even better, and frankly, you earned it. Slice into it, see those distinct layers you built, and take a bite. Yeah, that's the stuff. You made that. No need for a standing ovation, just enjoy the fact that you successfully created a dessert that means business.