Table of Contents
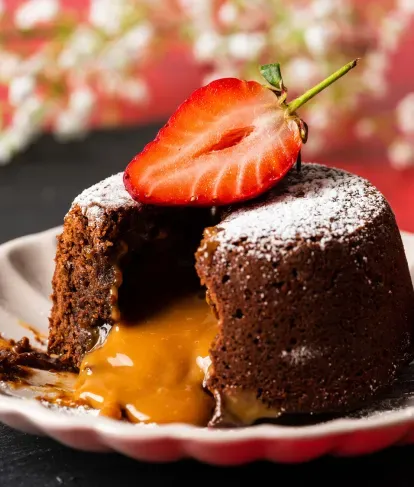
Let's be honest. Sometimes, a regular chocolate cake just doesn't cut it. You need something that makes a statement, something that oozes pure indulgence. You need that moment when your spoon breaks through the delicate crust, revealing a molten core of rich chocolate mingling with warm, flowing caramel. If that sounds like your kind of bliss, then you've landed in the right place. We're diving headfirst into the ultimate chocolate caramel lava cake recipe.
Why This Chocolate Caramel Lava Cake Recipe Hits Different

Why This Chocolate Caramel Lava Cake Recipe Hits Different
Look, there are a million lava cake recipes out there. Most promise molten centers and deliver something closer to slightly underbaked brownie batter. This isn't one of those. This chocolate caramel lava cake recipe isn't just about getting a gooey middle; it's about achieving that perfect contrast: a delicate, firm exterior giving way to a cascade of rich, dark chocolate moltenness explicitly *intertwined* with warm, buttery caramel. It’s not an afterthought; the caramel is baked *into* the core, ensuring every bite is a two-punch knockout of flavor and texture. It’s simple enough for a weeknight whim but impressive enough to make guests think you secretly attended pastry school.
Gathering Your Arsenal for This Chocolate Caramel Lava Cake Recipe
Gathering Your Arsenal for This Chocolate Caramel Lava Cake Recipe
Essential Ingredients for Your Chocolate Caramel Lava Cake Recipe
Alright, let's talk supplies. You can't build a masterpiece without the right materials, and the same goes for a killer chocolate caramel lava cake recipe. You'll need good quality dark chocolate, something around 60-70% cacao. Skip the chocolate chips here; they have stabilizers that mess with the melting. Get a bar and chop it. Butter, unsalted is key so you control the salt level, especially since we're adding caramel. Granulated sugar, eggs, a touch of flour, and unsweetened cocoa powder for dusting the ramekins. And of course, the star's partner: caramel sauce. You can make your own if you're feeling ambitious, or grab a decent store-bought one. Just make sure it's pourable when warm.
Tools of the Trade: Gearing Up for Molten Success
Beyond the edible bits, you need a few specific pieces of gear. Ramekins are non-negotiable. Four 6-8 ounce ramekins are perfect for this recipe. You'll also need a double boiler situation – a heatproof bowl set over a pot of simmering water works fine – for melting the chocolate and butter gently. A whisk and a spatula are your best friends for mixing the batter. Don't forget a sifter for the cocoa powder dusting; it prevents lumps and ensures even coating. A baking sheet is helpful to catch any potential overflow, though if you butter and flour those ramekins properly, you shouldn't have an issue.
- Four 6-8 ounce ramekins
- Medium saucepan
- Heatproof bowl (fits over the saucepan)
- Whisk
- Rubber spatula
- Fine-mesh sifter
- Baking sheet
Mastering the Molten: StepbyStep Chocolate Caramel Lava Cake Recipe
Mastering the Molten: StepbyStep Chocolate Caramel Lava Cake Recipe
let's get our hands dirty – well, not really, but you know what I mean. This is where the magic happens for your chocolate caramel lava cake recipe. Start by getting your double boiler going. Gently melt the chopped dark chocolate and unsalted butter together, stirring until it’s completely smooth and glossy. Remove it from the heat and let it cool slightly. While that's cooling, whisk the granulated sugar and eggs together in a separate bowl until they're pale and thickened a bit – you're incorporating air here, which helps with the texture. Don't go crazy, just a minute or two. Now, fold the slightly cooled chocolate mixture into the egg mixture using a spatula. Be gentle; you don't want to deflate it. Finally, sift in the flour and cocoa powder, folding until just combined. Avoid overmixing at all costs; that's how you get tough cakes instead of tender ones.
Baking and Serving Your Decadent Lava Cakes
Baking and Serving Your Decadent Lava Cakes
Prepping the Ramekins and Filling
batter mixed? Good. Now for the critical step before these beauties hit the oven: preparing the ramekins. Don't skimp here. You need to butter these things generously, getting into every nook and cranny. Use softened butter, not melted, so it coats thickly. Then, and this is key for the chocolate caramel lava cake recipe, dust them thoroughly with unsweetened cocoa powder. Tap out the excess. This cocoa powder not only prevents sticking but also gives the finished cake a nice, dark edge. Carefully divide the batter among the four prepared ramekins. Don't fill them to the brim; leave a little space for lift. Now, the star moment: gently spoon about a teaspoon of your warm caramel sauce right into the center of the batter in each ramekin. Don't stir it in; just let it sit there, a molten surprise waiting to happen.
The Bake: Finding the Molten Sweet Spot
Oven preheated to 375°F (190°C)? Excellent. Place the filled ramekins on a baking sheet – just in case – and slide them into the hot oven. This is where the timing gets crucial for your chocolate caramel lava cake recipe. You're baking them for about 16 minutes. What are you looking for? The edges should be set and slightly puffed up, but the very center should still look soft and maybe even a little jiggly. It's a delicate balance. Overbake them, and you lose the lava. Underbake them, and you've got chocolate soup (which, honestly, isn't the worst thing, but it's not the goal). Keep an eye on them, especially the first time you make them, as oven temperatures vary.
How do you know they're ready?
- Edges appear firm and pulled away slightly from the ramekin.
- The center looks soft and wet, not fully baked.
- A gentle nudge of the ramekin shows the center still wiggles.
- Trust your gut after about 15 minutes; don't wait for the whole thing to look solid.
Cooling Just Enough, Serving Right Away
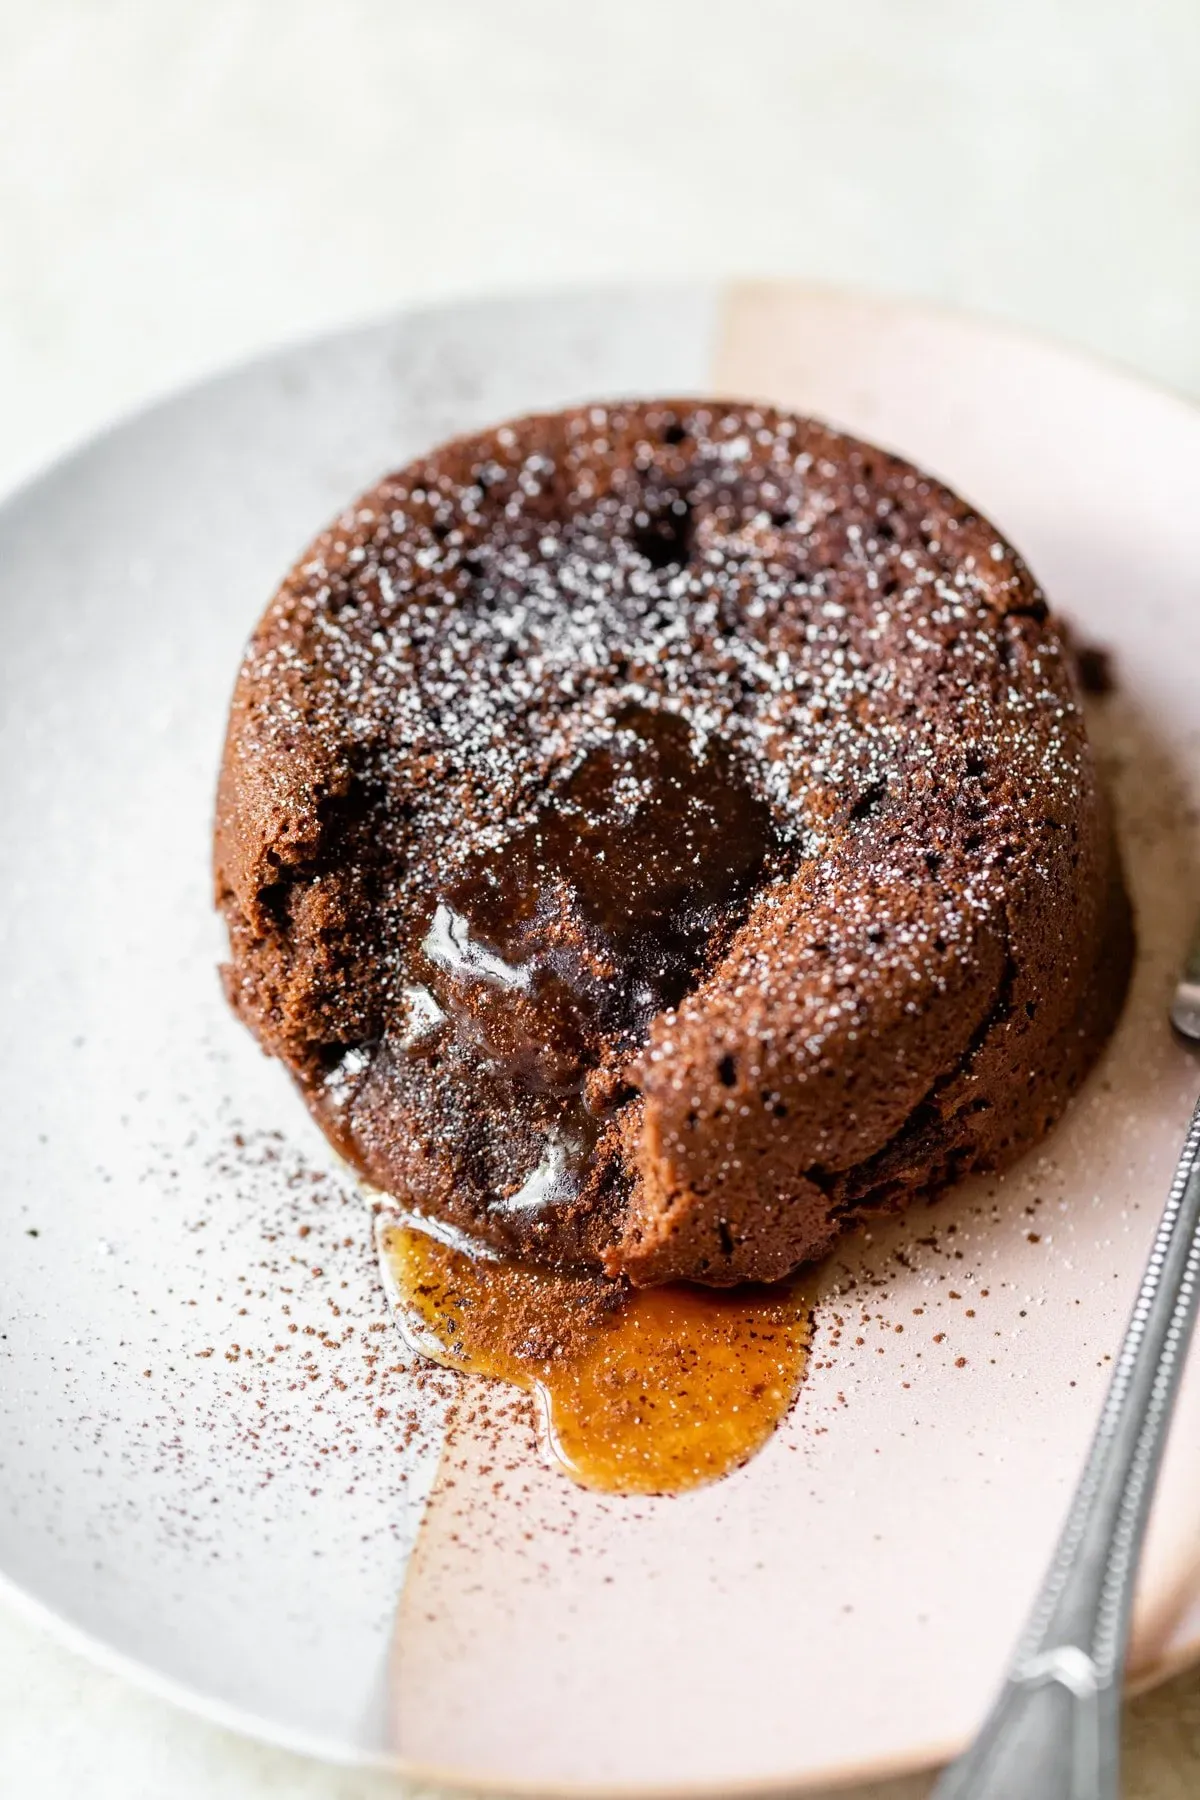
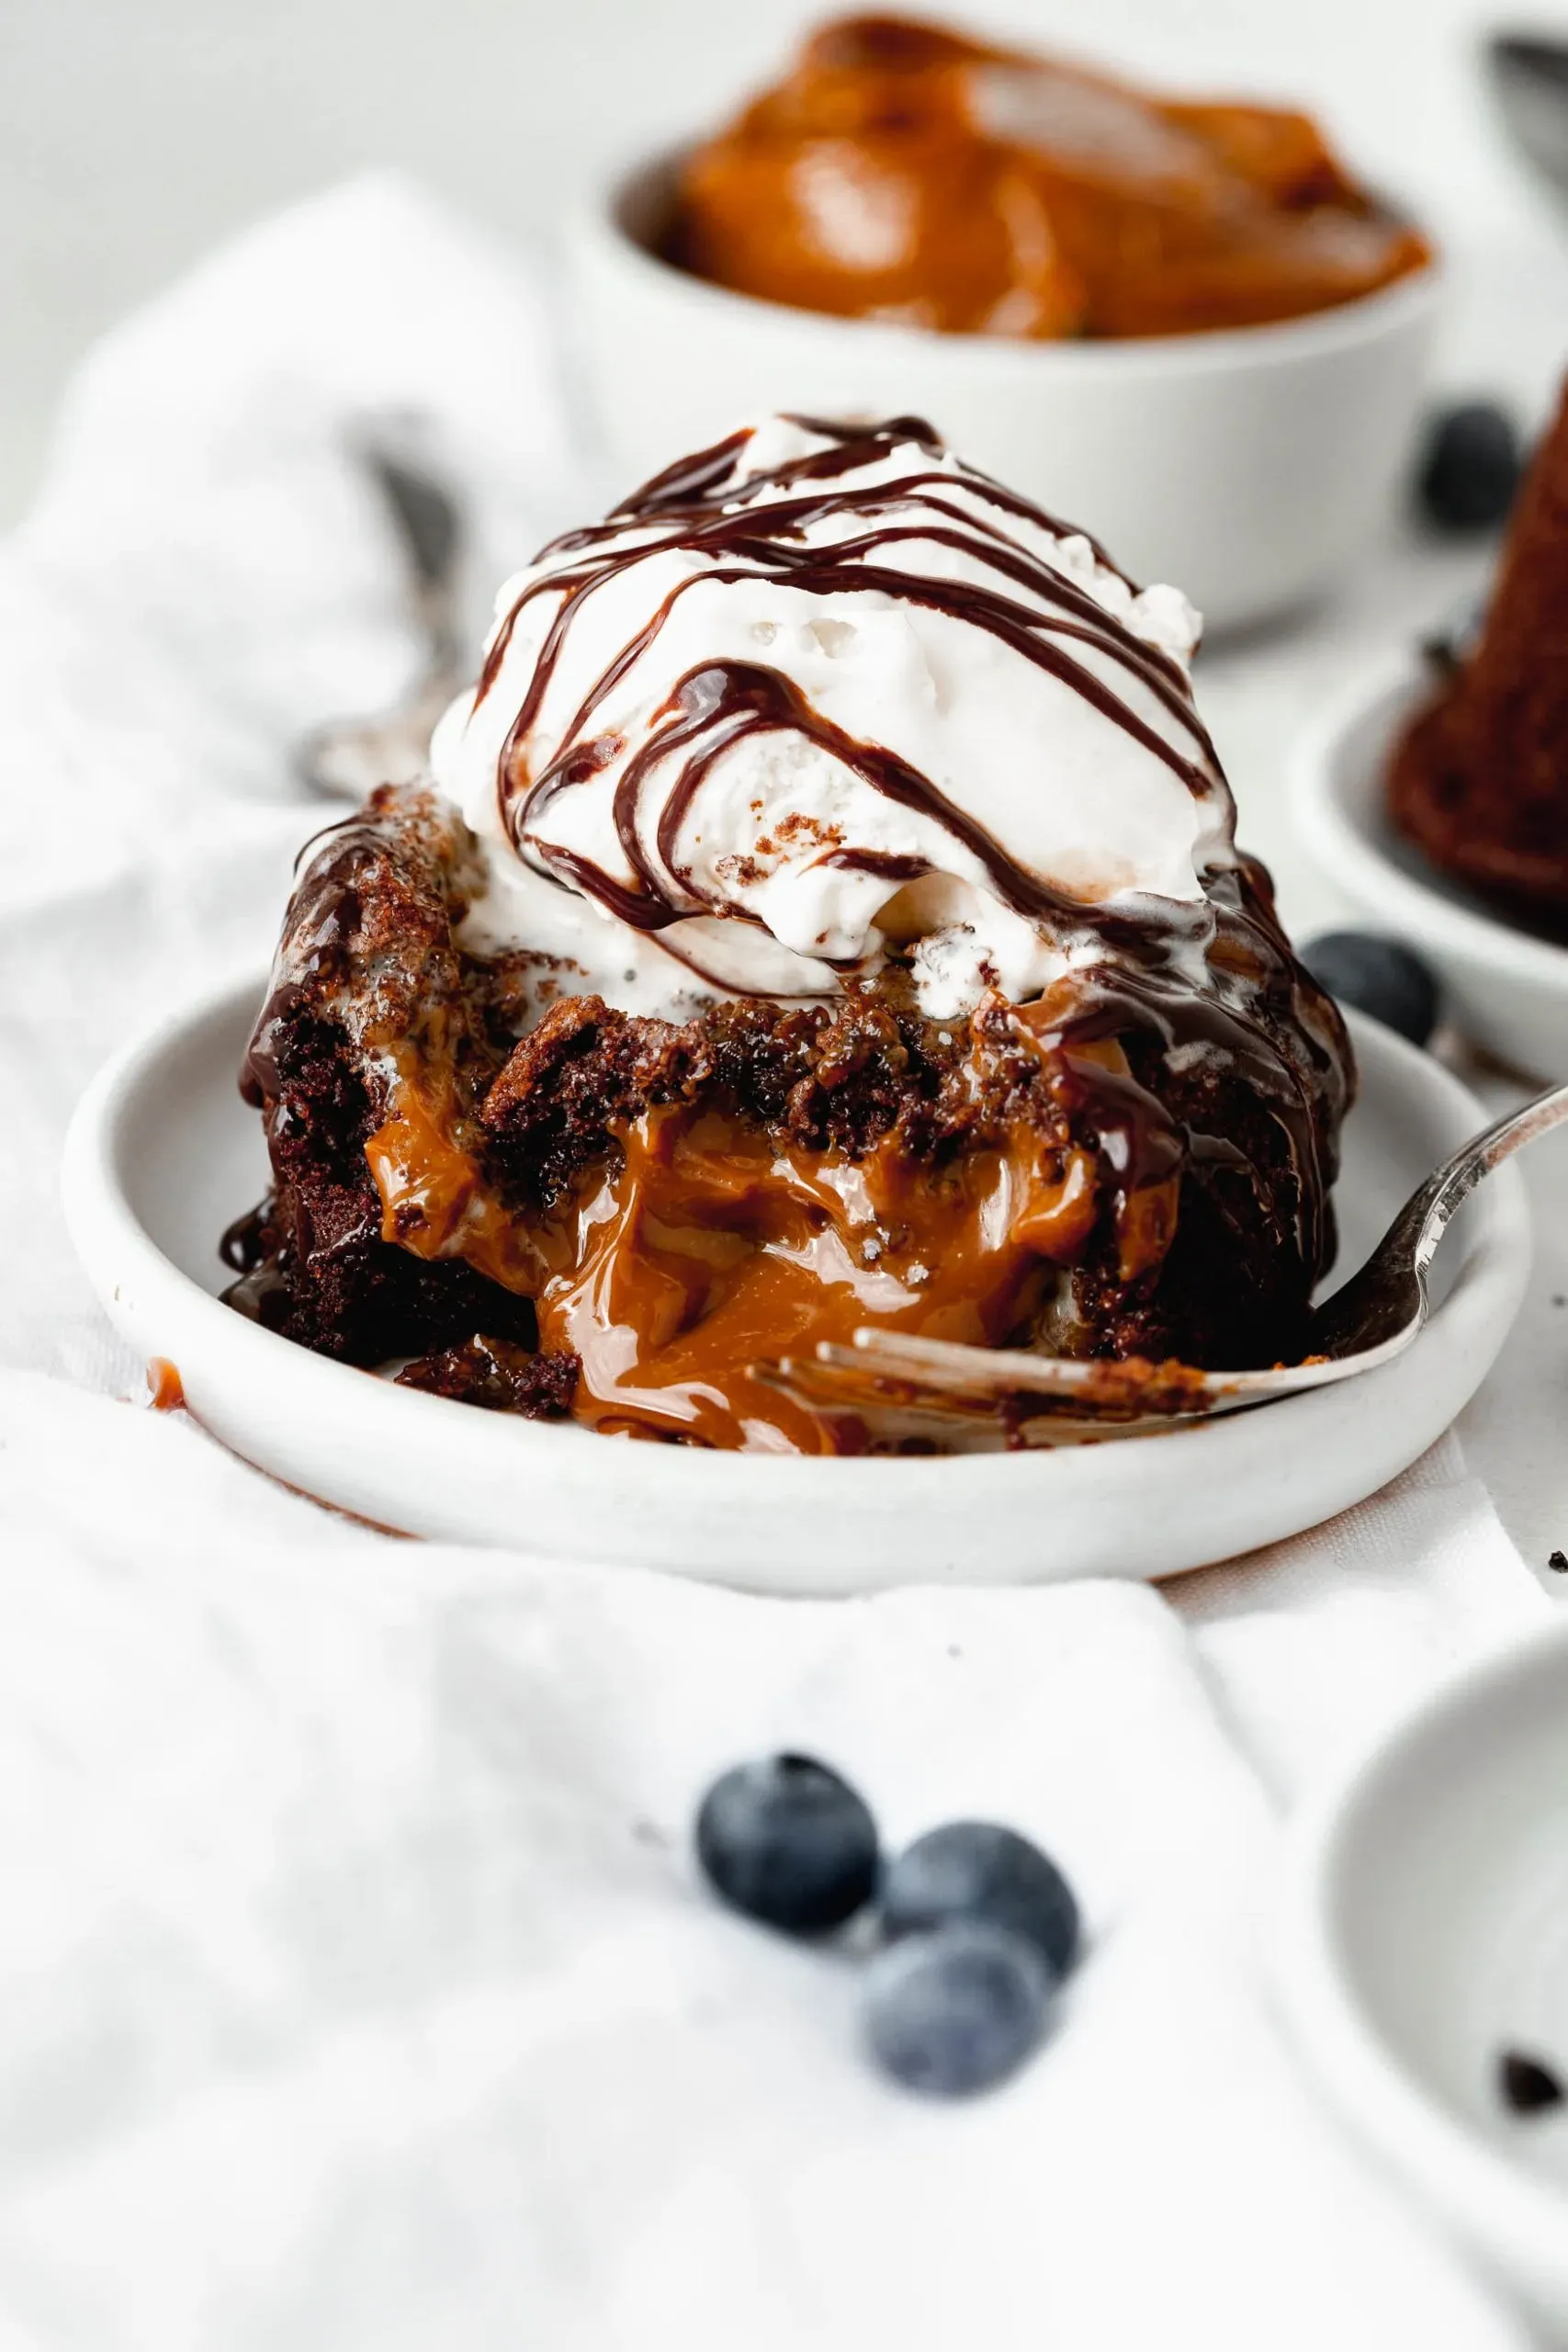
Pulled them from the oven? They should look impressive, like little chocolate volcanoes. Now, the hardest part: waiting. These cakes need to cool for about 5 to 8 minutes in the ramekins before you attempt to invert them. This cooling period allows the edges to firm up just enough to hold their shape when you turn them out, but keeps the center hot and molten. Trying to flip them too soon results in a collapsed mess; waiting too long means the lava sets. Place a serving plate upside down over a ramekin, and with oven mitts, carefully but confidently flip the ramekin and plate together. Lift the ramekin off. If it sticks, a gentle tap on the bottom might help. Dust with a little confectioners' sugar if you like, maybe add a scoop of vanilla ice cream or a few berries. Serve immediately. The magic is in that warm, flowing center.
Tips, Tricks, and FAQs for Your Chocolate Caramel Lava Cake
Tips, Tricks, and FAQs for Your Chocolate Caramel Lava Cake
Troubleshooting Your Molten Chocolate Caramel Lava Cake Recipe
so you followed the steps for this chocolate caramel lava cake recipe, but things didn't go exactly as planned. Maybe your lava wasn't quite molten, or perhaps it was *too* molten and just collapsed into a puddle. The most common culprit for non-molten centers is overbaking. Remember, you're looking for set edges and a jiggly center, not a fully firm cake. Ovens vary wildly, so the 16 minutes is a guideline, not a law set in stone. Start checking around 14 minutes the first time you make them. If they collapsed, you likely tried to invert them too soon. Give them that crucial 5-8 minutes to firm up in the ramekin before flipping.
What if your caramel didn't stay in the center?
- Make sure your caramel sauce isn't too thin; a slightly thicker sauce works better.
- Spoon it gently onto the *surface* of the batter, don't push it down too hard.
- Don't overfill the ramekins; too much batter makes the caramel sink or spread unevenly.
- Ensure your batter isn't too warm when you add the caramel.
FAQs and Variations for Your Chocolate Caramel Lava Cake
Got questions buzzing? Let's hit a few common ones about this chocolate caramel lava cake recipe. Can you make the batter ahead of time? Yes, you can mix the batter and keep it covered in the fridge for up to 24 hours. Just give it a quick whisk before pouring into the ramekins. You might need to add a minute or two to the baking time since the batter is cold. What about swapping the chocolate? Absolutely. While dark chocolate gives the best contrast to the sweet caramel, you could try milk chocolate for a sweeter cake, but be aware it melts differently and might require slight adjustments to baking time. White chocolate is a different beast entirely and not recommended for this specific recipe structure.
Want to jazz things up beyond the core recipe? Consider a pinch of sea salt sprinkled over the caramel before baking for a salted caramel version. A tiny hint of espresso powder added to the chocolate batter can deepen the flavor without making it taste like coffee. Serve with fresh raspberries or a dollop of whipped cream instead of ice cream for a lighter feel. The possibilities are there if you're feeling adventurous after mastering the basic technique.
Enjoy Your Molten Masterpiece
So there you have it. You've navigated the minor complexities and emerged victorious, armed with a ramekin holding pure, unadulterated joy. No need for lengthy standing ovations, just the quiet satisfaction of knowing you created something truly spectacular. Now, grab that spoon, dig in, and let the warm chocolate and flowing caramel remind you why sometimes, the simplest things are the most profoundly satisfying. Just try not to burn your tongue in your eagerness.