Table of Contents
Ever stare at those bakery cakes, the ones with layers of dark chocolate and that impossibly smooth, light mousse, and think, "Yeah, no way I can make that"? Or maybe you've tried a boxed mix, hoping for that rich depth, only to end up with something… fine. Just fine. Let's be honest, "fine" isn't what you crave when a serious chocolate emergency hits.
Why Bother with a Chocolate Cake with Mousse Filling Recipe?

Why Bother with a Chocolate Cake with Mousse Filling Recipe?
Because Basic Chocolate Cake is Just... Basic
Look, there’s nothing inherently *wrong* with a simple chocolate cake. It serves a purpose. Birthday parties, Tuesday nights when you just need a sugar hit. But let’s be real, it’s the vanilla ice cream of the cake world. It's dependable, but doesn't exactly make you swoon. A chocolate cake with mousse filling recipe, on the other hand? That’s stepping into a whole different league. You’re not just getting cake; you’re getting texture contrast, layers of intense chocolate flavor, and that luxurious, melt-in-your-mouth mousse that elevates the entire experience from "dessert" to "event."
Impressing People is Half the Fun
Let’s admit it, part of the joy of baking is the look on people’s faces when you present something truly spectacular. Bringing out a chocolate cake with mousse filling that you made yourself? That’s a mic drop moment right there. It looks fancy, it sounds fancy, and frankly, it tastes fancy. People assume it was difficult, that you possess some kind of baking wizardry. You don't have to tell them it was totally doable with the right guide. It’s a showstopper dessert that says, "Yeah, I know my way around a kitchen," even if the rest of your meals involve questionable amounts of instant noodles.
- It offers superior texture variety.
- The flavor is more complex and intense.
- It looks incredibly impressive.
- It’s a fantastic skill to master.
- It’s perfect for special occasions (or just a Tuesday).
The Satisfaction of Creation
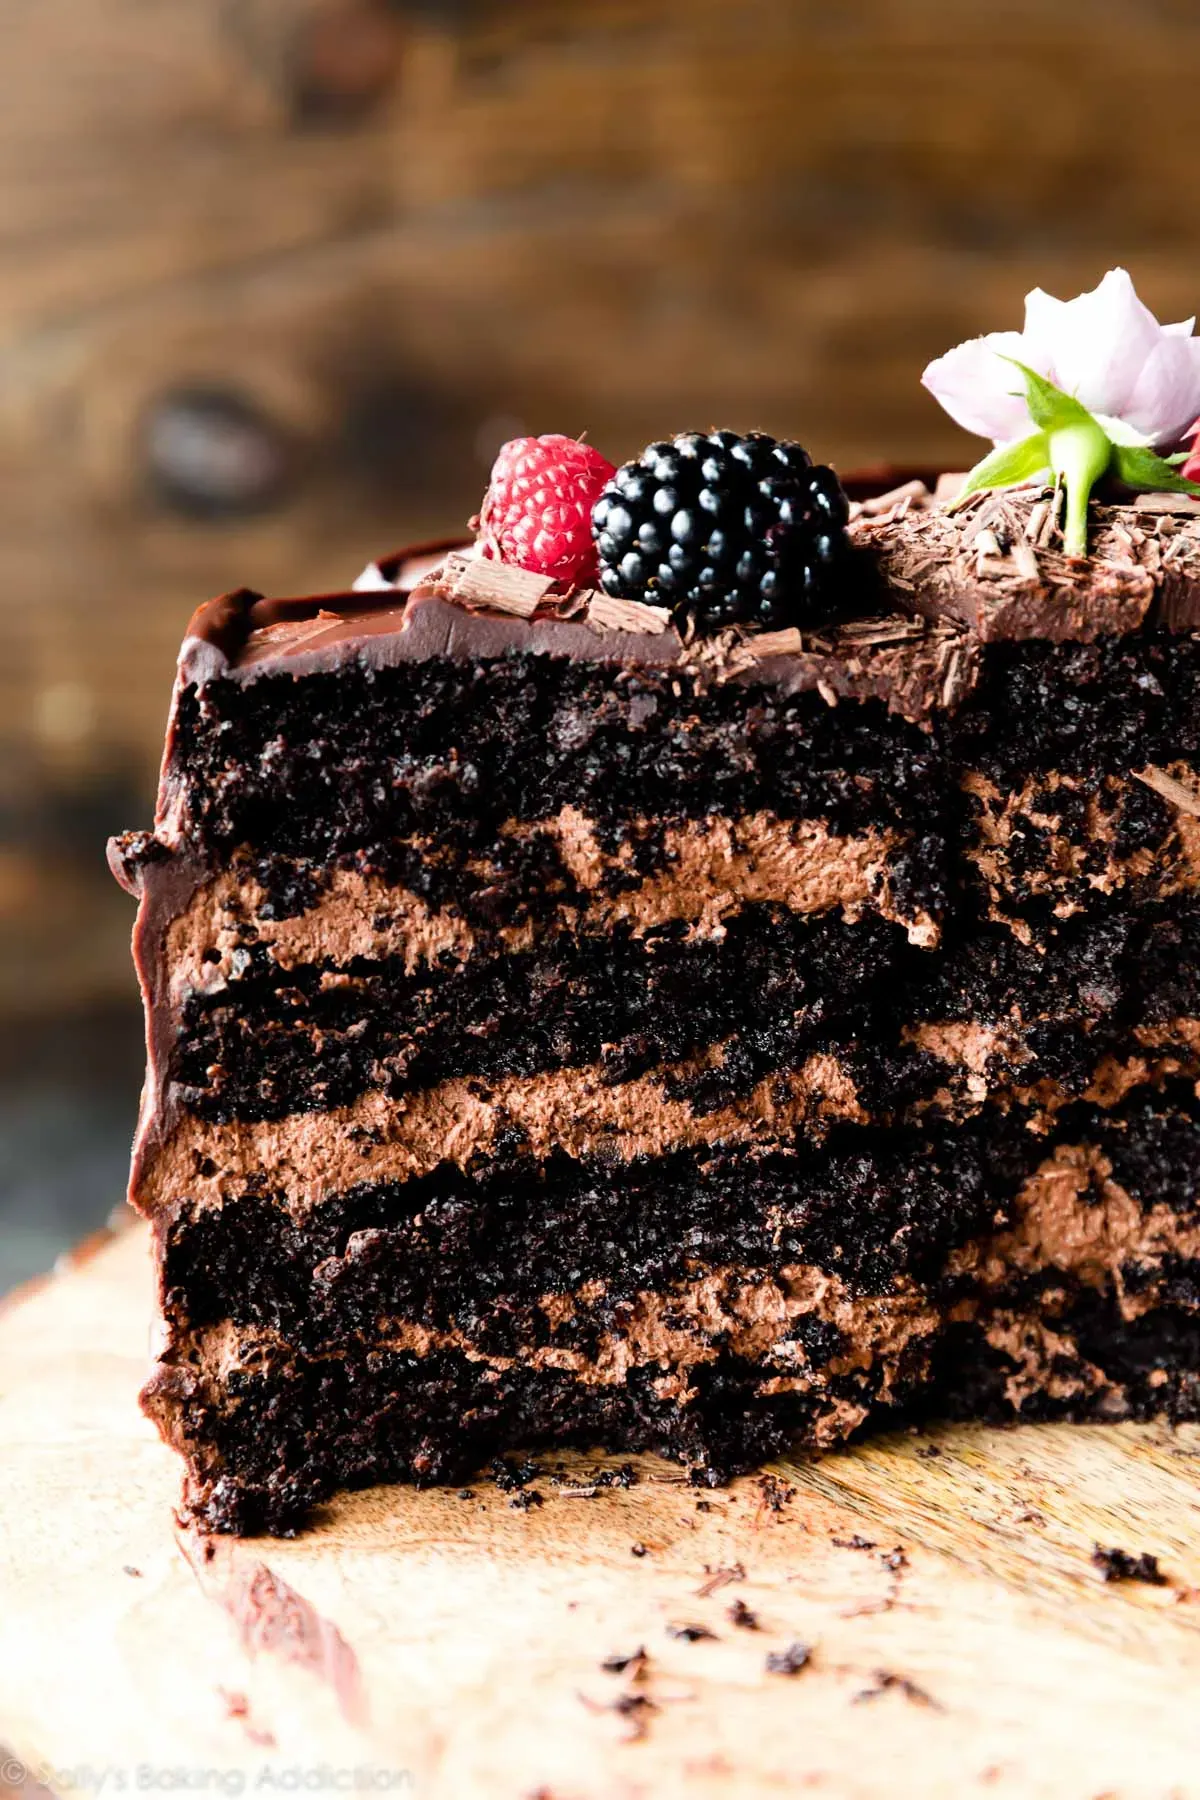
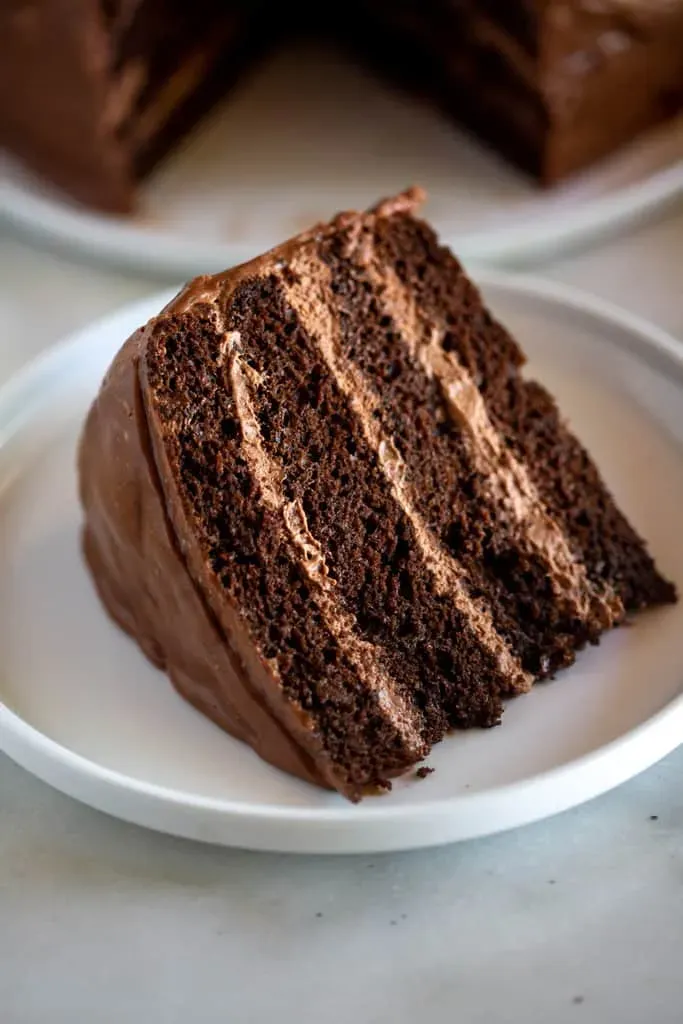
Beyond the taste and the applause, there’s a deep satisfaction in making something this good from scratch. Following a chocolate cake with mousse filling recipe from start to finish, seeing those distinct layers come together, and finally slicing into it and seeing that perfect cross-section? It's incredibly rewarding. It's a project, sure, but it’s a delicious project. It’s a tangible result of your effort, and frankly, eating your own masterpiece just tastes better. It’s proof you can tackle something a little more complex and nail it.
Prepping for Your Chocolate Cake with Mousse Filling Recipe Success
Prepping for Your Chocolate Cake with Mousse Filling Recipe Success
Getting Your Ducks in a Row
Alright, before you even think about cracking an egg or melting chocolate for this chocolate cake with mousse filling recipe, you need a game plan. Think of this as the mission briefing. Skimming the recipe once isn't enough. Read it through, start to finish, visualizing each step. Are there chilling times? Multiple bowls needed? Does it require ingredients at specific temperatures, like room-temp butter or eggs? Knowing this upfront saves you from that mid-bake panic when you realize the recipe calls for chilled ganache and you just melted the chocolate a minute ago.
Baking the Rich Chocolate Layers
Baking the Rich Chocolate Layers
Alright, cake layers. This is the foundation of your impressive chocolate cake with mousse filling recipe. Don't rush this part. You're aiming for moist, tender crumb, not a dry puck you could skip across a pond. Start by getting your dry ingredients measured precisely – flour, sugar, cocoa powder (use good stuff, it makes a difference), baking soda, baking powder, salt. Whisk them together like you mean it to avoid pockets of leavening. In another bowl, combine your wet ingredients: eggs, milk, oil, maybe some vanilla. The magic often happens when you add hot liquid, like hot coffee or boiling water, to the cocoa. It blooms the cocoa, deepening that chocolate flavor significantly. Whisk the wet into the dry *just* until combined. Overmixing is the enemy of tender cake. Pour into your prepared pans and get them into the oven. Don't keep opening the door every two minutes; you'll drop the temperature and mess with the rise. Trust the process and your timer.
Crafting the Silky Chocolate Mousse
Crafting the Silky Chocolate Mousse
Getting the Right Chocolate and Technique
so you've got your cake layers cooling. Now for the star of the show in this chocolate cake with mousse filling recipe: the mousse. This isn't just melted chocolate thrown into whipped cream. You need technique. Start with good quality chocolate – something with at least 60% cocoa solids for a deep flavor. Chop it fine so it melts evenly. You'll typically melt it gently, either over a double boiler or in short bursts in the microwave, being careful not to burn it. The key to that silky texture often involves incorporating something airy, like whipped cream or whipped egg whites, into the melted chocolate base. Don't just dump it all together; fold it in gently in stages to keep that lightness. Overmixing here will deflate your mousse faster than a bad joke at a party.
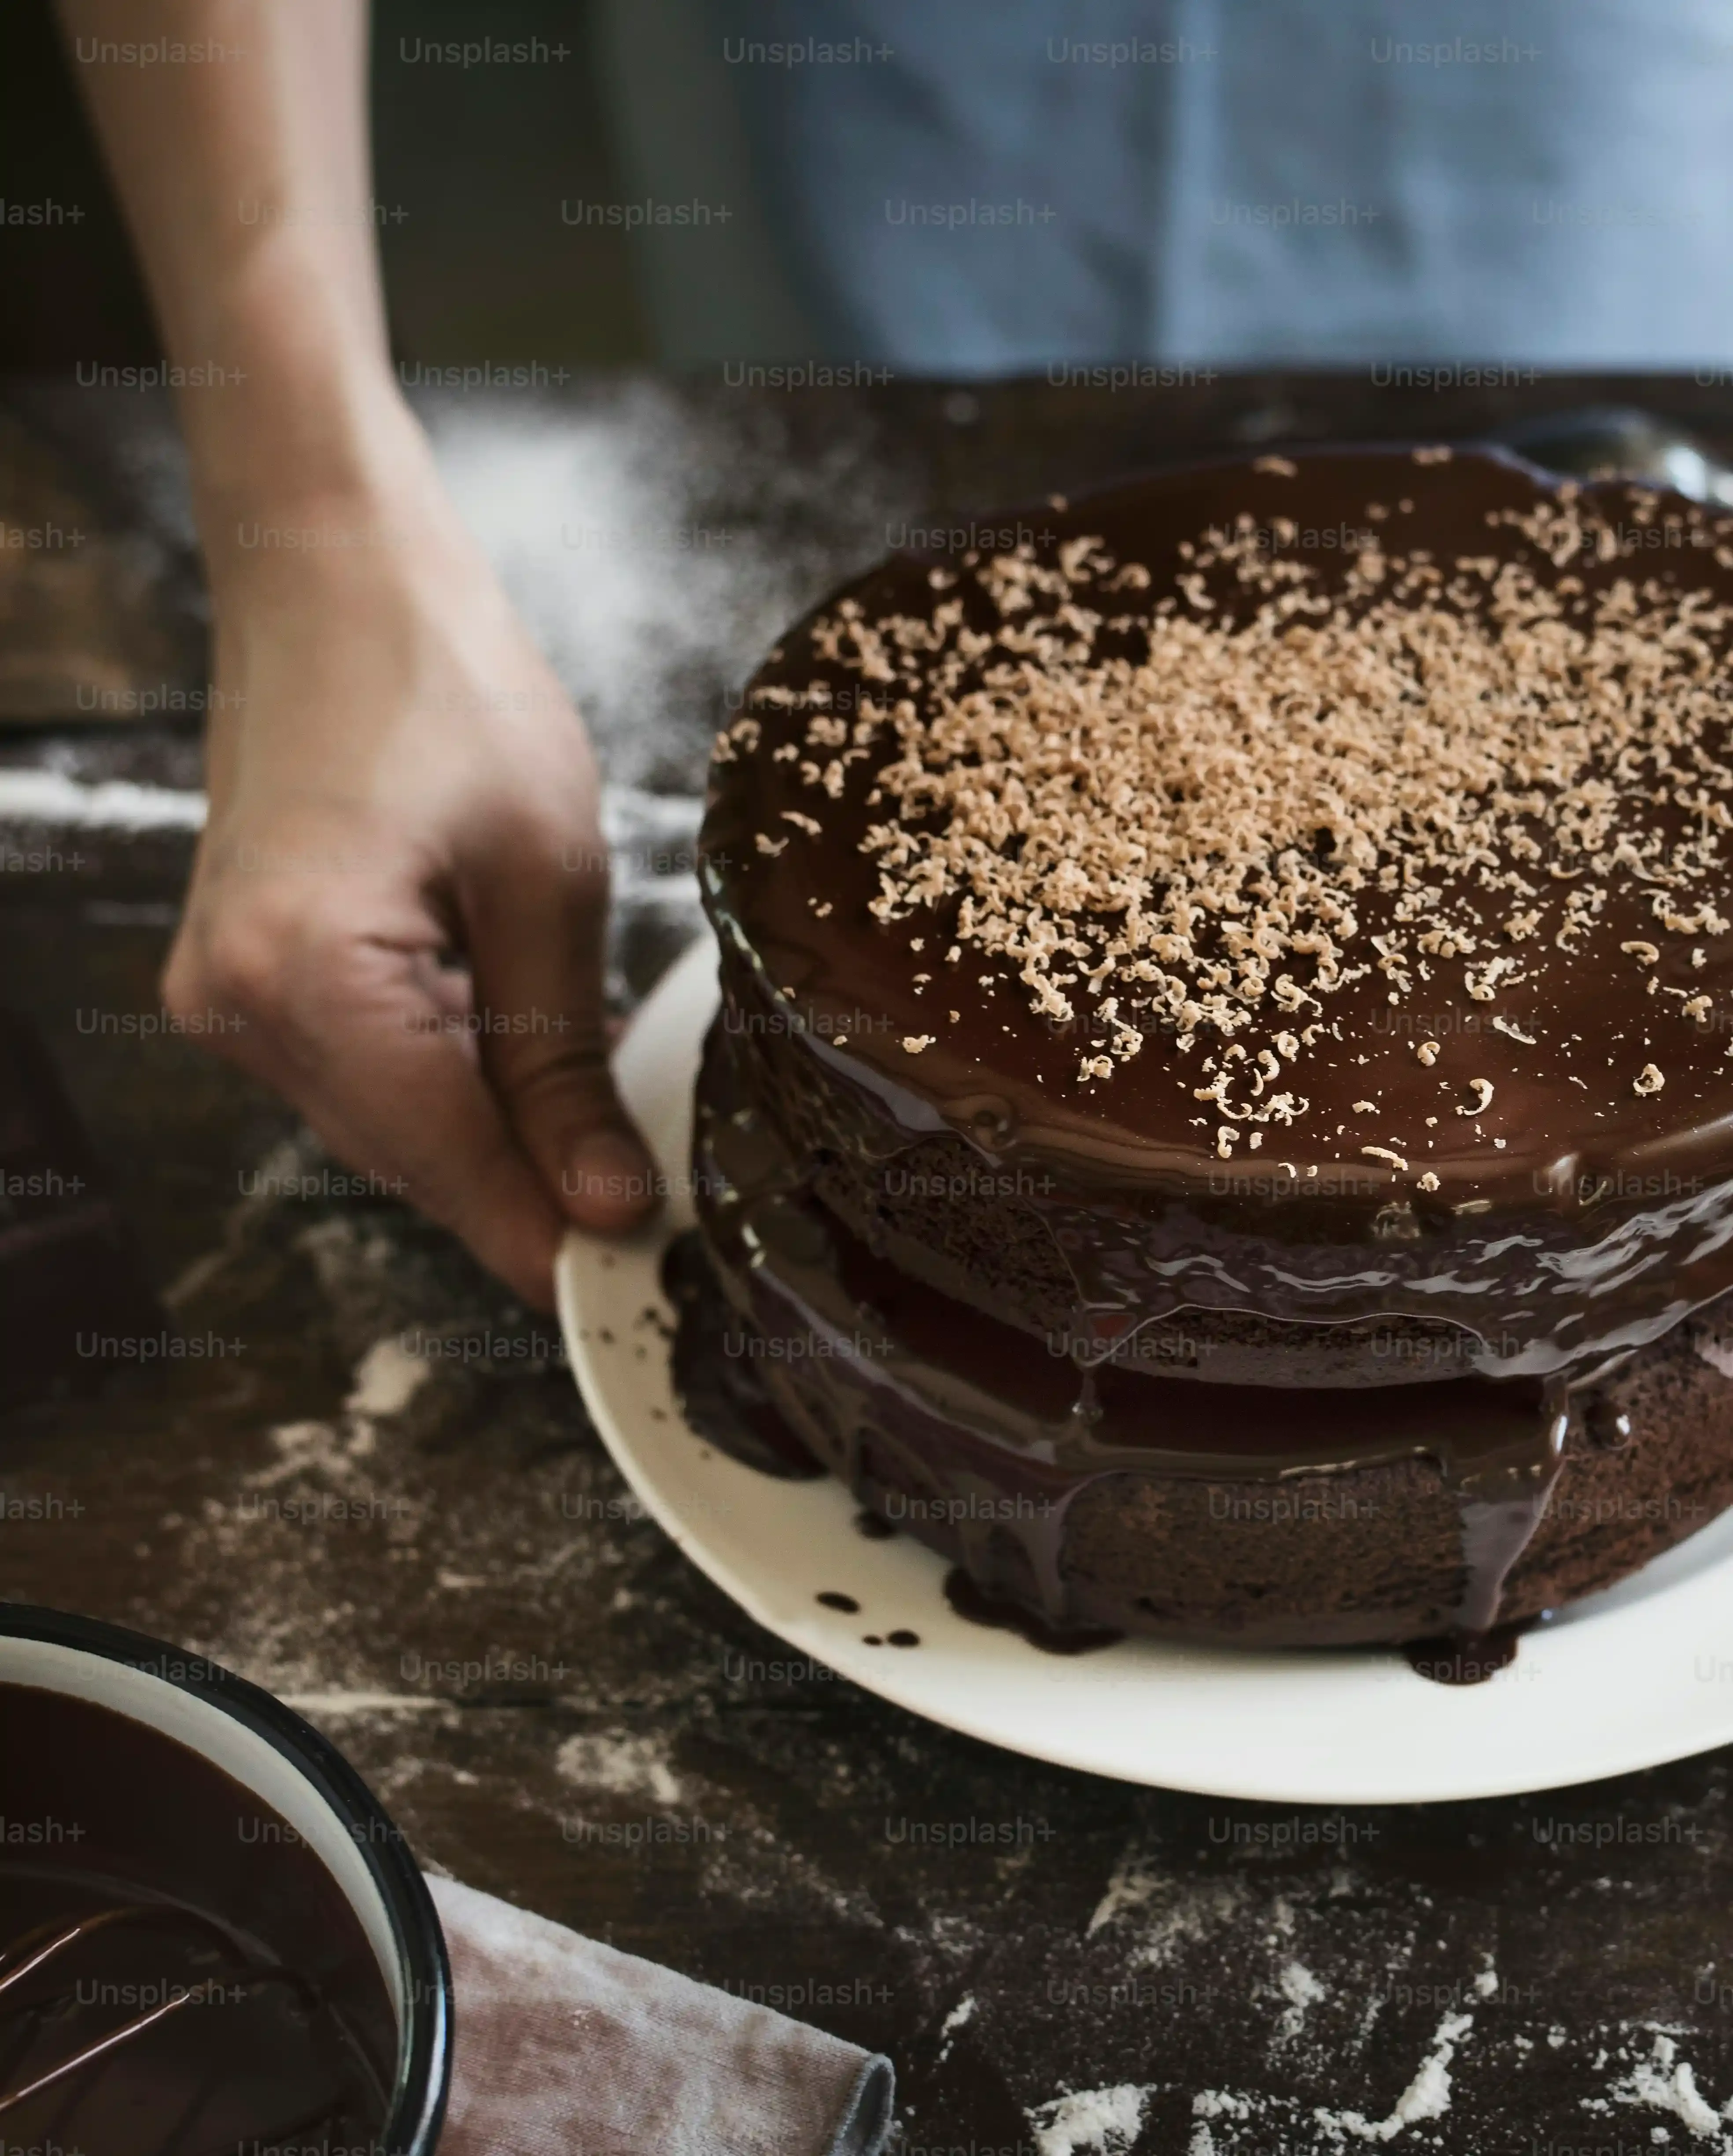
Layering and Letting it Set
Once your mousse is ready – it should be thick but still pourable or spreadable – it's time to assemble. Make sure your cake layers are completely cool, otherwise, you'll have a melted mess. Place your first layer on your serving plate or cake board. Spread a generous, even layer of the chocolate mousse over it, right to the edges. Don't be shy. This is the filling, after all. Carefully place the second cake layer on top, pressing down gently. If you have a third layer, repeat the mousse step. The crucial part now is chilling. This mousse needs time to set up properly. Pop the assembled cake into the fridge for at least 4-6 hours, or ideally, overnight. Trying to slice it too soon will result in the mousse oozing out everywhere, and nobody wants that kind of structural failure.
- Use high-quality chocolate (60%+ cocoa).
- Melt chocolate gently.
- Fold in whipped cream or egg whites in stages.
- Ensure cake layers are completely cool before assembling.
- Chill the assembled cake for at least 4-6 hours to set the mousse.
Enjoying Your Chocolate Masterpiece
So there you have it. You've navigated the potential pitfalls, waited patiently (or maybe not so patiently) for things to chill, and now you're looking at a chocolate cake with mousse filling that actually looks like it belongs in a fancy bakery window. Take a moment. You made that. Slice into it, see those distinct layers, and take that first bite. That's not "fine." That's the rich, deep flavor of real chocolate, the airy texture of the mousse, and the satisfying feeling of pulling off something truly delicious. Share it, or don't – we won't judge. You've earned it.