Table of Contents
Let's be honest. The idea of tackling a chocolate cake with mousse filling and ganache recipe at home can feel a bit... ambitious. Like you need a pastry degree and a team of tiny, silent helpers. Maybe you've seen those impossibly perfect cakes online and thought, "Yeah, right, like I could ever make *that*." Or maybe you've tried before and ended up with something that looked more like a chocolate puddle than a showstopper.
Why Make This Chocolate Cake with Mousse Filling and Ganache?
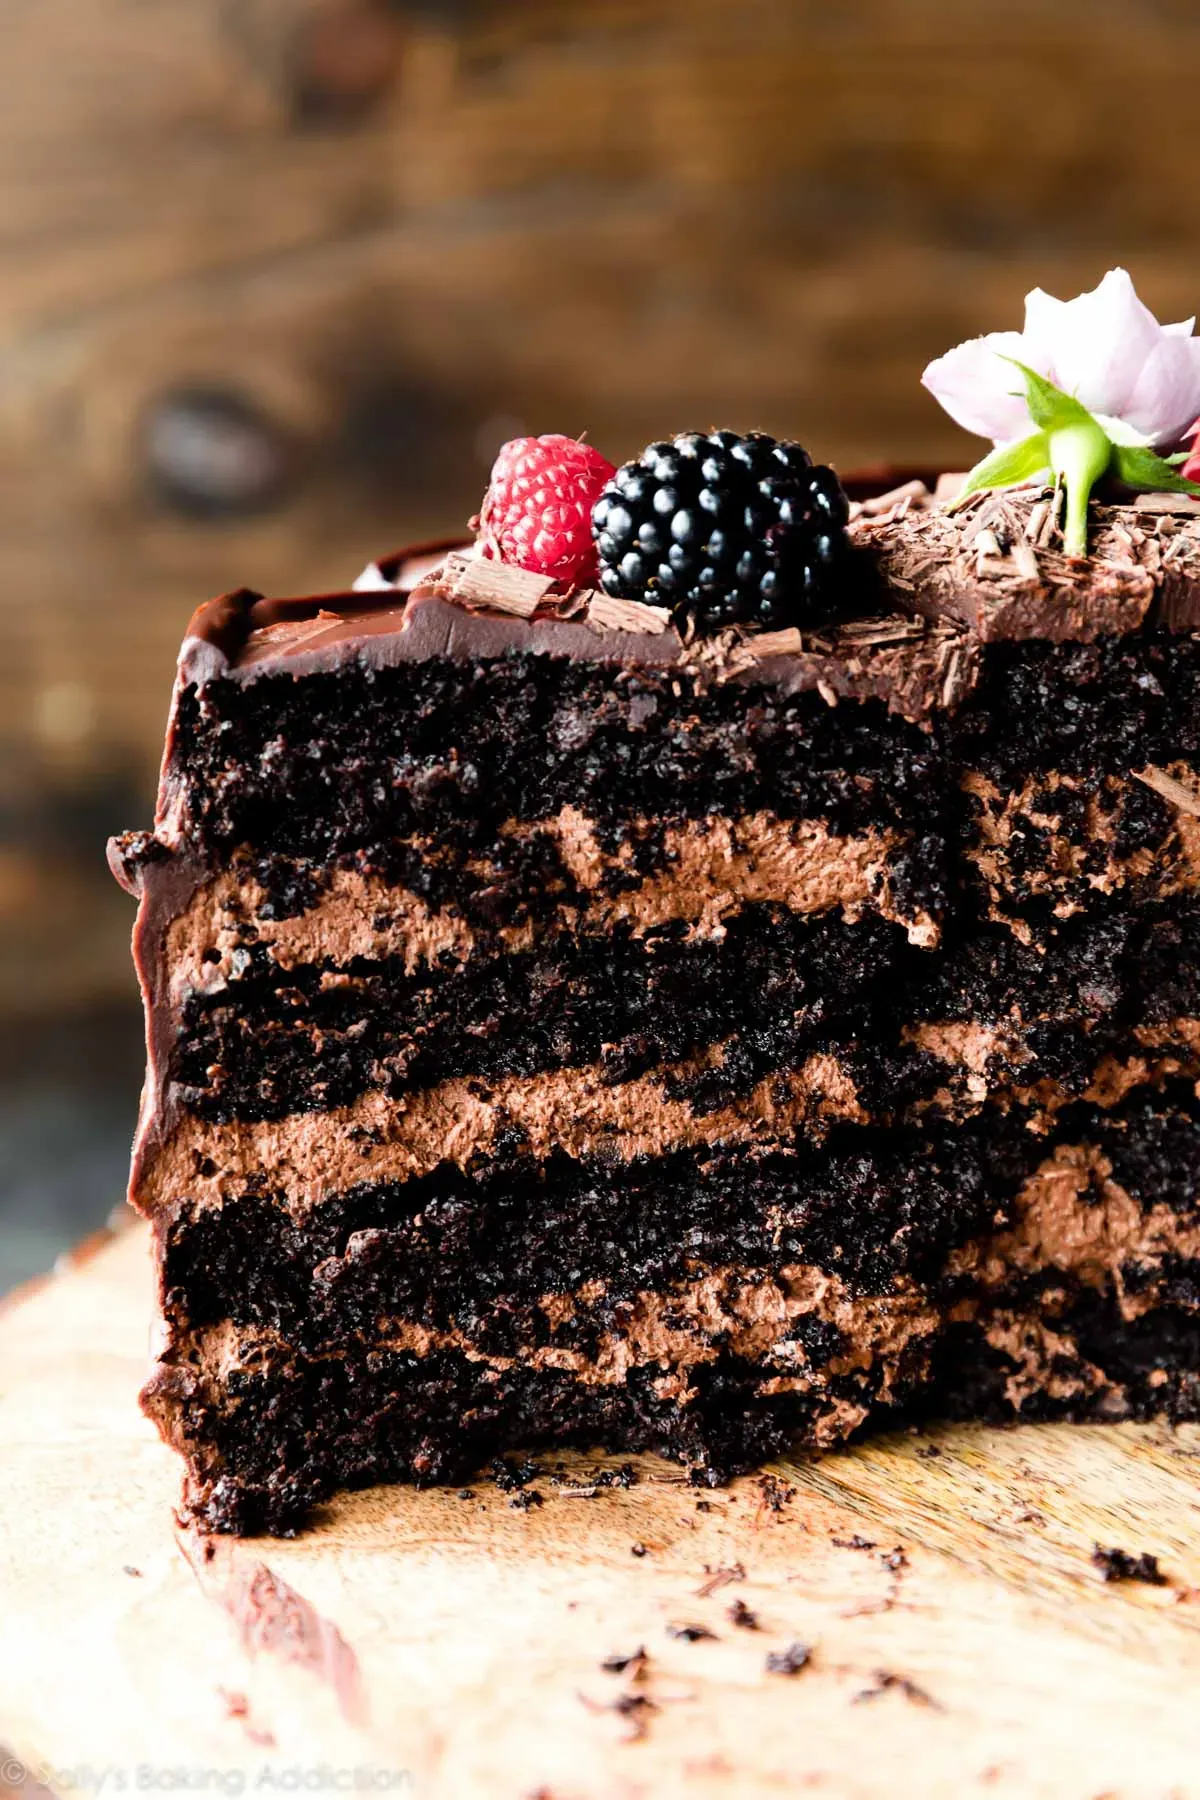
So, why bother with a whole chocolate cake with mousse filling and ganache recipe when you could just buy one? Fair question. The truth is, the store-bought versions rarely hit that perfect balance. Often, the cake is dry, the mousse is some weird, airy foam that tastes vaguely of chocolate but mostly sugar, and the ganache is either too thin or too waxy. Making it yourself means control. You dictate the quality of the chocolate, the richness of the mousse, the depth of the cake flavor. It’s about achieving that specific, intense chocolate experience – a moist, deeply flavored cake base, a cool, smooth mousse that actually tastes like melted chocolate, and a rich, slightly bittersweet ganache coating that ties it all together. It’s the difference between a generic chocolate dessert and something truly memorable, something that makes people close their eyes for a second when they take a bite.
Baking the Perfect Chocolate Cake Layers
Baking the Perfect Chocolate Cake Layers
Gathering Your Cake Arsenal
Alright, let's talk cake. The foundation of your glorious chocolate cake with mousse filling and ganache recipe starts here. You need good ingredients. Don't cheap out on the cocoa powder; use Dutch-process for a darker color and smoother flavor, or natural if you want a sharper, more intense chocolate punch. Make sure your butter and eggs are at room temperature – it makes a world of difference in how the batter comes together. Seriously, cold eggs straight from the fridge mess with emulsion and give you a less tender cake. We're aiming for moist, tender layers that don't crumble when you look at them sideways.
Mixing for Success, Not Stress
Mixing cake batter isn't a race. Cream the butter and sugar until it's light and fluffy – this traps air and helps with the cake's texture. Add eggs one at a time, scraping down the bowl. When you add the dry and wet ingredients, mix *just* until combined. Overmixing develops gluten, and while gluten is great for bread, it gives you a tough cake. We want tender, not chewy. Think 'barely mixed,' not 'beaten into submission.'
Here are a few things that can sink your cake before it even hits the oven:
- Using cold ingredients
- Not sifting dry ingredients (hello, lumps!)
- Overmixing the batter
- Opening the oven door too early
- Not greasing and flouring pans properly
Baking and Cooling Like a Pro
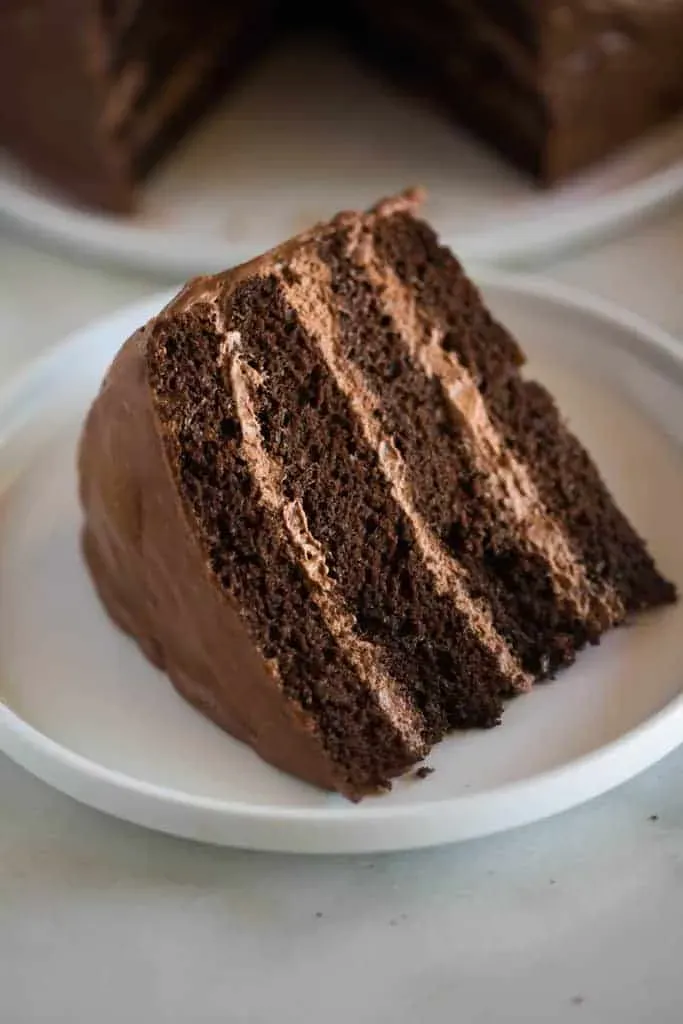
Into the oven they go. Use a toothpick or cake tester; if it comes out with a few moist crumbs, you're golden. If it's clean, you've likely overbaked it, and dry cake is the enemy of a good chocolate cake with mousse filling and ganache recipe. Let the cakes cool in their pans for about 10-15 minutes before inverting them onto a wire rack to cool completely. Trying to handle warm cakes is a recipe for disaster and broken layers. Patience is key here. Make sure they are totally cool before you even *think* about slicing or filling them.
Creating the Luxurious Chocolate Mousse Filling
Creating the Luxurious Chocolate Mousse Filling
The Heart of the Matter: Silky Chocolate Mousse
Now for the good stuff, the part that elevates this from just a chocolate cake to a chocolate cake with mousse filling and ganache recipe that makes people swoon: the mousse. This isn't some flimsy, air-whipped stuff. We're talking rich, intense chocolate flavor, smooth as silk, and stable enough to hold its shape between cake layers. The key is good quality chocolate – skip the chips, grab a bar you'd actually eat on its own. You'll melt that chocolate carefully, maybe over a double boiler or in short bursts in the microwave, making sure not to scorch it. Then, you'll fold it into perfectly whipped cream. Not *over*-whipped cream that's about to turn into butter, but soft peaks that can gently embrace the melted chocolate without deflating everything. It's a delicate dance of temperatures and textures.
Here's the basic game plan for a solid chocolate mousse:
- Melt good quality chocolate (dark or semi-sweet works best).
- Whip heavy cream to soft peaks.
- Carefully fold the slightly cooled melted chocolate into the whipped cream.
- Chill until firm enough to spread.
Whipping Up the Silky Chocolate Ganache
Whipping Up the Silky Chocolate Ganache
The Two-Ingredient Wonder
Alright, the final layer of glorious chocolate on your chocolate cake with mousse filling and ganache recipe: the ganache. It sounds fancy, right? Like something only professional patissiers whip up in a sterile kitchen. But guess what? It's typically just two ingredients: chocolate and hot cream. That's it. The magic happens in the ratio and the method. You need good quality chocolate here too – again, skip the chips if you can. Chopping a bar of good dark or semi-sweet chocolate gives you a smoother melt. You heat the heavy cream until it's just simmering, pour it over the chopped chocolate, let it sit for a few minutes to work its melting magic, and then gently whisk it until it's smooth and glossy. No need to beat it to death; you're emulsifying, not aerating. It should look like liquid velvet.
Getting the right consistency is crucial. Too much cream and it's a thin drizzle; too little and it sets up hard as a rock. For a pourable glaze, you'll use more cream than for a spreadable frosting. This ganache is the crowning glory, the smooth, intense finish that signals this isn't just any cake.
- Use high-quality chocolate (at least 60% cocoa for a good balance).
- Chop the chocolate finely for even melting.
- Heat cream until just simmering, not boiling violently.
- Pour hot cream over chocolate and let sit undisturbed for 3-5 minutes.
- Gently whisk from the center outwards until smooth.
Getting the Right Consistency
Now, once your ganache is made, the temperature dictates its use. Warm ganache is pourable, perfect for a smooth, mirror-like glaze over the top of your chilled chocolate cake with mousse filling and ganache. As it cools, it thickens. At room temperature, it becomes spreadable, ideal for frosting the sides or piping decorations. If it gets too cold and firm, you can gently rewarm it over a double boiler or in short microwave bursts, stirring frequently, but be careful not to overheat it or it can break (look like it separates). If it *does* break, sometimes a tablespoon of hot water or milk whisked in slowly can bring it back from the brink. Don't panic, just troubleshoot.
Think about the final look you want. A thin pour? A thick swirl? Let the ganache cool accordingly. It's a patient waiting game sometimes, but a few extra minutes makes the difference between a messy drip and an elegant finish.
Assembling Your Stunning Chocolate Cake with Mousse Filling and Ganache
Leveling the Playing Field (Literally)
you've baked your beautiful, moist chocolate cake layers. They've cooled completely – you resisted the urge to poke them or stack them warm, right? Good. Now, unless you're some kind of baking robot, your layers probably have a slight dome on top. We need to fix that. Grab a long serrated knife or a cake leveler if you're fancy. Place your cake layer flat and carefully saw off the dome to create a level surface. This isn't just for aesthetics; a level cake stacks straight and prevents your filling from oozing out the sides like a chocolatey landslide. Save those scraps – they're excellent for snacking or making cake pops later. Repeat for all your layers. A flat top is your best friend when tackling this chocolate cake with mousse filling and ganache recipe.
Layering Up the Decadence
Now for the fun part: bringing it all together. Place your first leveled cake layer on your serving plate or cake stand. If you plan to move it later, put a little dollop of frosting or ganache on the plate first to act as glue. Spoon or pipe your chilled, but still spreadable, chocolate mousse filling onto the first layer. Spread it out evenly, leaving a small border around the edge. This border acts as a dam for the ganache later. It's a little trick to keep things tidy. Carefully place the next cake layer on top, pressing down gently to level it. Repeat with remaining layers and mousse. Once stacked, give the whole cake a quick chill in the fridge for about 20-30 minutes. This firms up the mousse and makes the next step much easier.
Quick Layering Checklist:
- Ensure cake layers are completely cool and leveled.
- Place the first layer on the serving plate.
- Add a stable base (frosting/ganache) if moving the cake later.
- Spread chilled mousse evenly on the layer, leaving a small border.
- Carefully place the next layer on top.
- Chill the stacked cake before adding ganache.
The Grand Finale: The Ganache Pour (or Spread)
Your stacked cake is chilled, the mousse is firm, and your ganache is the perfect consistency – warm and pourable for a glaze, or cooler and thicker for spreading. If pouring, place the cake on a wire rack set over a baking sheet (to catch drips – trust me on this). Pour the warm ganache over the center, letting it flow down the sides. Use an offset spatula to gently guide it if needed, but try not to overwork it. The less you touch it, the smoother it looks. If spreading, use an offset spatula to apply the thicker ganache to the top and sides, smoothing it out as you go. Once covered, back into the fridge it goes to set completely. This final coat of ganache isn't just for looks; it seals in moisture and adds that last punch of intense chocolate flavor to your masterpiece chocolate cake with mousse filling and ganache recipe.
You Made the Damn Cake. Now Eat It.
Alright, you did it. You navigated the layers, the mousse, the ganache, and somehow ended up with something that actually resembles the glorious vision you had in your head. Maybe it's not magazine-cover perfect, maybe the ganache isn't *quite* as mirror-like as you'd hoped, but who cares? You took on a chocolate cake with mousse filling and ganache recipe, and you conquered it. This isn't some store-bought imposter; this is the real deal, made by you. So slice into that beauty, grab a fork, and forget about the dishes for a minute. You earned this.