
Table of Contents
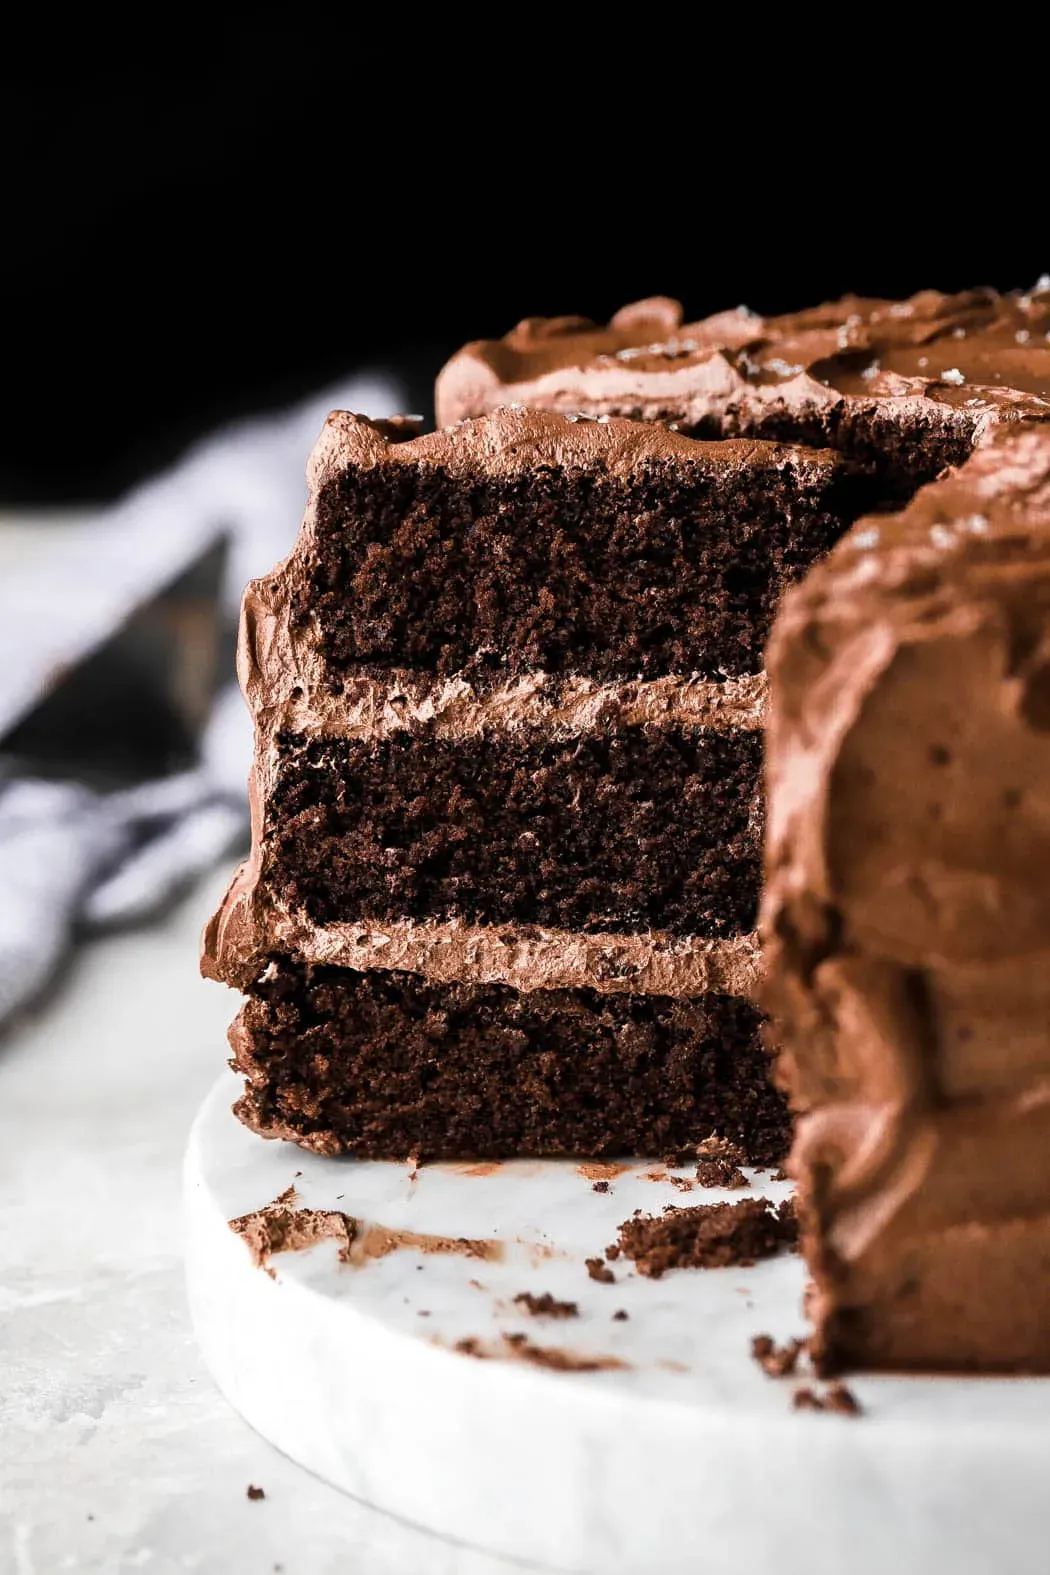
Ever find yourself craving a rich, moist chocolate cake but don't need a massive three-layer production that could feed a small army? Maybe you're baking for a quiet night in, a modest birthday celebration, or just because Tuesday feels like a cake day. That's where a solid chocolate cake recipe 8 inch pan comes into its own. It’s the unsung hero of home baking – yielding enough indulgence without the overwhelming leftovers (unless you plan on eating the whole thing, which is also a valid life choice). Forget wrestling with giant cake rounds or feeling obligated to share with your entire neighborhood. We’re talking about a perfectly sized, deeply satisfying chocolate cake that’s approachable and utterly delicious.
Why Bake an 8 Inch Chocolate Cake Recipe?
Why Bake an 8 Inch Chocolate Cake Recipe?
Why Bake an 8 Inch Chocolate Cake Recipe?
Let's be honest, sometimes you just want a really good chocolate cake without the production of a multi-tier behemoth. That's precisely why the chocolate cake recipe 8 inch pan size is a total winner. It’s the Goldilocks of cake sizes – not too big, not too small, just right for satisfying that specific chocolate craving or marking a smaller occasion without ending up with cake for days (unless, of course, that's the plan). Baking an 8-inch cake means less batter, shorter baking times, and a much less intimidating project than its larger cousins. It’s perfect for smaller households, a cozy date night dessert, or when you just need a manageable win in the kitchen. Plus, less cake means you can justify making it more often, right? It feels less like a major event and more like a delightful possibility any given weekend.
Gathering Your Arsenal: Ingredients for the Perfect Chocolate Cake
Gathering Your Arsenal: Ingredients for the Perfect Chocolate Cake
The Dry Goods Foundation
Alright, let's talk ingredients. You wouldn't build a house with flimsy wood, and you shouldn't bake a chocolate cake recipe 8 inch pan size with questionable stuff from the back of the pantry. Start with the basics: flour, sugar, cocoa powder, baking soda, and salt. Use all-purpose flour; it's reliable. For cocoa, go for natural unsweetened cocoa powder. It reacts with the baking soda to give you that lift and rich color. Dutch-processed cocoa is different; it’s neutralized and won't react the same way with baking soda, so save that for recipes specifically calling for it. Granulated sugar sweetens and helps keep things moist. Baking soda is your leavening agent here, working with an acid (which we'll get to). Salt? Crucial. It balances the sweetness and deepens the chocolate flavor. Don't skip it, even a tiny pinch makes a difference.
Wet Wonders and Flavor Boosters
Now for the wet components and the secret weapons that make a chocolate cake sing. You'll need eggs, milk (or buttermilk, which is fantastic for tenderness and reacting with baking soda), oil, vanilla extract, and often, hot liquid like coffee or hot water. Using oil instead of butter often results in a moister cake that stays soft longer. It's just a fact. Vanilla extract is non-negotiable; it enhances the chocolate flavor dramatically. And the hot liquid? This is where things get interesting. Hot coffee is a classic for a reason – it doesn't make the cake taste like coffee, it just makes the chocolate taste *more* like chocolate. Seriously. Hot water works too, dissolving the cocoa and sugar thoroughly for a smoother batter and deeper color. Sometimes, a touch of acid like vinegar or buttermilk is added specifically to react with the baking soda, ensuring a good rise.
Essential Ingredients Checklist:
- All-purpose flour
- Natural unsweetened cocoa powder
- Granulated sugar
- Baking soda
- Salt
- Eggs (room temperature is best)
- Milk or Buttermilk
- Vegetable oil or other neutral oil
- Vanilla extract
- Hot coffee or hot water
- Vinegar or additional acid (if using milk instead of buttermilk)
StepbyStep: Baking Your 8 Inch Chocolate Cake Recipe
StepbyStep: Baking Your 8 Inch Chocolate Cake Recipe
Prep Your Pan and Whisk the Dry Stuff
Alright, oven mitts on, let's get this done. First things first, tackle that 8-inch pan. Don't just grease it lightly and hope for the best; you'll regret it when half the cake sticks. Grease it properly with butter or shortening, get into all the corners, then dust it with flour or cocoa powder (cocoa is great for chocolate cakes as it doesn't leave white marks). You can also line the bottom with parchment paper for extra insurance. While the oven preheats to the specified temperature (usually around 350°F or 175°C), grab a large bowl. Whisk together all your dry ingredients – the flour, cocoa powder, sugar, baking soda, and salt. Give it a good whisk for about 30 seconds. This isn't just mixing; it's aerating and ensuring the leavening and salt are evenly distributed. Nobody wants a pocket of just baking soda.
Combine Wet and Dry, Then Add the Secret Weapon
In a separate bowl, whisk together your wet ingredients: the eggs, milk (or buttermilk), oil, and vanilla extract. Once combined, pour the wet mixture into the bowl with your dry ingredients. Grab a whisk or a spatula and mix until *just* combined. Don't overmix; you'll develop the gluten too much, resulting in a tough cake. A few lumps are okay. Now comes the magic step for many chocolate cakes: the hot liquid. Pour your hot coffee or water over the batter and gently whisk or stir until it's smooth and quite thin. Yes, it will look alarmingly liquidy. This is normal and gives you an incredibly moist cake. Pour this thin batter into your prepared chocolate cake recipe 8 inch pan. Give the pan a gentle tap on the counter to release any large air bubbles.
Quick Baking Checklist:
- Preheat oven to 350°F (175°C).
- Grease and flour/cocoa an 8-inch cake pan.
- Whisk dry ingredients in a large bowl.
- Whisk wet ingredients in a separate bowl.
- Combine wet and dry, mix until just combined.
- Stir in hot liquid until batter is smooth and thin.
- Pour batter into prepared 8-inch pan.
- Tap pan to remove air bubbles.
- Bake for recommended time (usually 30-35 minutes for an 8-inch single layer).
- Cake is done when a toothpick inserted in the center comes out clean or with a few moist crumbs.
Frosting, Finishing, and Fun Variations for Your Chocolate Cake

Frosting, Finishing, and Fun Variations for Your Chocolate Cake
Letting That Cake Chill Out (Seriously)
So, your beautiful chocolate cake recipe 8 inch creation is out of the oven. It smells amazing, and every fiber of your being wants to dive right in or slather it with frosting immediately. Resist the urge. Seriously, step away from the frosting knife. Letting the cake cool properly in the pan for 10-15 minutes before inverting it onto a wire rack is crucial. This allows the structure to set. If you flip it out too soon, you risk it collapsing or cracking, and nobody wants a crumbly mess after all that work. Once it's on the wire rack, let it cool completely. And by completely, I mean until it's room temperature to the touch, maybe an hour or two. Trying to frost a warm cake is a one-way ticket to a melty, sliding frosting disaster. Trust me, I learned this the hard way during a frantic attempt to frost a birthday cake minutes before guests arrived. It wasn't pretty.
Picking Your Frosting Weapon of Choice
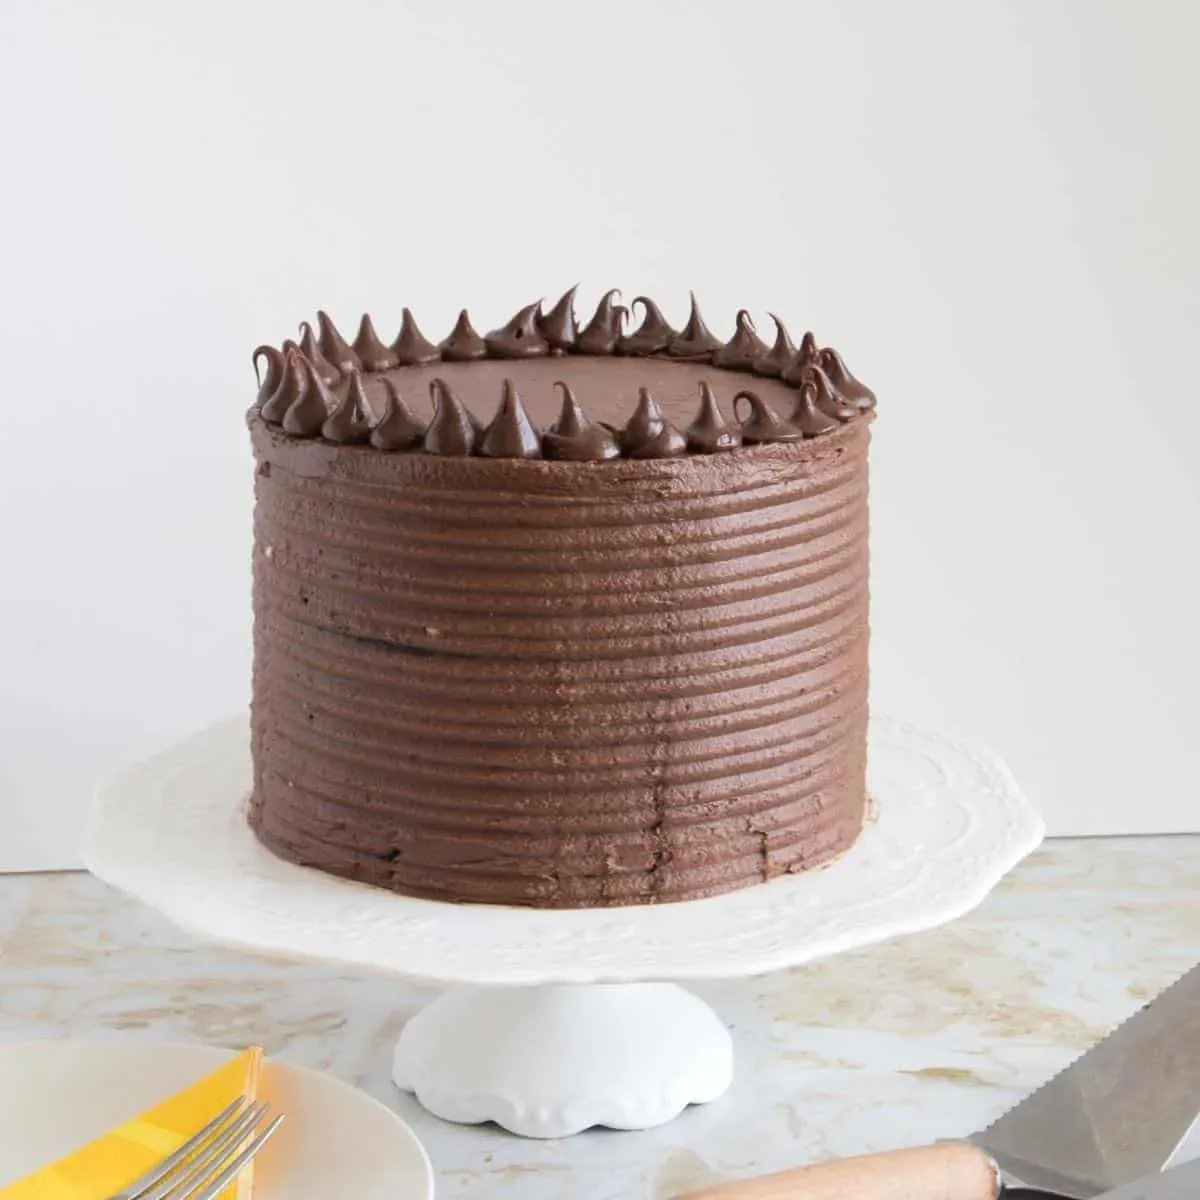
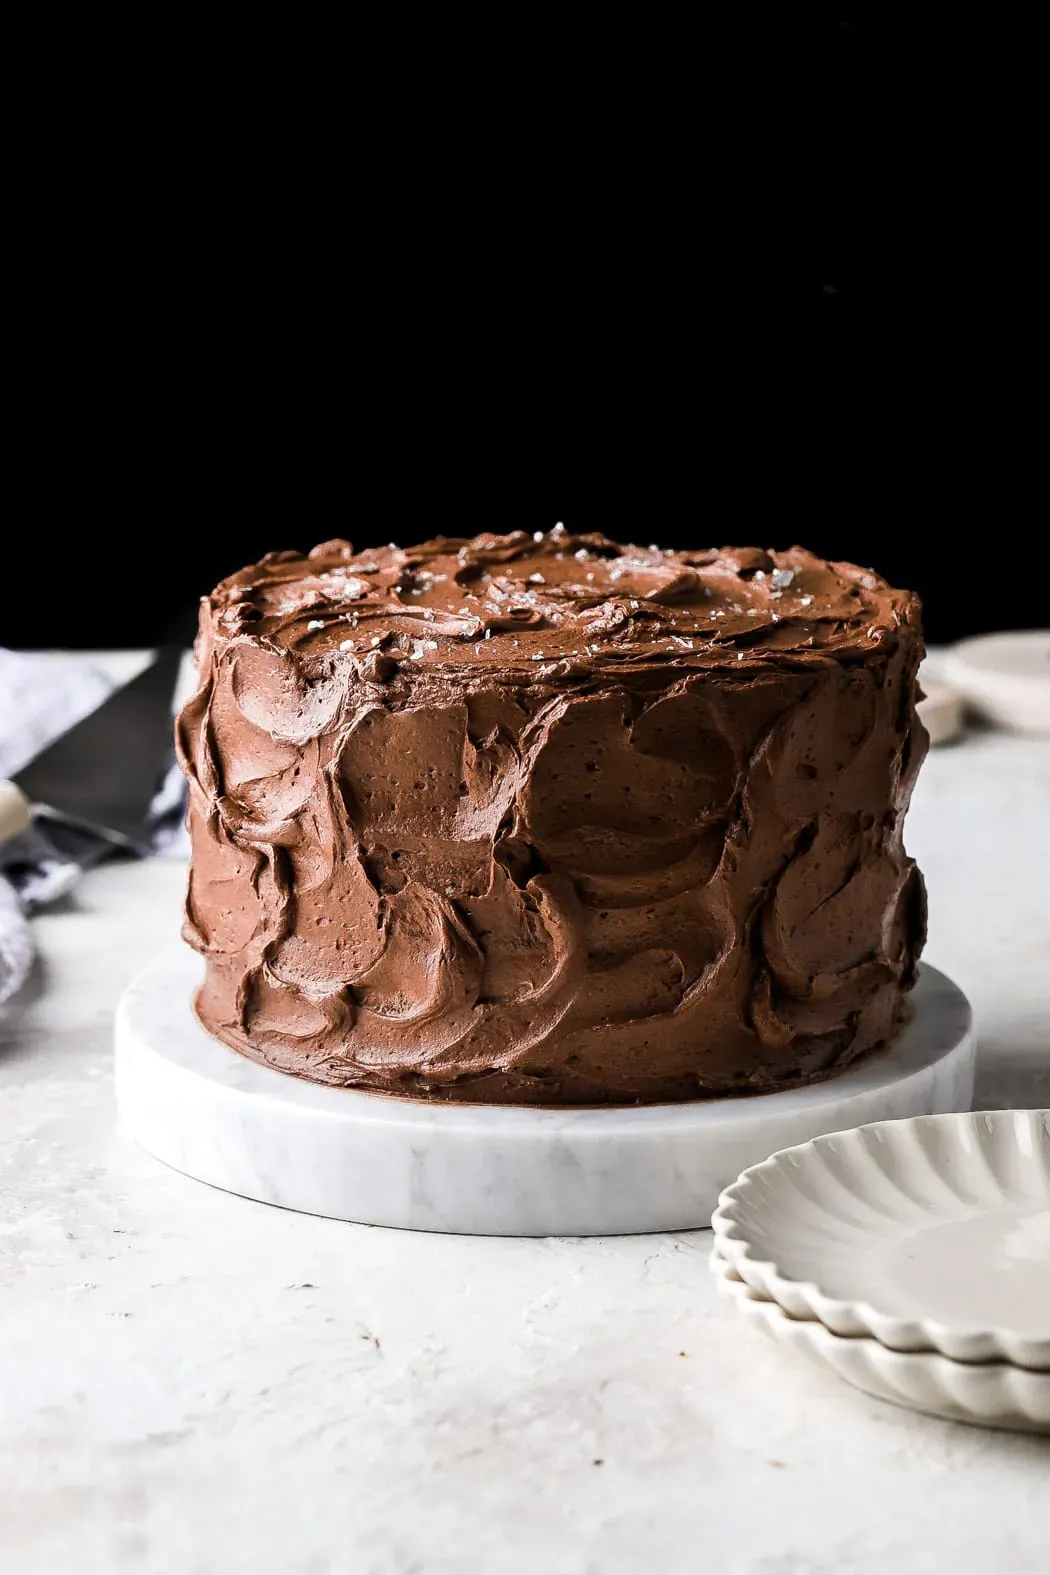
Now that your cake is cool and ready, it's time for the fun part: the frosting. For a classic chocolate cake recipe 8 inch size, a simple chocolate buttercream is a no-brainer. It's rich, easy to make, and universally loved. A basic recipe usually involves butter, powdered sugar, cocoa powder, a splash of milk or cream, and vanilla. Whip it until it's light and fluffy. Don't like buttercream? A smooth ganache is another excellent option; just pour warm cream over chopped chocolate and stir until glossy. Cream cheese frosting adds a lovely tang that cuts through the richness of the chocolate. Or, go minimalist with a simple glaze. The key is to have your frosting at a spreadable consistency. Too stiff, and you'll tear the cake; too soft, and it will just run off the sides.
- Classic Chocolate Buttercream
- Silky Chocolate Ganache
- Tangy Cream Cheese Frosting
- Simple Chocolate Glaze
- Whipped Cream (for a lighter touch)
Finishing Flourishes and Mix-Ins
Once frosted, you can stop there, and it will be delicious. But why stop there? This is your chance to add some personality. Sprinkle on some chocolate shavings, cocoa powder, or maybe some sprinkles if you're feeling festive. Toasted nuts like pecans or walnuts add great texture. Shredded coconut? Sure, if that's your thing. For variations baked *into* the cake, consider adding chocolate chips, a swirl of peanut butter, or even some finely chopped espresso beans to the batter before baking. A dash of cinnamon or a pinch of cayenne pepper in the batter can add a subtle warmth and complexity that surprises people in the best way. Think of it as giving your straightforward chocolate cake a little wink.
Keeping Your 8 Inch Chocolate Cake Recipe Fresh
Keeping Your 8 Inch Chocolate Cake Recipe Fresh
Room Temperature Rules for Your Chocolate Cake
So you've baked your stellar chocolate cake recipe 8 inch size, and somehow, miraculous as it seems, there are leftovers. The first instinct might be to shove it in the fridge, but hold up. If your cake isn't frosted with something perishable like cream cheese or whipped cream, it's often happier sitting at room temperature for a day or two. Why? Because the fridge can actually dry out cake faster than you'd think, turning that lovely moist crumb into something more akin to a sponge meant for washing dishes. Just make sure it's wrapped up tight. Air is the enemy of fresh cake. A cake dome is your friend, or failing that, layers of plastic wrap and then foil. Keep it out of direct sunlight and away from heat sources.
When Refrigeration is Necessary (And How to Do It)
Alright, sometimes the fridge is unavoidable. This is usually the case if your chocolate cake recipe 8 inch is loaded with a dairy-based frosting, fresh fruit, or if your kitchen is just ridiculously warm. When refrigerating, the same rule applies: wrap it like you're preparing it for a trip to the moon. Use plastic wrap pressed directly against any cut surfaces and then wrap the whole thing again. Better yet, slice it first and wrap individual pieces. This minimizes the surface area exposed to the drying fridge air. When you want a slice, let it sit out for 15-30 minutes before eating. Cold cake dulls flavor; letting it come closer to room temperature wakes everything up. It's a small step, but it makes a big difference in taste and texture.
Cake Storage Guide:
- Unfrosted Cake: Room temperature, tightly wrapped, 2-3 days.
- Cake with Buttercream/Ganache: Room temperature, tightly wrapped, 1-2 days; then refrigerate, tightly wrapped, up to 5-7 days.
- Cake with Cream Cheese/Whipped Cream: Refrigerate immediately, tightly wrapped, up to 3-4 days.
- Sliced Cake: Wrap individual slices tightly for best freshness.
Freezing Your 8 Inch Chocolate Cake for Later
Sometimes, even an 8-inch cake is more than you need right now, or maybe you're planning ahead. Freezing is a fantastic option for your chocolate cake recipe 8 inch. For best results, freeze the cake unfrosted. Wrap the completely cooled cake tightly in plastic wrap, then in a layer of aluminum foil. This double layer protects against freezer burn. You can freeze individual slices the same way. When you're ready to eat it, thaw the cake (still wrapped) in the refrigerator overnight, then let it sit at room temperature for an hour or so before unwrapping and frosting or serving. Freezing can keep cake fresh for a couple of months. It's like hitting the pause button on deliciousness.
Wrapping Up Your 8 Inch Chocolate Cake Adventure
So there you have it. No need for a showstopper that requires structural engineering. Just a solid, dependable chocolate cake recipe sized perfectly for an 8-inch pan. You've got the steps, the ingredient list, and a few ideas to make it your own. It's not about reinventing the wheel; it's about making a really good wheel, a chocolate one, sized just right. Bake it, frost it (or don't), and enjoy the fact that you now possess the power to create a proper chocolate cake without committing to feeding an entire block party. Consider this a win for sensible portion sizes and serious chocolate cravings.