Table of Contents
Ever baked a chocolate cake, only to have the filling turn into a sticky, soupy mess? I know I have, and it's seriously frustrating. You've got the perfect cake layers, maybe even a fancy frosting planned, but then BAM! The filling decides to go rogue. We've all been there, staring at a cake that looks like it lost a fight with gravity. This article isn't about fancy techniques or complicated recipes. It's about real-world chocolate cake filling troubleshooting. We'll tackle the most common issues, like fillings that are too runny, too lumpy, or just plain weird. We'll figure out why these problems happen and, more importantly, how to fix them. Think of this guide as your secret weapon against cake filling fails. We’ll explore how to avoid these issues, from understanding the science behind your ingredients to mastering simple techniques. No more cake disasters, just smooth, delicious fillings every time.
Common Chocolate Cake Filling Problems
Common Chocolate Cake Filling Problems
Runny Filling:
The Great Escape
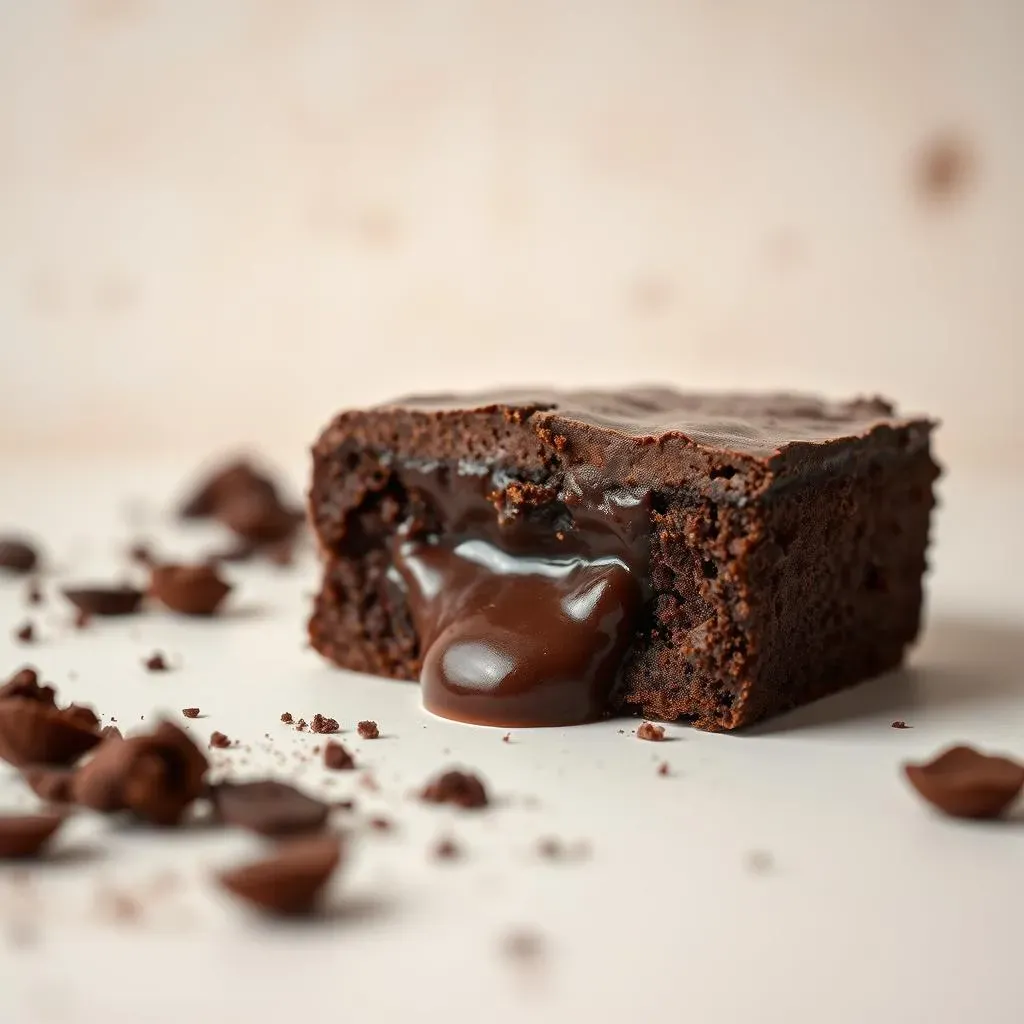
Ever cut into a cake and have the filling ooze out like a chocolate lava flow? It's a common issue, and honestly, it's usually because the filling isn't thick enough. Maybe you didn't cook it long enough, or perhaps the recipe just didn't have enough of a thickening agent like cornstarch or gelatin. Sometimes it's the ratio of liquid to solids, like too much cream and not enough chocolate. It's like trying to build a dam with water; it's just going to spill over.
Another culprit could be the temperature. If your filling is too warm when you assemble the cake, it’ll be more liquid than it should be. Think of it like a melted ice cream cone – that deliciousness isn’t going to stay put. So, patience and a good chill are key to preventing a runny situation.
Lumpy Filling:
The Texture Tango
Okay, so your filling isn't running away, but it’s chunky and not in a good way? That's likely a result of the chocolate not melting smoothly. This can happen if you’re using chocolate that’s too cold or if you introduce the hot liquid too quickly. It’s like trying to blend oil and water; they just don't want to play nice. You end up with little bits of chocolate that refuse to melt, giving you a lumpy, uneven texture.
Another reason for this issue could be the ingredients were not fully incorporated. Sometimes when you are making a filling you just need to slow down and make sure you are mixing everything together properly. If you rush, the different ingredients will not blend correctly, leaving you with a lumpy mess.
Problem | Possible Cause | Solution |
|---|---|---|
Runny Filling | Insufficient thickening, incorrect ratios, too warm | Add thickener, adjust ratios, chill properly |
Lumpy Filling | Chocolate not melted smoothly, ingredients not incorporated | Melt chocolate slowly, mix thoroughly |
Grainy Filling:
The Sugar Struggle
A grainy filling is not pleasant. It can feel like you’re eating sand with your cake. This is often caused by the sugar not dissolving properly, especially when you are making a cooked filling. This happens when the sugar crystals are not fully dissolved into the liquid, leaving a gritty texture that is not appealing. It is important to make sure your sugar is dissolved before you move on.
Also, sometimes the culprit is the type of sugar you are using. If you are using a coarse granulated sugar, it might take a bit longer to dissolve than superfine sugar. So, make sure that you are using the correct type of sugar for your recipe. If you are not sure, it is better to use superfine sugar. It will dissolve more easily and will give you a smoother texture.
"A cake without a good filling is like a day without sunshine." - *Anonymous Baker*
Troubleshooting Your Chocolate Cake Filling
Troubleshooting Your Chocolate Cake Filling
Fixing a Runny Filling:
The Thickening Rescue
Okay, so your filling is acting like a chocolate waterfall? No panic! The first thing to try is adding a thickener. A little cornstarch or arrowroot powder mixed with a cold liquid (like water or milk) can work wonders. Make a slurry (that's just a fancy word for a mix of powder and liquid) and slowly whisk it into your filling over low heat. Keep stirring until it thickens to your desired consistency. It's like giving your filling a life jacket so it doesn't go overboard. If you don't have those on hand, a bit of melted chocolate (especially dark chocolate) can also help to firm things up, adding both richness and structure.
Another trick is to chill your filling. Sometimes, the heat is what's making it too runny. Pop it in the fridge for an hour or so and see if it firms up. If your filling is still runny after adding a thickener and chilling, you might need to add a bit more of your thickening agent, and make sure you are using the correct ratio for your recipe. Remember, patience is key here! It's better to add a little thickener at a time than to overdo it and end up with a filling that's too stiff.
Smoothing Out a Lumpy Filling:
The Melting Magic
Lumpy filling got you down? Don't throw in the towel yet! If it's just a few stubborn chocolate bits, try gently heating the filling over a double boiler or in the microwave in short intervals, stirring frequently. Make sure you are using low heat, and be careful not to overcook the filling. The key here is to be patient and gentle. Once the chocolate is fully melted, your filling should be smooth and velvety. If the lumps are due to unincorporated ingredients, sometimes a good, thorough whisk is all you need. Try using a whisk and mix vigorously to make sure all the ingredients are well combined.
If you are using a double boiler, make sure that the water is not touching the bottom of your bowl. If the bowl is too hot, it can burn the chocolate and cause it to seize. This will result in a grainy texture. If you are using a microwave, make sure you are using short intervals, and stir in between each interval. It is better to undercook than overcook. If the filling is still lumpy after all these steps, you can try using an immersion blender to smooth it out. It's like giving your filling a spa day – it comes out refreshed and smooth.
Problem | Action | Why it Works |
|---|---|---|
Runny Filling | Add thickener (cornstarch, arrowroot), chill | Thickeners bind liquids, chilling firms up fats. |
Lumpy Filling | Gentle heat, thorough whisking, immersion blender | Melts chocolate fully, combines ingredients, smooths texture. |
How to Avoid Chocolate Cake Filling Disasters

How to Avoid Chocolate Cake Filling Disasters
The Right Recipe:
Foundation First
Let’s face it, some recipes are just destined for disaster. Before you even start mixing, make sure you’re using a reliable recipe. Look for recipes with clear instructions and good reviews, especially if you’re new to making fillings. Don’t just grab the first recipe you find online; take a moment to vet it. A well-written recipe is like a good map; it guides you to your destination without getting lost along the way. Pay close attention to the ingredient ratios and the cooking times. These are not just suggestions; they're the building blocks of a successful filling. Sometimes, a little extra research can save you a whole lot of trouble.
Also, don’t be afraid to tweak a recipe to fit your preferences or ingredients. If you know that certain ingredients tend to give you trouble, adjust them or find substitutions. Baking is a science, but it's also an art, so feel free to experiment, but start with a solid base. Understanding how each ingredient interacts will make you more confident in the kitchen and help you avoid common mistakes. Remember, a good recipe is your best friend in baking, so choose wisely.
Temperature Control:
The Chill Factor
Temperature is your secret weapon when it comes to cake fillings. Always make sure that your filling is at the right temperature before you use it. If it's too warm, it can make your cake layers soggy and cause the filling to run. If it's too cold, it can be difficult to spread and may not adhere to the cake properly. It's a bit like Goldilocks; you want it to be just right. Allow your filling to cool down to room temperature or slightly chilled before assembling your cake. This helps the filling set properly and prevents it from oozing out when you cut into the cake. A little patience here goes a long way.
Also, make sure that your ingredients are at the correct temperature when you are making the filling. If your ingredients are too cold, they may not combine properly, which can cause your filling to be lumpy. If your ingredients are too warm, they may not set properly, which can cause your filling to be runny. So, make sure that your ingredients are at the correct temperature before you start. It’s like a well-rehearsed dance; each element needs to be in sync for the performance to go smoothly.
Tip | Why it Matters |
|---|---|
Use a reliable recipe | Ensures correct ratios and instructions |
Control temperatures | Prevents runny or lumpy fillings |
Mix thoroughly | Ensures even texture |
The Mixing Method:
Gentle Does It
How you mix your filling can make a big difference. Overmixing can introduce too much air, which can cause your filling to become unstable. It can also make your filling tough and rubbery. Be sure to mix your filling gently and just until the ingredients are combined. Overmixing is like trying to make a delicate soufflé with a jackhammer; it just won't work. Pay attention to the consistency and stop mixing as soon as everything is incorporated. It's about finesse, not force.
Also, be sure to incorporate your ingredients in the correct order. If your recipe calls for adding the dry ingredients to the wet ingredients, then do that. If your recipe calls for adding the wet ingredients to the dry ingredients, then do that. The order you add your ingredients can affect the texture and the consistency of your filling. It is like following a step-by-step guide; each step is important for the final result. Remember, a little care and attention to detail can go a long way in the kitchen.
"The secret ingredient is always love... and a good whisk." - *My Grandma*