
Table of Contents
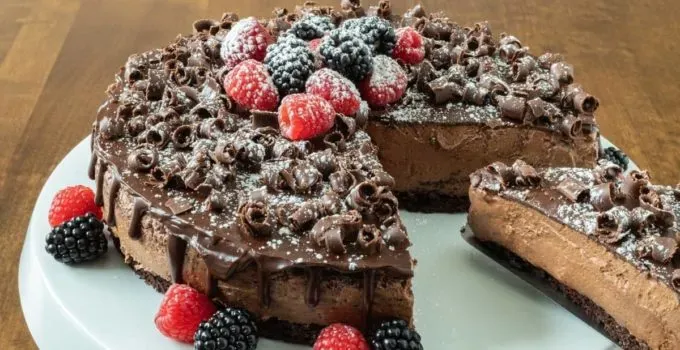
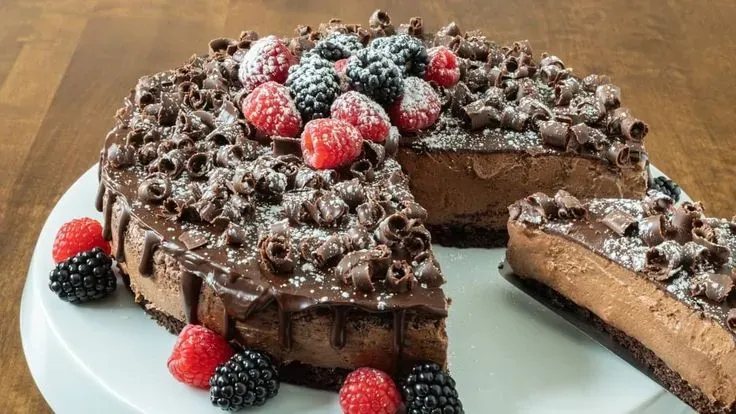
Let's be real, a great cake isn't just about the layers; it's the stuff in between that makes you close your eyes and sigh with happiness. And when that stuff is chocolate mousse? Game over. We're talking about that perfect balance – rich chocolate flavor that isn't heavy, and a texture so light it feels like biting into a cloud. If you've ever scrolled through pictures of perfectly filled cakes, maybe even eyeing those from famous bakeries, you know the standard. That's the vibe we're channeling here with our take on a go-to chocolate mousse filling. Forget complicated techniques or ingredients you can't pronounce. This is about getting that luscious, stable, decadent filling right in your own kitchen.
What You Need for This Chocolate Mousse Filling Recipe
What You Need for This Chocolate Mousse Filling Recipe
Gathering Your Chocolate Arsenal
let's talk turkey. Or rather, chocolate. Making a killer chocolate mousse filling recipe isn't rocket science, but you need the right stuff. First up, the star: chocolate. Don't cheap out here. That bag of waxy "chocolate flavored" chips isn't going to cut it. You need good quality dark chocolate. Think chips, or even better, a chopped bar around 60-70% cocoa. This gives you that deep, rich flavor without being overly bitter. You'll also need cocoa powder, the unsweetened kind. This boosts the chocolate intensity and helps with the texture. And of course, heavy cream. This is where the magic happens, turning liquid into light, airy goodness. Powdered sugar is your sweetener – it dissolves easily and keeps the mousse smooth. A splash of vanilla extract ties it all together, and a tiny pinch of salt, because salt makes chocolate taste more like... well, more like *chocolate*.
Tools of the Trade
Beyond the ingredients, you'll need a few things from your kitchen arsenal. Nothing fancy, mostly standard stuff. A heatproof bowl for melting the chocolate (a double boiler setup or a microwave works). A whisk is essential for whipping that cream into submission – stand mixers or hand mixers make this a breeze, but you can absolutely do it by hand if you want a workout. You'll need a spatula, preferably rubber or silicone, for gently folding. Precision matters, so measuring cups and spoons are a must. And something to chill the mousse in – a bowl covered with plastic wrap works perfectly. That's really it. You don't need specialized patisserie equipment to nail this cake boss chocolate mousse filling recipe.
- Good quality dark chocolate (chips or chopped bar)
- Unsweetened cocoa powder
- Heavy cream (the real deal, not half-and-half)
- Powdered sugar
- Vanilla extract
- Pinch of salt
Making the Magic: StepbyStep Chocolate Mousse Filling
Making the Magic: StepbyStep Chocolate Mousse Filling
Getting That Chocolate Base Just Right
Alright, let's get this party started. First things first, grab that good quality dark chocolate we talked about. Chop it up if it's a bar, or just measure out your chips. Pop it in a heatproof bowl. Now, you need a little liquid magic. The recipe calls for warm water and cocoa powder, mixed together. This isn't just for flavor; it helps melt the chocolate smoothly and prevents it from seizing up later. Think of it as insurance against chocolate disasters. Pour that warm cocoa mixture over your chocolate. Let it sit for a minute, just to get things warmed up, then start stirring gently. You want a smooth, glossy chocolate ganache-like situation. No lumps, no graininess. Just pure, melted chocolate goodness. Let this hang out and cool down a bit. You don't want to introduce hot chocolate to whipped cream unless you're aiming for chocolate soup, and trust me, you're not.
Whipping Cream into Cloud-Like Perfection
While your chocolate cools, turn your attention to the heavy cream. Pour it into a clean, cold bowl. Add your powdered sugar, vanilla extract, and that tiny pinch of salt. Now, whip it. If you have a stand mixer, crank it up to medium-high. If you're using a hand mixer, same deal. Doing it by hand? Godspeed, and prepare for an arm workout. You're looking for medium-stiff peaks. This means when you lift the whisk, the cream holds its shape but the very tip might curl over slightly. Don't go full-on butter here; overwhipped cream turns grainy and heavy, which is the opposite of what we want for a light mousse. Stop just when it looks fluffy and glorious.
- Melt chocolate with warm cocoa mix until smooth.
- Let the chocolate mixture cool slightly.
- Whip heavy cream with powdered sugar, vanilla, and salt to medium-stiff peaks.
- Do NOT overmix the whipped cream.
Pro Tips for Your Chocolate Mousse Cake Filling
Pro Tips for Your Chocolate Mousse Cake Filling
Temperature and Technique Matter
so you've got your glorious chocolate base and your whipped cream clouds. The next step is crucial: combining them. This is where many folks mess up. You absolutely cannot have your melted chocolate mixture warm when it meets the whipped cream. It will deflate it faster than a bad joke at a party. The chocolate needs to be cool, but still liquid enough to fold in smoothly. Think room temperature, maybe slightly cooler. When you combine them, use a gentle hand. Folding isn't stirring or beating. It's literally scooping from the bottom and bringing it over the top, rotating the bowl. You're trying to keep all that lovely air you whipped into the cream. Do it in stages – add about a third of the whipped cream to the chocolate first, lighten it up, then gently fold in the rest. Be patient; it takes a minute to get it fully incorporated without deflating the mousse.
- Ensure chocolate is cool before folding.
- Fold gently to maintain airiness.
- Combine in stages for best results.
- Avoid stirring or beating aggressively.
Choosing Your Chocolate Wisely
We touched on chocolate quality earlier, but it's worth repeating. The type of chocolate you use dramatically impacts the final flavor of your cake boss chocolate mousse filling recipe. Using cheap compound chocolate gives you a greasy, artificial taste. Opt for real chocolate with cocoa butter. Dark chocolate provides depth, but you can certainly use milk or even white chocolate if that's your jam, just adjust sweetness accordingly as milk and white chocolate contain more sugar. Experiment with different cocoa percentages in your dark chocolate to find your favorite intensity. Some bakers swear by specific brands, claiming they melt better or have a superior flavor profile. Find what you like and stick with it.
Chocolate Type | Flavor Profile | Best Use |
|---|---|---|
Dark Chocolate (60-70%) | Rich, slightly bitter, complex | Classic mousse, intense flavor |
Milk Chocolate | Sweet, creamy, mild chocolate | Sweeter desserts, crowd-pleaser |
White Chocolate | Sweet, vanilla-like, cocoa butter rich | Lighter flavors, contrasts with fruit |
Chilling is Not Optional
Once your mousse is mixed, it needs time to set up. Shoving it directly into a cake layer is a recipe for a squishy, unstable mess. You need to chill it. At least two hours is the minimum, but overnight is even better. This gives the chocolate time to firm up and the mousse structure to stabilize. Cover the bowl tightly with plastic wrap pressed directly onto the surface of the mousse. This prevents a skin from forming. A well-chilled mousse is firm enough to pipe or spread cleanly onto cake layers and won't ooze out the sides when you stack them. This chilling step is non-negotiable for a successful cake boss chocolate mousse filling recipe that holds its shape.
Swaps, Storage, and Using Your Mousse
Swaps, Storage, and Using Your Mousse
Mixing Things Up with Swaps and Variations
Look, this cake boss chocolate mousse filling recipe is solid gold as is, but maybe you're feeling adventurous or just don't have dark chocolate on hand. No sweat. You can absolutely play around with the chocolate. As mentioned, milk chocolate works for a sweeter, less intense flavor, and white chocolate brings a creamy, vanilla note. Just remember to adjust the sugar slightly, as milk and white chocolate have more. Want to get fancy? Try adding a tablespoon of espresso powder to the warm cocoa mixture for a mocha kick. A splash of a complementary liqueur like raspberry, orange (Grand Marnier, anyone?), or coffee (Kahlúa) can also elevate the flavor profile, just swap out a tiny bit of the water for the booze. A teaspoon of almond extract instead of vanilla? Go for it. The base is forgiving, letting you put your own stamp on this glorious filling.
Keeping it Fresh and Putting it to Work
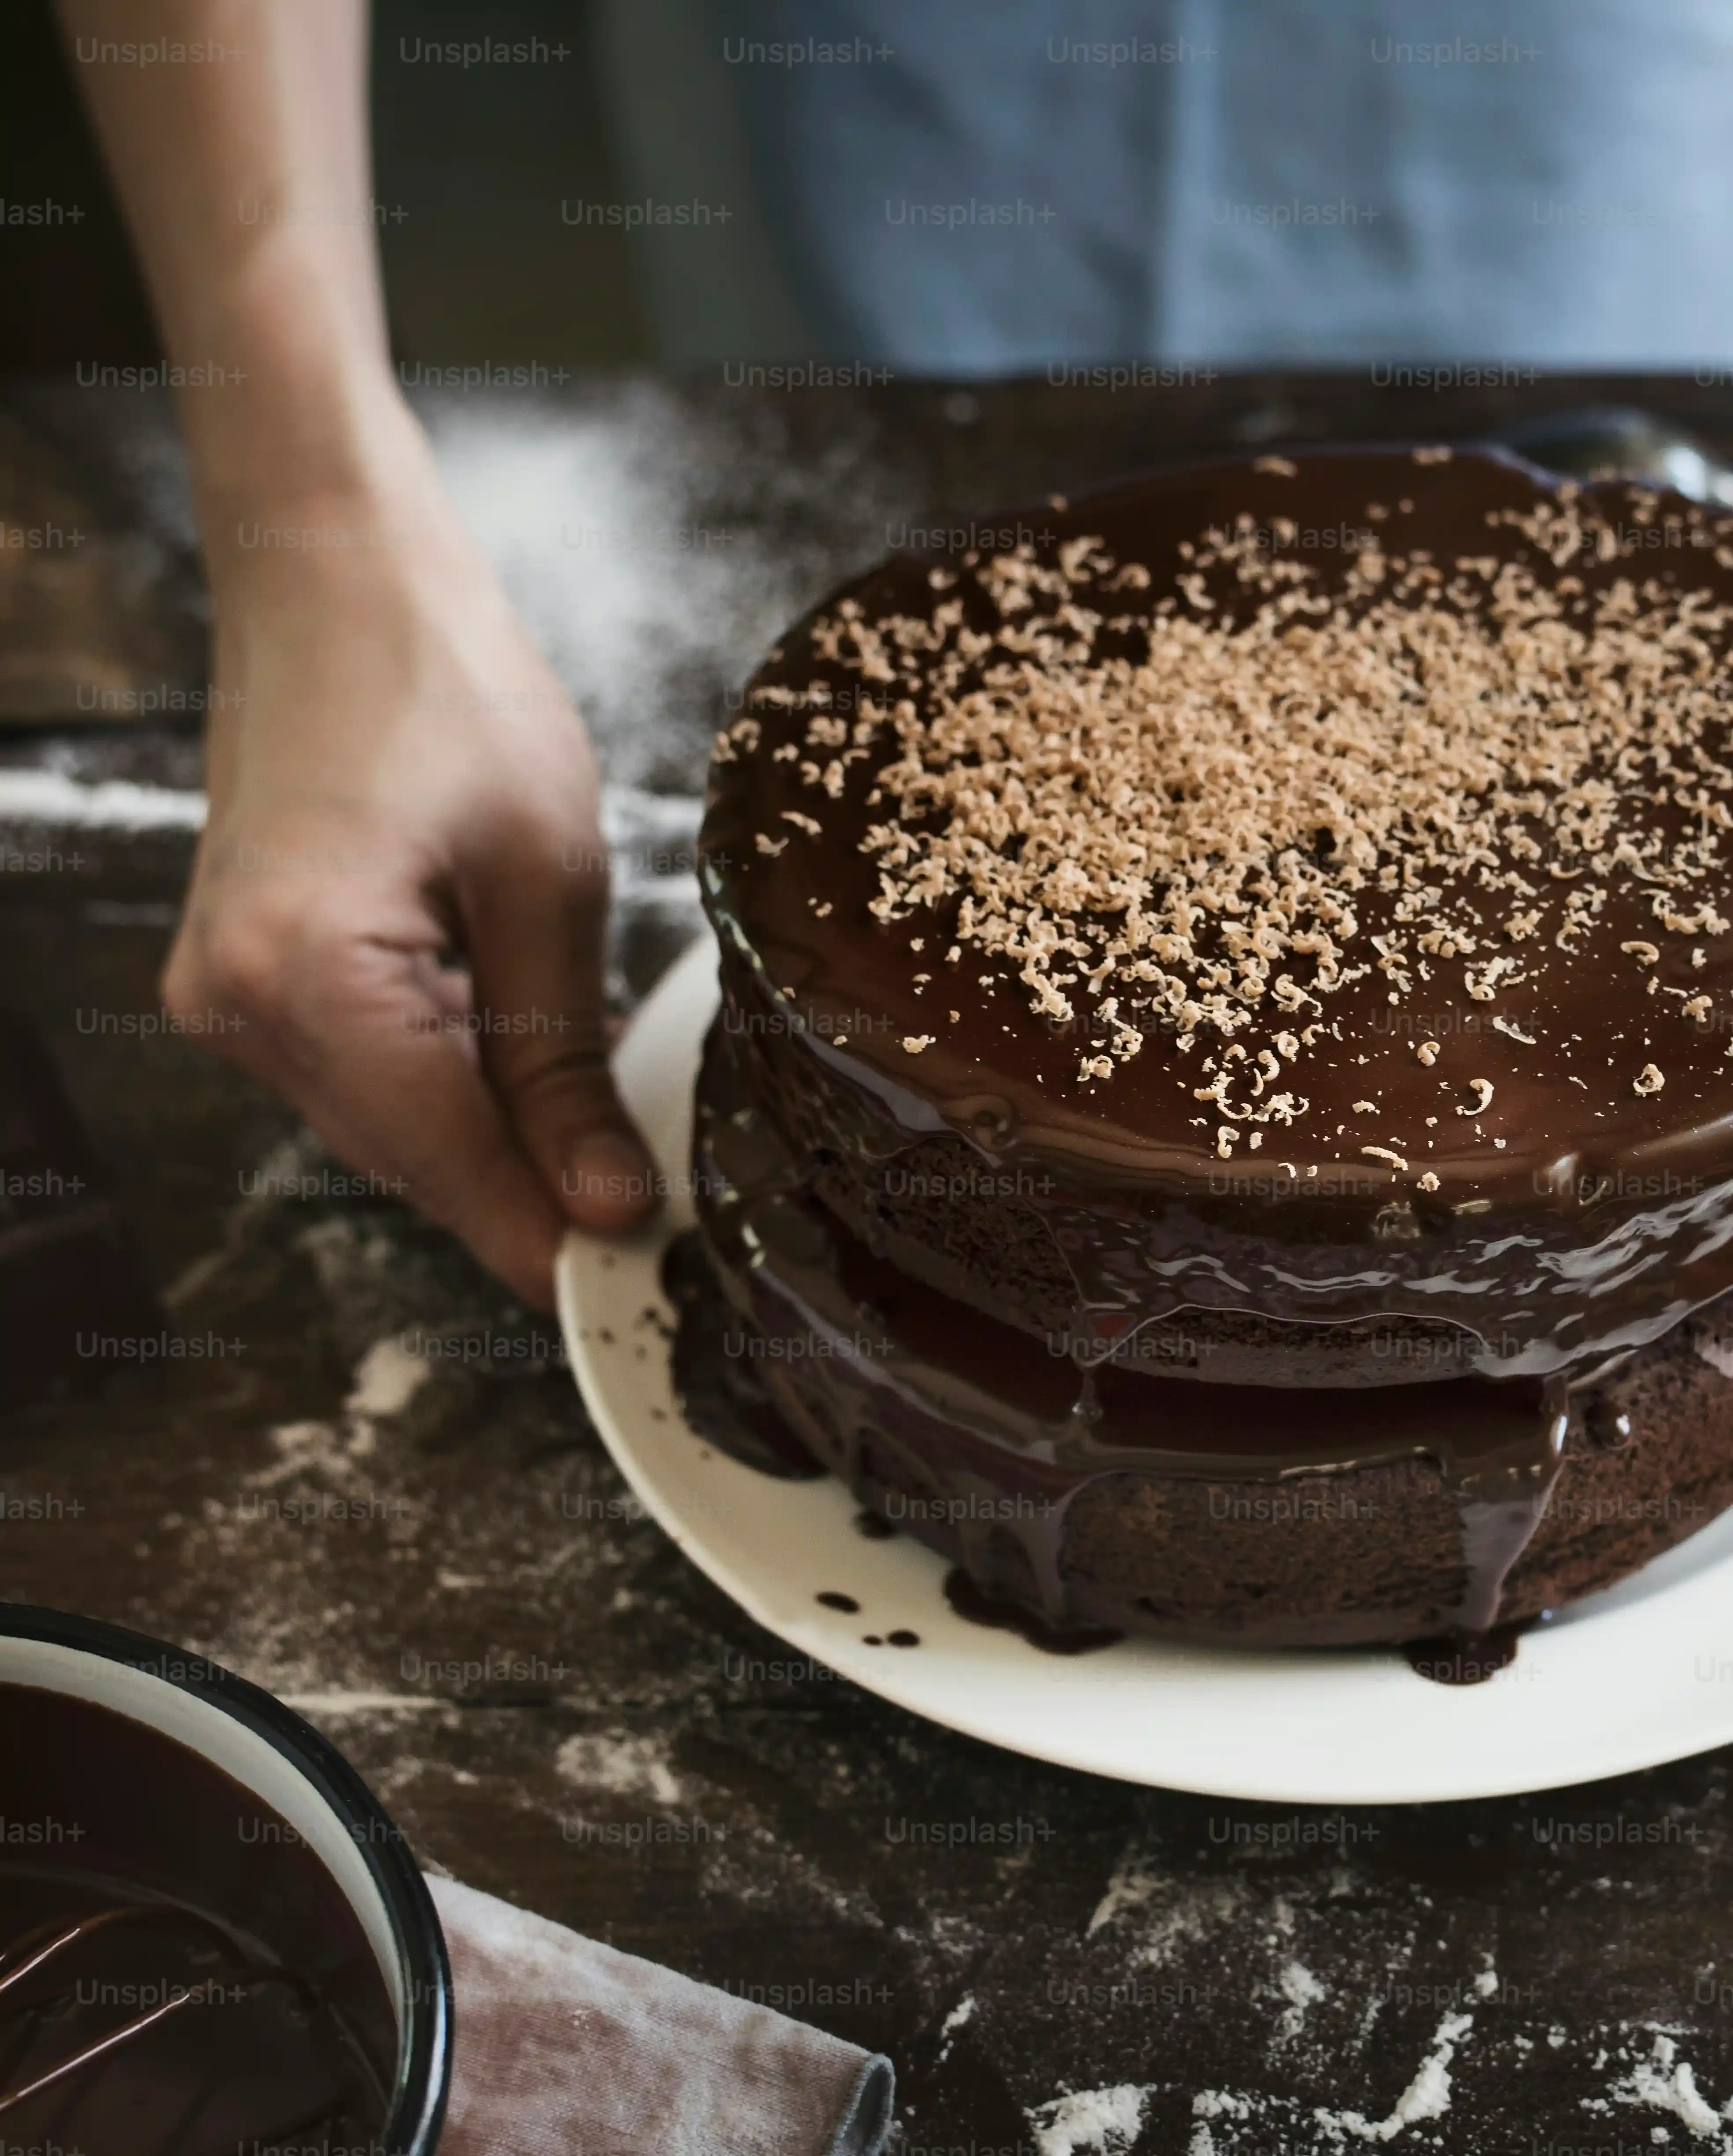
So you've made this beautiful, light, and airy chocolate mousse. Now what? First, storage. This mousse needs to stay cold to keep its structure. Once mixed and before using, keep it in an airtight container or the bowl covered tightly with plastic wrap pressed directly onto the surface. It holds well in the fridge for up to 2-3 days. Trying to make it further ahead? I wouldn't recommend freezing it; the texture gets weird and loses that lovely airiness. When you're ready to use it, give it a gentle whisk by hand if it feels a little stiff from chilling, just to loosen it up slightly. Then, spread it generously between cake layers. It's also fantastic piped into cupcakes, spooned into dessert glasses, or even just eaten straight from the bowl with a spoon (no judgment here). A well-made cake boss chocolate mousse filling recipe is incredibly versatile.
- Store mousse in an airtight container or tightly covered bowl in the fridge.
- It lasts 2-3 days chilled.
- Do not freeze; texture degrades.
- Gently whisk before using if needed.
- Use as cake/cupcake filling, in parfaits, or eat plain.
Your Mousse Masterpiece Awaits
So there you have it. You've whipped, melted, and folded your way to a seriously good chocolate mousse filling. No need for a professional pastry kitchen; just good ingredients and a little patience. This isn't about replicating some exact "Cake Boss" formula, but about giving you the tools to create a filling that holds its own – literally, in a layered cake – while delivering that deep, satisfying chocolate hit. Use it generously. Your cakes, cupcakes, or even a simple bowl and spoon will thank you.