Table of Contents
Ever watch Buddy Valastro whip up those incredible cakes and wonder how he gets that impossibly light, yet intensely chocolatey filling? You know the one. The kind that makes you want to face-plant right into the layers. If you've been dreaming of recreating that magic in your own kitchen, specifically the coveted cake boss chocolate mousse cake filling recipe, you're in the right place. Forget complicated patisserie techniques or secret ingredients guarded by dragons. We're breaking down how to achieve that dreamy, fluffy chocolate cloud that elevates any cake from 'nice' to 'wow'.
Understanding Cake Boss Style Chocolate Mousse Filling
Understanding Cake Boss Style Chocolate Mousse Filling
More Than Just Chocolate Fluff
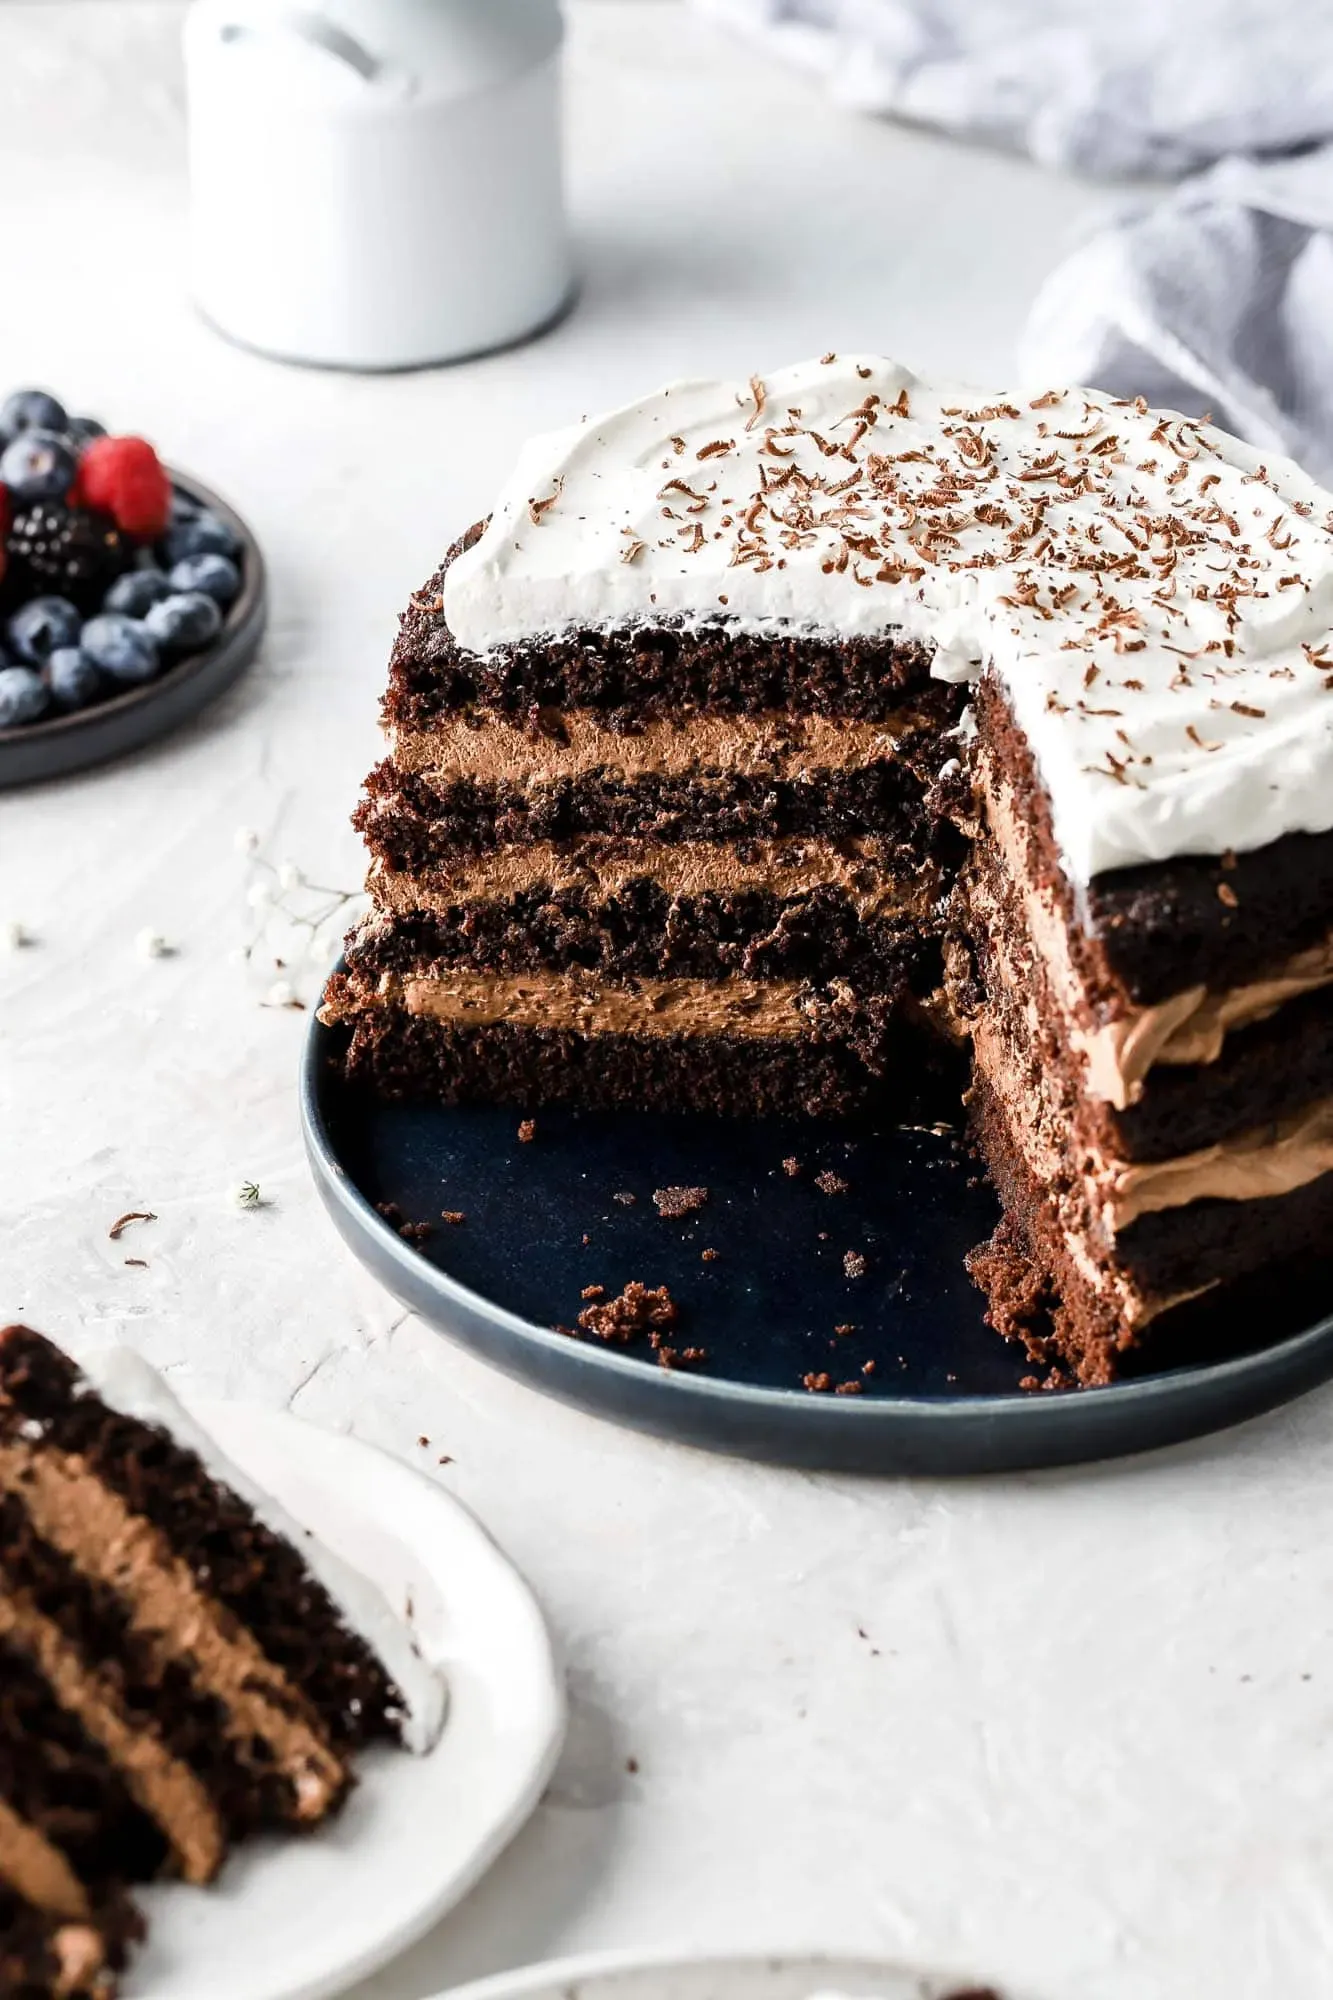
When you hear "chocolate mousse," you might picture that delicate, airy dessert served in a fancy glass, something you'd scoop with a spoon and that melts the second it hits your tongue. That's lovely, but it's not what you want inside a layer cake expected to hold its shape. The cake boss chocolate mousse cake filling recipe is built differently. It needs backbone. It has to be stable enough to support the weight of another cake layer without squeezing out the sides like a sad, chocolatey toothpaste tube. It's still light, absolutely, but it's got structure, a firmness that stands up to the job while still being incredibly smooth and rich.
The Balancing Act of Texture and Taste
Achieving this requires a specific balance. You need the intense chocolate flavor, obviously, but you also need the right amount of fat from the cream and perhaps a little something extra to ensure it sets up properly. It's not just whipping cream until it's stiff. There's a technique to folding in the chocolate component without deflating all that hard-won air. Think of it as creating a stable, edible cloud that won't turn into a puddle under pressure. It's a delicate dance between richness and rigidity, and getting it right is the key to a successful cake filling.
- It's stable enough for cake layers.
- It's rich in chocolate flavor.
- It holds its shape when chilled.
- It's smoother than buttercream.
Why This Mousse Works for Cakes
Unlike a pure gelatin-set mousse or one relying solely on egg whites, this style often uses the natural setting power of chocolate combined with the structure of whipped cream. This combination provides stability without becoming rubbery or dense. It stays creamy and melts in your mouth, not just on the plate. It’s the difference between a filling that enhances the cake and one that fights it, either by being too heavy or too unstable. This mousse settles into the layers, becoming part of the cake's architecture, not just an afterthought slopped in the middle.
Gathering What You Need for This Chocolate Mousse Cake Filling Recipe
Gathering What You Need for This Chocolate Mousse Cake Filling Recipe
Stocking Your Mousse Arsenal
Alright, so you want to make that cake boss chocolate mousse cake filling recipe happen? First things first, let's talk gear and goodies. You don't need a professional pastry kitchen, but a few basics are non-negotiable. You'll definitely need a stand mixer with a whisk attachment, or at the very least, a sturdy hand mixer. Trying to whip heavy cream by hand to the right consistency is a workout nobody asked for, and your arm will hate you. Beyond that, grab a couple of good-sized mixing bowls (chilling one beforehand is a pro move, trust me), a rubber spatula for folding (gentle is the name of the game here), and a double boiler setup or a microwave-safe bowl for melting chocolate.
- Stand or Hand Mixer (essential for whipping)
- Mixing Bowls (at least two, one for chocolate, one for cream)
- Rubber Spatula (for careful folding)
- Double Boiler or Microwave (for melting chocolate)
- Measuring Cups and Spoons (accuracy matters)
Whipping Up Your Cake Boss Chocolate Mousse Cake Filling: The Steps
Whipping Up Your Cake Boss Chocolate Mousse Cake Filling: The Steps
Melting That Chocolate Magic
Alright, let's get down to the nitty-gritty of making this luscious cake boss chocolate mousse cake filling recipe. First up, the chocolate. You've got your good quality dark chocolate chips or chopped bar, right? Don't skimp here; the flavor is everything. You need to melt this carefully. A double boiler is classic – a heatproof bowl set over a pot of simmering water, making sure the bottom of the bowl doesn't touch the water. Stir it gently until it's smooth and glossy. If you're using the microwave, go low and slow. Heat in 20-30 second bursts, stirring well after each one. Chocolate holds its shape even when melted, so you might not see it look fully liquid until you stir. Stop heating just before it's all melted and let the residual heat finish the job. This prevents scorching, which gives chocolate a nasty, grainy texture. Once melted, whisk in your warm water and cocoa powder until it's perfectly smooth. Set this aside to cool slightly; you don't want to shock your whipped cream later with hot chocolate.
Whipping Cream to Stiff Peaks
Now for the fluffy part. Get that chilled mixing bowl and whisk attachment ready. Pour in your heavy whipping cream, powdered sugar, and a splash of vanilla extract. Start on medium speed, then gradually increase to high. Watch it like a hawk. It goes from liquid to thickened to soft peaks (where it looks like soft waves) to stiff peaks (where it holds its shape when you lift the whisk) pretty quickly. You want stiff peaks – think clouds that stand tall, not sag. Over-whipping turns it grainy and buttery, which is not the texture we're going for in this cake boss chocolate mousse cake filling recipe. Stop the mixer as soon as those peaks are firm and hold their shape. This is the airy backbone of your mousse.
Remember that time I thought I could check my phone "just for a second" while whipping cream? Yeah, I ended up with butter. Learn from my mistakes. Stay focused for this minute or two.
Whipped Cream Stage | Appearance | Usefulness for Mousse |
|---|---|---|
Soft Peaks | Tips curl over | Too loose, won't hold shape |
Stiff Peaks | Tips stand straight up | Perfect! Provides structure |
Over-whipped | Looks grainy, starts separating | Ruined for mousse, becoming butter |
Folding for Fluffiness and Structure
This is the most crucial step for that signature cake boss chocolate mousse cake filling texture. Take about a third of your whipped cream and add it to the slightly cooled melted chocolate mixture. Gently fold it in with your rubber spatula until mostly combined. Don't be aggressive; you're trying to lighten the chocolate mixture, not beat the air out of the cream. Now, add the remaining whipped cream to the chocolate mixture. Again, fold gently. Use an under-and-over motion, scraping the bottom and sides of the bowl, lifting the heavier chocolate mixture up and through the lighter cream. Stop folding as soon as there are no more white streaks of cream. A few small chocolate swirls are fine. Over-folding will deflate the mixture, resulting in a dense, sad filling instead of the light, airy mousse you want. This gentle incorporation is what keeps the mousse stable yet fluffy, ready to be the star of your cake.
Tips to Nail This Chocolate Mousse Cake Filling Recipe
Tips to Nail This Chocolate Mousse Cake Filling Recipe
Chill Everything That Touches Cream
Look, making this cake boss chocolate mousse cake filling recipe isn't rocket science, but there are a few simple things that make a huge difference. First rule of whipped cream club: cold is your friend. Seriously, pop your mixing bowl and whisk attachment (or hand mixer beaters) in the freezer for 10-15 minutes before you start whipping the cream. Cold equipment helps the cream whip up faster and achieve those crucial stiff peaks more easily. Warmer cream is just lazy; it takes longer and might not get as stable. Also, make sure your heavy cream is straight from the fridge, as cold as possible. This isn't a suggestion; it's a commandment for fluffy, stable mousse.
Quality Chocolate and Gentle Folding are Key
Another critical point for a fantastic cake boss chocolate mousse cake filling recipe? The chocolate itself. Don't grab the cheapest candy bar you can find. Use good quality dark or semi-sweet chocolate. The better the chocolate, the better the flavor, simple as that. It also melts and sets better. And when it comes to combining the melted chocolate with the whipped cream, remember the golden rule: be gentle. You spent good time and effort whipping air into that cream; don't punch it all out by stirring aggressively. Folding is a delicate art. It's about coaxing the mixtures together, preserving that airiness. Over-mixing is the enemy; it leads to a dense, sad filling. Stop as soon as it's just combined.
- Always chill your bowl and whisk.
- Use high-quality chocolate for best flavor and texture.
- Melt chocolate carefully to avoid scorching.
- Whisk cream to stiff peaks, but stop before it turns grainy.
- Fold gently to keep the mousse light and airy.
Storing and Using Your Chocolate Mousse Filling
Storing and Using Your Chocolate Mousse Filling
Give It Time to Chill Out
You've done the work, you've got this beautiful, fluffy chocolate mousse that smells divine. Don't even think about scooping it straight into a cake yet. This stuff needs time to firm up and for the flavors to meld. Transfer the finished cake boss chocolate mousse cake filling to an airtight container. Press a piece of plastic wrap directly onto the surface of the mousse. This prevents a skin from forming, which is just unpleasant. Stick it in the refrigerator for at least two hours. Seriously, minimum two hours. Overnight is even better. It needs this chilling time to develop that stable, sliceable texture that works so well as a cake filling. Patience is a virtue, especially when it comes to creamy desserts.
How Long Does This Mousse Last?
So, you made a batch of this cake boss chocolate mousse cake filling recipe, and maybe you didn't use it all right away, or you're planning ahead. Once properly chilled and stored in an airtight container in the fridge, this mousse is generally good for about 2 to 3 days. After that, the texture might start to change slightly, losing some of its initial airiness, though it will still taste okay for maybe another day. Freezing isn't really recommended for this type of mousse; the texture tends to break down upon thawing, leaving you with something less than ideal. It's best used fresh within that initial few days for optimal fluffiness and stability.
Storage Method | Container | Duration | Notes |
|---|---|---|---|
Refrigerator | Airtight with plastic wrap on surface | 2-3 days | Best texture and stability |
Freezer | Not recommended | N/A | Texture degrades upon thawing |
Filling Cakes and Beyond
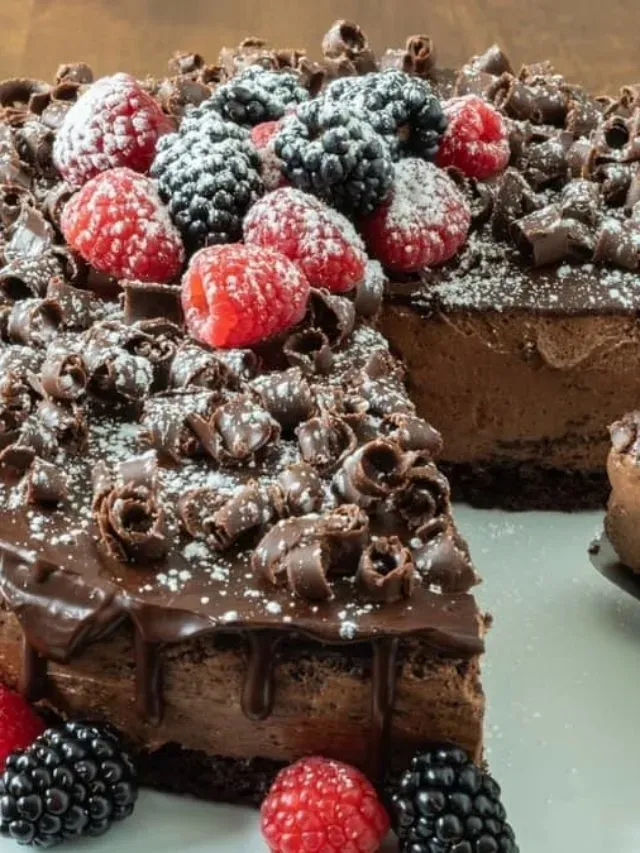
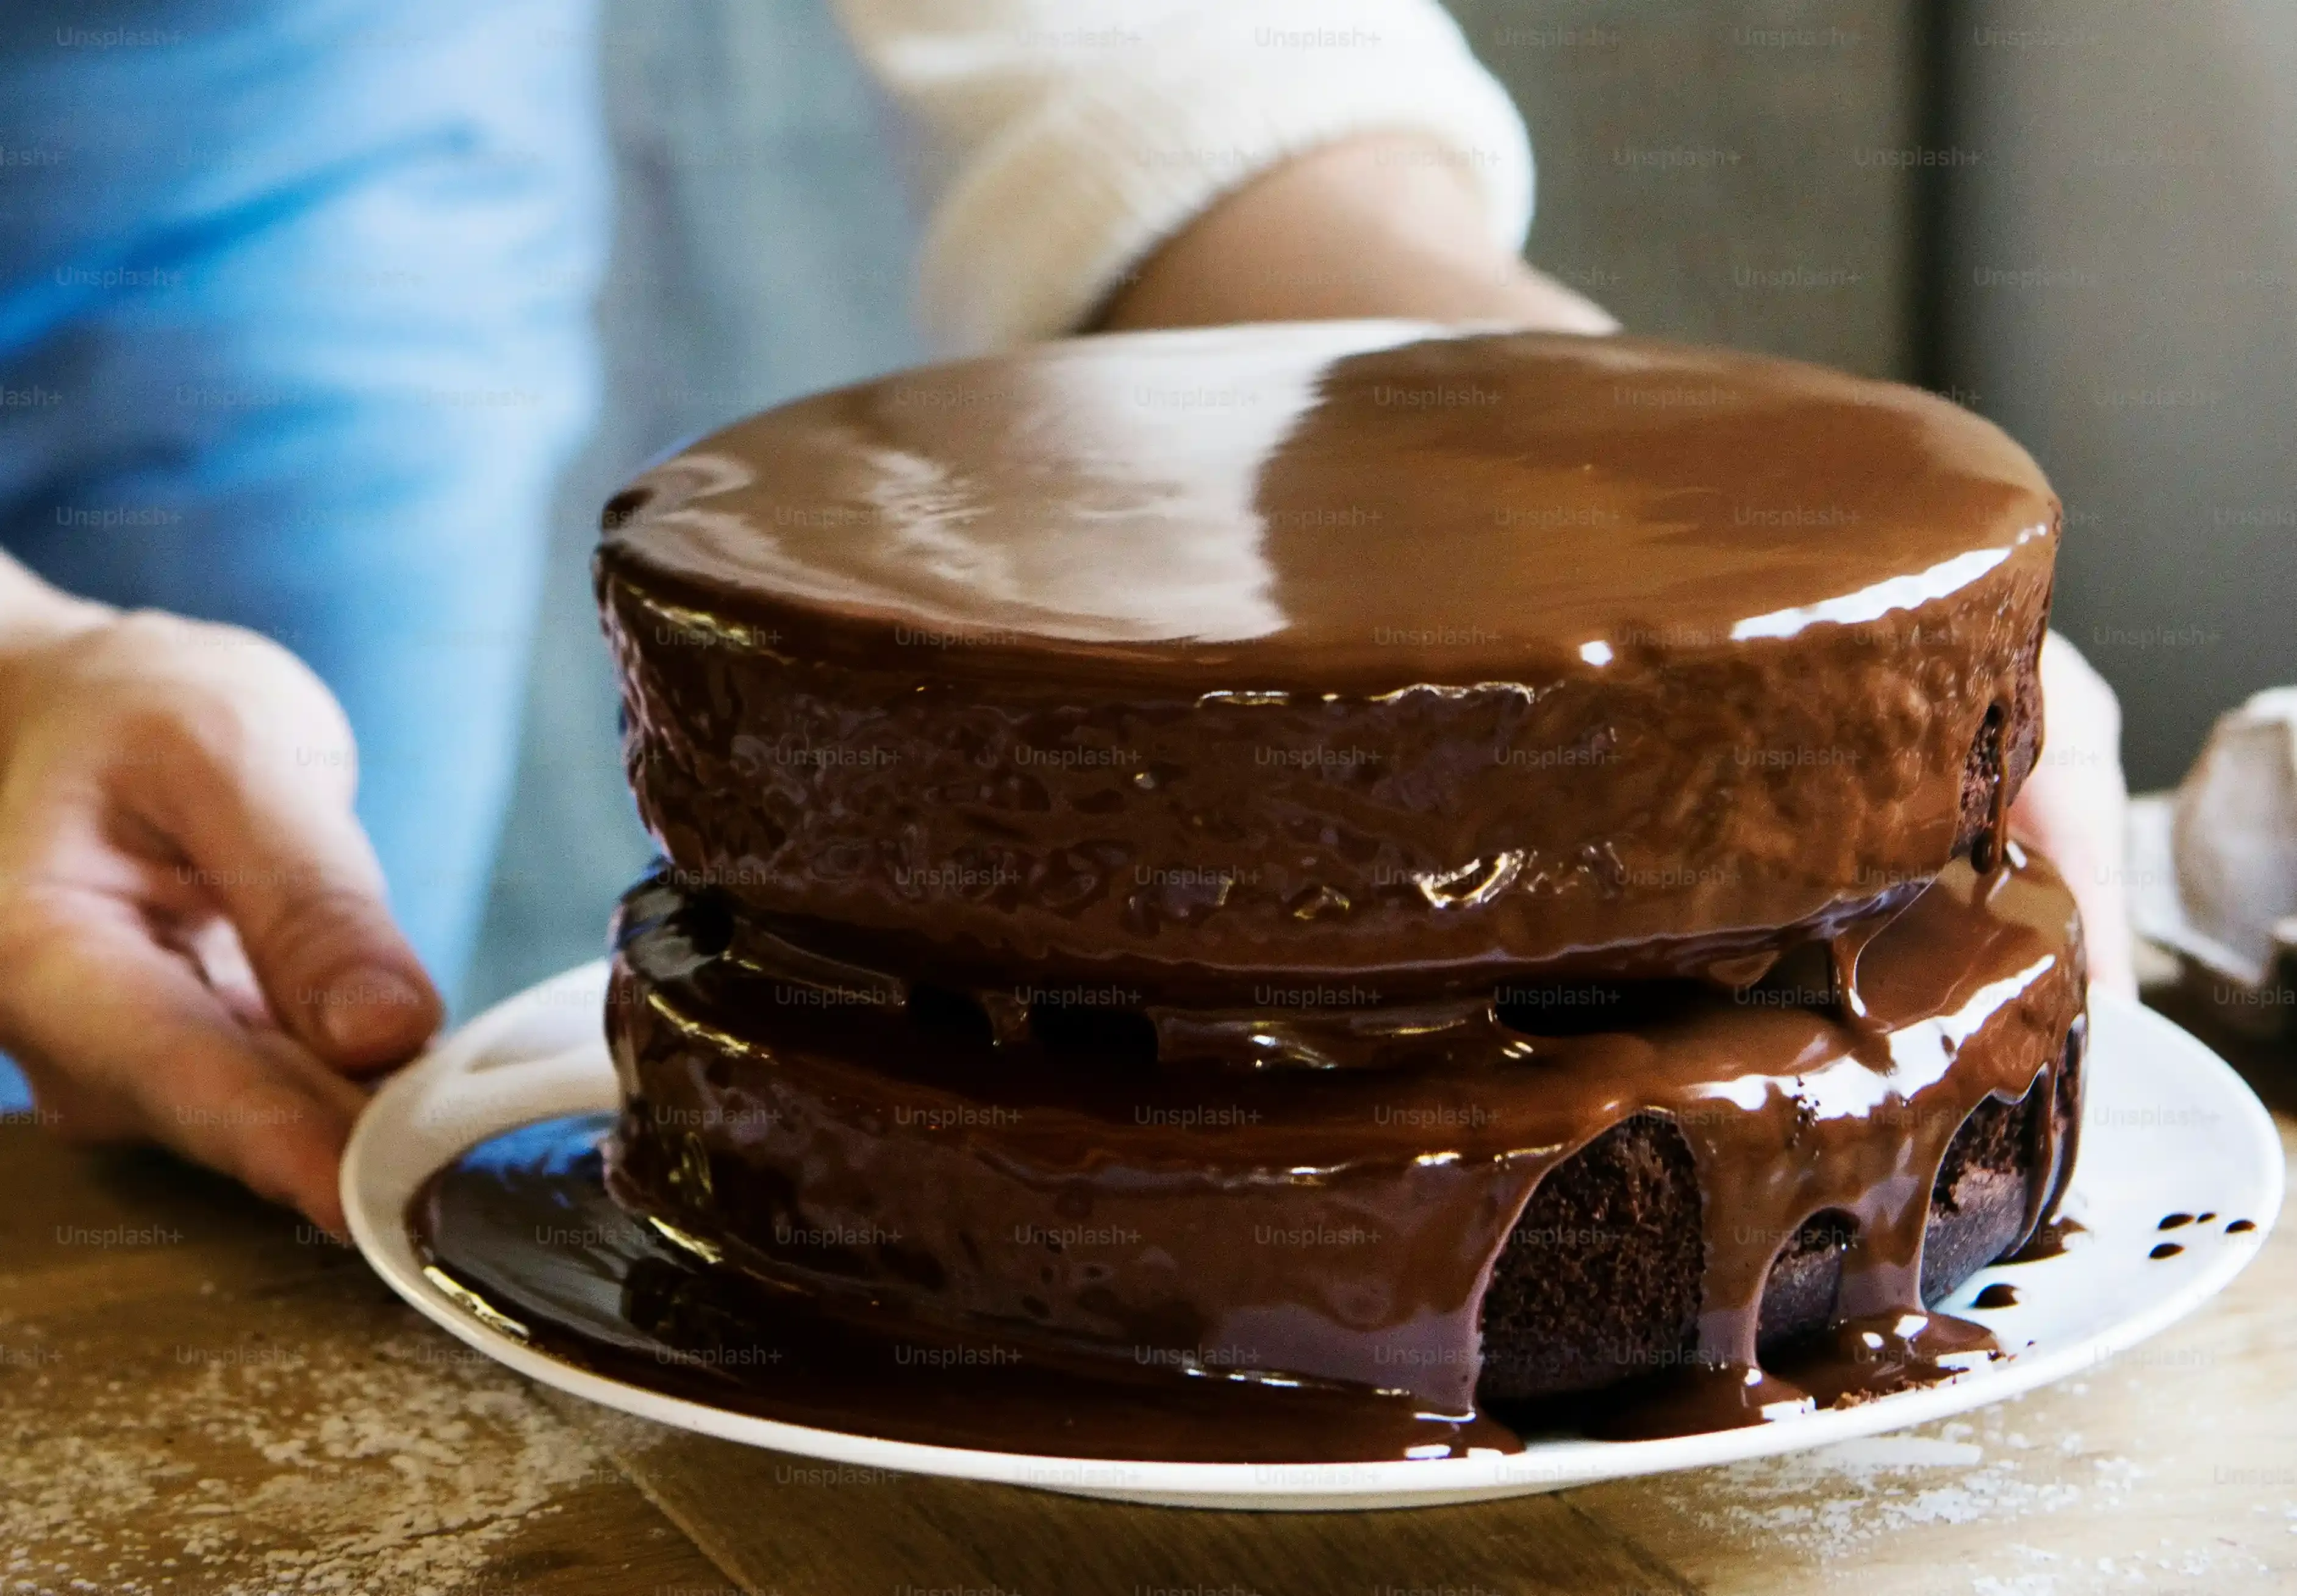
Once your chocolate mousse cake filling recipe creation is perfectly chilled and firm, it's ready for its starring role. You can spread generous layers between your cake layers. Because it's stable, you don't need a dam of frosting around the edge like you might with a looser filling, although a thin dam can add extra insurance if you're nervous or stacking many layers. It's also fantastic piped into cupcakes or used as a filling for tarts or pastry shells. Or, honestly, just grab a spoon and eat it straight from the container. I won't tell. It's that good. This filling provides a rich counterpoint to vanilla or even more chocolatey cake layers, adding moisture and an incredible melt-in-your-mouth texture.
Your Decadent Cake Boss Mousse Awaits
So there you have it. No need for a trip to Carlo's Bakery (though we wouldn't say no!). You now possess the key to making a fantastic cake boss chocolate mousse cake filling recipe right in your own kitchen. It's simpler than you might think, and the payoff – that light, airy, deeply chocolatey filling – is absolutely worth it. Go forth, fill those cakes, cupcakes, or just grab a spoon and enjoy a little bowl of creamy perfection. Your desserts just got a serious upgrade.