Table of Contents
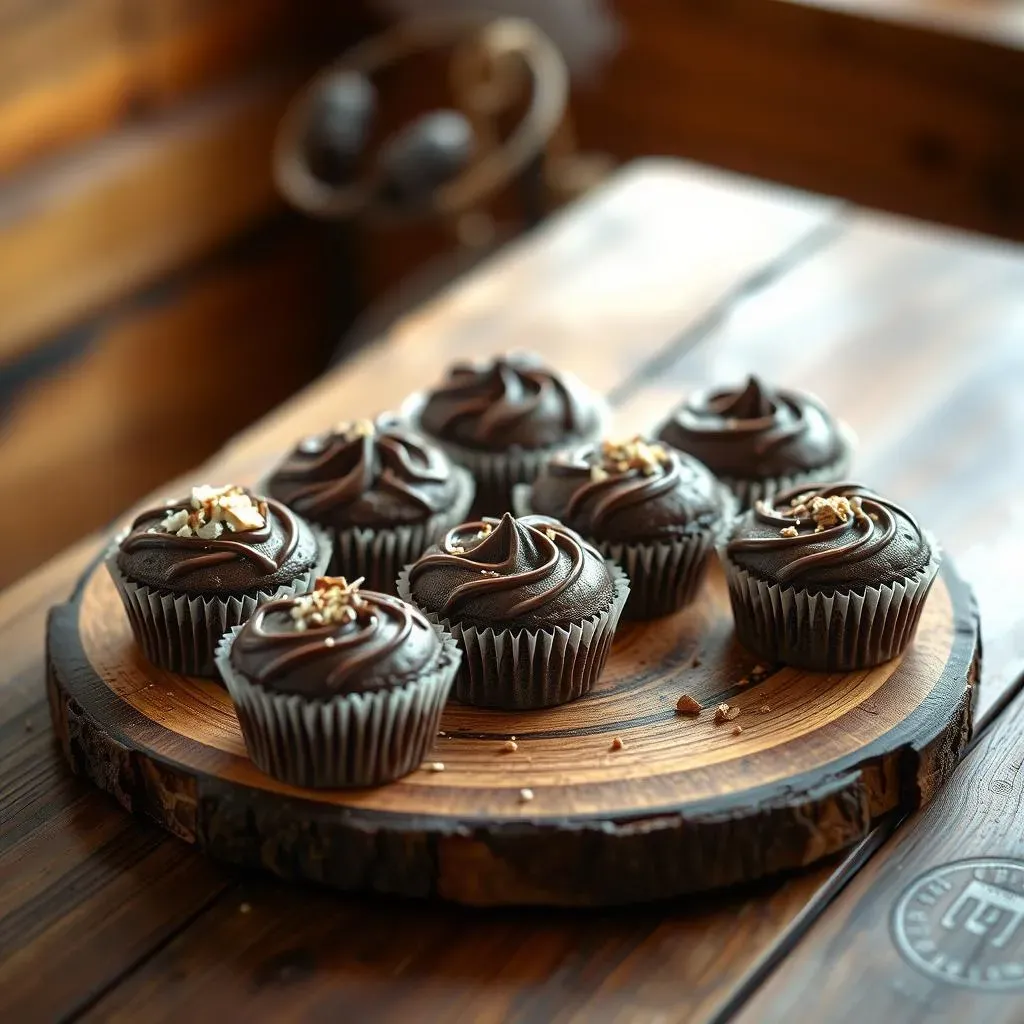
Ever dreamt of a chocolate cake that's perfectly portioned, intensely flavorful, and ridiculously cute? Well, dream no more! We're diving headfirst into the world of the best mini chocolate cake recipes, and trust me, it's a delicious place to be. Forget those massive cakes that sit in the fridge for days; we're talking about individual delights that are just right for a treat, a party, or even a "just because" moment. This isn't just about baking; it's about creating tiny masterpieces that pack a serious chocolate punch. We'll guide you through crafting the perfect batter, baking those little cakes to perfection, and then, the best part, decorating them until they're almost too pretty to eat (almost!). And we won't stop there, we'll also explore some fun variations and how to keep them fresh for when you need a little chocolate pick-me-up. So, grab your apron, and let's get baking these irresistible mini chocolate wonders!
The Perfect Mini Chocolate Cake Batter
The Perfect Mini Chocolate Cake Batter
Why This Batter Rocks
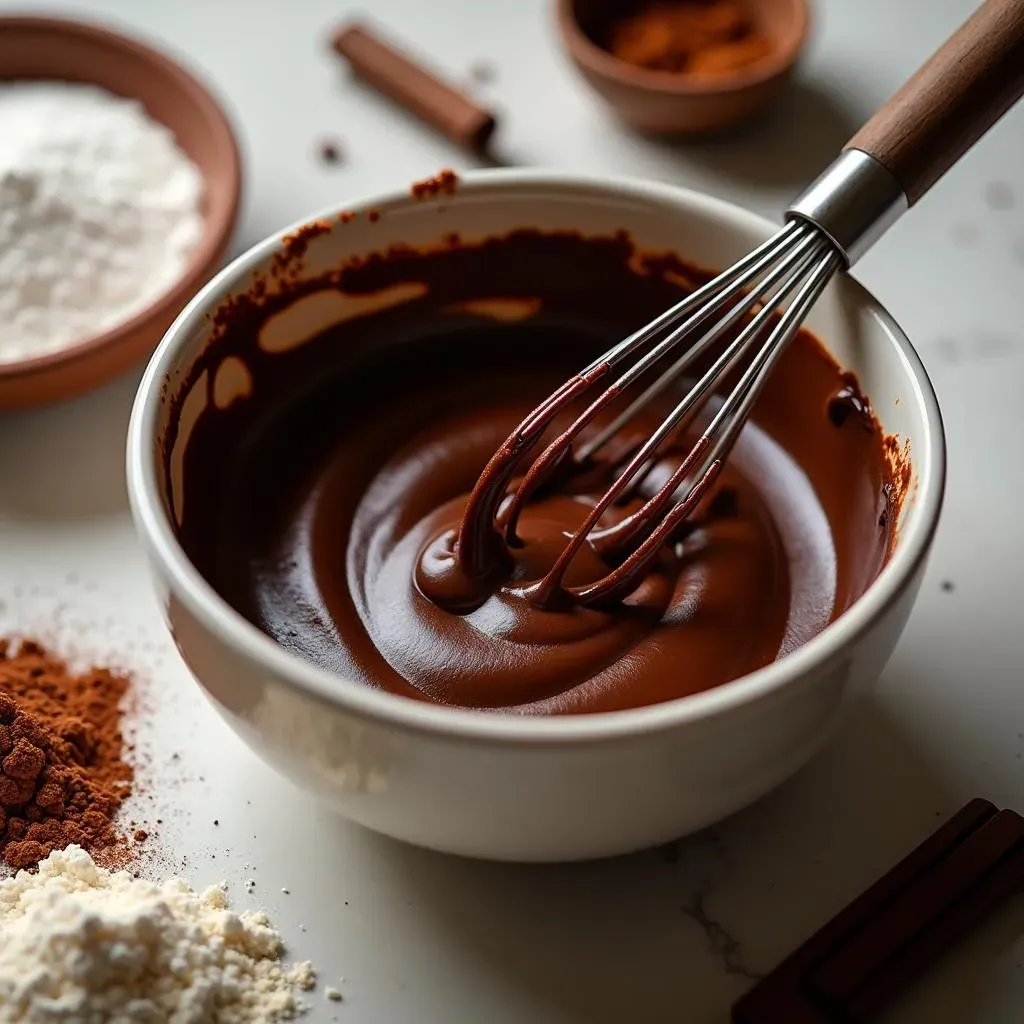
Okay, so you're after the best mini chocolate cake ever, right? The secret isn’t some fancy, hard-to-find ingredient. It’s all about a solid, reliable batter. Think of it like the foundation of a house; if it’s wobbly, the whole thing’s going to be a mess. What we’re aiming for is a batter that’s moist, flavorful, and easy to handle. We're not trying to create a science experiment here. I prefer a classic chocolate cake batter because it's just so darn dependable. It’s the kind that bakes up beautifully every single time, no drama. Plus, it’s a quick mix, which is a big win in my book. Let's face it, who has time to spend hours on a single batter?
The Dry Stuff
Let's talk about the dry ingredients first. This is where the magic starts to happen. You'll need flour, of course, and good quality cocoa powder - the unsweetened kind. Don’t skimp on the cocoa; it’s the soul of our chocolate cake. Then comes the sugar, baking soda, baking powder, and a pinch of salt. I know, salt in a sweet cake? Trust me, it enhances the flavors and makes everything taste so much better. Whisk these all together until they're completely combined. You don't want any clumps lurking around, they're party poopers.
Ingredient | Why It Matters |
|---|---|
Flour | Provides structure |
Cocoa Powder | Gives the chocolate flavor |
Sugar | Adds sweetness |
Baking Soda & Baking Powder | Helps the cake rise |
Salt | Enhances flavor |
The Wet Stuff
Now, for the wet ingredients. We're talking eggs, vanilla extract, milk, and oil. The eggs bind everything together. The vanilla adds a touch of warmth, and the oil makes sure the cake stays super moist. Nobody wants a dry cake, right? I'm using vegetable oil, but any neutral oil will work. Mix these wet ingredients in a separate bowl. Once they're combined, pour them into the bowl with the dry ingredients. Mix until everything is just combined. Don't overmix! Overmixing can result in a tough cake, and we're aiming for tender and fluffy.
Baking Your Best Mini Chocolate Cakes
Baking Your Best Mini Chocolate Cakes
Prep Your Pans Like a Pro
Alright, you've got your batter, now it's time to get those pans ready. Don't just throw the batter in there and hope for the best! This step is crucial for making sure your mini cakes come out easily and look amazing. I like to use mini cake pans – the ones with individual cups, but you can use any small baking pan. First, grease each cup really well. I'm talking every nook and cranny. Then, cut out small circles of parchment paper and place them at the bottom of each cup. This is my secret weapon to make sure the cakes don’t stick to the pan. Trust me, it’ll save you from a lot of frustration.
If you don't have parchment paper, a good greasing and dusting with cocoa powder will also do the trick. The cocoa powder helps prevent white flour residue from showing up on the sides of the cakes, keeping them looking professional. It is these small steps that make all the difference.
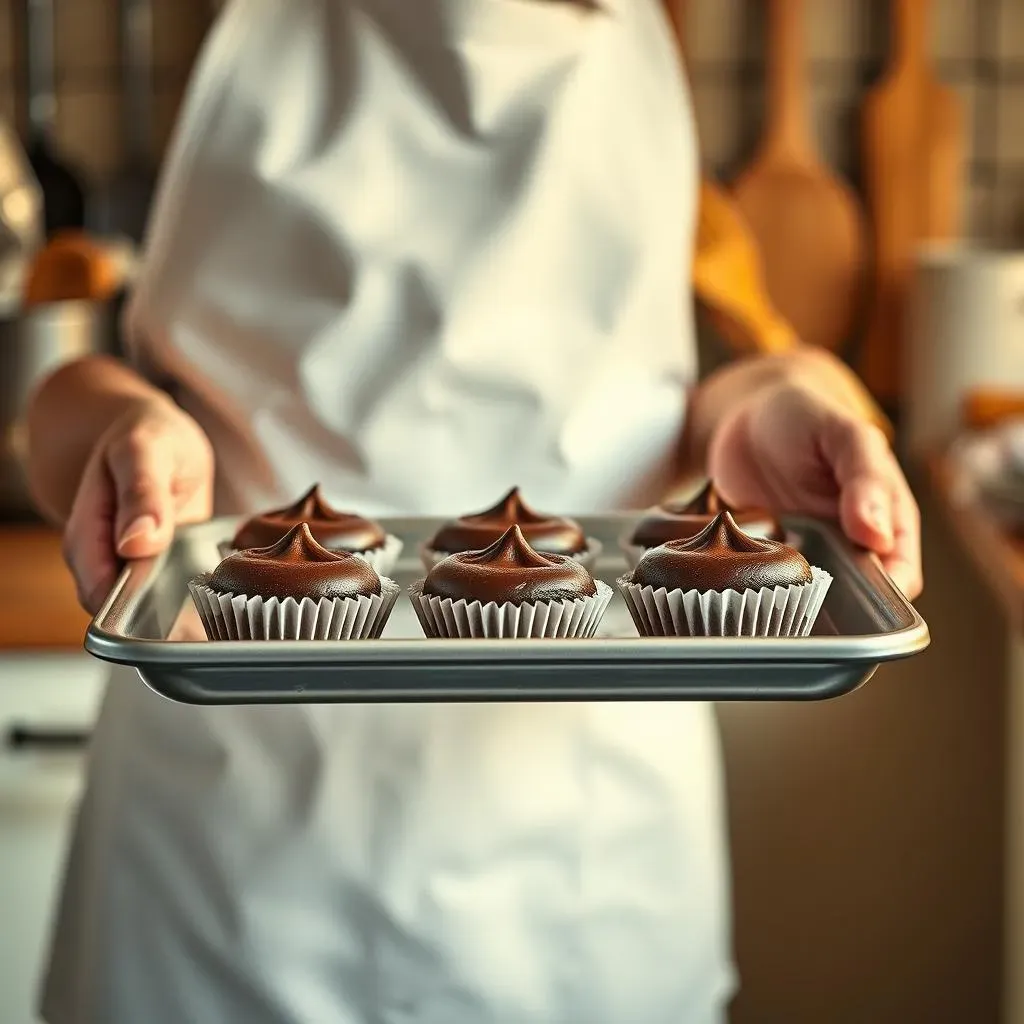
Filling and Baking
Now, it's time to fill those pans. I like to use a spoon or even a small ice cream scoop to fill each cup. Don't overfill them, though! Aim for about two-thirds full. If you fill them too much, they’ll spill over while baking, and you’ll end up with a hot mess. Once the pans are filled, it's time for the oven. Make sure your oven is preheated to the correct temperature, usually around 350°F (175°C). The baking time will vary depending on the size of your pans, but it's usually around 12-15 minutes for mini cakes. Keep an eye on them, and use a toothpick to check for doneness. If the toothpick comes out clean, they're ready.
Remember, all ovens are not created equal. You might need to adjust the baking time slightly depending on your oven. It’s better to start checking on the cakes a bit earlier than to let them overbake.
Step | Action | Why |
|---|---|---|
Grease Pans | Coat each cup thoroughly | Prevents sticking |
Parchment Paper | Place in each cup | Ensures easy removal |
Fill Cups | 2/3 full | Avoids overflow |
Bake | At correct temperature | Cooks cakes evenly |
Toothpick Test | Insert in center | Checks for doneness |
Cooling and Patience
Once the cakes are out of the oven, let them cool in the pans for a few minutes before trying to remove them. If you try to take them out too soon, they might crumble. After a few minutes, carefully transfer them to a wire rack to cool completely. This is super important! Don’t even think about frosting them while they’re still warm. The frosting will melt, and you’ll have a sticky mess, and we want our cakes to look absolutely perfect. While they're cooling, you can get started on the frosting. Patience is key in baking, and this is where it matters most. So take a breath, maybe make a cup of tea, and let those little cakes cool down.
Pro tip: if you're in a hurry, place the cakes (still in the pan) in the freezer for 10 minutes. This will speed up the cooling process. Just make sure to remove them before they freeze completely!
Frosting and Decorating Your Mini Chocolate Cakes
Frosting and Decorating Your Mini Chocolate Cakes
The Art of Frosting
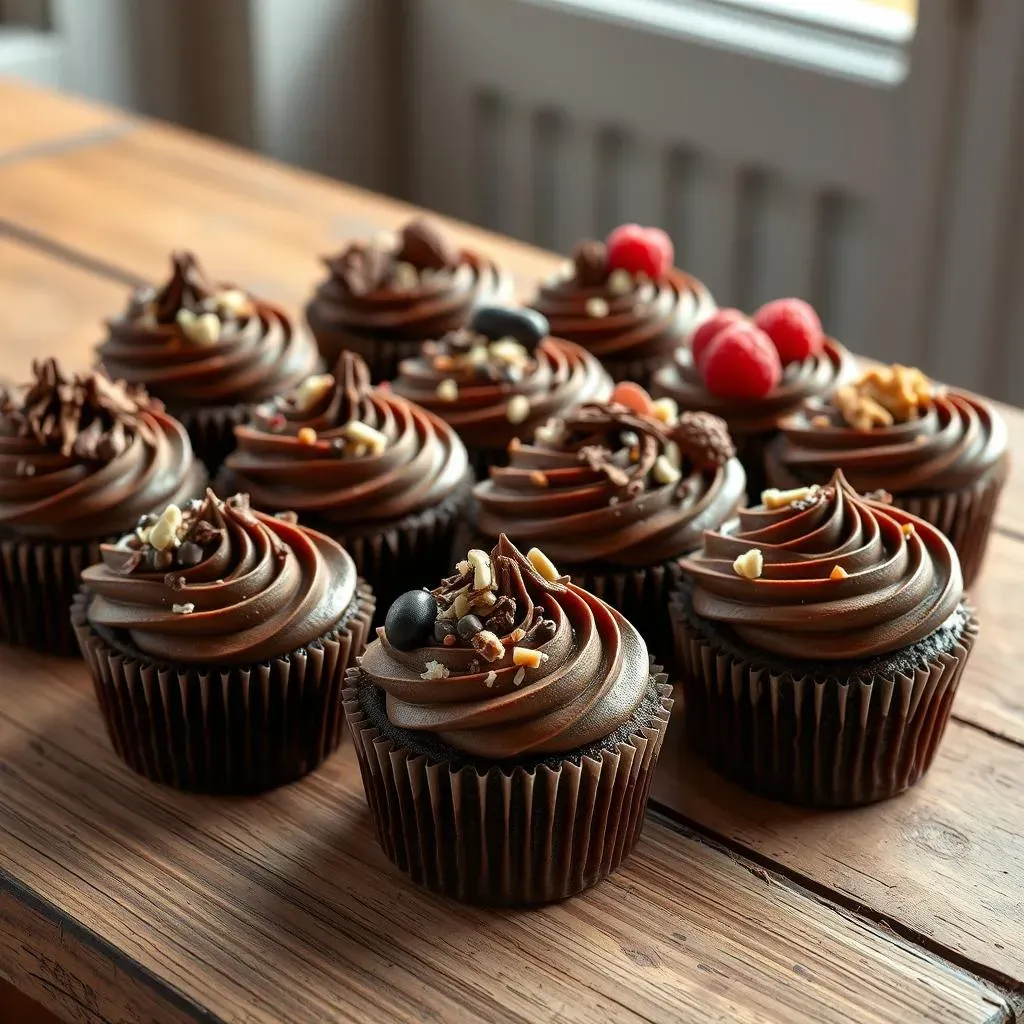
Okay, so your mini cakes are cooled, and now it's time for the fun part – frosting! But let's be real, frosting can be tricky. You don't want a crumbly mess, or a frosting that's sliding off like it's on a water slide. I always start with a good chocolate buttercream. It's classic, it's delicious, and it's pretty easy to work with. The key is to make sure your buttercream is smooth and not too soft. If it's too soft, stick it in the fridge for a bit to firm up. When it comes to applying the frosting, I prefer using a piping bag. It gives you more control and helps you avoid dragging crumbs all over the place. If you don't have a piping bag, a ziplock bag with a corner snipped off works just as well. Just be gentle!
Once you've piped your frosting on, use a small spatula or a butter knife to smooth it out. Don’t worry if it’s not perfect. The beauty of homemade cakes is that they’re unique. And honestly, a slightly rustic look can be very charming. The goal is to cover the cake evenly with a nice layer of frosting. It’s like giving your cake a cozy blanket. If you want, you can do a second layer of frosting for a more dramatic look. Just make sure the first layer is set before adding another.
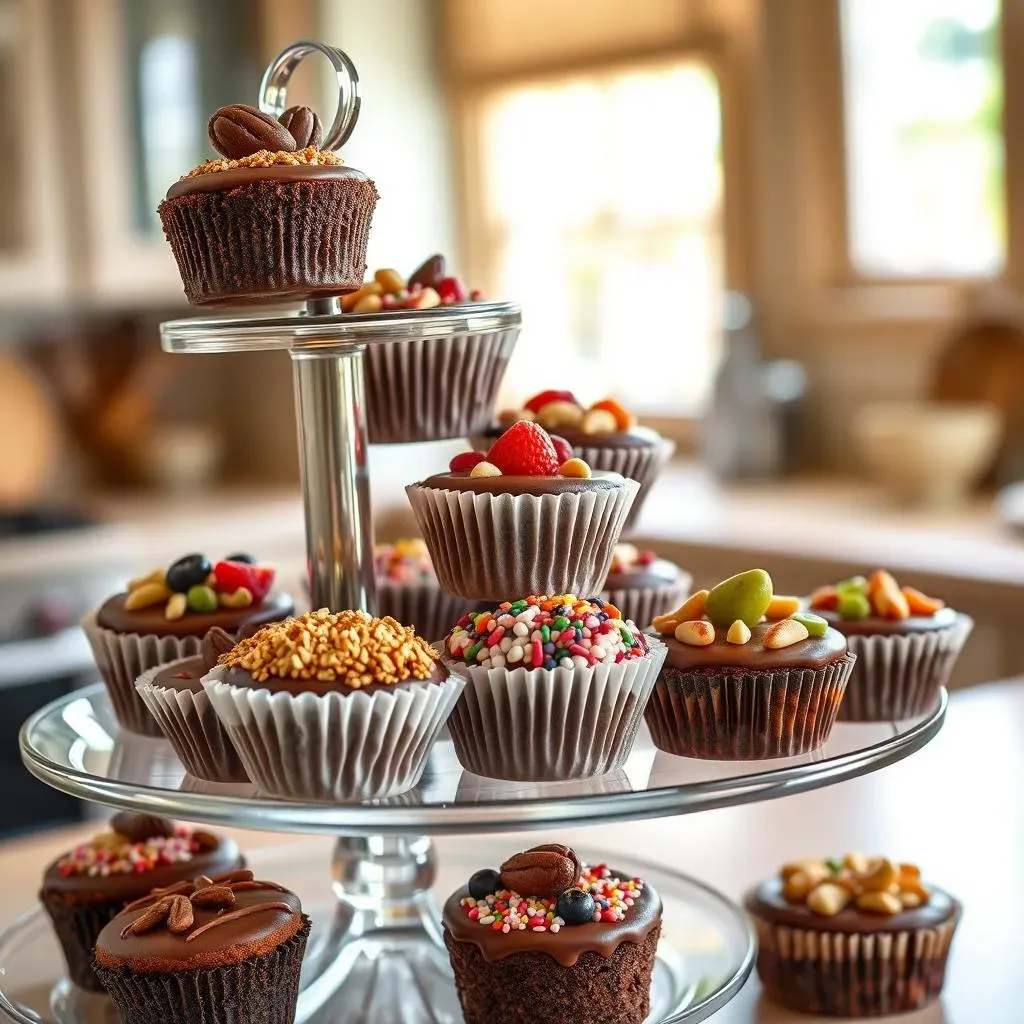
Get Creative with Decorations
Now for the really fun part – decorations! This is where you can let your creativity shine. I love adding chocolate shavings on top. They look super elegant and they’re pretty easy to make. Just take a chocolate bar and use a vegetable peeler to shave it. You can also use sprinkles, chopped nuts, fresh berries, or even a drizzle of chocolate ganache. If you’re feeling fancy, you can even pipe little designs on top. I know it can be tempting to go crazy with decorations. But sometimes, less is more. A simple, well-placed decoration can be more impactful than a cake that's overloaded with toppings. Think of it like accessorizing an outfit, you want it to look balanced and stylish.
If you’re making these mini cakes for a special occasion, you can even get themed decorations. For example, for a birthday, you can add little candles or edible glitter. For a holiday, you can use themed sprinkles or candies. The possibilities are endless, and it’s all about having fun and making your mini cakes look as amazing as they taste. So, don’t be afraid to experiment and see what you can come up with. Remember, it’s your cake, and you can decorate it however you want!
Decoration | Why It Works |
|---|---|
Chocolate Shavings | Elegant and easy |
Sprinkles | Fun and festive |
Chopped Nuts | Adds texture |
Fresh Berries | Adds freshness |
Chocolate Ganache | Rich and glossy |
Mini Chocolate Cake Recipe Variations and Storage
Mini Chocolate Cake Recipe Variations and Storage
Mix It Up: Flavor Variations
Okay, so you've nailed the basic mini chocolate cake. But what if you're feeling a little adventurous? The beauty of baking is that you can always tweak things to suit your taste. Why not try adding a teaspoon of instant espresso powder to the batter for a mocha twist? Or how about a dash of cinnamon or nutmeg for a warm, spiced flavor? If you're a fan of nuts, you can fold in some chopped walnuts or pecans. And for a citrusy kick, a bit of orange or lemon zest can make all the difference. Get creative and have fun with it! You can even add chocolate chips or chunks to the batter for an extra chocolatey hit.
Another great idea is to experiment with different extracts. Instead of vanilla, try almond or peppermint extract. The possibilities are endless! And don't forget about the frosting. You can add different flavors to the buttercream too, like peanut butter, caramel, or even a hint of lavender. It's all about finding what you love and making it your own. Remember, baking should be fun and enjoyable, so don't be afraid to step outside your comfort zone and try something new.
Variation | Flavor Profile |
|---|---|
Espresso Powder | Mocha |
Cinnamon/Nutmeg | Spiced |
Chopped Nuts | Nutty |
Citrus Zest | Citrusy |
Different Extracts | Unique flavors |
Storage Solutions
Alright, let's talk storage. You've baked these amazing mini chocolate cakes, and now you need to keep them fresh. If you're planning on eating them within a day or two, you can store them at room temperature in an airtight container. Make sure they're completely cooled before you put them away, or you might end up with condensation, which can make the frosting soggy. If you live in a warm climate, it’s best to store them in the fridge. The cold will help keep the frosting firm, and the cakes will stay moist. Nobody wants a melted, sad-looking cake.
If you need to store them for longer, freezing is your best bet. Place the cakes on a baking sheet and freeze them for about an hour, or until they’re firm. This will prevent them from sticking together when you put them in a freezer bag or container. Once they’re frozen solid, you can store them for up to a month. When you're ready to eat them, just thaw them in the fridge overnight or at room temperature for a few hours. They might not be quite as perfect as the day you made them, but they’ll still be delicious. And that’s what really matters, right?
“The secret ingredient is always love.” - Unknown