Table of Contents
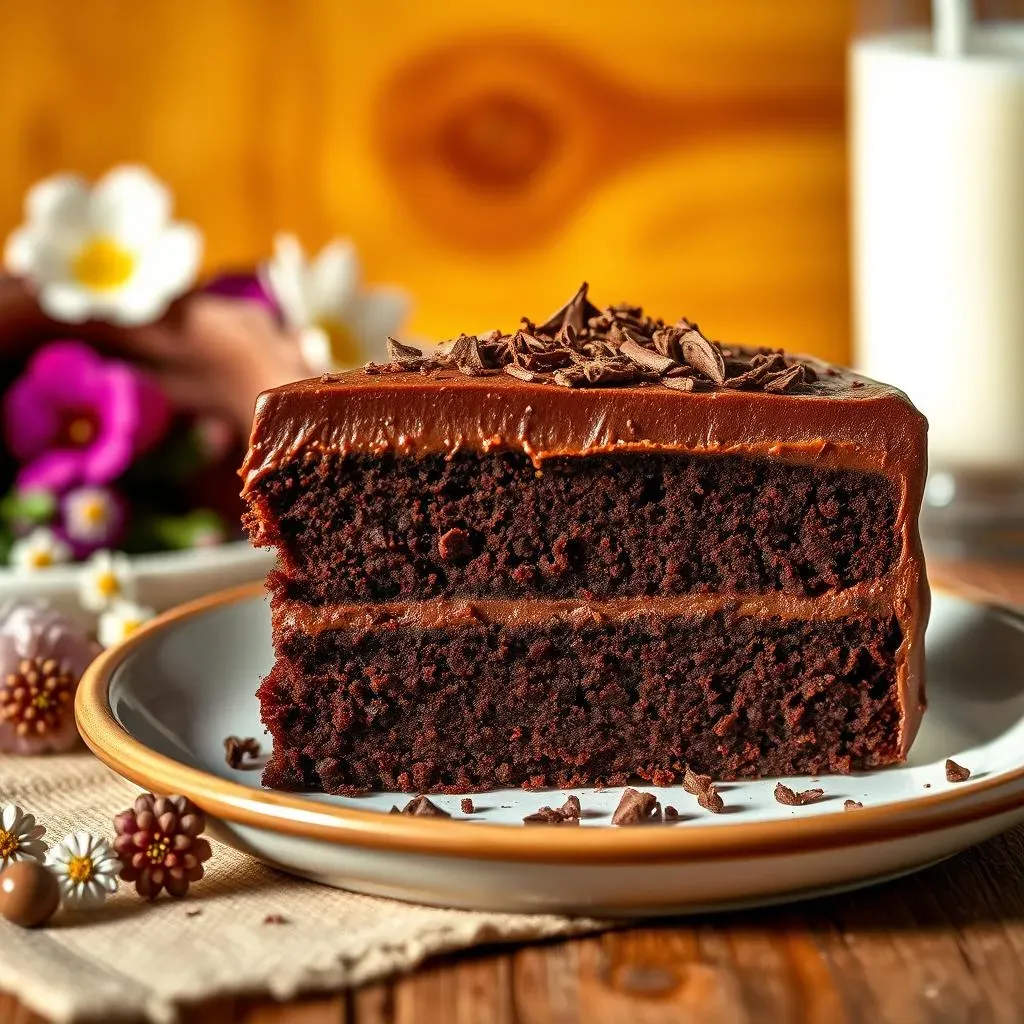
Who doesn't love a slice of rich, moist milk chocolate cake? Finding the absolute best milk chocolate cake recipe can feel like searching for the holy grail of baking. But fear not, fellow chocolate lovers! This isn't just another recipe; it's a journey to chocolate perfection. We're diving deep into what makes a milk chocolate cake truly exceptional, from the quality of ingredients to the crucial baking techniques that elevate it from good to unforgettable.
Decoding the Secrets to the Best Milk Chocolate Cake Recipe
Decoding the Secrets to the Best Milk Chocolate Cake Recipe
The Milk Chocolate Mystique
So, what truly separates a good milk chocolate cake from an *amazing* one? It's not just about throwing some cocoa powder into a standard cake mix. It's about understanding the nuances of milk chocolate itself. Milk chocolate, with its higher sugar and milk fat content compared to dark chocolate, presents a unique challenge. You need to balance its sweetness with other flavors and ensure it doesn't get lost in the batter. Think of it like conducting an orchestra – every ingredient needs to play its part in harmony.
The type of milk chocolate you use matters, too. A cheap, overly sweet chocolate will result in a cake that tastes artificial and cloying. Opt for a good-quality milk chocolate with a higher cocoa butter content. This will give your cake a richer, smoother flavor and a more luxurious texture. It's an investment that's well worth it.
Unlocking the Flavor Profile
The key to unlocking the full potential of milk chocolate in a cake lies in enhancing its inherent flavors. This means carefully selecting ingredients that complement and elevate the chocolate, rather than overpowering it. For example, a touch of espresso powder can deepen the chocolate flavor without making the cake taste like coffee. A pinch of salt can balance the sweetness and bring out the other flavors in the cake. It's all about creating a symphony of flavors that dance on your palate.
Consider these flavor pairings:
- Espresso Powder: Enhances the chocolate's richness.
- Sea Salt: Balances sweetness and elevates flavors.
- Vanilla Extract: Adds warmth and complexity.
- Brown Butter: Introduces a nutty, caramel-like note.
Don't be afraid to experiment! Baking is a science, but it's also an art. Try adding a dash of cinnamon or a hint of orange zest to your milk chocolate cake for a unique twist. Just remember to start small and taste as you go.
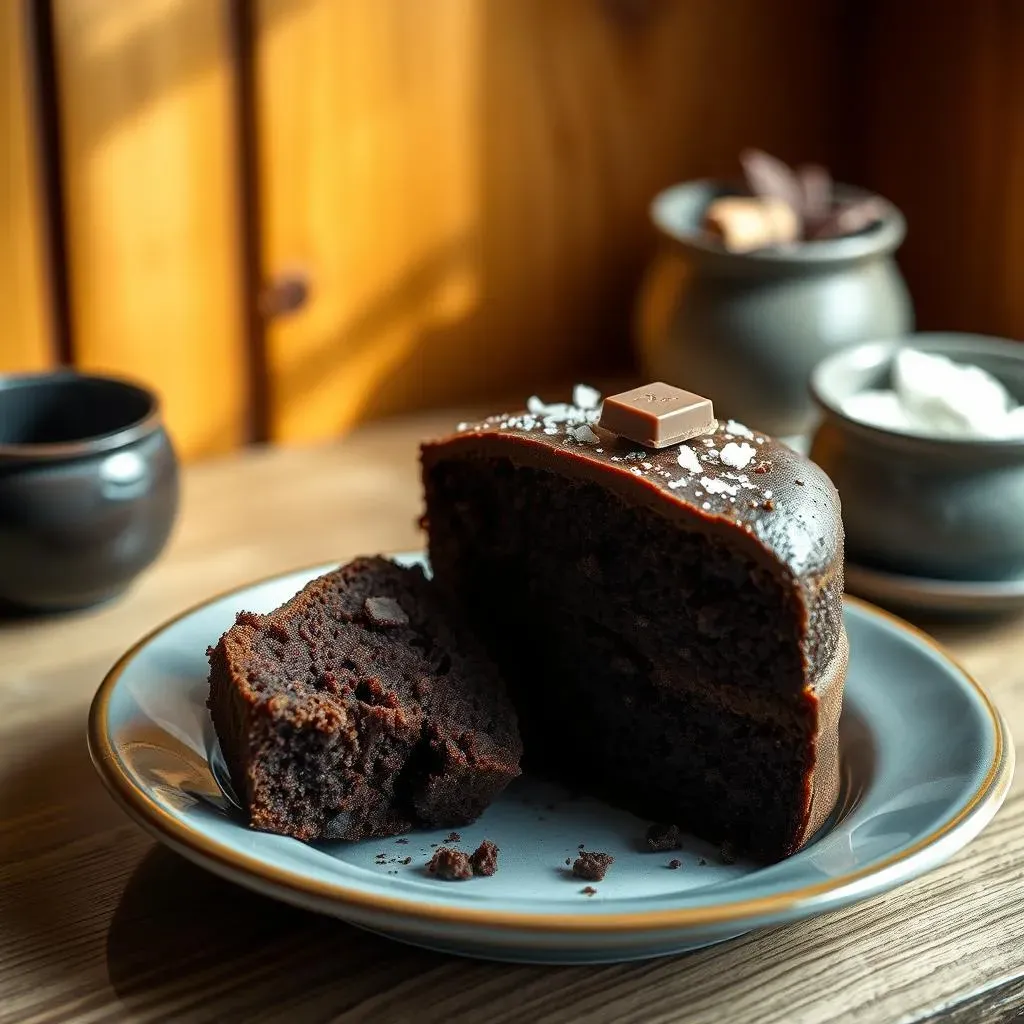
The Moisture Factor: Avoiding Dry Cake Catastrophes
One of the biggest challenges with milk chocolate cake is keeping it moist. Milk chocolate tends to dry out baked goods more easily than dark chocolate, so it's crucial to take steps to prevent this. The secret? Fat and moisture. Using ingredients like buttermilk, sour cream, or even mayonnaise (yes, really!) can add moisture and create a more tender crumb.
Another key is to avoid overbaking. Milk chocolate cakes can go from perfectly done to dry and crumbly in a matter of minutes. Use a toothpick to check for doneness, and remove the cake from the oven as soon as the toothpick comes out with a few moist crumbs attached. Let the cake cool completely in the pan before frosting to prevent it from drying out further.
Here's a quick tip: Brush the cooled cake layers with a simple syrup (equal parts sugar and water, heated until the sugar dissolves) before frosting. This will add extra moisture and keep your cake fresh for longer.
Essential Ingredients for an Unforgettable Milk Chocolate Cake Recipe
Essential Ingredients for an Unforgettable Milk Chocolate Cake Recipe
Flour Power: Choosing the Right Type
Let's talk flour, because not all flour is created equal! For the best milk chocolate cake recipe, you've got a couple of solid options. Cake flour is your go-to for a super tender, delicate crumb. It has a lower protein content, which means less gluten development, resulting in a softer cake. If you don't have cake flour on hand, you can use all-purpose flour, but be sure to measure it carefully. Spoon it into your measuring cup and level it off with a knife, instead of scooping it directly from the bag, which can pack the flour and lead to a denser cake.
Also, consider sifting your flour, no matter which type you choose. This aerates the flour, removes any lumps, and helps it incorporate more evenly into the batter. It's a simple step that can make a big difference in the final texture of your cake. Trust me, your taste buds will thank you!
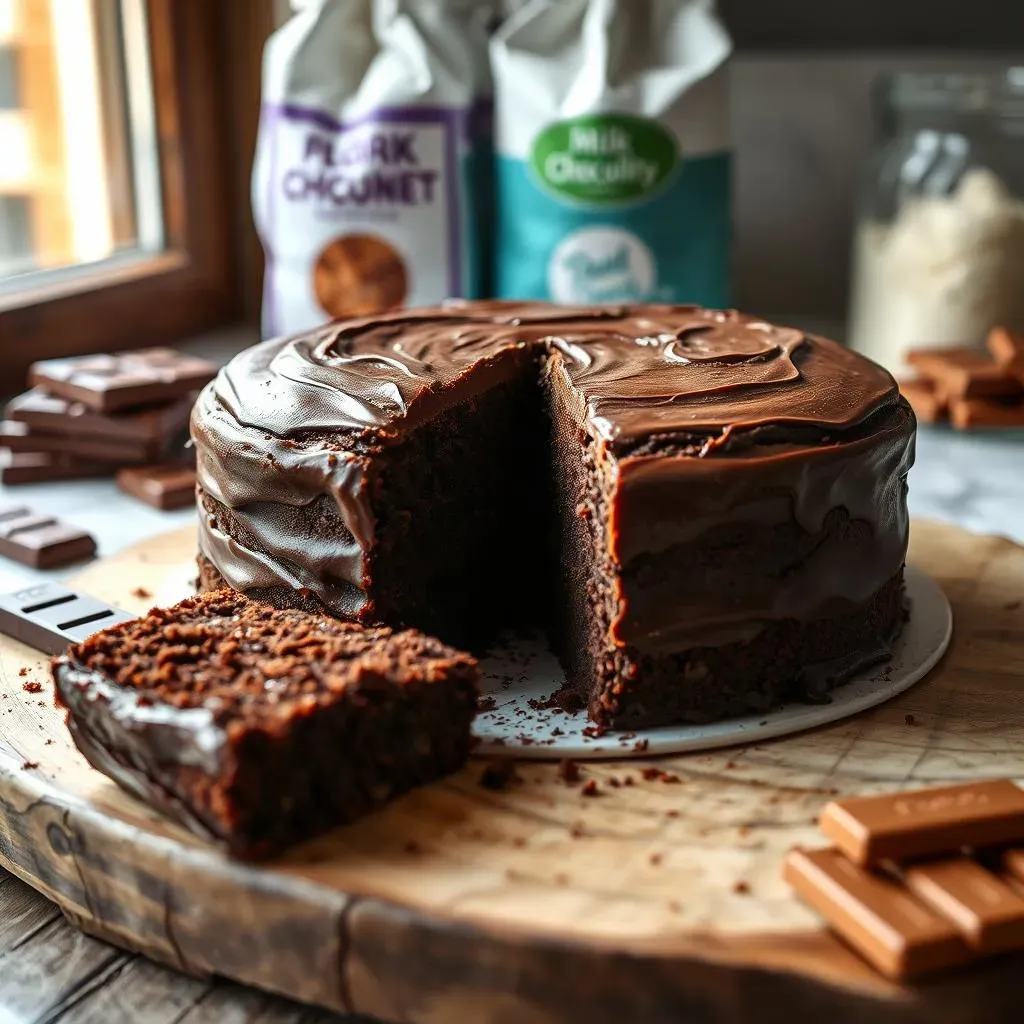
The Sweet Stuff: Selecting Your Milk Chocolate
this is where the magic really happens. The milk chocolate you choose is going to be the star of the show, so don't skimp! As I mentioned before, quality is key. Look for a milk chocolate bar or chips with a higher cocoa butter content (at least 30%) for a richer, smoother flavor. Avoid those super cheap, waxy chocolates – they'll just leave your cake tasting artificial and disappointing. I personally love using a good-quality Belgian or Swiss milk chocolate.
You can use either milk chocolate bars or chips in your cake, but I find that bars tend to melt more evenly into the batter. If you're using chips, consider chopping them up a bit before adding them to the batter to prevent them from sinking to the bottom of the cake. And here's a pro tip: melt about half of the chocolate and add it to the batter, and then fold in the remaining chopped chocolate for little bursts of chocolatey goodness in every bite!
Here is a list of chocolate type that you can use for baking:
- Belgian milk chocolate
- Swiss milk chocolate
- Ghirardelli Milk Chocolate Baking Chips
- Callebaut Milk Chocolate Callets
StepbyStep Guide: Baking Your Best Milk Chocolate Cake
StepbyStep Guide: Baking Your Best Milk Chocolate Cake
Prep Like a Pro: Setting the Stage for Success
Alright, let's get down to business! First things first, preheat your oven to 350°F (175°C). This is crucial for even baking. While the oven's heating up, grease and flour your cake pans. I prefer using round cake pans (8 or 9 inches), but you can also use a square pan if that's what you have. To prevent sticking, I like to grease the pans with shortening, then dust them with flour, tapping out any excess. You can also use baking spray with flour already in it – it's a real timesaver! Next, gather all your ingredients and measure them out. This is called "mise en place" in the cooking world, and it's a game-changer. Having everything prepped and ready to go will make the baking process so much smoother and less stressful.
One last thing before we move on: make sure your butter and eggs are at room temperature. This helps them emulsify properly, resulting in a smoother batter and a more tender cake. If you forgot to take them out of the fridge ahead of time, don't worry! You can quickly bring eggs to room temperature by placing them in a bowl of warm water for a few minutes. For butter, you can microwave it in short bursts, but be careful not to melt it!
Mixing Magic: Crafting the Perfect Batter
Now for the fun part: making the batter! In a large bowl, cream together the softened butter and sugar until light and fluffy. This usually takes about 3-5 minutes with an electric mixer. The mixture should be pale in color and almost doubled in volume. This step is important because it incorporates air into the batter, which helps the cake rise. Next, beat in the eggs one at a time, followed by the vanilla extract. Make sure each egg is fully incorporated before adding the next. In a separate bowl, whisk together the flour, cocoa powder, baking powder, baking soda, and salt. This ensures that these dry ingredients are evenly distributed throughout the batter.
Gradually add the dry ingredients to the wet ingredients, alternating with the buttermilk (or sour cream), beginning and ending with the dry ingredients. Mix until just combined. Be careful not to overmix the batter, as this can develop the gluten in the flour and result in a tough cake. Finally, fold in the melted milk chocolate and chopped milk chocolate (if using). Pour the batter evenly into your prepared cake pans and spread it out with a spatula.
Here is a table of common baking mistakes and how to avoid them:
Mistake | Cause | Solution |
|---|---|---|
Dry Cake | Overbaking, too much flour, not enough liquid | Check for doneness with a toothpick, measure flour accurately, add more liquid |
Dense Cake | Overmixing, not enough leavening agent | Mix until just combined, ensure baking powder/soda are fresh |
Uneven Baking | Uneven oven temperature, pans touching | Use an oven thermometer, space pans evenly |
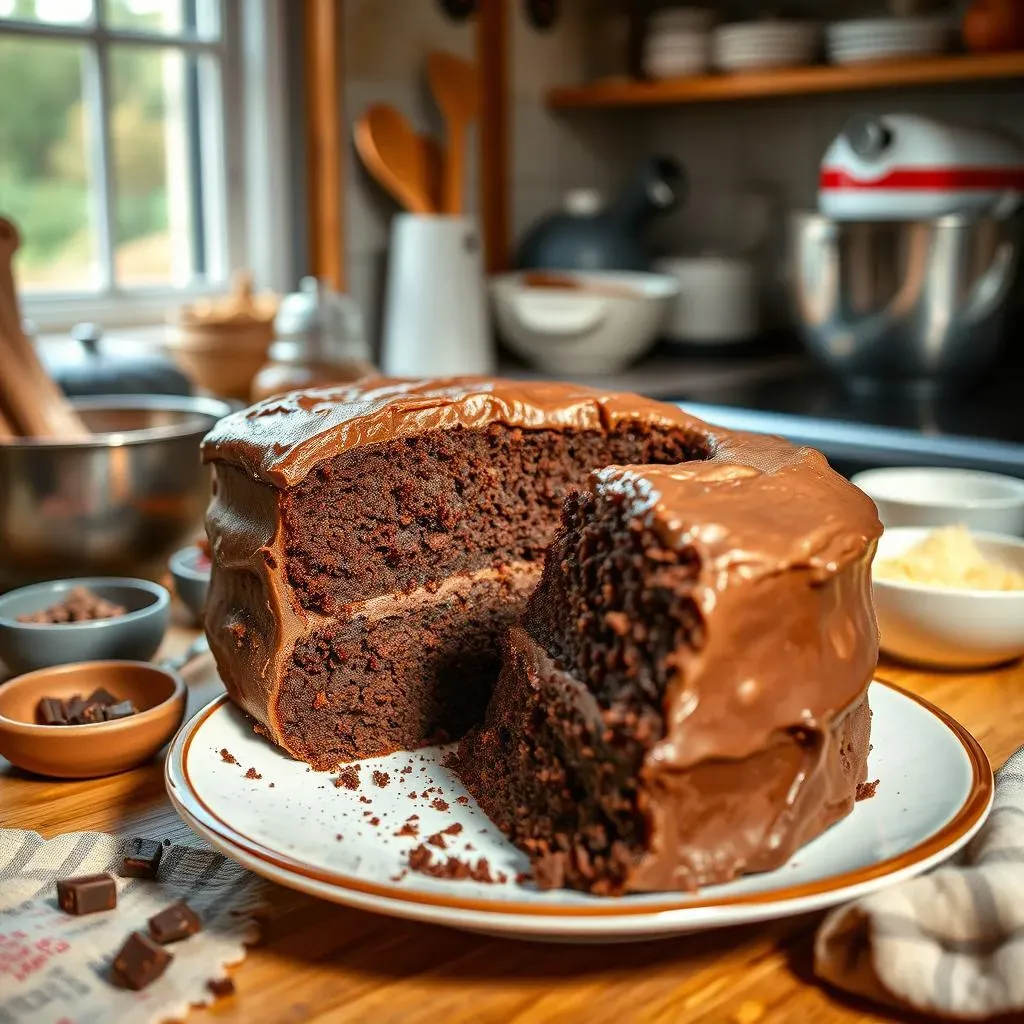
Bake to Perfection: The Final Countdown
Place the cake pans in the preheated oven and bake for 30-35 minutes, or until a toothpick inserted into the center comes out with a few moist crumbs attached. Start checking for doneness around the 30-minute mark, as baking times can vary depending on your oven. Once the cakes are done, remove them from the oven and let them cool in the pans for 10-15 minutes before inverting them onto a wire rack to cool completely. This prevents the cakes from sticking to the pans and allows them to cool evenly.
While the cakes are cooling, you can start making your frosting. Once the cakes are completely cool, you can frost them with your favorite milk chocolate frosting. I'll share my go-to recipe in the next section. And that's it! You've just baked your best milk chocolate cake. Now, slice yourself a generous piece, grab a glass of milk, and enjoy the fruits of your labor. You deserve it!
Quote of the day:
"A party without cake is just a meeting." - Julia Child
Tips and Tricks for Perfecting Your Milk Chocolate Cake Recipe
Tips and Tricks for Perfecting Your Milk Chocolate Cake Recipe
Level Up Your Layers: Achieving Even Baking
Ever bake a cake and end up with one layer thicker than the other? Annoying, right? To ensure even baking and perfectly level layers, try using cake strips. These are fabric strips that you soak in water and wrap around your cake pans. They help to insulate the sides of the pan, preventing the edges of the cake from baking faster than the center. This results in a more even rise and a flatter top. You can buy cake strips online or at most baking supply stores. If you're feeling crafty, you can even make your own using an old towel and some safety pins!
Another trick is to use an oven thermometer. Most ovens aren't perfectly calibrated, so the temperature you set may not be the actual temperature inside. An oven thermometer will give you an accurate reading, allowing you to adjust the temperature as needed. This is especially important for delicate cakes like milk chocolate, which can easily dry out if overbaked.
Frosting Finesse: Mastering the Art of Decoration
The frosting is just as important as the cake itself! A subpar frosting can ruin even the most perfectly baked cake. For the best milk chocolate cake recipe, I recommend a milk chocolate buttercream frosting. It's rich, creamy, and perfectly complements the flavor of the cake. To make a smooth and luscious buttercream, make sure your butter is at room temperature and beat it until it's light and fluffy. Gradually add the powdered sugar, alternating with milk or cream, until you reach your desired consistency. Don't be afraid to add a pinch of salt to balance the sweetness.
Here's a pro tip: If your buttercream is too thick, add a little more milk or cream, one tablespoon at a time, until it reaches the right consistency. If it's too thin, add a little more powdered sugar. And if you want to take your frosting to the next level, try adding a tablespoon of melted milk chocolate or a dash of vanilla extract. The possibilities are endless!
Here's a quick guide for troubleshooting common frosting issues:
Problem | Cause | Solution |
|---|---|---|
Grainy Frosting | Powdered sugar not fully dissolved | Beat longer, add a little liquid |
Too Sweet | Too much powdered sugar | Add a pinch of salt, a squeeze of lemon juice |
Too Soft | Too much liquid, butter too warm | Chill in the fridge, add more powdered sugar |
Storage Savvy: Keeping Your Cake Fresh
So, you've baked the best milk chocolate cake recipe ever. Now, how do you keep it fresh? If you're serving the cake within a day or two, you can store it at room temperature in an airtight container. This will prevent it from drying out. If you need to store it for longer, you can refrigerate it, but be aware that this can dry out the cake slightly. To prevent this, wrap the cake tightly in plastic wrap before refrigerating it. You can also freeze the cake for up to 2-3 months. Wrap it tightly in plastic wrap and then in foil to prevent freezer burn. When you're ready to eat it, thaw it overnight in the refrigerator.
Before serving a refrigerated or frozen cake, let it come to room temperature for about 30 minutes. This will allow the frosting to soften and the flavors to develop. And there you have it! All the tips and tricks you need to bake the perfect milk chocolate cake, every time.
Indulge in Your Best Milk Chocolate Cake Masterpiece
Baking the best milk chocolate cake recipe shouldn't be intimidating; it should be a joyful experience. From selecting the finest cocoa to mastering the perfect bake time, each step contributes to the final symphony of chocolatey goodness. Now that you're armed with the knowledge and the recipe, go forth and create a cake that will impress your friends, delight your family, or simply satisfy your own sweet cravings. Remember, baking is as much about the process as it is about the result. So, savor every moment, and enjoy the delicious reward of your labor!