Table of Contents
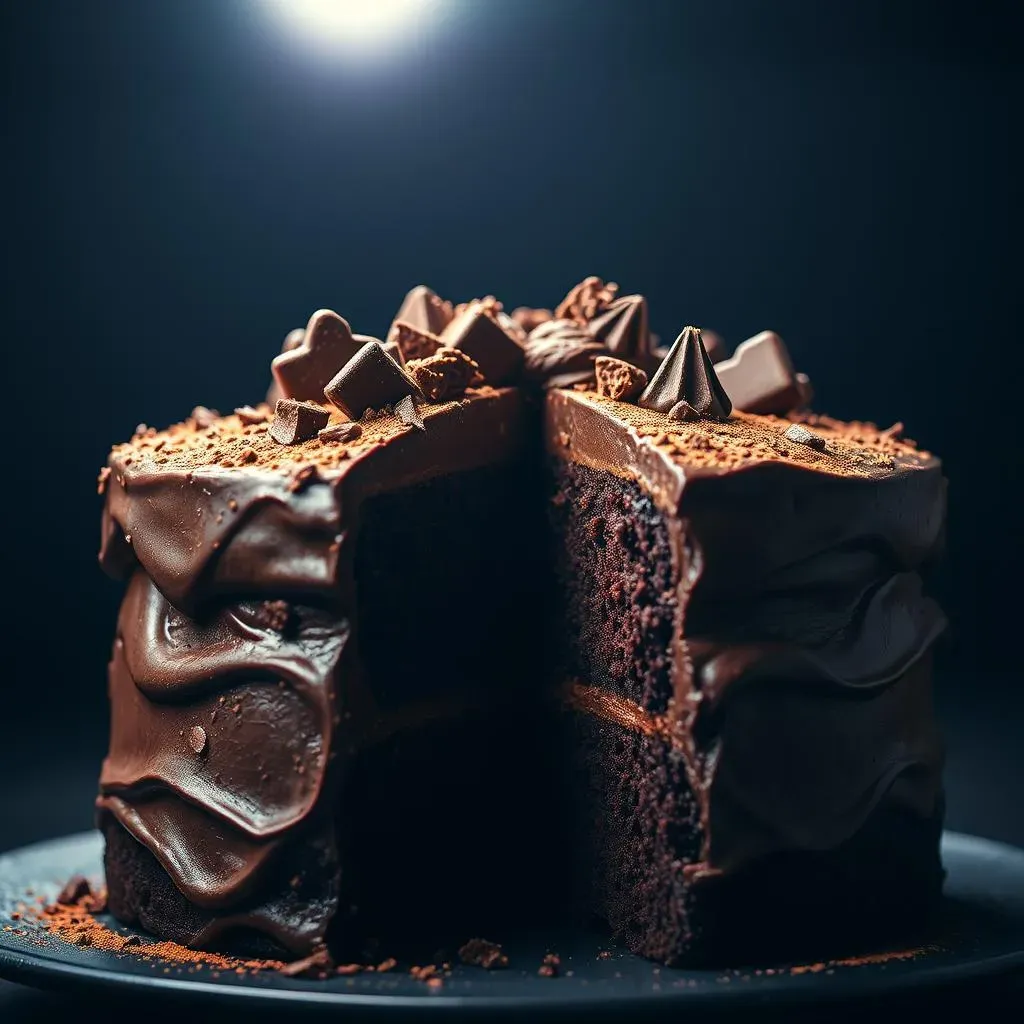
Calling all chocolate fanatics! Are you ready to experience the ultimate chocolate indulgence? Look no further, because we're diving headfirst into what I believe is the best death by chocolate cake recipe you'll ever encounter. Forget those dry, crumbly cakes of the past. This recipe delivers a super moist, intensely chocolatey experience that will have you begging for seconds (and thirds!). What makes this cake so special? Well, for starters, it's surprisingly simple to make. We're talking one-bowl easy! And get this – it doesn't even require butter, eggs, or milk. That's right, this decadent treat is secretly vegan-friendly. Whether you're a seasoned baker or a kitchen newbie, this guide will walk you through every step, from gathering your ingredients to achieving that perfect, fudgy frosting. We'll cover everything from the secret ingredient that elevates the chocolate flavor to tips for preventing a dry cake. Plus, we'll tackle common questions and explore variations to suit your dietary needs. So, grab your apron and prepare to enter chocolate heaven. Let's bake the best death by chocolate cake recipe together!
What Makes This the Best Death By Chocolate Cake Recipe?
What Makes This the Best Death By Chocolate Cake Recipe?
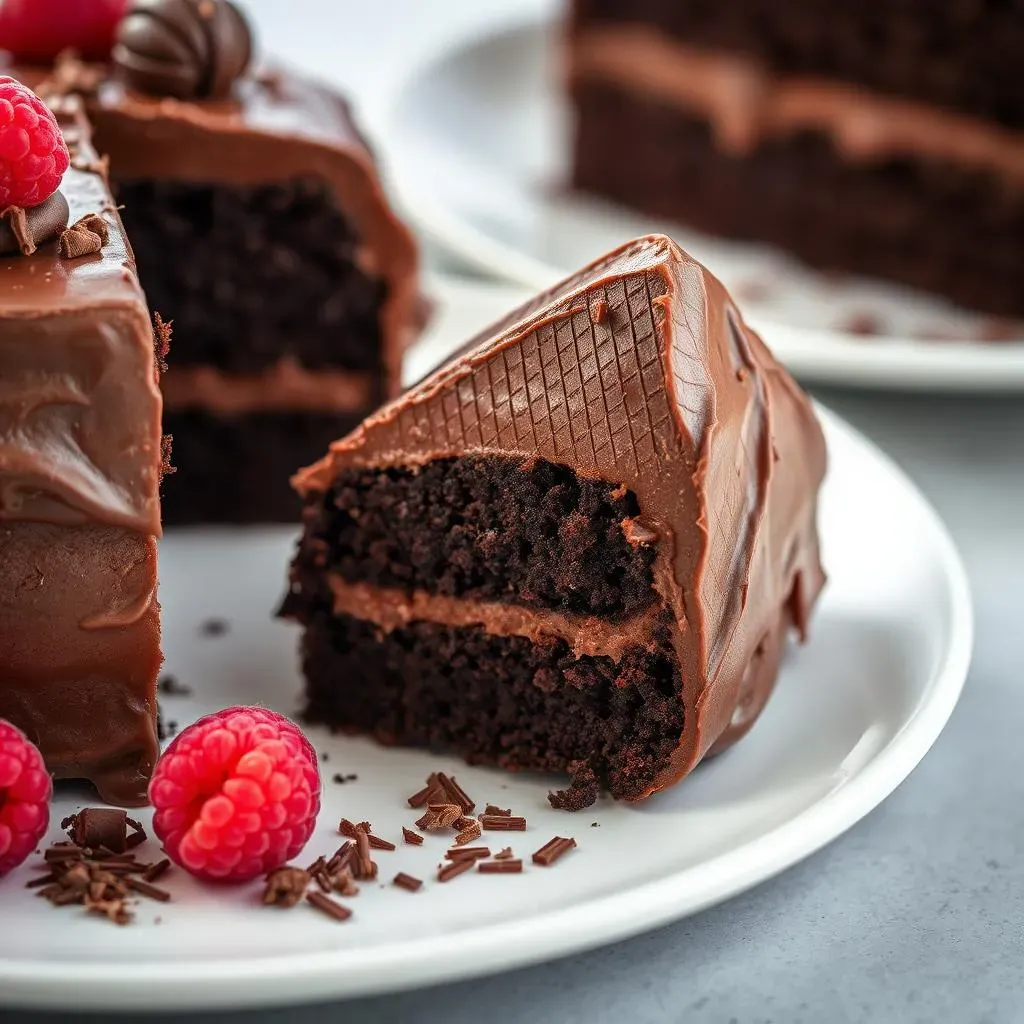
Unmatched Moistness and Richness
let's get real. What truly separates this recipe from the sea of chocolate cakes out there? It's the texture! We're talking unbelievably moist, almost melt-in-your-mouth goodness. This isn't your grandma's dry, crumbly cake (sorry, Grandma!). The secret lies in the unique combination of ingredients that work together to create a tender crumb and a rich, decadent flavor that lingers long after the last bite.
And speaking of flavor, this cake is a chocolate bomb! We're not just talking about a hint of chocolate; we're talking about an intense, deeply satisfying chocolate experience that will satisfy even the most hardcore chocoholic.
Surprisingly Simple and Accessible
Now, I know what you might be thinking: "A cake this good must be complicated to make." But that's where you're wrong! This recipe is surprisingly simple and straightforward, even for beginner bakers. It's a one-bowl wonder, meaning fewer dishes to wash (hallelujah!). Plus, the ingredients are easy to find at any grocery store.
Forget about needing fancy equipment or advanced baking skills. This recipe is all about simplicity and accessibility, proving that you don't have to be a professional pastry chef to create a truly amazing dessert.
Dietary-Friendly (Yes, Really!)
Here's the kicker: This death by chocolate cake recipe is naturally dairy-free and can easily be adapted to be gluten-free or sugar-free! The absence of butter, eggs, and milk makes it a fantastic option for those with dietary restrictions or preferences. This means everyone can indulge in a slice of chocolate heaven, regardless of their dietary needs.
Whether you're vegan, gluten-free, or simply looking for a healthier alternative, this recipe has got you covered. It's a guilt-free indulgence that doesn't compromise on flavor or texture. Now, that's what I call a win-win!
Ingredients for the Ultimate Death By Chocolate Cake
Ingredients for the Ultimate Death By Chocolate Cake
The Dry Essentials: Building the Foundation
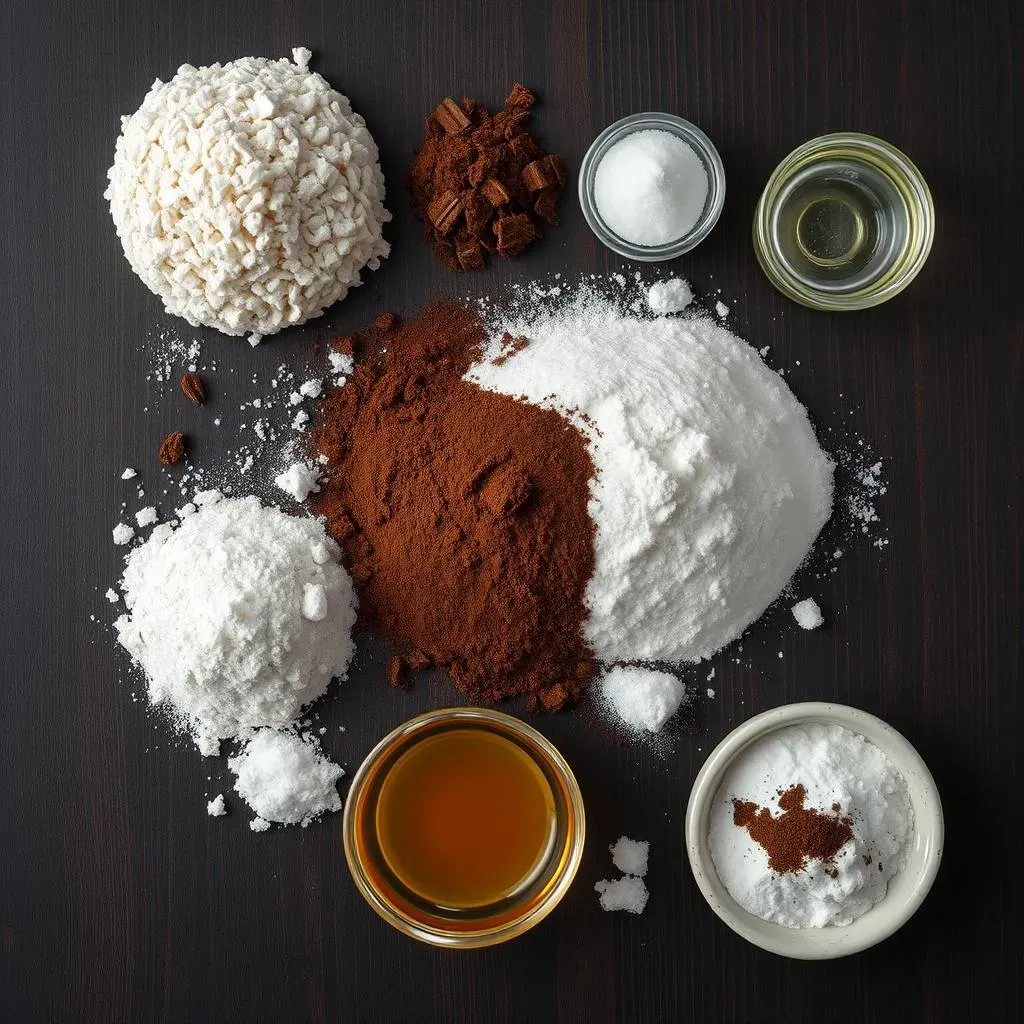
Let's start with the dry stuff, because that's where the magic begins. We're talking all-purpose flour for structure (but don't worry, I'll give you a gluten-free option later!), granulated sugar for sweetness, and a dynamic duo of cocoa powders: regular and dark. The dark cocoa powder is key here; it's what gives the cake that intense, almost black chocolate color and a deep, complex flavor. And of course, we need baking soda and baking powder for that perfect rise.
Don't skimp on the quality of your cocoa powder! It really makes a difference. I personally love using Dutch-processed cocoa for its smooth, rich flavor. A little pinch of salt is important too. It enhances the sweetness and balances the chocolate notes, so don't skip it.
The Wet Wonders: Binding and Enhancing
Now for the wet ingredients, which are surprisingly simple. Water is the main liquid, but don't underestimate its power! It hydrates the dry ingredients and helps create that moist texture we're after. Then comes the oil – any neutral-flavored oil like vegetable or canola will work. This adds moisture and richness without overpowering the chocolate flavor. A touch of vanilla extract is essential for enhancing all the other flavors, and finally, the secret ingredient: vinegar! Yes, you read that right. Vinegar reacts with the baking soda to create a light and airy crumb. Trust me, you won't taste it!
For an even deeper chocolate flavor, consider adding a teaspoon of espresso powder to the wet ingredients. It won't make the cake taste like coffee, but it will amplify the chocolate notes and add a subtle depth of flavor that will leave everyone wondering what your secret is.
Ingredient | Purpose | Notes |
|---|---|---|
All-Purpose Flour | Structure | Can substitute with gluten-free blend |
Granulated Sugar | Sweetness | Can substitute with sugar-free alternative |
Cocoa Powder | Chocolate Flavor | Use Dutch-processed for best results |
Dark Cocoa Powder | Deep Chocolate Flavor | Essential for intense chocolate taste |
Baking Soda & Powder | Leavening | Ensures a light and airy texture |
Salt | Flavor Enhancer | Balances sweetness and enhances chocolate |
Water | Hydration | Main liquid component |
Vegetable Oil | Moisture | Adds richness without overpowering flavor |
Vanilla Extract | Flavor Enhancer | Enhances all other flavors |
Vinegar | Leavening | Reacts with baking soda for a light crumb |
StepbyStep Guide to Baking Your Death By Chocolate Cake
StepbyStep Guide to Baking Your Death By Chocolate Cake
Get Ready, Get Set, Bake!
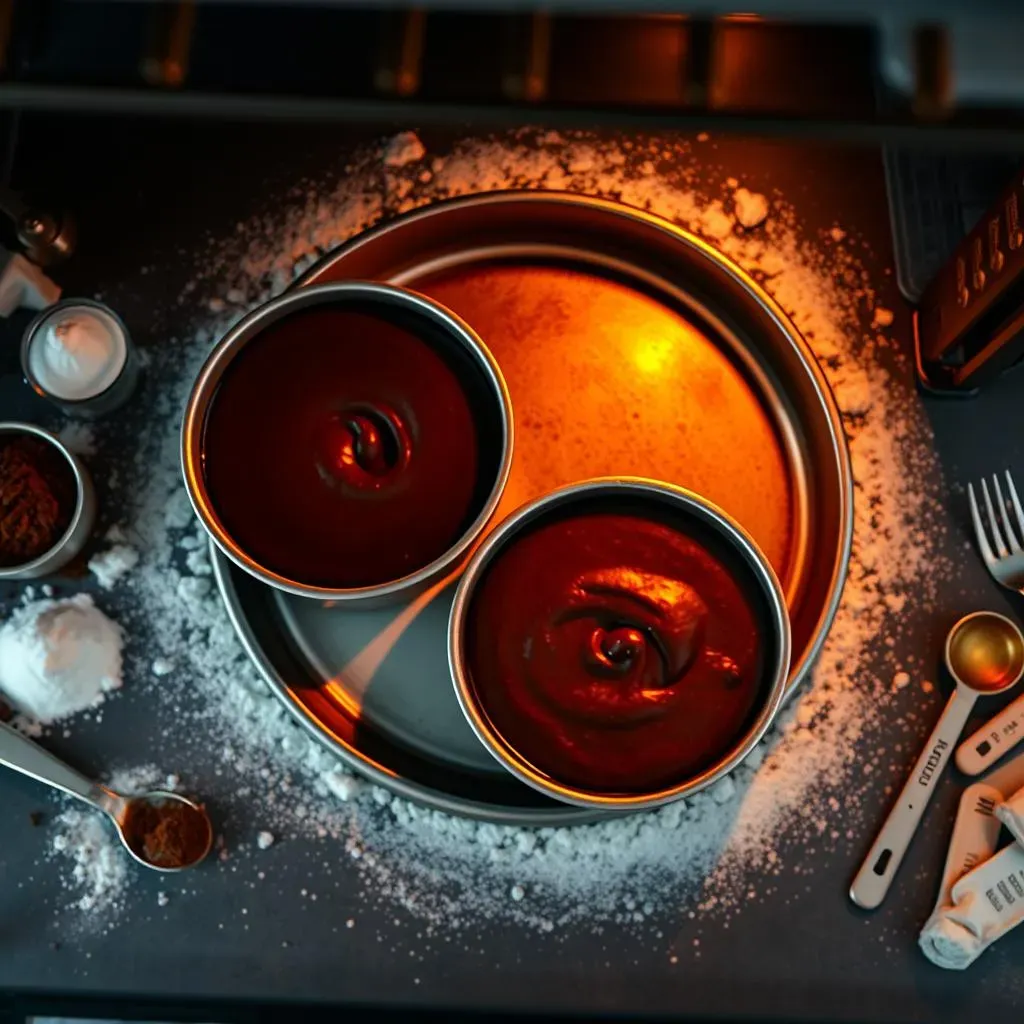
Alright, let's get this chocolate party started! First things first, preheat your oven to 350°F (175°C). While the oven is warming up, grease and flour your cake pan(s). I usually go for two 8-inch round pans, but you can also use a 9x13 inch pan if you prefer a sheet cake. Just make sure to adjust the baking time accordingly.
Now, in a large bowl (remember, this is a one-bowl recipe!), whisk together all the dry ingredients: flour, sugar, cocoa powder, dark cocoa powder, baking soda, baking powder, and salt. Make sure everything is well combined, so you don't end up with any pockets of baking soda in your cake. Nobody wants a bitter surprise!
Mix It Up: Wet Meets Dry
Time to add the wet ingredients! Pour in the water, oil, vanilla extract, and vinegar into the bowl with the dry ingredients. Using an electric mixer or a whisk, mix everything together until just combined. Be careful not to overmix the batter, as this can lead to a tough cake. A few lumps are okay!
If you're using espresso powder, now's the time to add it. Just stir it into the batter until it's dissolved. The batter will be quite thin, but don't worry, that's perfectly normal! That's what helps create that super moist texture we're after.
Bake to Perfection
Pour the batter evenly into your prepared cake pan(s). If you're using two round pans, divide the batter equally between them. Place the pan(s) in the preheated oven and bake for 30-35 minutes, or until a wooden skewer inserted into the center comes out clean or with a few moist crumbs attached. Keep a close eye on it, as baking times can vary depending on your oven.
Once the cake is done, remove it from the oven and let it cool in the pan(s) for about 10 minutes before inverting it onto a wire rack to cool completely. This is crucial! Don't try to frost the cake while it's still warm, or the frosting will melt and slide right off. Patience is key, my friend!
Tips and Tricks for the Perfect Death By Chocolate Cake
Tips and Tricks for the Perfect Death By Chocolate Cake
Don't Overbake: The Key to Moistness
This is probably the most important tip I can give you: don't overbake the cake! Overbaking is the number one reason why cakes turn out dry. Start checking for doneness around the 30-minute mark, and use a wooden skewer to test the center. You want the skewer to come out clean or with a few moist crumbs attached. If it comes out with wet batter, it needs more time. But if it comes out completely clean, it's likely overbaked.
Remember, the cake will continue to cook slightly as it cools, so it's better to err on the side of slightly underbaked than overbaked. A slightly underbaked cake will be fudgy and moist, while an overbaked cake will be dry and crumbly. And nobody wants that!
Chill Out: Refrigerate Before Slicing
Another trick for achieving that perfect texture is to refrigerate the cakes before slicing and frosting. Once the cakes have cooled completely, wrap them tightly in plastic wrap and refrigerate them for at least an hour, or even overnight. This allows the cake to firm up, making it easier to slice and frost without tearing. Plus, the cold temperature enhances the chocolate flavor!
I know it's tempting to dive right in and frost the cake as soon as it's cool, but trust me, the extra time in the fridge is worth it. You'll end up with cleaner slices, a more stable frosting, and an overall more professional-looking cake. Patience, young Padawan!
Frosting Finesse: The Perfect Pairing
The frosting is just as important as the cake itself! A good frosting should complement the chocolate flavor of the cake without being too sweet or overpowering. I personally love a simple chocolate ganache or a rich chocolate buttercream. But feel free to experiment and find your favorite pairing!
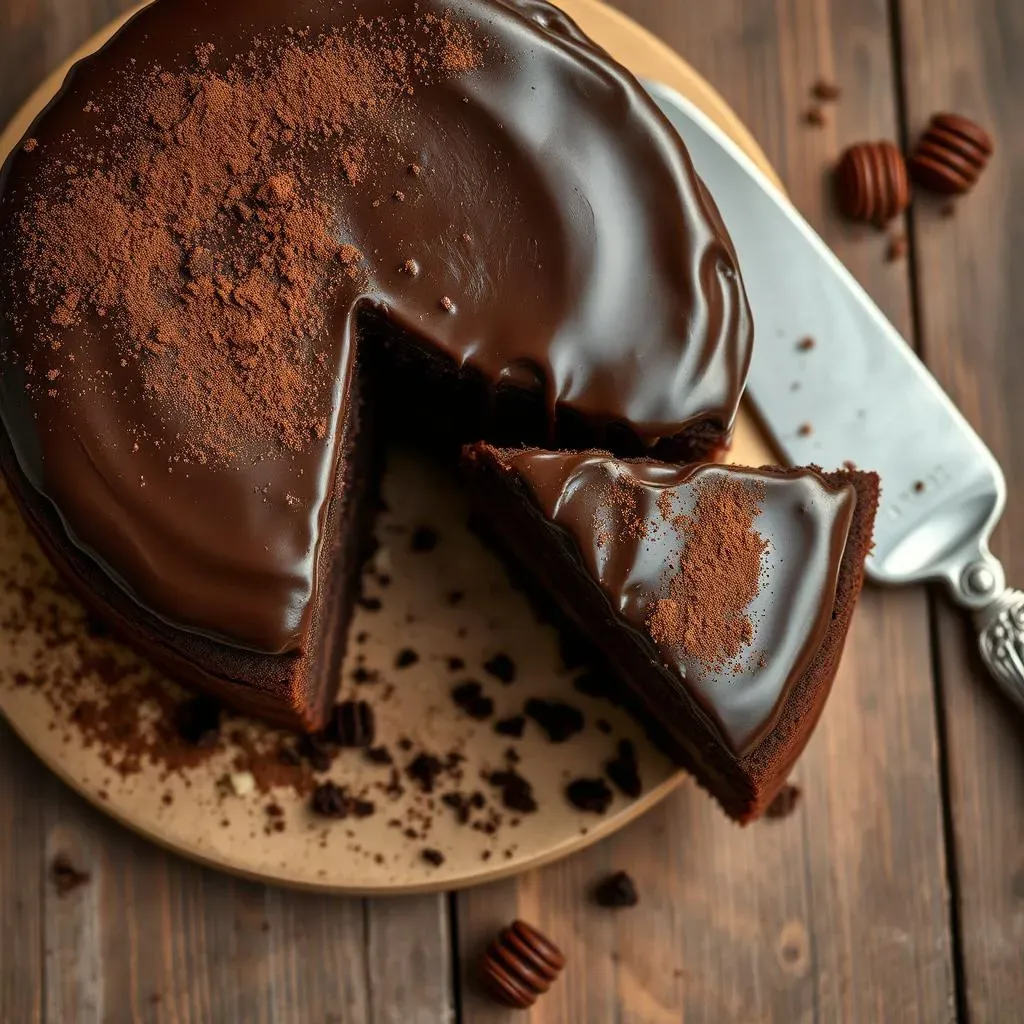
If you're looking for a healthier option, you can try a chocolate avocado frosting or a dairy-free chocolate frosting made with coconut milk. Just make sure to adjust the sweetness to your liking. And don't be afraid to get creative with your decorations! Chocolate shavings, sprinkles, fresh berries, or even a drizzle of chocolate sauce can take your cake to the next level.
Storing and Serving Your Decadent Death By Chocolate Cake
Storing and Serving Your Decadent Death By Chocolate Cake
so you've baked this masterpiece, frosted it with love, and now comes the (almost) hardest part: resisting the urge to devour the entire thing in one sitting! But seriously, let's talk about how to properly store and serve your decadent death by chocolate cake so you can savor every last bite. First off, if you have any leftovers (which, let's be honest, is a big "if"), you'll want to store them properly to maintain that perfect moistness and flavor. The best way to do this is to wrap individual slices tightly in plastic wrap or place them in an airtight container. This will prevent the cake from drying out and absorbing any unwanted odors from the fridge. You can store the cake at room temperature for a day or two, but for longer storage, the refrigerator is your best bet. It will keep well in the fridge for up to a week!
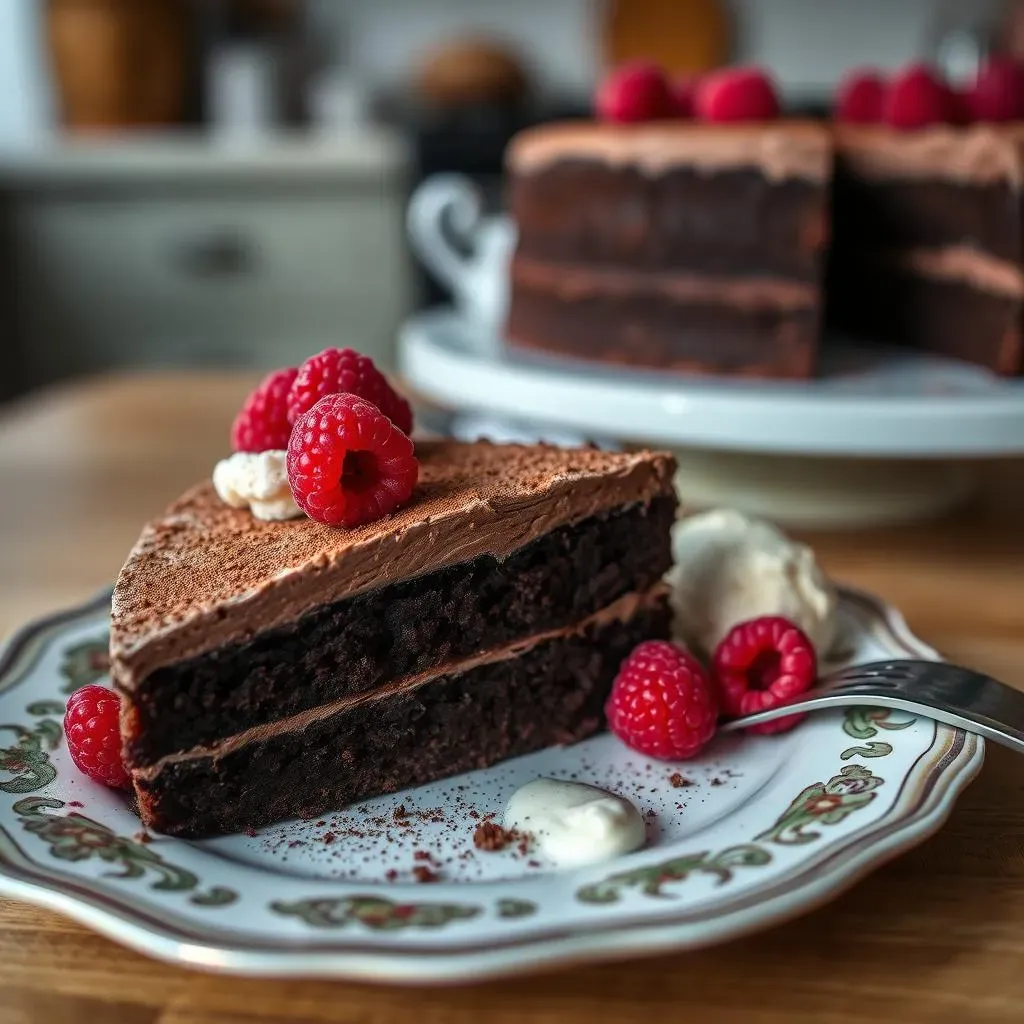
When it comes to serving, there are a few things to keep in mind. If you've refrigerated the cake, let it sit at room temperature for about 30 minutes before serving. This will allow the frosting to soften slightly and the cake to regain some of its moisture. For an extra touch of elegance, dust the cake with cocoa powder or top it with fresh berries right before serving. And of course, don't forget the most important part: a generous scoop of vanilla ice cream or a dollop of whipped cream! Because what's a slice of death by chocolate cake without a little extra indulgence? Trust me, your taste buds will thank you.
Want to make this cake ahead of time? No problem! This cake freezes beautifully. Just wrap the cooled, unfrosted cake layers tightly in plastic wrap and then in foil. You can freeze them for up to 2-3 months. When you're ready to serve, thaw the cake layers in the refrigerator overnight and then frost as usual. It's like having a secret stash of chocolatey goodness waiting for you whenever you need it!
Now, let's talk about some fun serving suggestions to really elevate your death by chocolate cake experience. How about pairing it with a rich, dark coffee to enhance the chocolate flavors? Or maybe a glass of chilled milk for a classic combination. For a more sophisticated touch, try serving it with a sweet dessert wine like port or sherry. The possibilities are endless! And don't be afraid to get creative with your toppings. A sprinkle of sea salt can add a surprising burst of flavor, while a drizzle of caramel sauce can take it to a whole new level of decadence.
Ultimately, the best way to serve your death by chocolate cake is with a smile and a generous helping of love. Because let's face it, this cake is more than just a dessert; it's an experience. It's a celebration of chocolate, a moment of pure indulgence, and a way to share happiness with those you care about. So go ahead, slice yourself a piece, savor every bite, and enjoy the sweet, chocolatey bliss!
Storage Method | Duration | Notes |
|---|---|---|
Room Temperature | 1-2 days | Keep in an airtight container |
Refrigerator | Up to 1 week | Wrap tightly in plastic wrap |
Freezer (unfrosted) | 2-3 months | Wrap in plastic wrap and foil |
Conclusion: Your Journey to Chocolate Bliss with the Best Death By Chocolate Cake Recipe
So, there you have it – your guide to creating the best death by chocolate cake recipe, a dessert so rich and decadent, it's practically sinful. From the surprisingly simple ingredients to the easy-to-follow steps, this cake is proof that you don't need complicated techniques or hard-to-find ingredients to achieve chocolate perfection. Whether you stick to the classic recipe or experiment with gluten-free or sugar-free variations, the most important thing is to have fun and enjoy the process. Now, go forth and bake a cake that will impress your friends, delight your family, and, most importantly, satisfy your own chocolate cravings. Happy baking!