Table of Contents
If you're on the hunt for the best chocolate velvet cake recipe, your search ends here! Forget those dry, crumbly disappointments. We're diving headfirst into a world of rich, decadent, and unbelievably moist chocolate cake that will have everyone begging for seconds.
What Makes This the Best Chocolate Velvet Cake Recipe?
What Makes This the Best Chocolate Velvet Cake Recipe?
The "Velvet" Factor: Texture is Key
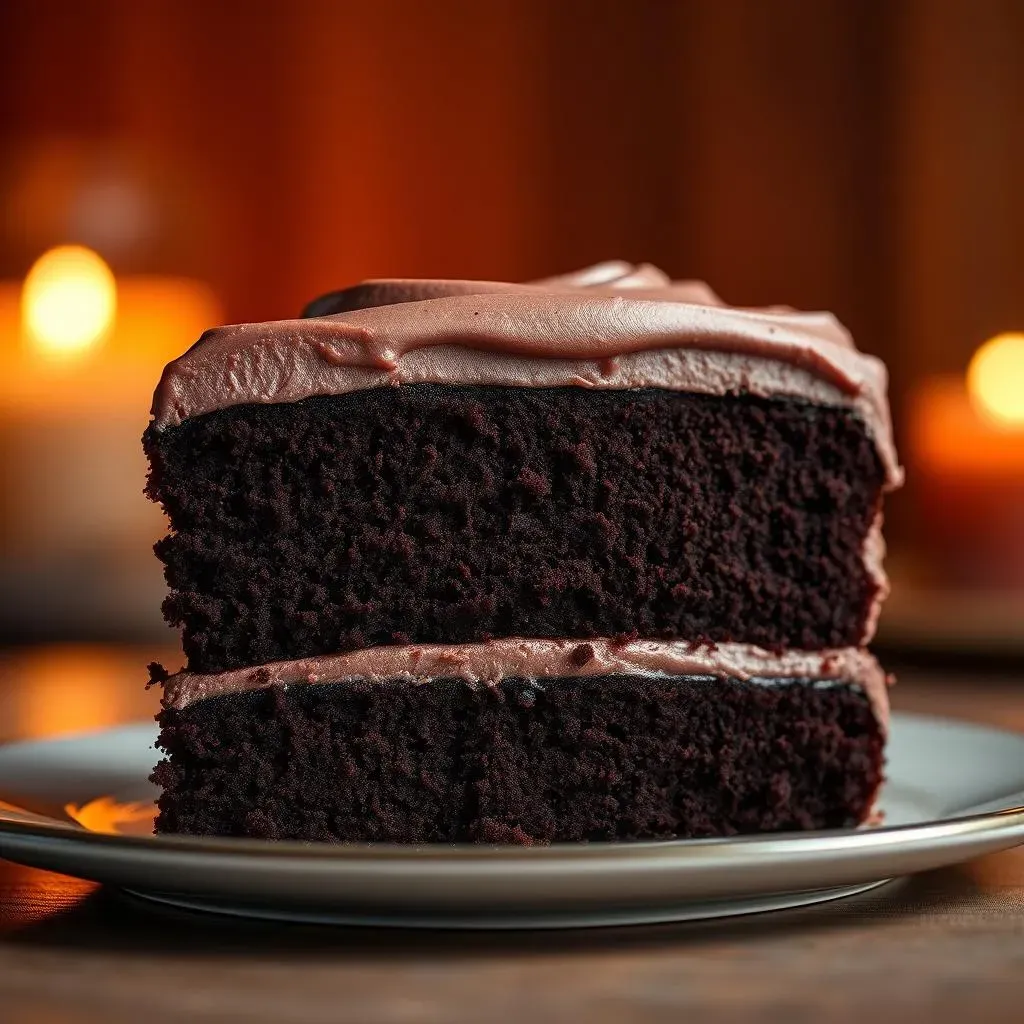
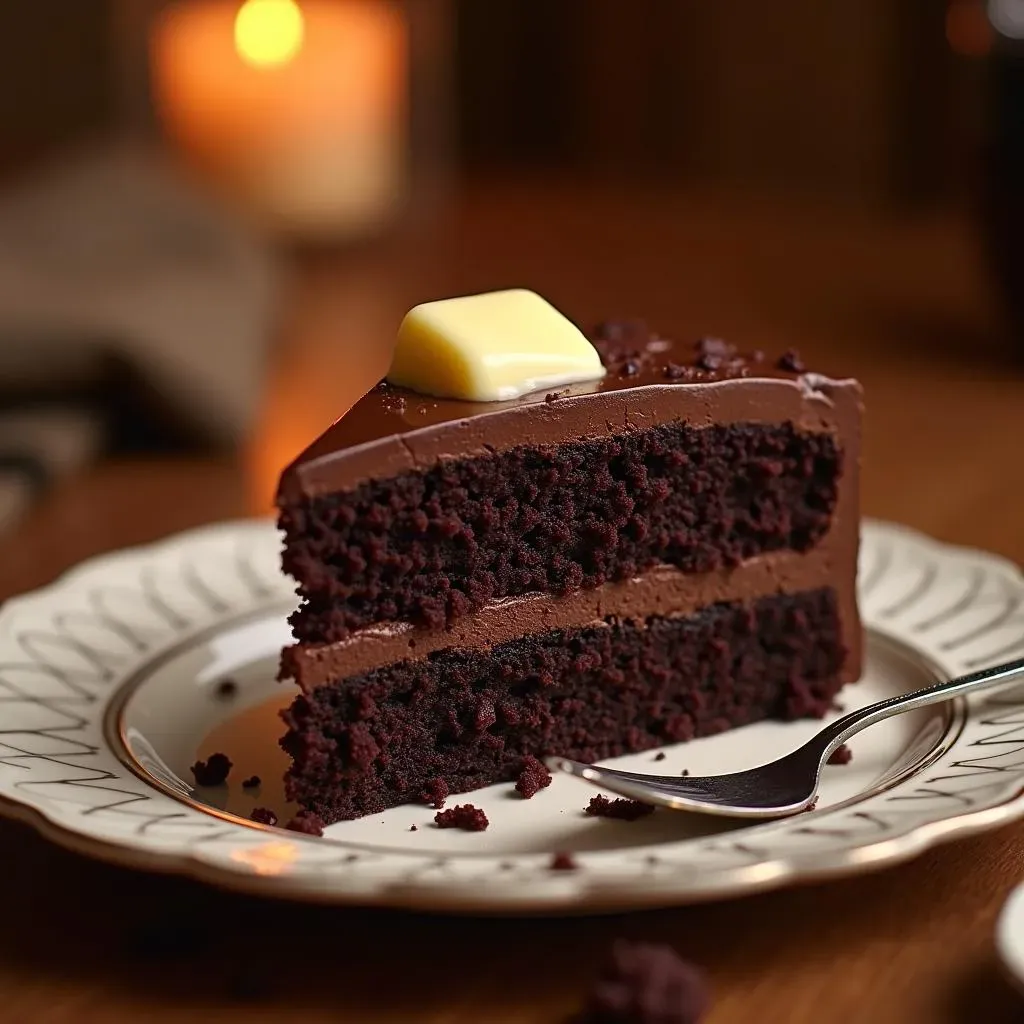
What truly sets this chocolate velvet cake apart is its unbelievably fine and tender crumb. We're talking melt-in-your-mouth goodness that's a far cry from your average dry chocolate cake. This is achieved through a careful balance of ingredients and techniques that create a delicate, almost ethereal texture. We aim for a cake that's soft, moist, and luxurious – a true velvet experience.
Several factors contribute to this unique texture. First, the use of buttermilk adds a subtle tang and helps to tenderize the gluten in the flour, resulting in a more delicate crumb. Second, the addition of oil alongside butter ensures the cake remains moist for days. Finally, the creaming method, where butter and sugar are beaten together until light and fluffy, incorporates air into the batter, creating a light and airy base.
Deep, Rich Chocolate Flavor
It's not just about texture; flavor is paramount. This recipe boasts a deep, rich chocolate flavor that's both intense and satisfying. We achieve this by using a combination of high-quality cocoa powder and melted dark chocolate. The cocoa powder provides a concentrated chocolate flavor, while the melted chocolate adds richness and depth.
But it doesn't stop there. A touch of espresso powder enhances the chocolate flavor, making it even more pronounced. And a hint of vanilla extract adds a subtle sweetness and warmth that complements the chocolate perfectly. The result is a symphony of flavors that dance on your palate.
Ever wonder if you should use Dutch-processed or natural cocoa powder? Here's a quick guide:
Cocoa Powder Type | Flavor Profile | Best Use |
|---|---|---|
Dutch-Processed | Milder, Earthy | Cakes, Brownies (when baking powder is used) |
Natural | More acidic, Intense | Cakes, Cookies (when baking soda is used) |
Perfectly Balanced Sweetness
A great cake isn't just about chocolate; it's about balance. This recipe strikes the perfect balance between sweetness and richness, ensuring that the cake is indulgent without being cloying. We use just the right amount of sugar to enhance the chocolate flavor and create a moist, tender crumb.
But we also incorporate a touch of acidity from the buttermilk, which helps to cut through the sweetness and create a more complex flavor profile. The result is a cake that's perfectly balanced and utterly irresistible.
Essential Ingredients for a Perfect Chocolate Velvet Cake
Essential Ingredients for a Perfect Chocolate Velvet Cake
Flour Power: Choosing the Right Type
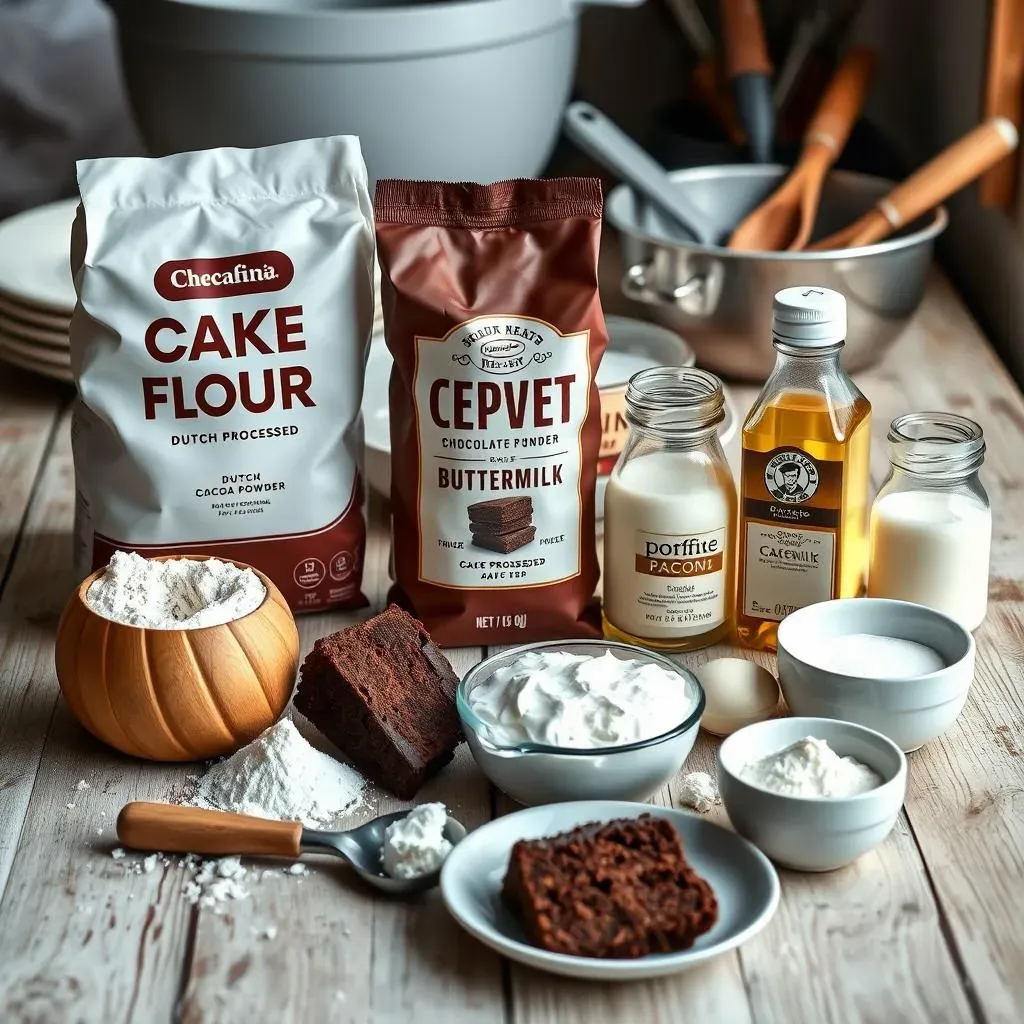
Let's talk flour, baby! Not all flour is created equal, especially when it comes to achieving that signature velvet texture. For this recipe, cake flour is your best friend. Why? Because it has a lower protein content than all-purpose flour, which means less gluten development. Less gluten equals a more tender, delicate crumb. Trust me, it makes a world of difference.
If you can't find cake flour, don't panic! You can make your own by using all-purpose flour. For every cup of all-purpose flour, remove two tablespoons and replace them with two tablespoons of cornstarch. Sift it together a few times to ensure it's well combined, and voila! Homemade cake flour.
Cocoa Conundrum: Dutch-Processed vs. Natural
Cocoa powder is the heart and soul of any chocolate cake, but choosing the right type can be tricky. This recipe calls for Dutch-processed cocoa powder, which has been treated with an alkaline solution to neutralize its acidity. This results in a milder, more mellow flavor and a darker color.
Why Dutch-processed? Because it pairs perfectly with baking powder, which is what we're using as our leavening agent. Natural cocoa powder, on the other hand, is more acidic and is typically used in recipes that call for baking soda. Using the wrong type of cocoa powder can affect the cake's rise, texture, and flavor.
Here's a quick reference to help you decide:
- Dutch-Processed: Milder flavor, darker color, use with baking powder.
- Natural: More acidic, intense flavor, use with baking soda.
The Liquid Gold: Buttermilk and Oil
Buttermilk and oil are the secret weapons for creating a moist and tender chocolate velvet cake. Buttermilk adds a subtle tang and helps to tenderize the gluten in the flour, resulting in a more delicate crumb. It also helps to activate the baking powder, giving the cake a light and airy texture.
Oil, on the other hand, ensures that the cake remains moist for days. Unlike butter, which can solidify when chilled, oil stays liquid, keeping the cake soft and tender. I recommend using a neutral-flavored oil like canola or vegetable oil so it doesn't compete with the chocolate flavor.
Don't have buttermilk on hand? No problem! You can make a quick substitute by adding one tablespoon of lemon juice or white vinegar to a cup of milk. Let it sit for five minutes, and you're good to go!
StepbyStep Guide to Baking Your Best Chocolate Velvet Cake
StepbyStep Guide to Baking Your Best Chocolate Velvet Cake
Prep Like a Pro: Setting the Stage for Success
Alright, let's get down to business! First things first, preheat your oven to 350°F (175°C). This is crucial for even baking. While the oven's heating up, grease and flour your cake pans. I prefer using round pans for a classic look, but square or rectangular will work just fine. Make sure every nook and cranny is covered to prevent sticking.
Next, gather all your ingredients. This is called "mise en place" in the culinary world, and it's a lifesaver. Measure everything out beforehand – it'll make the baking process so much smoother. Trust me, there's nothing worse than realizing you're out of eggs halfway through!
Essential Prep Checklist:
- Preheat oven to 350°F (175°C)
- Grease and flour cake pans
- Measure out all ingredients
Mixing Magic: Creating the Perfect Batter
Now for the fun part – mixing the batter! Start by creaming together the butter and sugar until light and fluffy. This can take a few minutes, so be patient. The goal is to incorporate air into the mixture, which will give the cake a light and airy texture.
Next, beat in the eggs one at a time, followed by the vanilla extract. In a separate bowl, whisk together the dry ingredients: flour, cocoa powder, baking powder, and salt. Gradually add the dry ingredients to the wet ingredients, alternating with the buttermilk, beginning and ending with the dry ingredients. Mix until just combined – be careful not to overmix! Overmixing can lead to a tough cake.
Mixing Step | Why It Matters |
|---|---|
Creaming Butter & Sugar | Incorporates air for a light texture |
Alternating Wet & Dry | Prevents gluten development & ensures even mixing |
Tips and Tricks for the Moistest Chocolate Velvet Cake Recipe
Tips and Tricks for the Moistest Chocolate Velvet Cake Recipe
Don't Overbake: Watch for Visual Cues
The number one sin when baking a cake is overbaking it! Nobody wants a dry, crumbly cake. The key to a moist chocolate velvet cake is to pull it out of the oven just before it's fully cooked. How do you know when that is? Look for these visual cues:
First, the edges of the cake should be slightly pulling away from the sides of the pan. Second, a toothpick inserted into the center should come out with a few moist crumbs attached. Don't wait for it to come out clean – that means it's overbaked! Remember, the cake will continue to cook as it cools.
- Edges Pulling Away: A sign the cake is nearly done.
- Moist Crumbs on Toothpick: Perfect indicator of doneness.
The Cooling Game: Patience is a Virtue
Once you've taken the cake out of the oven, resist the urge to dig in right away! Proper cooling is essential for maintaining its moisture and preventing it from crumbling. Let the cake cool in the pans for about 10-15 minutes before inverting it onto a wire rack to cool completely.
Why? Because as the cake cools, the structure sets, and the moisture redistributes throughout the cake. If you try to remove it from the pan too soon, it's likely to break apart. And if you try to frost it while it's still warm, the frosting will melt and slide right off. Patience, my friend, patience!
Frosting and Serving Ideas for Your Decadent Chocolate Velvet Cake
Frosting and Serving Ideas for Your Decadent Chocolate Velvet Cake
The Classic Cream Cheese Dream
Let's be real, can you even call it a velvet cake without cream cheese frosting? It's the quintessential pairing for a reason! The tangy, slightly acidic flavor of cream cheese frosting cuts through the richness of the chocolate perfectly, creating a balanced and utterly addictive combination. Plus, it's incredibly easy to make.
For a classic cream cheese frosting, simply beat together softened cream cheese, softened butter, powdered sugar, and a touch of vanilla extract until smooth and creamy. Adjust the amount of powdered sugar to your liking – some people prefer a sweeter frosting, while others like it a bit tangier. Don't be afraid to experiment!
Beyond the Basics: Creative Frosting Variations
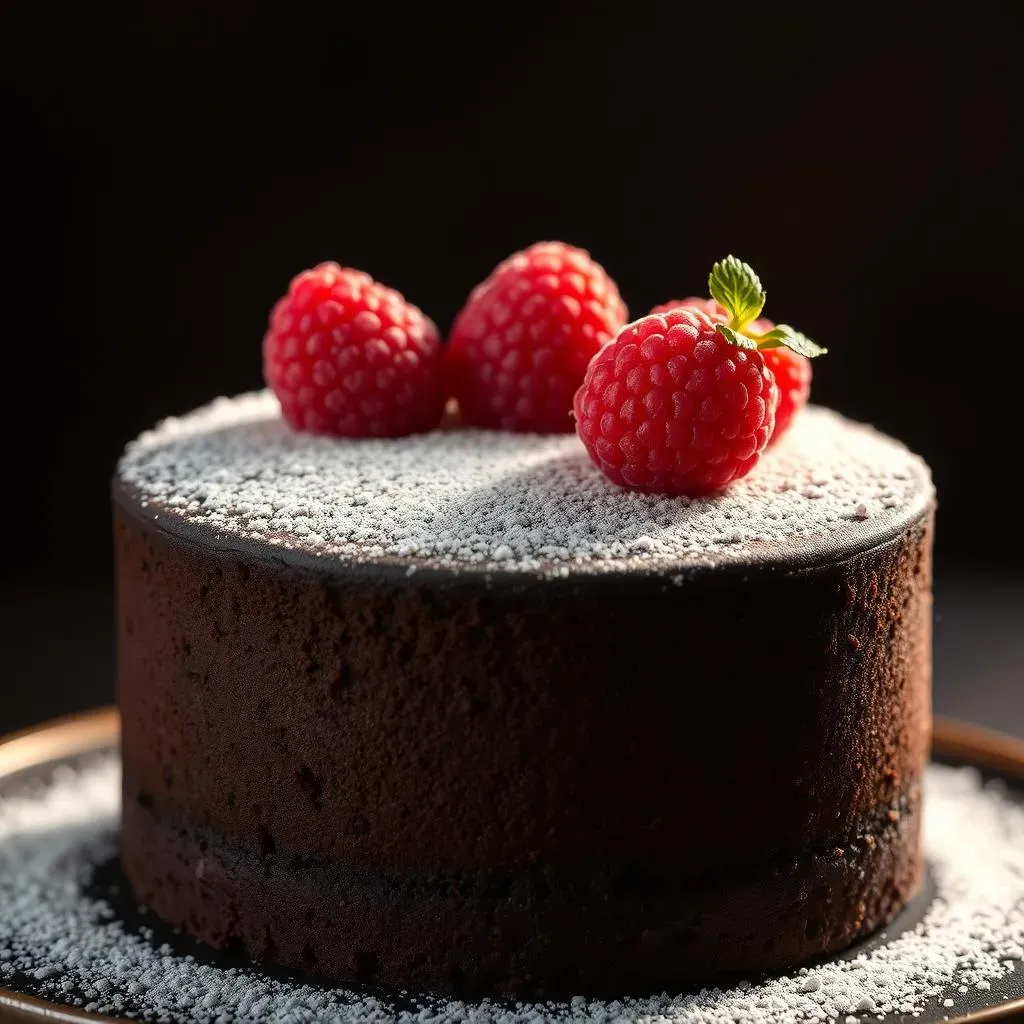
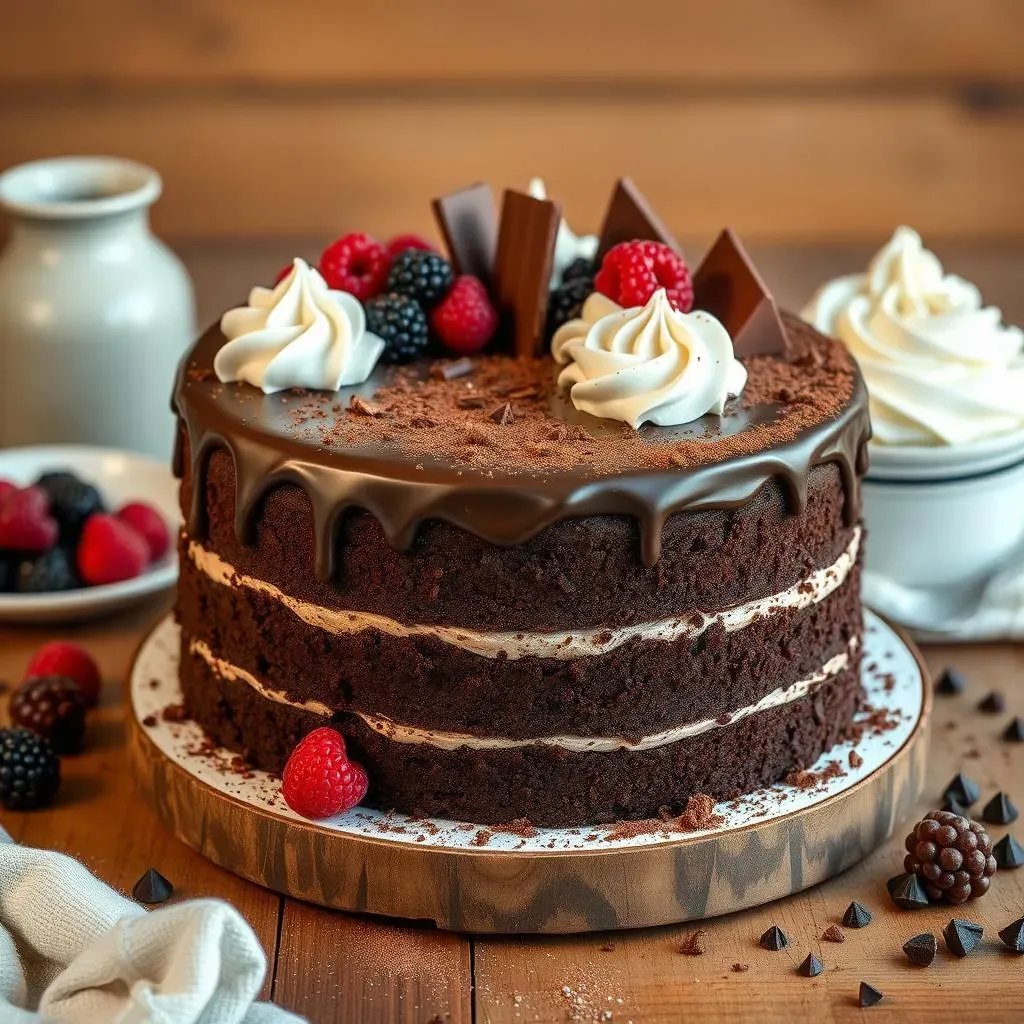
While cream cheese frosting is a classic, there's a whole world of frosting possibilities out there! If you're feeling adventurous, why not try a chocolate ganache? It's rich, decadent, and adds a beautiful sheen to the cake. Or, for a lighter option, try a Swiss meringue buttercream. It's silky smooth and not too sweet.
And don't forget about decorations! Fresh berries, chocolate shavings, a dusting of cocoa powder – the possibilities are endless. Get creative and have fun with it! After all, the cake should look as good as it tastes.
Frosting Type | Flavor Profile | Pairing Notes |
|---|---|---|
Cream Cheese | Tangy, Creamy | Classic, Balances Richness |
Chocolate Ganache | Rich, Decadent | Intense Chocolate Flavor |
Swiss Meringue Buttercream | Silky, Lightly Sweet | Elegant, Versatile |
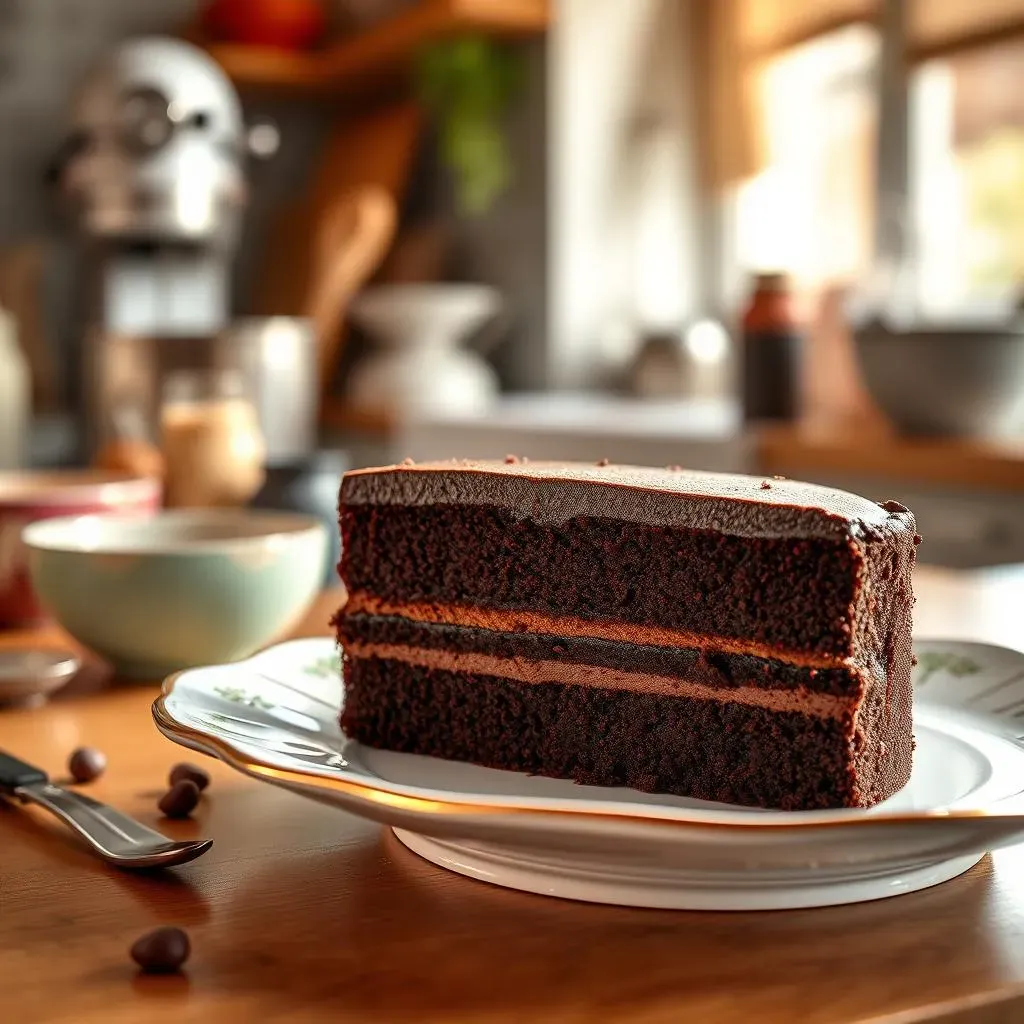
Your Best Chocolate Velvet Cake Awaits
So there you have it, the secrets to baking the best chocolate velvet cake recipe you'll ever try. From the carefully selected ingredients to the step-by-step instructions, every detail is designed to ensure a moist, rich, and unforgettable cake. Whether you're celebrating a special occasion or simply craving a chocolatey treat, this recipe is guaranteed to impress. Now, preheat that oven, gather your ingredients, and get ready to experience chocolate velvet perfection!