Table of Contents
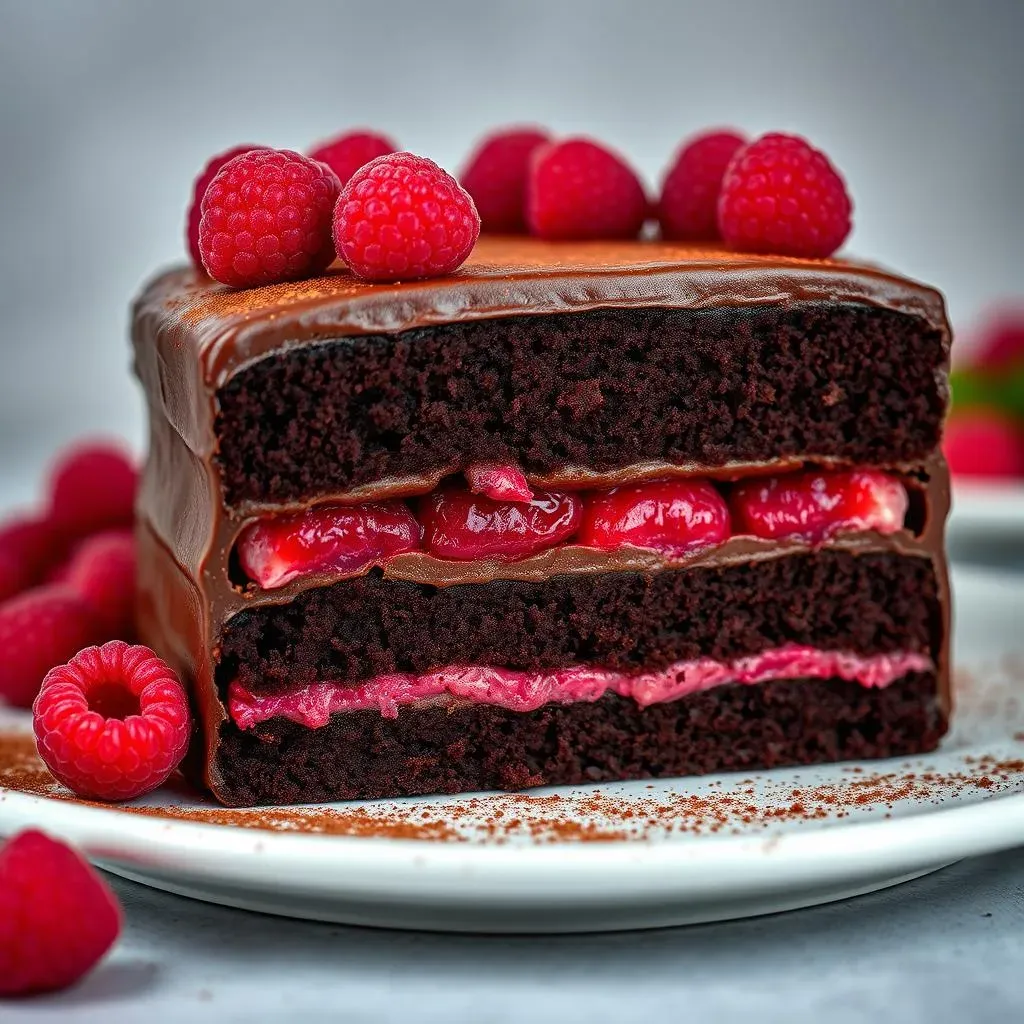
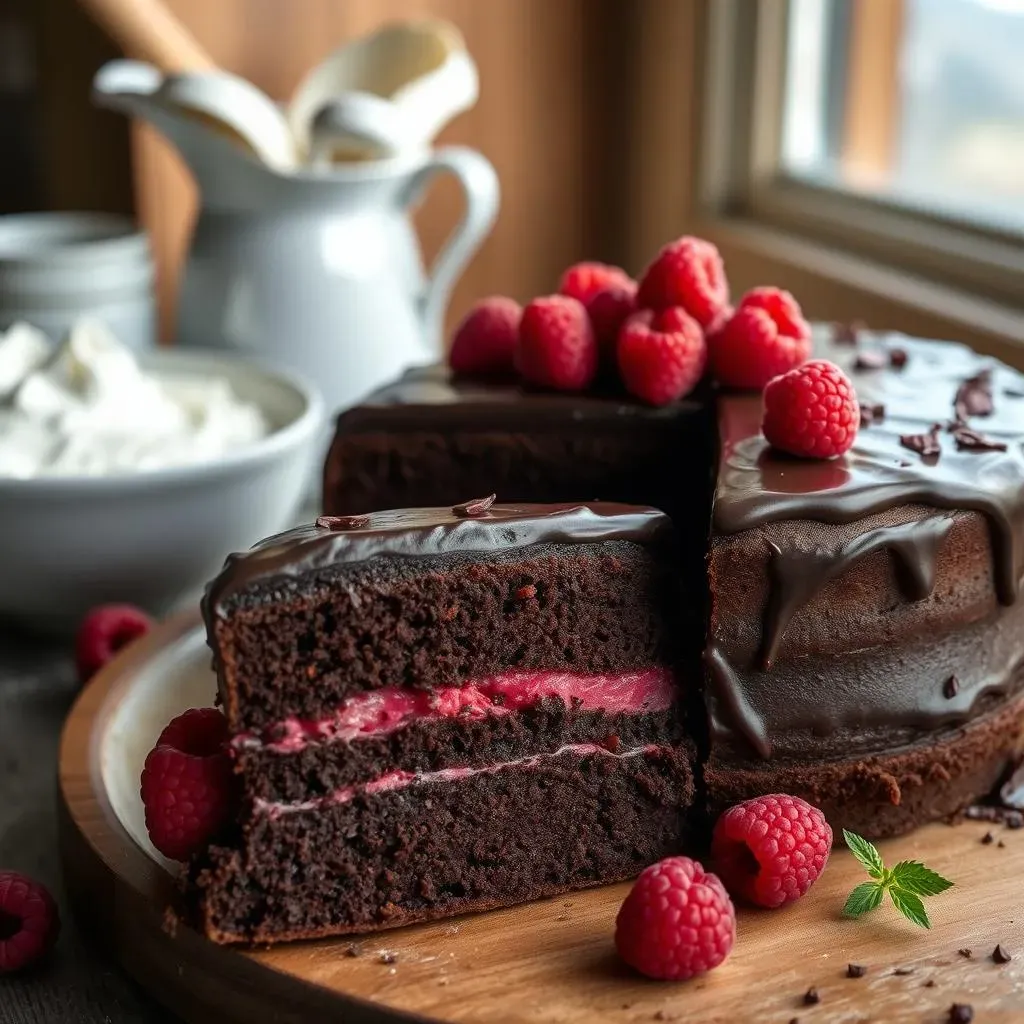
Craving a dessert that's both rich and refreshing? Look no further than the best chocolate raspberry cake recipe. This isn't just any cake; it's a symphony of flavors, where the deep, dark notes of chocolate dance in perfect harmony with the bright, tangy raspberries. We're talking about a moist, decadent chocolate cake layered with a vibrant raspberry filling and topped with a luscious chocolate frosting. Whether you're a seasoned baker or just starting out, this recipe is designed to guide you through each step, ensuring a show-stopping dessert every time. Get ready to embark on a baking adventure! We'll start with the essential ingredients and preparation techniques for the cake itself, focusing on how to achieve that perfect balance of moisture and flavor. Then, we'll dive into crafting a homemade raspberry filling that bursts with fresh fruit flavor, followed by a rich, creamy chocolate frosting that ties everything together. Finally, we'll cover the art of assembling and decorating your cake, along with some insider tips and tricks to elevate your baking game. Plus, we've included high-altitude adjustments to ensure success no matter where you are. Let's bake the best chocolate raspberry cake recipe!
Mastering the Art of Chocolate Raspberry Cake: Ingredients & Preparation
Mastering the Art of Chocolate Raspberry Cake: Ingredients & Preparation
Alright, let's talk ingredients! For the chocolate cake, you're going to want to gather your all-purpose flour, granulated sugar, unsweetened cocoa powder (go for Dutch-processed for a richer flavor!), baking powder, baking soda, salt, eggs, buttermilk (or a DIY version with milk and vinegar), vegetable oil, and vanilla extract. Room temperature is key for most of these – especially the eggs and buttermilk – as it helps create a smoother batter that emulsifies properly. And don't skimp on quality! Using good cocoa powder and vanilla extract can really elevate the final flavor. Now, before you even think about mixing, preheat your oven to 350°F (175°C) and grease and flour your cake pans. Trust me, this step is crucial for easy release later. Alternatively, you can line the bottoms with parchment paper rounds.
Now, for the mixing magic! In a large bowl, whisk together the dry ingredients: flour, sugar, cocoa powder, baking powder, baking soda, and salt. In a separate bowl, whisk together the wet ingredients: eggs, buttermilk, oil, and vanilla extract. Gradually add the wet ingredients to the dry ingredients, mixing on low speed until just combined. Be careful not to overmix! Overmixing develops the gluten in the flour, resulting in a tough, dense cake. Once the batter is smooth, divide it evenly between your prepared cake pans. I like to use a kitchen scale to ensure each pan gets the same amount of batter for even baking.
- Room Temperature Ingredients: Eggs, buttermilk
- Quality Cocoa Powder: Dutch-processed recommended
- Prepped Pans: Greased, floured, or parchment-lined
- Gentle Mixing: Avoid overmixing the batter
Crafting the Perfect Raspberry Filling and Chocolate Frosting
Crafting the Perfect Raspberry Filling and Chocolate Frosting
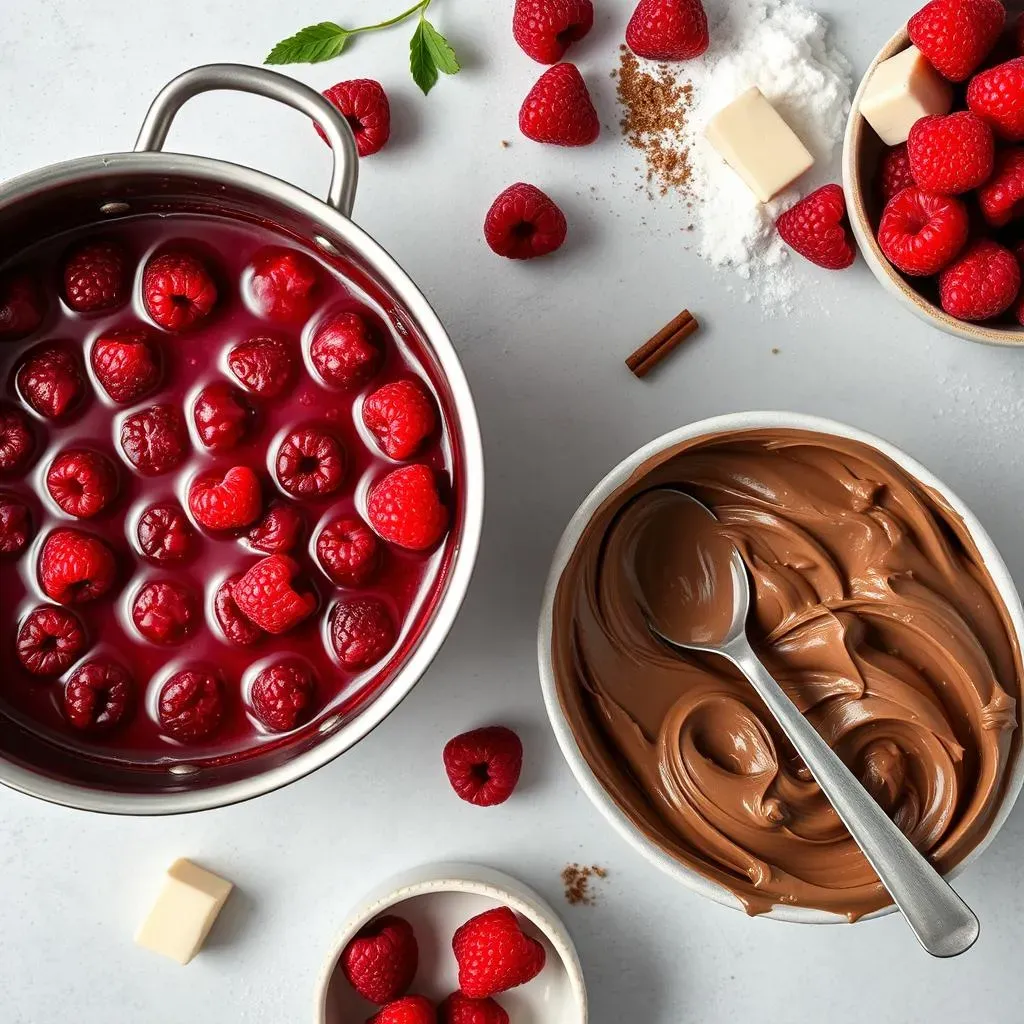
let's move on to the stars of the show: the raspberry filling and chocolate frosting! For the raspberry filling, you'll need fresh raspberries (or frozen, if fresh ones aren't in season), granulated sugar, cornstarch, and a little lemon juice. The lemon juice brightens the flavor and helps the raspberries break down. If you're not a fan of seeds, you can strain the filling through a fine-mesh sieve after cooking to remove them. I personally don't mind the seeds, as they add a bit of texture, but it's totally up to you! As for the chocolate frosting, we're going for a classic combination of butter, unsweetened cocoa powder, powdered sugar, milk (or cream, for extra richness), vanilla extract, and a pinch of salt. Some people like to add a touch of melted chocolate to their frosting for an even deeper chocolate flavor, and that's definitely an option here too.
First up, the raspberry filling! In a saucepan, combine the raspberries, sugar, cornstarch, and lemon juice. Cook over medium heat, stirring constantly, until the raspberries break down and the mixture thickens. This usually takes about 5-7 minutes. Once it's thickened, remove from heat and let it cool completely. If you're straining the filling, do it while it's still warm, as it will be easier to push through the sieve. Now, for the chocolate frosting! In a large bowl, beat the butter until it's light and fluffy. Gradually add the powdered sugar, beating on low speed until combined. Add the cocoa powder, milk (or cream), vanilla extract, and salt, and beat on medium speed until the frosting is smooth and creamy. If the frosting is too thick, add a little more milk. If it's too thin, add a little more powdered sugar. Taste and adjust the sweetness as needed. Remember, you want it to complement the cake and raspberry filling, not overpower them.
Filling Component | Frosting Component |
|---|---|
Fresh Raspberries | Butter |
Sugar | Cocoa Powder |
Cornstarch | Powdered Sugar |
Lemon Juice | Milk/Cream |
One thing I've learned over the years is that the quality of your ingredients truly shines through in the final product. Using fresh, ripe raspberries will make a world of difference in your filling, and a good quality cocoa powder will give your frosting that deep, rich chocolate flavor we all crave. Don't be afraid to experiment with different types of cocoa powder, too! Dark chocolate cocoa powder will give you a more intense flavor, while regular unsweetened cocoa powder will be a bit milder. Also, consider adding a pinch of espresso powder to your chocolate frosting to enhance the chocolate flavor even further. It's a little trick I picked up from a professional baker, and it really makes a difference!
Assembling and Decorating Your Dream Chocolate Raspberry Cake
Assembling and Decorating Your Dream Chocolate Raspberry Cake
Leveling and Layering Like a Pro
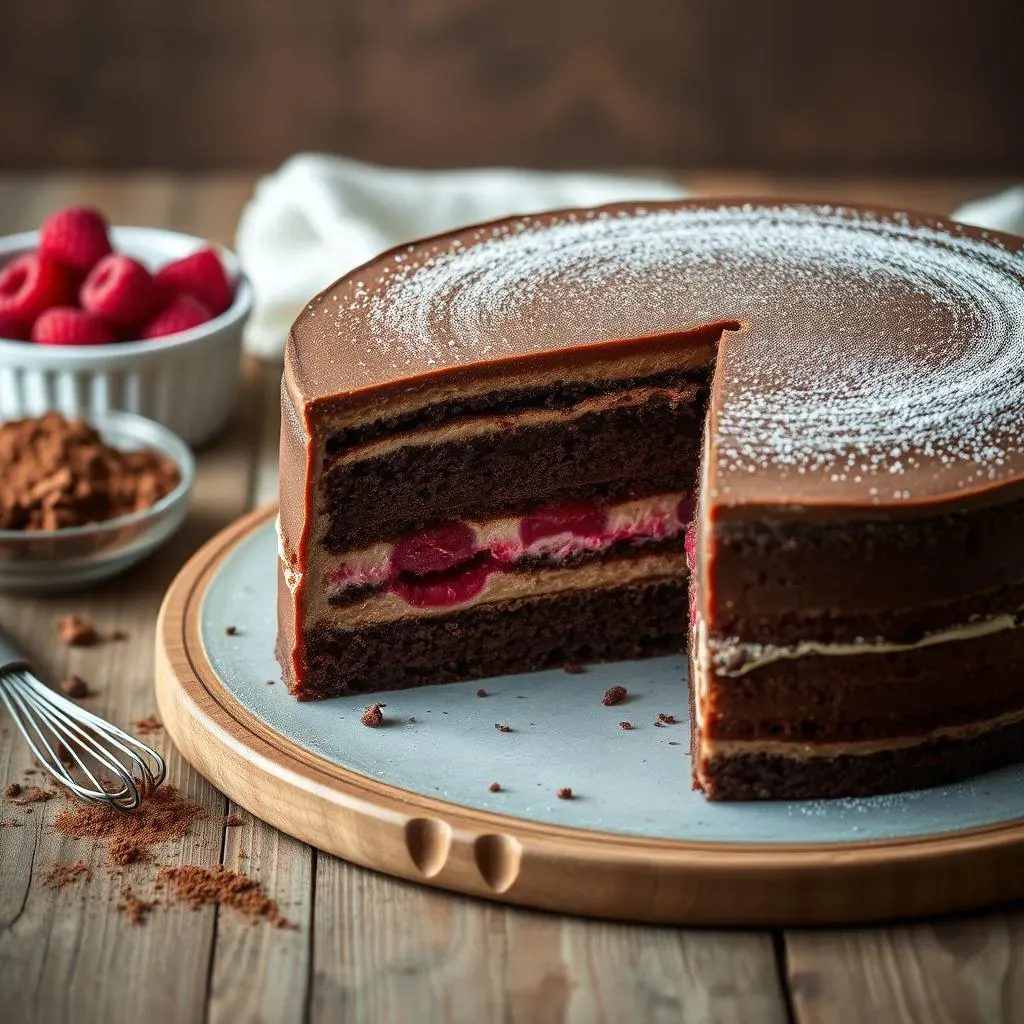
Alright, you've got your cake layers, your raspberry filling, and your chocolate frosting – now comes the fun part: assembling! The first thing you'll want to do is level your cake layers. This ensures that your cake will be stable and won't have any awkward bulges. Use a serrated knife to carefully trim off any domed tops, creating a flat surface. Don't toss those scraps! You can use them to make cake pops or trifles. Place one cake layer on your serving plate or cake stand, and spread a generous layer of chocolate frosting on top. Make sure to spread it evenly, right to the edges. Next, create a dam of frosting around the edge of the cake layer. This will prevent the raspberry filling from oozing out. Now, spoon your raspberry filling into the center of the frosting dam, spreading it evenly.
Carefully place the second cake layer on top of the raspberry filling, pressing down gently to secure it. Repeat the frosting and filling process for the remaining layers, if you have them. Once all the layers are stacked, it's time for the crumb coat! This is a thin layer of frosting that seals in any loose crumbs and creates a smooth surface for the final layer of frosting. Apply a thin layer of chocolate frosting all over the cake, making sure to cover the sides and top. Don't worry about making it perfect – this is just a base layer. Pop the cake into the refrigerator for at least 30 minutes to allow the crumb coat to set. This will make frosting the final layer much easier and prevent crumbs from getting into your beautiful frosting.
The Art of the Final Frosting and Decoration
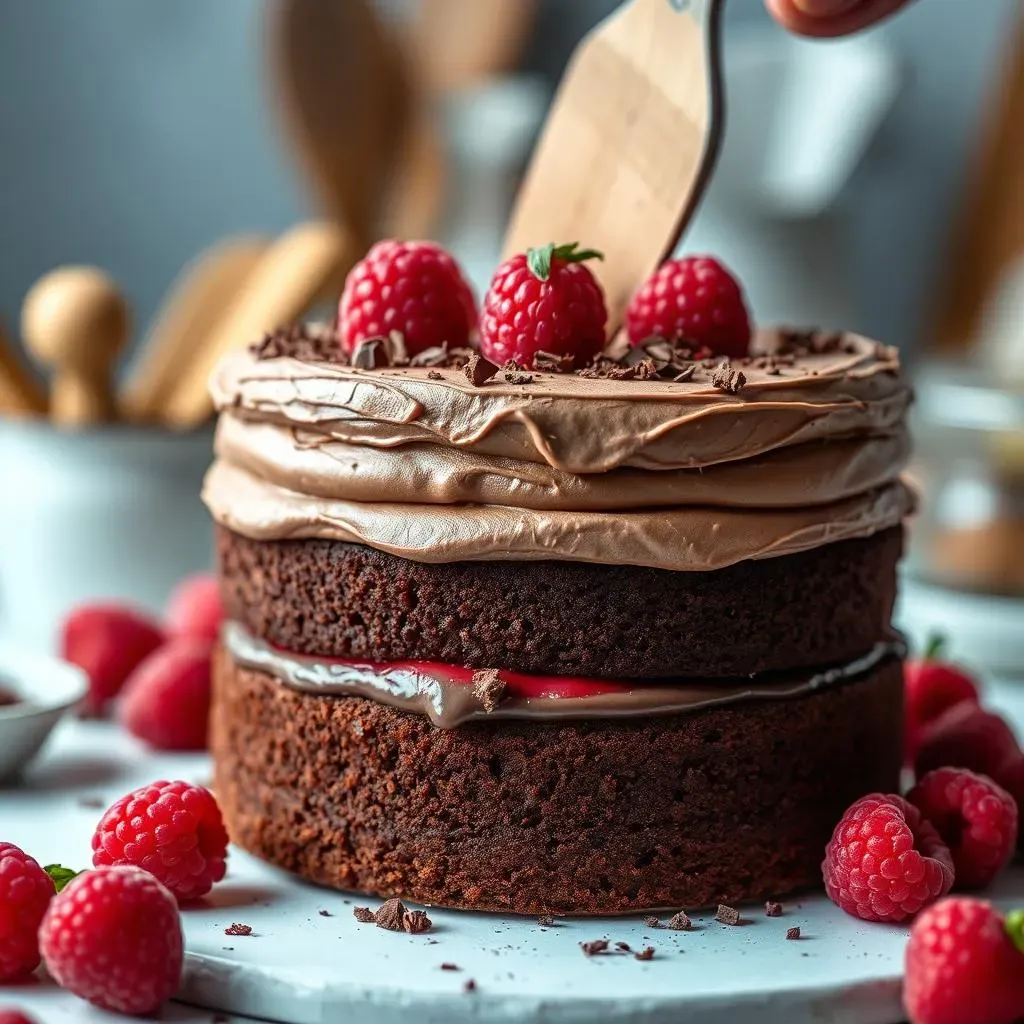
Now that your crumb coat is set, it's time for the final frosting! Apply a generous layer of chocolate frosting all over the cake, using an offset spatula or a butter knife to create a smooth, even surface. You can go for a classic smooth finish, or get creative with swirls, textures, and patterns. If you're going for a smooth finish, dip your spatula in warm water and dry it off before each swipe. This will help create a super smooth surface. For a more rustic look, try swirling the frosting with your spatula or creating peaks and valleys.
Once you're happy with the frosting, it's time to decorate! There are endless possibilities here, so let your creativity shine! You can decorate with fresh raspberries, chocolate shavings, chocolate curls, sprinkles, edible flowers, or even a drizzle of melted chocolate. For a simple yet elegant look, arrange fresh raspberries around the top edge of the cake. Or, for a more decadent look, cover the entire cake with chocolate shavings. If you're feeling ambitious, you can even make your own chocolate curls using a vegetable peeler and a block of chocolate. Just be sure to work quickly, as the chocolate will melt in your hands. And don't forget the finishing touches! A sprinkle of powdered sugar or a dusting of cocoa powder can add a touch of elegance to your cake.
Decoration Element | Ideas |
|---|---|
Fresh Raspberries | Arrange on top, create a border |
Chocolate Shavings | Cover the entire cake, create a pile on top |
Chocolate Curls | Arrange on top, scatter around the base |
Sprinkles | Add a pop of color, create a pattern |
High-Altitude Decorating Considerations
If you're baking at a high altitude, there are a few things to keep in mind when it comes to frosting and decorating. The first is that your frosting may be more prone to drying out, so you'll want to work quickly and keep it covered when you're not using it. You may also need to add a little extra liquid to your frosting to keep it smooth and creamy. Another thing to consider is that chocolate can be more temperamental at high altitudes, so it's important to use a good quality chocolate and to melt it slowly and carefully. Avoid overheating the chocolate, as this can cause it to seize up. When decorating with fresh raspberries, make sure to pat them dry before placing them on the cake. This will prevent them from making the frosting soggy.
Ultimately, decorating a cake is all about having fun and expressing your creativity. Don't be afraid to experiment with different techniques and decorations until you find something that you love. And remember, even if your cake isn't perfect, it will still taste delicious! After all, it's the flavor that really matters. So go ahead, grab your frosting, your decorations, and your imagination, and create a chocolate raspberry cake that's as beautiful as it is delicious!
- Work Quickly: Frosting dries out faster at high altitudes.
- Add Extra Liquid: Keep frosting smooth and creamy.
- Use Quality Chocolate: Melt slowly to avoid seizing.
- Pat Raspberries Dry: Prevent soggy frosting.
Tips, Tricks, and HighAltitude Adjustments for the Best Chocolate Raspberry Cake Recipe
Tips, Tricks, and HighAltitude Adjustments for the Best Chocolate Raspberry Cake Recipe
Alright, let's get down to the nitty-gritty – those little secrets that can take your chocolate raspberry cake from good to absolutely unforgettable! One of my favorite tricks is to add a tablespoon of sour cream to the cake batter. It might sound strange, but it adds an extra layer of moisture and tanginess that complements the chocolate and raspberry perfectly. Another tip? Don't be afraid to experiment with different types of chocolate in your frosting. Using a combination of unsweetened cocoa powder and melted dark chocolate can create a truly decadent flavor. And speaking of frosting, chilling your cake layers before frosting them makes the whole process so much easier. The frosting glides on smoothly, and you're less likely to end up with a crumbly mess. Trust me, patience is key when it comes to frosting a cake!
Now, let's talk high-altitude baking. If you live above 3,000 feet, you might have noticed that cakes tend to rise too quickly and then collapse, or they can be dry and crumbly. The good news is, there are a few simple adjustments you can make to counteract these effects. First, reduce the amount of baking powder by 1/4 teaspoon per teaspoon called for in the recipe. This will help prevent the cake from rising too quickly. Second, increase the amount of liquid by 2-4 tablespoons. This will help keep the cake moist. And finally, increase the oven temperature by 25 degrees Fahrenheit and reduce the baking time by about 5-10 minutes. Keep a close eye on the cake, and insert a toothpick into the center to check for doneness. When it comes out clean, it's ready to go!
But wait, there's more! Here are a few extra tips to ensure your chocolate raspberry cake is a smashing success:
- Use a kitchen scale: For precise measurements, especially when baking.
- Don't overbake: A slightly underbaked cake is better than a dry one.
- Let the cake cool completely: Before frosting to prevent the frosting from melting.
- Use a turntable: For easy frosting and decorating.
- Have fun!: Baking should be enjoyable, so relax and let your creativity flow.
Indulge and Enjoy Your Best Chocolate Raspberry Cake
Congratulations, you've created a masterpiece! This best chocolate raspberry cake recipe isn't just about following steps; it's about bringing joy and deliciousness to your table. Whether you're celebrating a special occasion or simply treating yourself, every slice of this cake offers a perfect balance of rich chocolate and tangy raspberry. So, gather your loved ones, savor each bite, and bask in the glory of your baking success. After all, life is too short to skip dessert, especially when it's this good!