Table of Contents
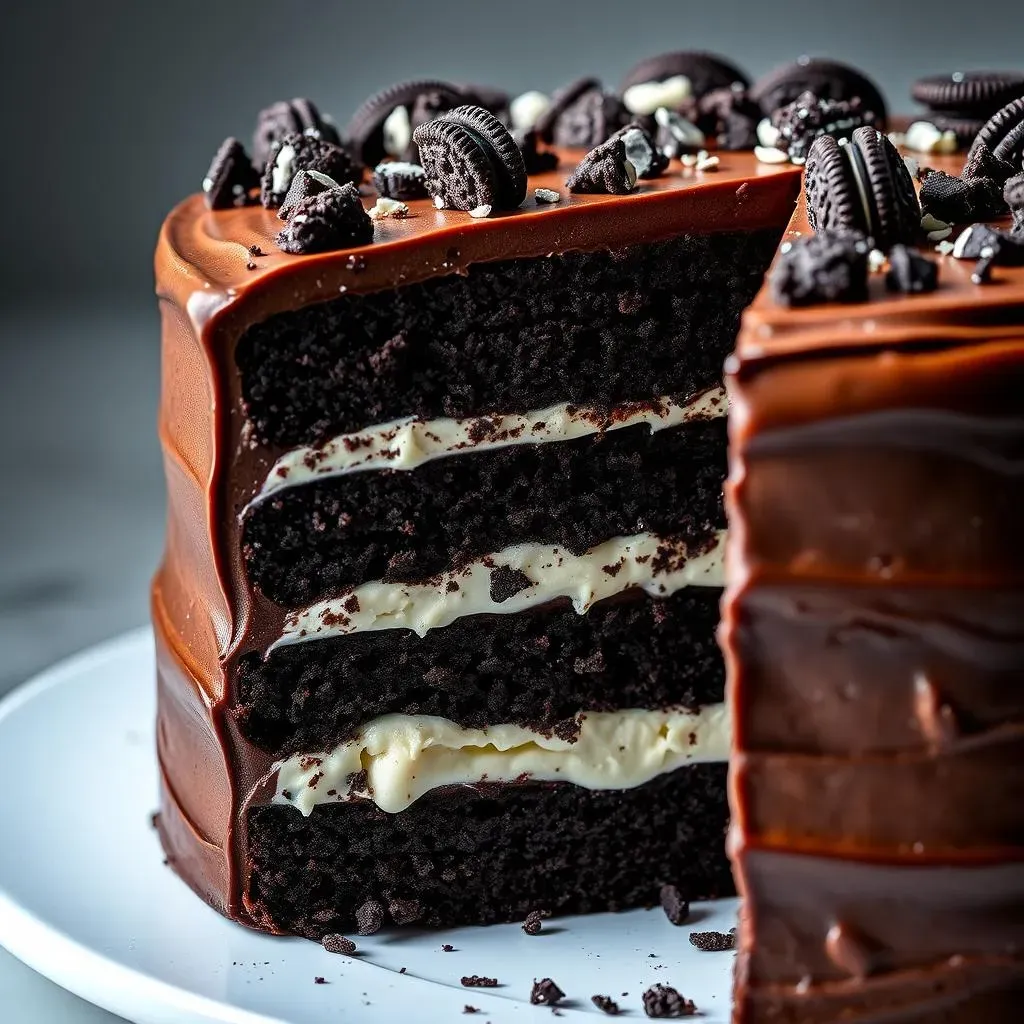
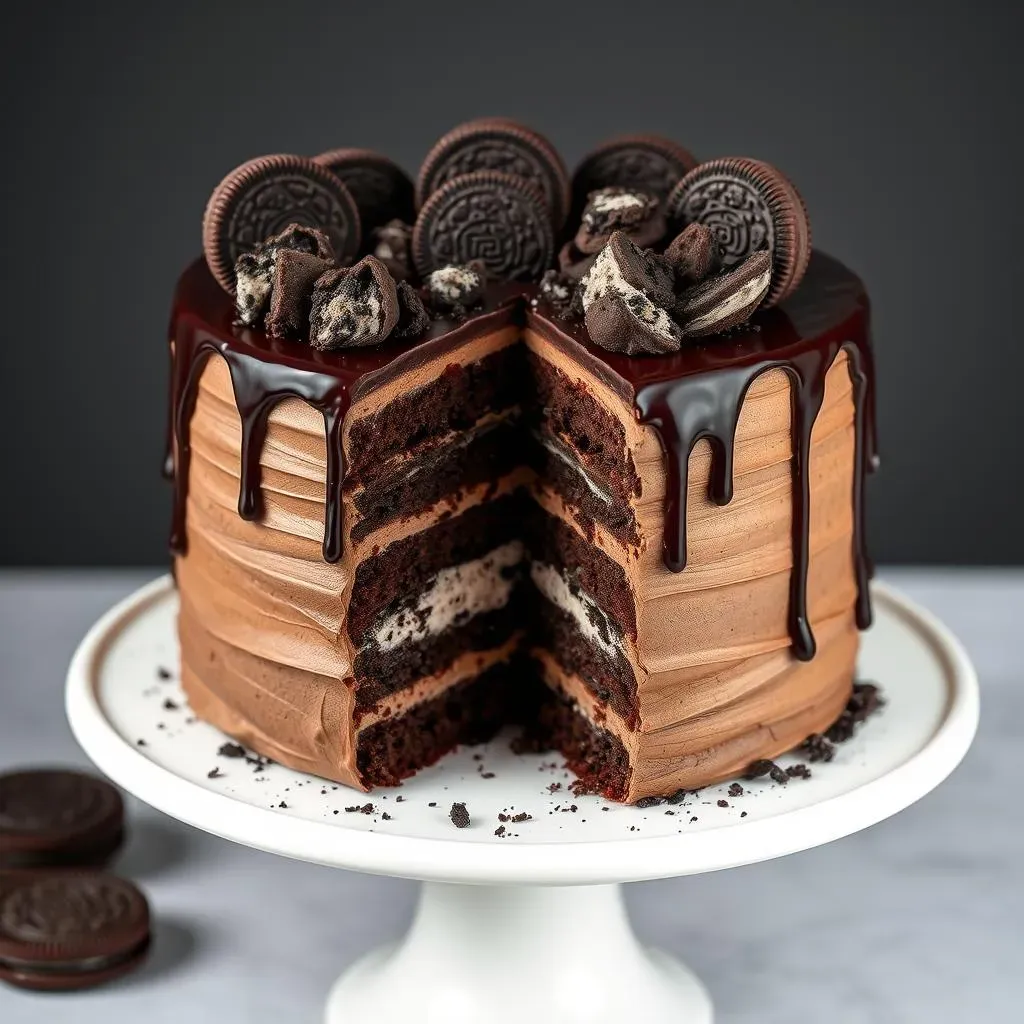
Let's be honest, who can resist the allure of Oreos and chocolate? Now, imagine combining those two iconic flavors into one show-stopping dessert: the best chocolate Oreo cake recipe. This isn't just any cake; it's a triple-layered masterpiece of moist, rich chocolate cake, generously filled and frosted with a dreamy Oreo-infused buttercream.
Why This Chocolate Oreo Cake Recipe Is the Best
Why This Chocolate Oreo Cake Recipe Is the Best
Unmatched Flavor Harmony
Let's cut to the chase: this isn't your average cake. It's a symphony of flavors, where the deep, rich notes of chocolate intertwine with the creamy, crunchy goodness of Oreos. We're talking about a perfect balance that hits all the right spots on your palate. It's not just sweet; it's complex, satisfying, and utterly addictive.
What sets it apart? It's the quality of ingredients and the careful attention to detail in every step. From the selection of premium cocoa powder to the generous incorporation of Oreo crumbs, every element is designed to elevate the cake to a whole new level of deliciousness.
Texture Perfection
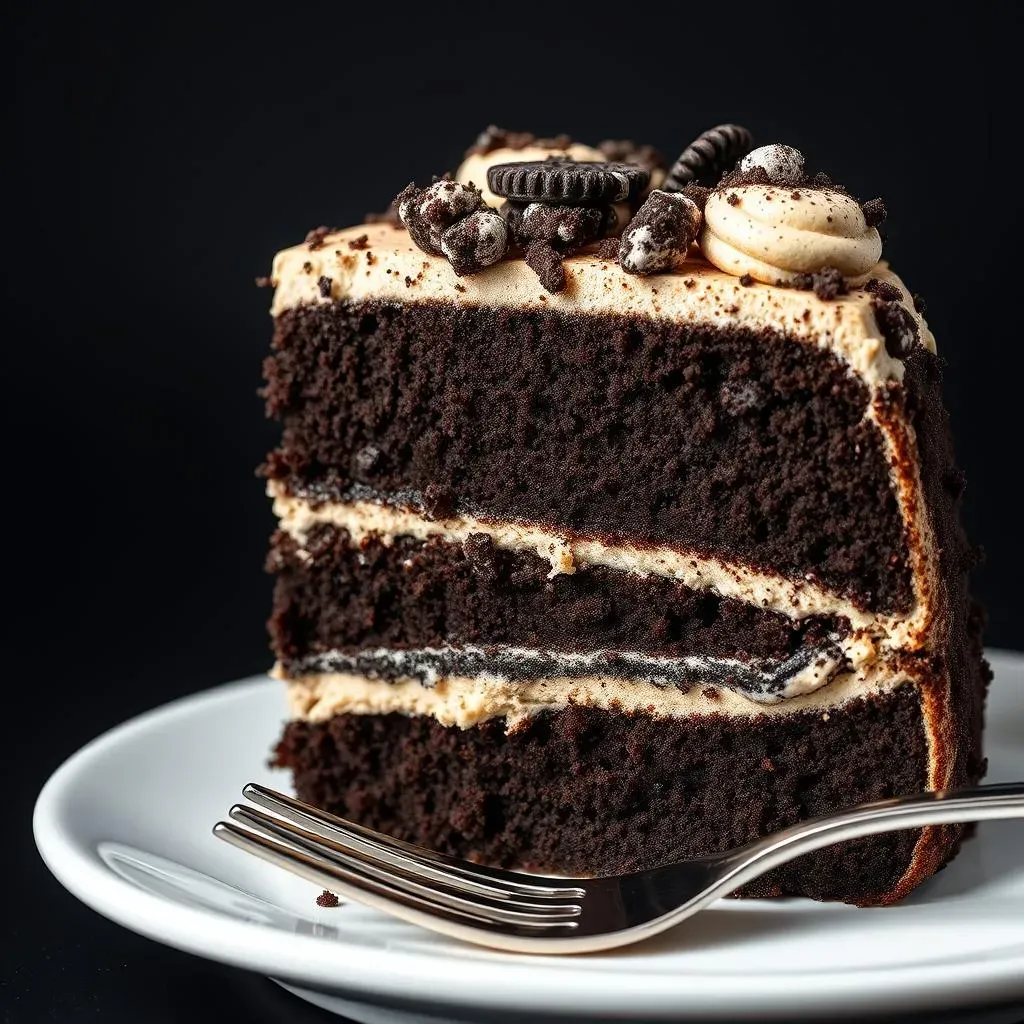
Beyond the flavor, the texture is where this cake truly shines. Imagine sinking your fork into a slice of moist, tender chocolate cake, followed by the smooth, velvety Oreo buttercream. Then, you get that delightful crunch from the chopped Oreos scattered throughout.
It's a textural masterpiece that keeps you coming back for more. No dry, crumbly cake here. This recipe is engineered for maximum moisture and a melt-in-your-mouth experience that will leave you speechless.
Foolproof and Fun
Forget complicated recipes that leave you stressed and overwhelmed. This recipe is designed to be approachable and enjoyable, even for beginner bakers. We've broken down each step into clear, concise instructions, so you can bake with confidence and have fun in the process.
It's a project that brings joy, from the moment you start mixing the batter to the moment you take that first, glorious bite. Plus, the decorating possibilities are endless, allowing you to unleash your creativity and personalize your cake to your heart's content.
Key Advantages
- Easy-to-follow instructions
- Uses readily available ingredients
- Customizable decorations
Gathering Your Ingredients for the Ultimate Oreo Cake
Gathering Your Ingredients for the Ultimate Oreo Cake
The Chocolate Cake Essentials
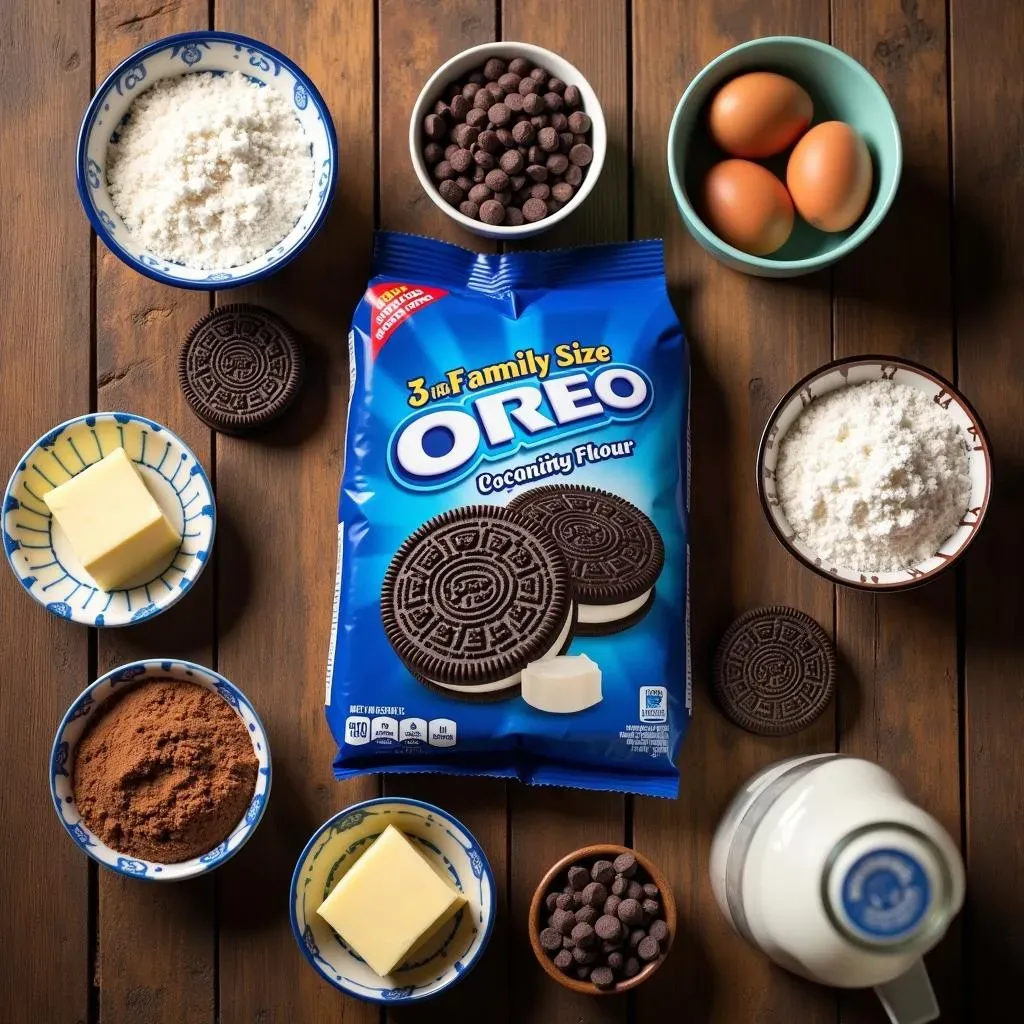
First things first, let's nail down the chocolate cake. You'll need all-purpose flour, sugar (granulated is perfect), natural unsweetened cocoa powder, baking powder, baking soda, salt, eggs, milk (or buttermilk for extra tang), vegetable oil, and vanilla extract. Don't skimp on the cocoa powder! A good quality one makes all the difference in the depth of flavor.
Make sure your baking powder and baking soda are fresh; otherwise, your cake won't rise properly. And while we're at it, let your eggs and milk come to room temperature. This helps them emulsify better with the other ingredients, resulting in a smoother batter and a more tender cake.
Oreo Overload: The Star of the Show
Now for the main attraction: Oreos! You'll need a family-size package, because we're using them in the frosting and as a filling. Separate the cookies from the cream filling. We'll be crushing the cookies for the buttercream and for sprinkling between the cake layers.
Resist the urge to eat too many while you're prepping! Trust me, it's a struggle. You can use any variety of Oreos you like, but classic is always a winner. Double Stuf? Even better.
Buttercream Bliss and Ganache Glamour
For the Oreo buttercream, you'll need unsalted butter (softened, of course), powdered sugar, vanilla extract, and a splash of milk or heavy cream to get the right consistency. Make sure your butter is properly softened; otherwise, you'll end up with lumpy frosting.
And for the final touch, the chocolate ganache, you'll need heavy whipping cream and semi-sweet chocolate chips. The ganache adds a touch of elegance and intensifies the chocolate flavor. It's the perfect finishing touch to an already decadent cake.
Ingredient Checklist
- All-purpose flour
- Sugar
- Cocoa powder
- Baking powder & soda
- Eggs
- Milk (or buttermilk)
- Vegetable oil
- Vanilla extract
- Family-size package of Oreos
- Unsalted butter
- Powdered sugar
- Heavy whipping cream
- Semi-sweet chocolate chips
StepbyStep: Baking the Perfect Chocolate Oreo Cake Layers
StepbyStep: Baking the Perfect Chocolate Oreo Cake Layers
Get Ready to Bake: Prep Work is Key
Alright, aspiring cake artist, let's get down to business! First things first, preheat your oven to 350°F (175°C). This is non-negotiable. While it's warming up, grease and flour three 8-inch round cake pans. Trust me, this step is crucial for preventing your cakes from sticking. You can also line the bottoms with parchment paper for extra insurance.
Next, whisk together the dry ingredients: flour, sugar, cocoa powder, baking powder, baking soda, and salt in a large bowl. Make sure everything is evenly distributed. In a separate bowl, whisk together the wet ingredients: eggs, milk (or buttermilk), vegetable oil, and vanilla extract.
Now, gradually add the wet ingredients to the dry ingredients, mixing until just combined. Be careful not to overmix! Overmixing can lead to a tough cake. The batter should be smooth but don't worry if there are a few small lumps.
Divide the batter evenly among the prepared cake pans. I like to use a kitchen scale to ensure each pan has the same amount. This helps the cakes bake evenly and prevents one from being taller than the others.
Baking Time: Patience is a Virtue
Pop those pans into the preheated oven and bake for 25-30 minutes, or until a toothpick inserted into the center comes out clean. Keep a close eye on them; every oven is different, and you don't want to overbake them.
Once they're done, let the cakes cool in the pans for about 10 minutes before inverting them onto a wire rack to cool completely. This prevents them from sticking and makes them easier to handle.
While the cakes are cooling, resist the urge to start frosting them! They need to be completely cool before you add any buttercream, or it will melt and make a mess. Trust me, patience is a virtue in baking.
Once the cakes are completely cool, you can wrap them in plastic wrap and store them in the fridge for a few hours or even overnight. This makes them even easier to frost and assemble.
Step | Description |
|---|---|
1 | Preheat oven to 350°F (175°C) and prepare cake pans. |
2 | Whisk together dry and wet ingredients separately. |
3 | Combine wet and dry ingredients until just mixed. |
4 | Divide batter evenly among cake pans. |
5 | Bake for 25-30 minutes, or until a toothpick comes out clean. |
6 | Cool cakes completely before frosting. |
Oreo Buttercream Dream: Making the Frosting

Oreo Buttercream Dream: Making the Frosting
The Base: Creamy, Dreamy Buttercream
Alright, let's talk frosting! The foundation of our Oreo buttercream is a classic American buttercream. This means we're creaming together softened unsalted butter and powdered sugar until it's light and fluffy. Now, the key here is SOFTENED butter, not melted. You want it to be pliable but still hold its shape. If it's too melted, your frosting will be greasy.
Start by beating the butter on medium speed for a few minutes until it's nice and smooth. Then, gradually add the powdered sugar, a cup or two at a time, mixing on low speed to prevent a powdered sugar explosion. Once all the powdered sugar is incorporated, increase the speed to medium-high and beat for another 3-5 minutes until the frosting is light and airy. Add a splash of vanilla extract for that extra oomph!
Oreo Incorporation: The Cookie Magic
Now for the fun part: adding the Oreos! Remember those Oreos you separated from the cream filling earlier? It's time to crush them. You can use a food processor for a super-fine crumb, or you can put them in a zip-top bag and crush them with a rolling pin for a chunkier texture. I personally prefer a mix of both!
Gently fold the crushed Oreos into the buttercream until they're evenly distributed. Be careful not to overmix, or the frosting can become tough. You want to see those beautiful Oreo specks throughout the frosting. If the frosting is too thick, add a tablespoon or two of milk or heavy cream until you reach your desired consistency.
Achieving Frosting Perfection: Tips and Tricks
Consistency is key when it comes to buttercream. You want it to be smooth, creamy, and easy to spread. If your frosting is too stiff, add a little more liquid. If it's too thin, add a little more powdered sugar.
Another important tip: don't overbeat the frosting after adding the Oreos. Overbeating can develop the gluten in the powdered sugar, resulting in a tough frosting. Gently fold in the Oreos until they're just combined, and then stop mixing.
Finally, if you're not using the frosting right away, store it in an airtight container in the refrigerator. When you're ready to use it, let it come to room temperature and then re-whip it for a few minutes to restore its creamy texture.
Step | Description |
|---|---|
1 | Cream softened butter until smooth. |
2 | Gradually add powdered sugar, mixing on low speed. |
3 | Beat on medium-high speed until light and airy. |
4 | Fold in crushed Oreos until evenly distributed. |
5 | Adjust consistency with milk or powdered sugar as needed. |
Assembling and Decorating Your Best Chocolate Oreo Cake
Assembling and Decorating Your Best Chocolate Oreo Cake
Leveling and Layering: Building the Foundation
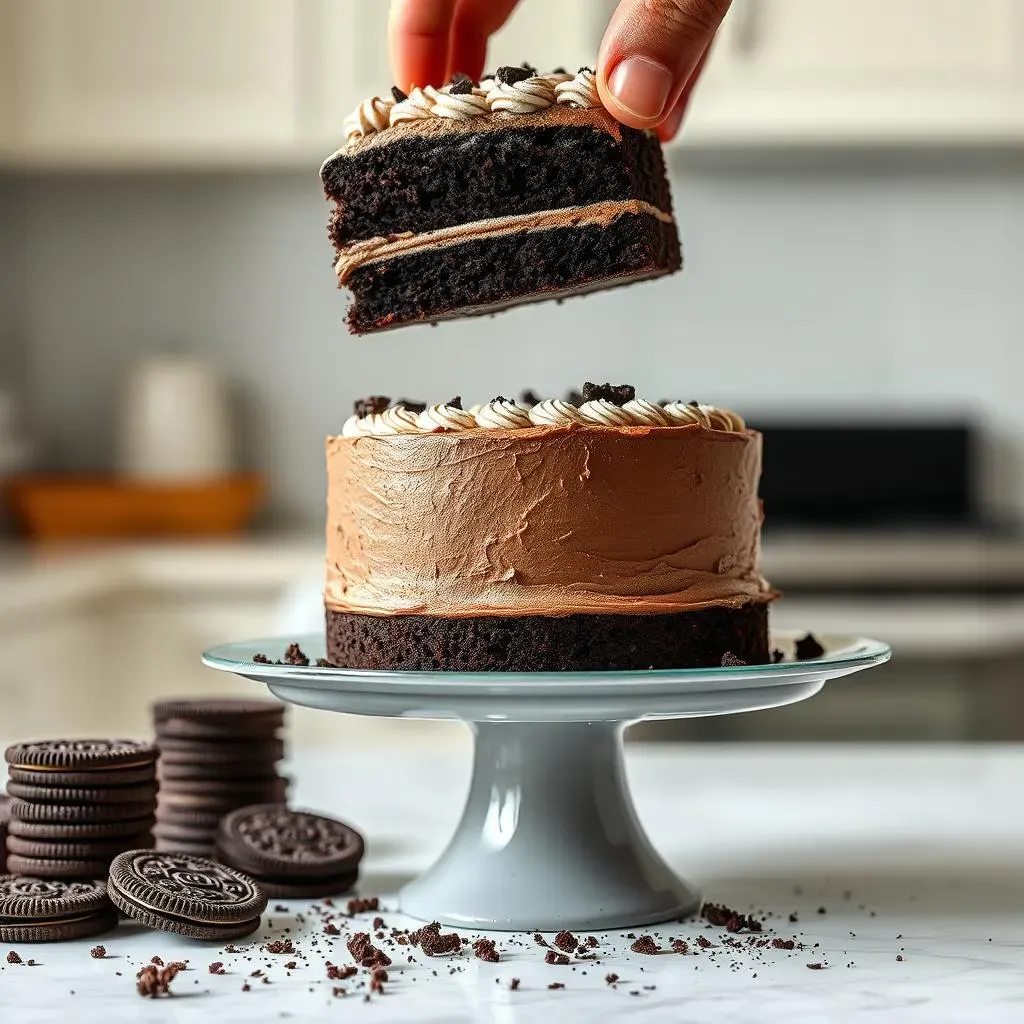
Alright, cake architect, it's time to bring your masterpiece to life! Start by leveling your cake layers. Use a serrated knife to carefully trim off any domes, creating a flat, even surface. This ensures your cake will be stable and won't wobble. Place your first layer on a cake stand or serving plate.
Now, slather on a generous layer of that glorious Oreo buttercream. Don't be shy! Spread it evenly, reaching all the way to the edges. If you want an extra dose of Oreo goodness, sprinkle some chopped Oreos on top of the buttercream. Repeat with the remaining cake layers, stacking them carefully.
The Crumb Coat: Sealing in the Goodness
Before you go all-in with the final frosting, it's crucial to apply a crumb coat. This is a thin layer of buttercream that seals in all those pesky crumbs, preventing them from ruining your final frosting job. Spread a thin layer of buttercream over the entire cake, smoothing it out as best you can.
Don't worry if it's not perfect; the main goal is to trap those crumbs. Once you've applied the crumb coat, pop the cake into the fridge for about 30 minutes to chill. This will firm up the buttercream and make it easier to apply the final layer.
Ganache Drizzle and Oreo Extravaganza: The Grand Finale
Now for the pièce de résistance: the ganache drizzle! Heat your heavy whipping cream in a saucepan until it's just simmering. Pour it over your semi-sweet chocolate chips and let it sit for a minute to melt the chocolate. Then, whisk until smooth and glossy. Let the ganache cool slightly so it thickens a bit.
Carefully pour the ganache over the top of the cake, allowing it to drip down the sides. You can use a spoon or a piping bag to create a more controlled drizzle. While the ganache is still wet, decorate the cake with even more Oreos! You can use whole Oreos, crushed Oreos, or even Oreo halves. Get creative and have fun with it!
Finally, pop the cake back into the fridge for a few minutes to allow the ganache to set. Then, slice, serve, and prepare for the compliments to roll in! You've just created the best chocolate Oreo cake, and you deserve all the accolades.
Step | Description |
|---|---|
1 | Level cake layers and place the first layer on a serving plate. |
2 | Spread a generous layer of Oreo buttercream and sprinkle with chopped Oreos. |
3 | Repeat with the remaining layers. |
4 | Apply a thin crumb coat and chill for 30 minutes. |
5 | Drizzle with chocolate ganache. |
6 | Decorate with Oreos and chill before serving. |
Indulge in the Sweet Symphony: Your Best Chocolate Oreo Cake Awaits
Congratulations, you've conquered the best chocolate Oreo cake recipe! From the moist chocolate layers to the creamy Oreo buttercream and decadent ganache, every element combines to create a truly unforgettable dessert. Whether you're celebrating a special occasion or simply satisfying a craving, this cake is guaranteed to impress. So, slice yourself a generous piece, savor each bite, and bask in the glory of your baking achievement. Happy baking, and even happier eating!