Table of Contents
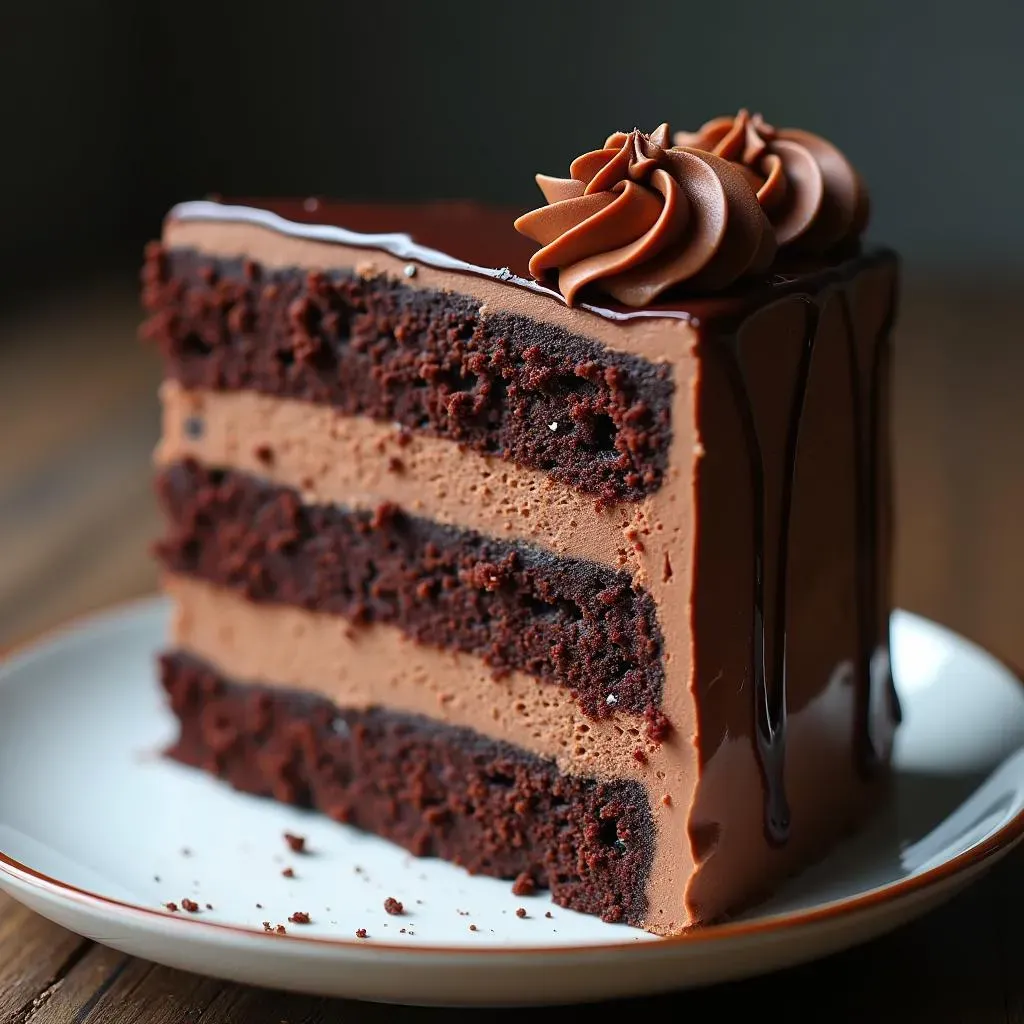
Ever dream of a dessert that's both intensely chocolatey and ethereally light? Look no further, because this is the best chocolate mousse cake recipe you'll ever need. Forget those dense, heavy cakes – we're talking about a symphony of textures and flavors, starting with a moist, tender cake base, followed by a cloud-like chocolate mousse, and finished with a luscious ganache.
Crafting the Perfect Chocolate Cake Base for Your Mousse Creation
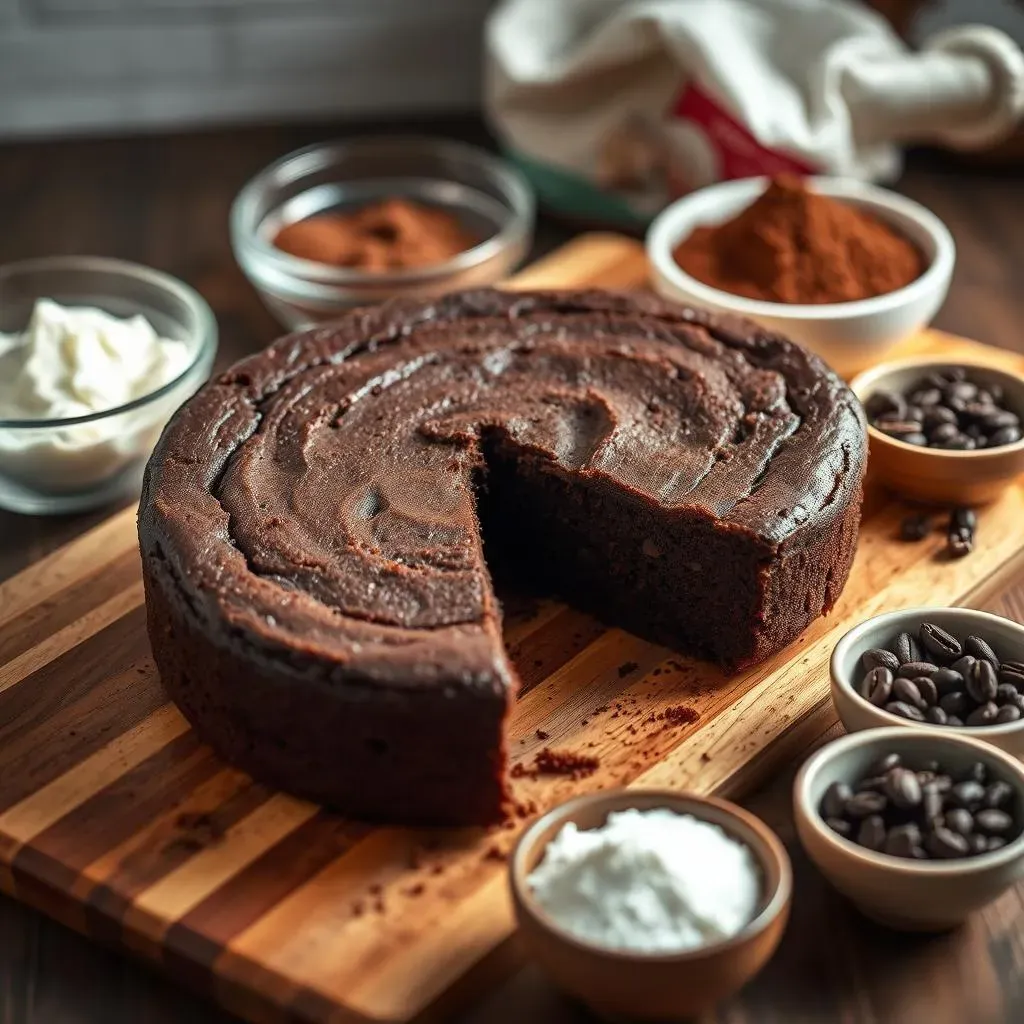
Crafting the Perfect Chocolate Cake Base for Your Mousse Creation
Let's be real, the cake base is the unsung hero of any mousse cake. It's gotta be sturdy enough to hold that delicate mousse, but still moist and flavorful enough to stand on its own. No one wants a dry, crumbly foundation ruining their chocolate dream. So, how do we achieve this perfect balance? It starts with the right recipe and a little bit of technique. Think of it as building a solid foundation for a skyscraper – you wouldn't skimp on the concrete, would you?
First, consider the type of chocolate cake you want. Are we talking deep, dark chocolate intensity, or a more subtle, milk chocolate sweetness? Dutch-processed cocoa powder will give you that rich, dark flavor, while natural cocoa powder will be a bit more mild. Don't be afraid to experiment! Also, a touch of coffee (yes, coffee!) can really enhance the chocolate flavor. You won't taste the coffee itself, but it'll bring out the richness of the chocolate. And for moisture? Sour cream or buttermilk are your best friends. They add a tanginess that complements the chocolate and keeps the cake incredibly moist.
Now, let's talk technique. Don't overmix the batter! Overmixing develops the gluten in the flour, which can lead to a tough, dense cake. Mix until just combined, and then gently fold in any additions like chocolate chips or nuts. And speaking of flour, consider adding a touch of cornstarch to the batter. This helps to tenderize the cake and create a more delicate crumb. Finally, don't overbake the cake. A toothpick inserted into the center should come out with a few moist crumbs attached. Overbaking will dry out the cake and make it less than ideal for soaking up the mousse.
Don't forget to let the cake cool completely before adding the mousse. This is crucial! A warm cake will melt the mousse and create a soggy mess. Once the cake is cool, you can even brush it with a simple syrup or a bit of liqueur to add extra moisture and flavor. Think of it as prepping the canvas before painting your masterpiece.
- Dutch-processed cocoa: For deep, dark chocolate flavor.
- Sour cream or buttermilk: For moisture and tanginess.
- Coffee: To enhance the chocolate flavor.
- Cornstarch: To tenderize the cake.
- Don't overmix: To avoid a tough cake.
Mastering the Light and Airy Chocolate Mousse: A StepbyStep Guide
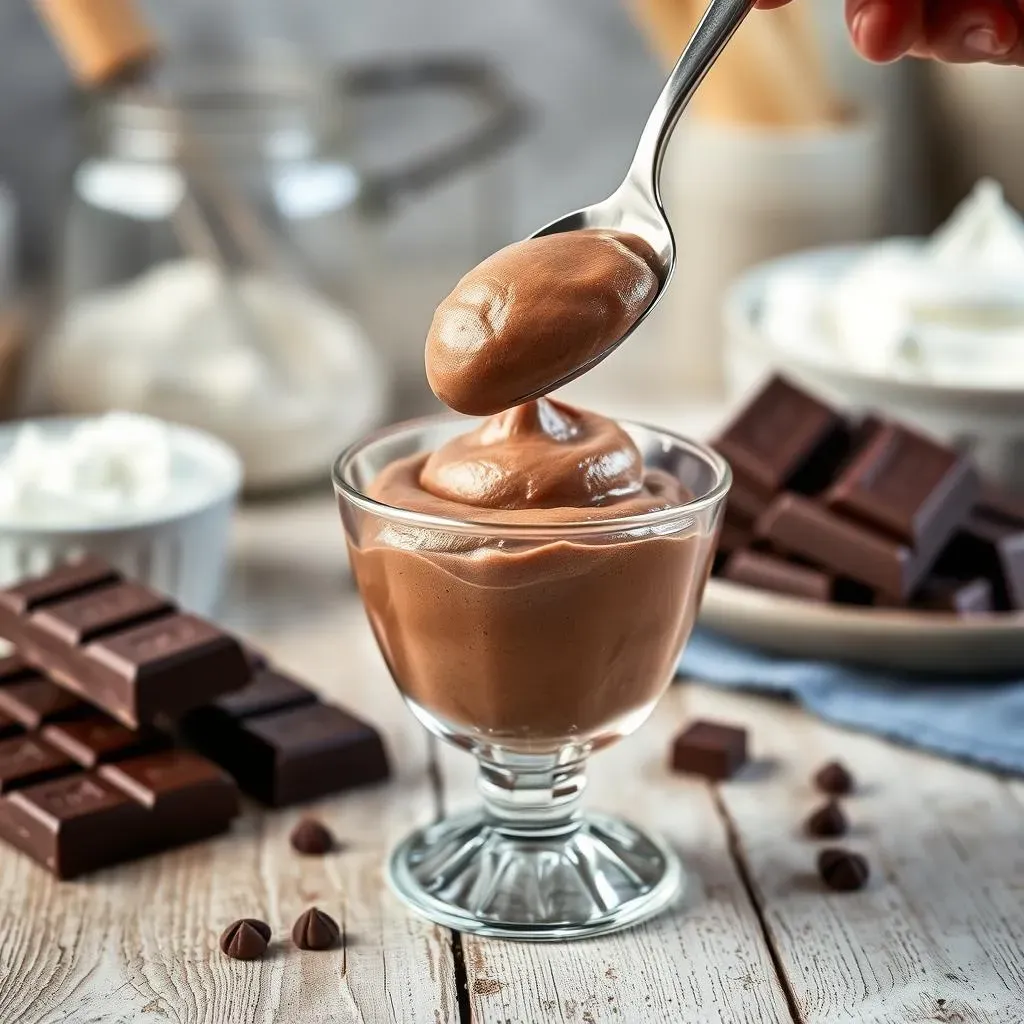
Mastering the Light and Airy Chocolate Mousse: A StepbyStep Guide
The Chocolate Choice: Dark, Milk, or a Blend?
Alright, now for the star of the show: the mousse! This is where the magic truly happens. You want a mousse that's light as a cloud, yet bursting with intense chocolate flavor. The first key? Choosing your chocolate wisely. I personally love using a blend of dark and milk chocolate. The dark chocolate gives it that deep, rich, slightly bitter edge, while the milk chocolate adds sweetness and creaminess. Think of it as a yin and yang of chocolate deliciousness.
But hey, feel free to experiment! If you're a die-hard dark chocolate lover, go for it. Just be mindful of the cocoa percentage. A 70% dark chocolate will give you a more intense flavor than a 55%. And if you prefer a sweeter mousse, use more milk chocolate or even add a touch of white chocolate. The possibilities are endless! Just remember to use high-quality chocolate for the best flavor and texture. Trust me, it makes a difference.
The Egg Yolk Tango: Achieving Silky Smoothness
Next up, let's talk egg yolks. These little golden gems are what give the mousse its richness and velvety texture. But here's the thing: you need to cook them properly to avoid any, shall we say, eggy surprises. The classic technique involves creating a *pâte à bombe*, which is basically a fancy way of saying you're whisking hot sugar syrup into the egg yolks until they're light, thick, and pale. This not only cooks the yolks but also creates a stable base for the mousse.
Don't be intimidated! It's easier than it sounds. Just make sure your sugar syrup reaches the right temperature (around 240°F or 115°C) and whisk constantly while you slowly drizzle it into the egg yolks. Keep whisking until the mixture has cooled down and thickened. This step is crucial for achieving that silky smooth, melt-in-your-mouth texture we're after. And remember, patience is key!
Whipped Cream Clouds: Folding for Airiness
Finally, the whipped cream! This is what gives the mousse its ethereal lightness. But here's the secret: don't over-whip it! You want soft peaks, not stiff ones. Over-whipped cream will be grainy and difficult to fold into the chocolate mixture. Gently fold the whipped cream into the chocolate and egg yolk mixture in batches, being careful not to deflate the cream. This is where your gentle touch comes into play.
Think of it as cradling a baby bird – you want to be delicate and mindful. Once all the whipped cream is incorporated, you should have a light, airy, and incredibly delicious mousse. Now, resist the urge to dig in just yet! It needs to chill in the fridge for at least a few hours to set properly. Trust me, the wait is worth it.
Ingredient | Purpose | Tip |
|---|---|---|
High-Quality Chocolate | Flavor and Texture | Use a blend of dark and milk chocolate for a balanced flavor. |
Egg Yolks | Richness and Velvety Texture | Cook the egg yolks properly using the *pâte à bombe* technique. |
Whipped Cream | Lightness and Airiness | Whip to soft peaks and gently fold into the chocolate mixture. |
Assembling and Chilling Your Dreamy Chocolate Mousse Cake
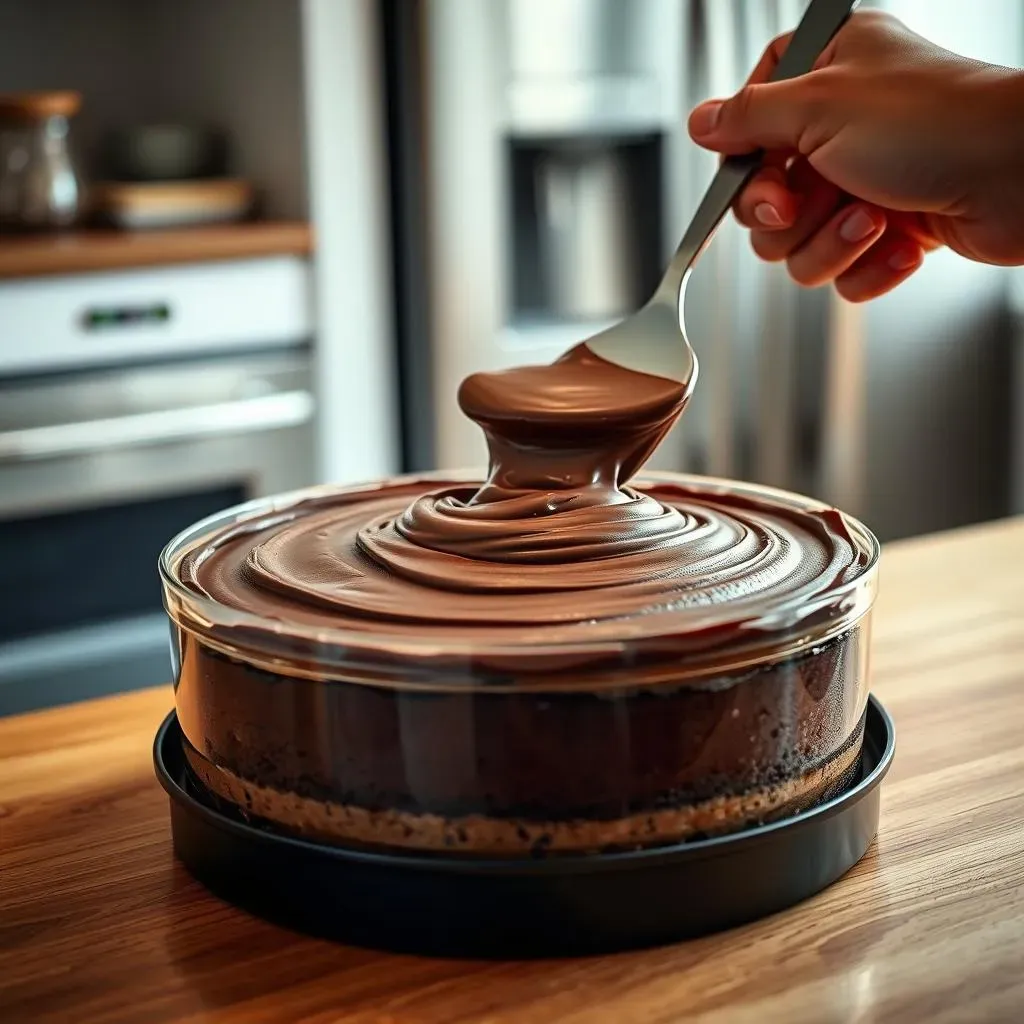
Assembling and Chilling Your Dreamy Chocolate Mousse Cake
Layering Like a Pro: The Assembly Line
Alright, you've got your killer cake base and your cloud-like mousse. Now comes the fun part: putting it all together! I like to use a springform pan for this, because it makes releasing the cake a breeze. If you don't have one, you can line a regular cake pan with parchment paper, leaving some overhang to help you lift the cake out later.
First, place your cooled cake base in the springform pan (or lined cake pan). If you brushed it with simple syrup or liqueur, even better! Now, gently pour the mousse over the cake base, making sure it's evenly distributed. You might need to jiggle the pan a bit to get it to settle. If you're feeling fancy, you can even create a swirl pattern on top with a spoon or spatula.
The Chill Factor: Patience is a Virtue
Now comes the hardest part: waiting! The mousse needs to chill in the fridge for at least 4 hours, or even better, overnight. This allows the mousse to fully set and develop its flavor. I know, it's tempting to sneak a taste, but trust me, it's worth the wait.
While the mousse is chilling, you can prepare the chocolate ganache (if you're using one). A simple ganache is just chocolate and heavy cream, melted together until smooth and glossy. Once the mousse is set, pour the ganache over the top and spread it evenly. Then, chill the cake for another hour or so to allow the ganache to set.
Finishing Touches: Ganache, Garnishes, and Glory
the cake is chilled, the ganache is set, and you're ready to unveil your masterpiece! Carefully remove the sides of the springform pan (or lift the cake out of the lined pan using the parchment paper overhang). Now comes the fun part: decorating!
You can keep it simple with a dusting of cocoa powder or a sprinkle of chocolate shavings. Or, you can go all out with fresh berries, whipped cream rosettes, and chocolate curls. The possibilities are endless! Just remember to have fun and let your creativity shine. And most importantly, enjoy every single bite of your dreamy chocolate mousse cake!
Step | Description | Tip |
|---|---|---|
Assembly | Place cake base in pan, pour mousse over, and spread evenly. | Use a springform pan for easy release. |
Chilling | Chill for at least 4 hours or overnight. | Prepare ganache while chilling. |
Finishing | Remove from pan, decorate with ganache and garnishes. | Let your creativity shine! |
Serving Suggestions, FAQs, and Variations on the Best Chocolate Mousse Cake Recipe
Serving Suggestions, FAQs, and Variations on the Best Chocolate Mousse Cake Recipe
Serving with Style: Making it a Moment
so you've baked this masterpiece, but how do you serve it to really wow your guests (or yourself)? First off, presentation matters! A simple dusting of cocoa powder or a few fresh berries can elevate the look. But let's get into some real serving suggestions, shall we?
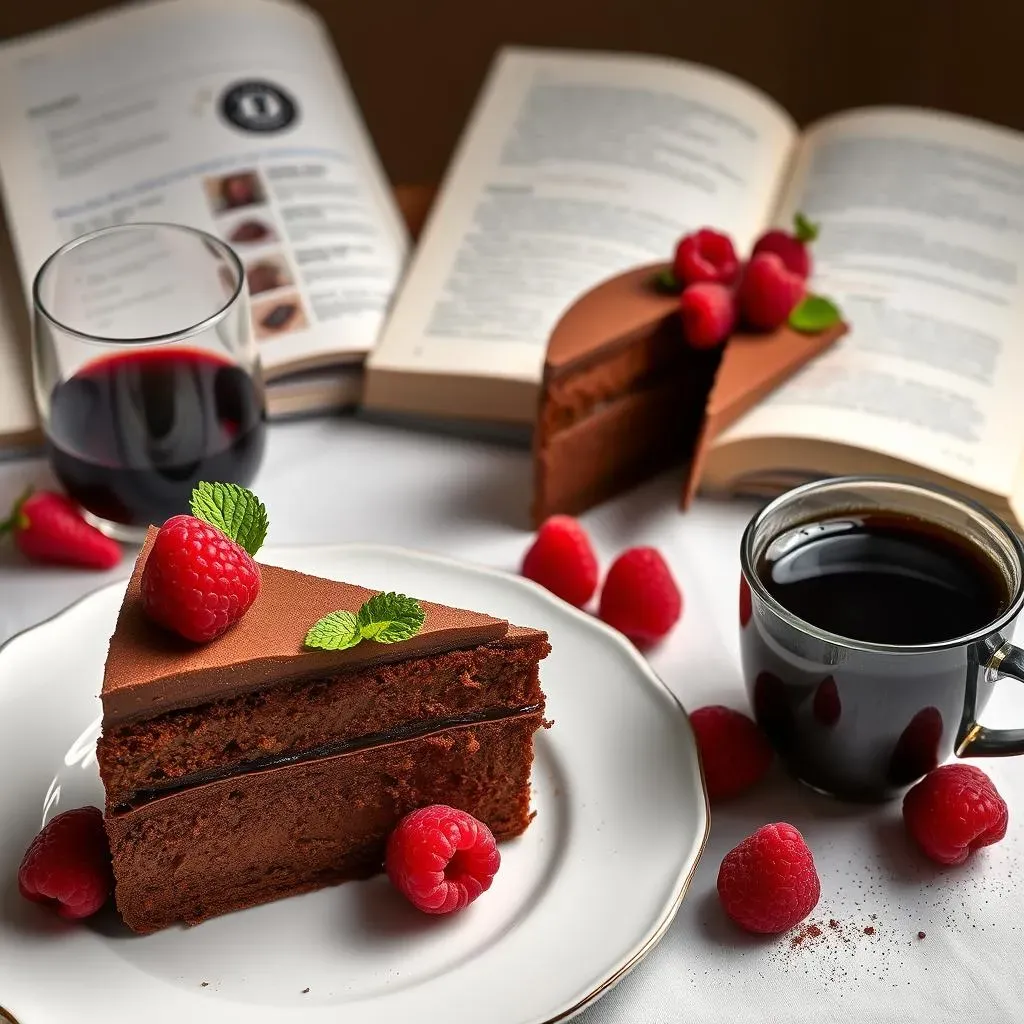
For a casual gathering, slice the cake and serve it with a dollop of whipped cream or a scoop of vanilla ice cream. A drizzle of raspberry sauce or a sprinkle of chopped nuts can add extra flavor and texture. If you're feeling fancy, try serving individual slices with a chocolate-dipped strawberry or a sprig of mint. And don't forget the coffee! A rich, dark roast coffee pairs perfectly with the chocolatey goodness of the cake.
For a more formal occasion, you can get creative with the presentation. Try layering the cake with mousse and ganache in individual glasses or ramekins. Top with edible flowers or gold leaf for an elegant touch. And for a truly decadent experience, serve the cake with a glass of dessert wine or a chocolate liqueur.
Frequently Asked Questions: Troubleshooting Your Mousse Cake
So, you're ready to tackle this recipe, but you've got some questions? Totally understandable! Here are some of the most common FAQs about chocolate mousse cake:
- Why is my mousse not setting? This is usually due to not chilling it long enough, or not cooking the egg yolks properly. Make sure to chill the mousse for at least 4 hours, and use a thermometer to ensure your sugar syrup reaches the correct temperature when making the *pâte à bombe*.
- Why is my cake base dry? This could be due to overbaking, or not using enough liquid in the batter. Make sure to follow the recipe carefully, and don't overbake the cake. Brushing the cake with simple syrup or liqueur can also help to add moisture.
- Can I make this cake gluten-free? Absolutely! Just substitute the all-purpose flour with a gluten-free flour blend. You may also want to add a bit of xanthan gum to help bind the ingredients together.
Don't be afraid to experiment and adjust the recipe to your liking. Baking is all about having fun and creating something delicious!
Variations on a Theme: Remixing the Recipe
you've mastered the basic chocolate mousse cake recipe. Now it's time to get creative and put your own spin on it! Here are a few ideas to get you started:
Mint Chocolate Mousse Cake: Add a few drops of peppermint extract to the mousse for a refreshing twist. Garnish with fresh mint leaves and chocolate shavings.
Raspberry Chocolate Mousse Cake: Swirl raspberry jam into the mousse for a fruity and tangy flavor. Top with fresh raspberries and a dusting of powdered sugar.
Coffee Chocolate Mousse Cake: Add a tablespoon of instant coffee to the mousse for a mocha flavor. Garnish with chocolate-covered espresso beans.
These are just a few ideas to get you started. The possibilities are endless! So, go ahead and experiment, and create your own signature chocolate mousse cake. And don't forget to share your creations with me!
Indulge in the Decadence: Your Best Chocolate Mousse Cake Awaits
There you have it – your guide to creating the best chocolate mousse cake recipe that's guaranteed to impress. From the rich cake base to the ethereal mousse and the decadent ganache, each layer contributes to a symphony of flavors and textures. Don't be afraid to experiment with different chocolates and toppings to make it your own signature dessert. Now, go forth and bake, and prepare to be amazed by the chocolatey goodness you've created!