Table of Contents
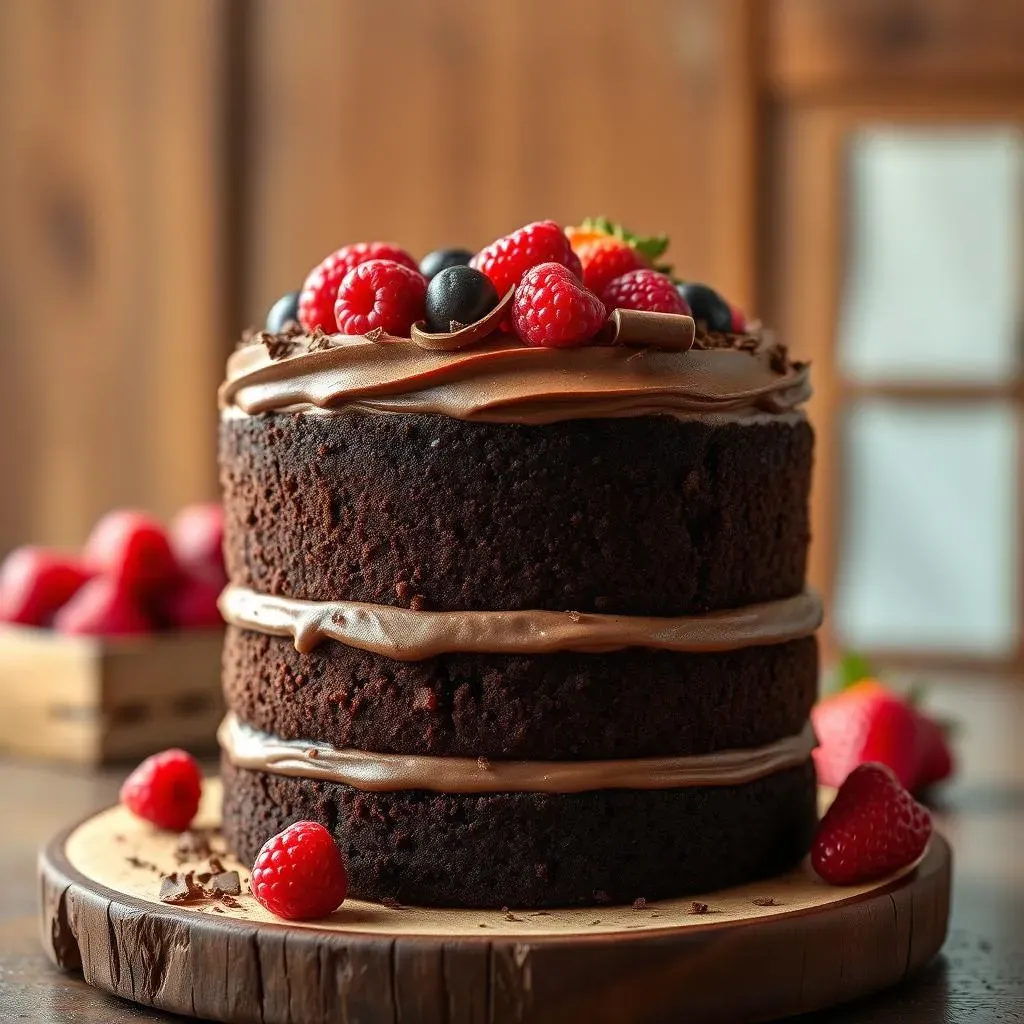
Who doesn't love a slice of rich, decadent chocolate cake? If you're on the hunt for the best chocolate layer cake recipe, look no further! This isn't just another cake recipe; it's a step-by-step journey to creating a moist, flavorful, and utterly irresistible dessert that will impress everyone. We're talking layers of tender chocolate cake, infused with deep cocoa notes, paired with a luscious, creamy chocolate buttercream frosting that melts in your mouth. Ready to roll up your sleeves and get baking? This guide will walk you through each stage of the process, from gathering your ingredients and understanding their roles, to mastering the art of baking perfectly even layers and whipping up a dreamy buttercream. We'll also explore fun variations, tips for flawless assembly, and secrets to keeping your cake fresh and delicious. Whether you're a seasoned baker or a novice in the kitchen, this recipe will empower you to create a chocolate layer cake that's truly unforgettable. So, preheat your oven, grab your mixing bowls, and let's bake the best chocolate layer cake ever!
The Ultimate Chocolate Layer Cake Recipe: A StepbyStep Guide
The Ultimate Chocolate Layer Cake Recipe: A StepbyStep Guide
Why This Recipe Rocks
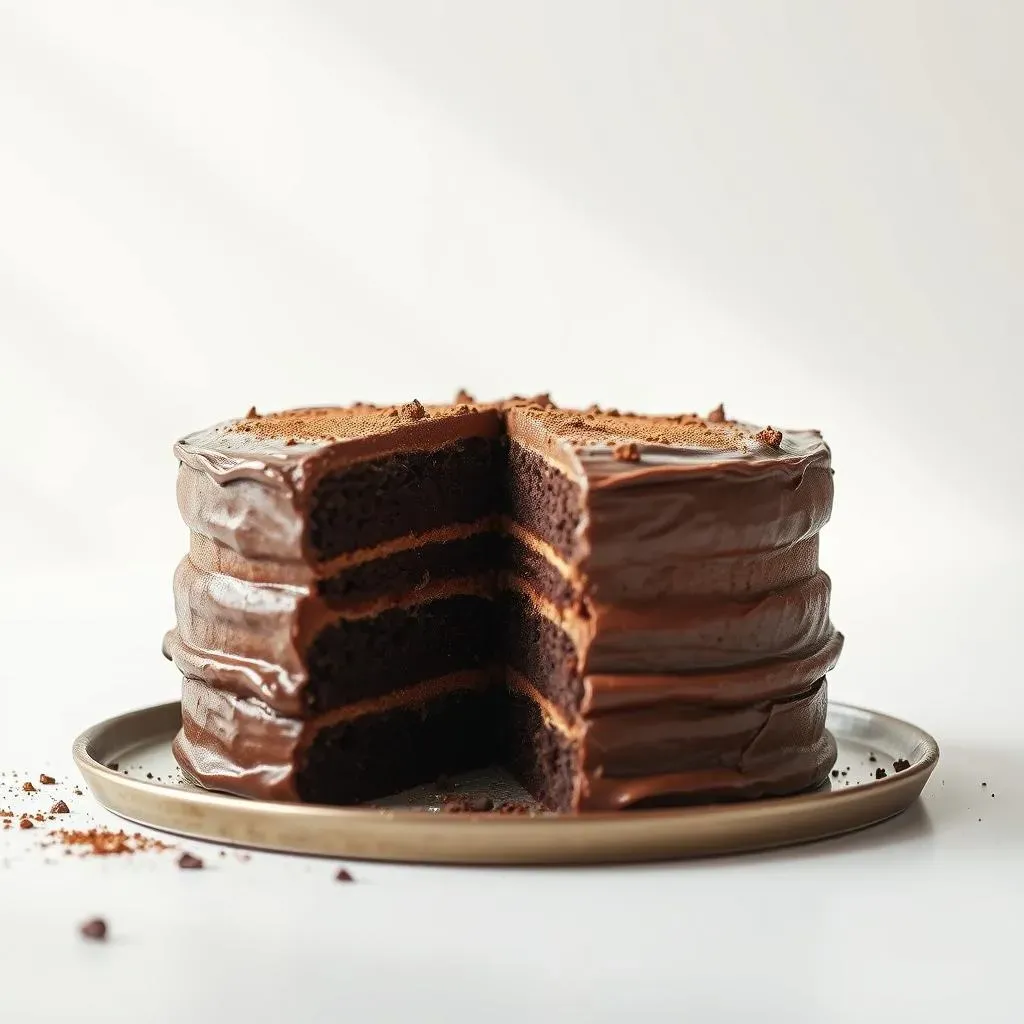
Alright, let's talk chocolate cake. Not just any chocolate cake, but the ultimate chocolate layer cake. I've baked a *lot* of cakes in my time, and this one? This one is special. It’s not overly complicated, but it delivers maximum flavor and a texture that's just divine. Forget dry, crumbly cakes – we're aiming for moist, tender layers that practically melt in your mouth. This recipe is designed to be your go-to, whether it's for a birthday bash, a holiday gathering, or just because you deserve a slice of chocolatey goodness.
The secret? It's all in the details. From the quality of your cocoa powder to the precise measurements of your wet ingredients, every step contributes to the final masterpiece. Don't be intimidated by the "layer cake" aspect; I've broken down the process into easy-to-follow steps, so even if you're a beginner baker, you can absolutely nail this. Plus, I'll share my top tips and tricks along the way to ensure your success. Get ready to impress yourself and everyone else with this incredible chocolate layer cake.
Getting Started: Your Baking Game Plan
Before we dive into the nitty-gritty, let's get organized. Read through the entire recipe first – I know, it's tempting to skip ahead, but trust me, a little planning goes a long way. Make sure you have all the necessary ingredients on hand and that they're fresh. We're talking good quality cocoa powder, fresh eggs, and butter that's perfectly softened (but not melted!). Also, check your equipment. Do you have the right size cake pans? Is your oven calibrated correctly? These small details can make a big difference in the final outcome.
Next, clear your workspace and gather all your tools. You'll need mixing bowls, measuring cups and spoons, a whisk, a spatula, and an electric mixer (stand or hand-held). Line your cake pans with parchment paper rounds – this is crucial for easy release and prevents sticking. Preheat your oven to the correct temperature and you're ready to go. Remember, baking is a science, so precision is key. Follow the instructions carefully, and don't be afraid to ask questions if you get stuck. Let's make some magic!
Key Ingredients for the Best Chocolate Cake: What You Need
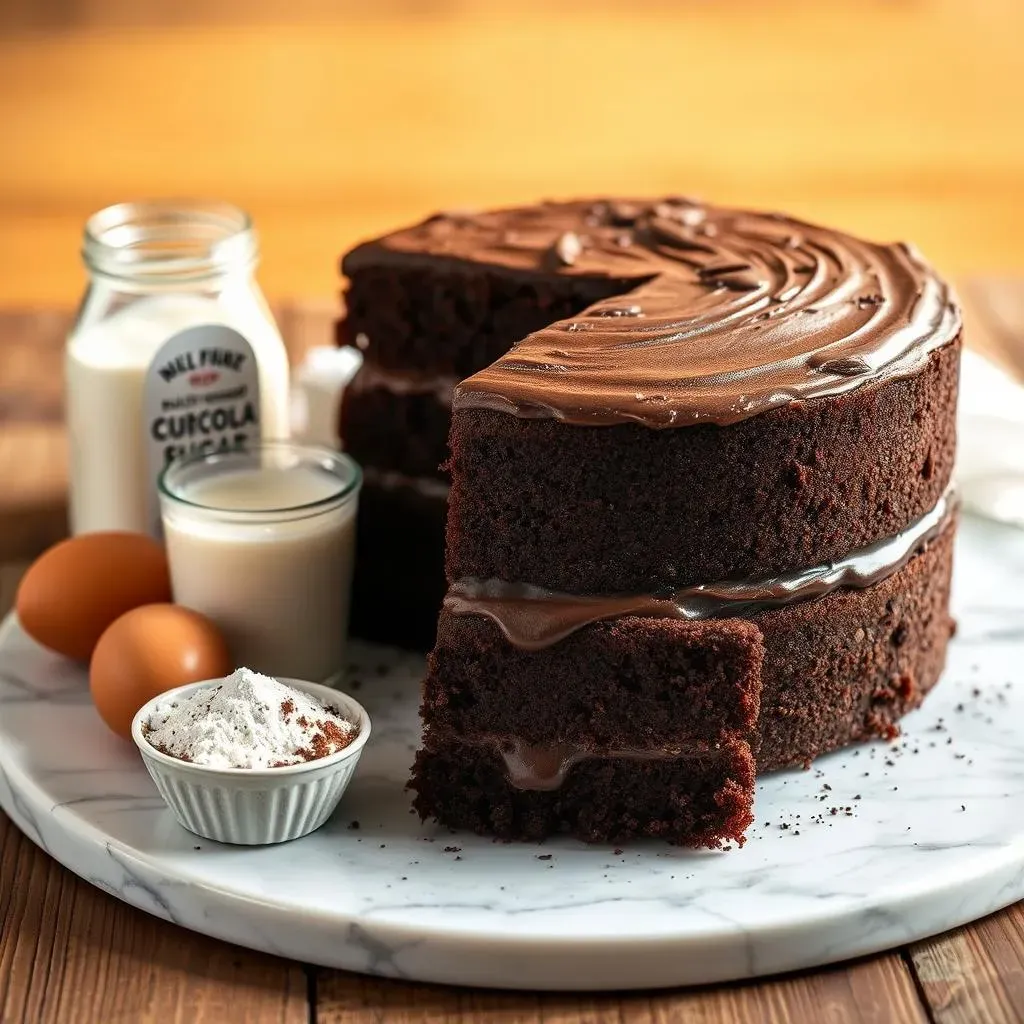
Key Ingredients for the Best Chocolate Cake: What You Need
let's break down the essential players in our best chocolate cake recipe. Each ingredient has a specific role, and understanding that role is key to baking success. First up, flour. We're using all-purpose flour here, but make sure you measure it correctly! Spoon it into your measuring cup and level it off with a knife – don't pack it in, or your cake will be dense. Next, cocoa powder. This is where the chocolate flavor comes from, so splurge on a good quality one. I prefer Dutch-processed cocoa for its rich, dark color and smooth flavor. Sugar, of course, adds sweetness and moisture. Granulated sugar is the standard, but brown sugar can add a lovely depth of flavor if you're feeling adventurous. Eggs provide structure and richness, so make sure they're fresh. And finally, the wet ingredients: buttermilk (or a homemade substitute), oil (vegetable or canola), and hot coffee. Buttermilk adds tang and tenderness, oil keeps the cake moist, and hot coffee enhances the chocolate flavor like you wouldn't believe. Don't skip it!
Ingredient | Role | Tips |
|---|---|---|
All-Purpose Flour | Structure | Measure correctly (spoon and level) |
Dutch-Processed Cocoa Powder | Chocolate Flavor | Use high-quality for best results |
Granulated Sugar | Sweetness & Moisture | Can substitute with brown sugar for depth |
Eggs | Structure & Richness | Use fresh, large eggs |
Buttermilk | Tang & Tenderness | Can substitute with milk + vinegar/lemon juice |
Baking the Perfect Chocolate Layers and Creamy Buttercream
Baking the Perfect Chocolate Layers and Creamy Buttercream
Mixing the Batter: The Foundation of Flavor
Alright, let's get down to business and whip up the batter for those dreamy chocolate layers! Start by creaming together your softened butter and sugar until it's light and fluffy – this usually takes about 3-5 minutes with an electric mixer. Don't rush this step; it's crucial for incorporating air into the batter, which will result in a tender cake. Next, beat in your eggs one at a time, making sure each one is fully incorporated before adding the next. Now, here's where the magic happens: in a separate bowl, whisk together your dry ingredients – flour, cocoa powder, baking soda, baking powder, and salt. Gradually add the dry ingredients to the wet ingredients, alternating with the buttermilk, beginning and ending with the dry ingredients. This prevents overmixing, which can lead to a tough cake.
Finally, stir in your hot coffee – don't worry, your cake won't taste like coffee; it just intensifies the chocolate flavor. The batter should be smooth and pourable. Divide the batter evenly between your prepared cake pans and spread it out evenly with a spatula. Now, it's time to bake! Pop those pans into your preheated oven and bake for about 30-35 minutes, or until a toothpick inserted into the center comes out clean. Let the cakes cool in the pans for about 10 minutes before inverting them onto a wire rack to cool completely. While the cakes are cooling, let's move on to the buttercream!
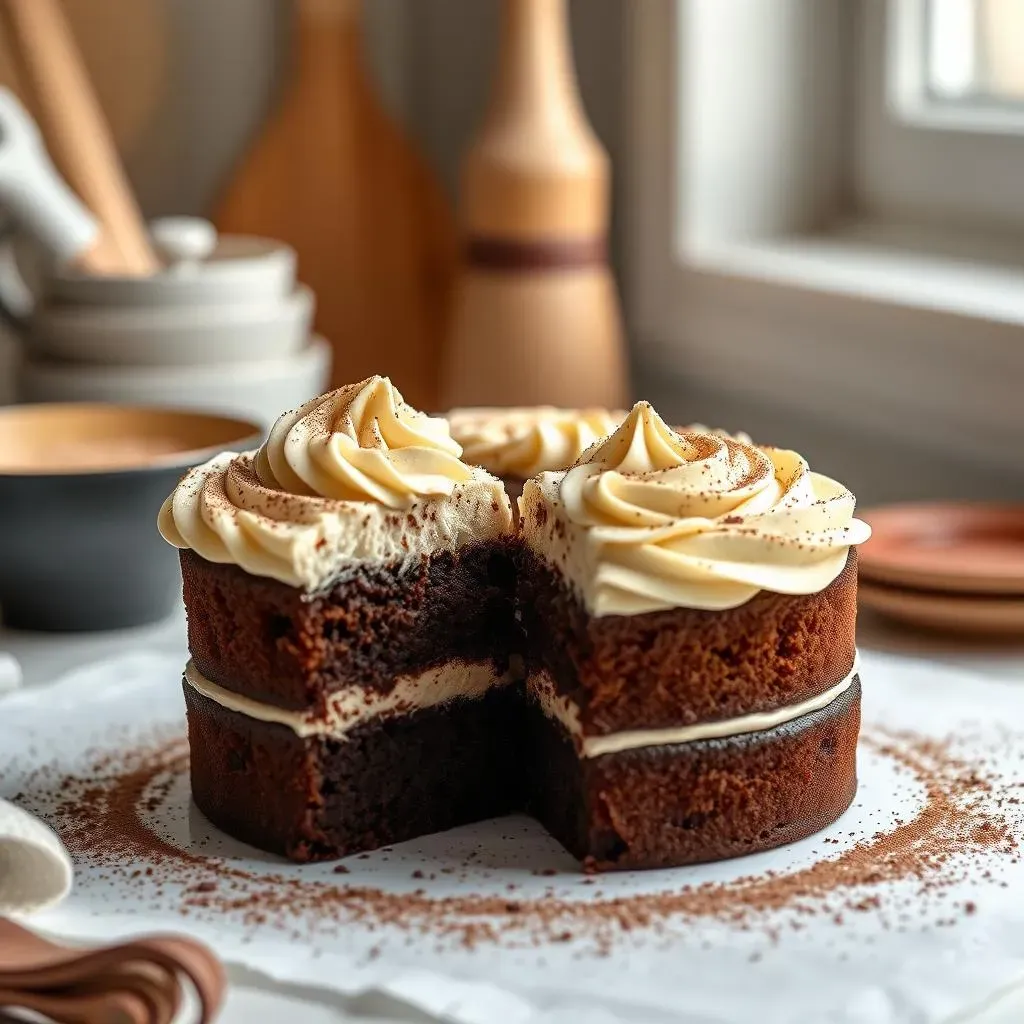
Whipping Up Dreamy Chocolate Buttercream
No chocolate layer cake is complete without a luscious, creamy buttercream frosting, am I right? This buttercream is seriously addictive, and it's surprisingly easy to make. Start with softened (but not melted!) unsalted butter and beat it with an electric mixer until it's light and fluffy. Gradually add your confectioners' sugar, one cup at a time, beating well after each addition. Once all the sugar is incorporated, add your cocoa powder, vanilla extract, and a pinch of salt. Beat until the frosting is smooth and creamy. If the frosting is too thick, add a tablespoon or two of milk or cream until it reaches your desired consistency. If it's too thin, add a bit more confectioners' sugar.
Now, here's a pro tip: for an extra smooth buttercream, try whipping it for a few minutes on high speed. This will incorporate even more air into the frosting, making it light and fluffy. Taste the buttercream and adjust the sweetness or chocolate flavor to your liking. You can also add a tablespoon or two of melted chocolate for an even richer chocolate flavor. Once your cakes are completely cool, it's time to frost! Place one cake layer on a serving plate or cake stand and spread a generous layer of buttercream on top. Add the second cake layer and repeat. Frost the entire cake with the remaining buttercream, smoothing it out with a spatula or decorating it with swirls and peaks. Get creative and have fun with it!
Tips for Baking the Perfect Layers
Baking the perfect chocolate layers can be a bit tricky, but with a few simple tips, you'll be a pro in no time. First, make sure your oven is properly calibrated. An oven thermometer can be a lifesaver here. If your oven runs hot or cold, it can affect the baking time and the texture of your cake. Next, don't overmix the batter. Overmixing develops the gluten in the flour, which can result in a tough cake. Mix until just combined, and then stop. Also, be sure to use room temperature ingredients. Room temperature ingredients emulsify better, which creates a smoother batter and a more even crumb.
Finally, don't open the oven door too often while the cakes are baking. This can cause the oven temperature to fluctuate, which can lead to sunken or uneven layers. Trust your oven and let the cakes bake undisturbed until they're done. If you're worried about the cakes browning too quickly, you can tent them with foil during the last few minutes of baking. With these tips in mind, you'll be baking perfect chocolate layers every time!
Tip | Explanation |
|---|---|
Calibrate Your Oven | Ensure accurate baking temperatures |
Don't Overmix | Prevent tough cake texture |
Room Temp Ingredients | Better emulsification and smoother batter |
Avoid Opening Oven | Maintain consistent temperature |
Assembling, Decorating, and Storing Your Chocolate Layer Cake Masterpiece
Assembling, Decorating, and Storing Your Chocolate Layer Cake Masterpiece
The Grand Finale: Assembling Your Cake
Alright, you've baked your layers, whipped up your buttercream, and now it's time for the most satisfying part: assembling your masterpiece! First, make sure your cake layers are completely cool. Warm cake + buttercream = melty disaster. Place one layer on your serving plate or cake stand. If you want to get fancy, you can put strips of parchment paper under the edges of the cake to keep your plate clean – just slide them out after you're done frosting.
Next, spread a generous, even layer of buttercream on top of the first layer. Don't be shy! I like to use an offset spatula for this, but a regular butter knife works just fine. Place the second layer on top, making sure it's aligned properly. Repeat with the remaining layers, if you're making a multi-layer cake. Now, it's time for the crumb coat. This is a thin layer of buttercream that seals in any loose crumbs and creates a smooth surface for the final frosting. Spread a thin layer of buttercream over the entire cake, and then chill it in the refrigerator for about 30 minutes to set. This will make frosting the final layer much easier.
Unleash Your Inner Artist: Decorating Tips and Tricks
Now for the fun part: decorating! Once your crumb coat is set, you can unleash your inner artist and create a masterpiece. There are endless possibilities here, so don't be afraid to get creative. You can keep it simple with a smooth, even layer of buttercream, or you can add swirls, peaks, and other decorative elements. Piping bags and tips are your best friends for creating intricate designs, but you can also use a spoon, fork, or even your fingers to create unique textures.
Consider adding sprinkles, chocolate shavings, fresh berries, or edible flowers to your cake for extra flair. Drizzled ganache is always a crowd-pleaser, and it's surprisingly easy to make. Just melt equal parts chocolate and heavy cream together, and then drizzle it over the cake. If you're feeling ambitious, you can even try making fondant decorations. The sky's the limit! Just remember to have fun and let your creativity shine.
- Smooth Finish: Use a hot spatula for a flawless surface.
- Piping Perfection: Practice your swirls on parchment paper first.
- Berry Beautiful: Arrange fresh berries for a natural touch.
The Final Touch: Storing Your Cake
You've put in all this effort, so you want to make sure your cake stays fresh and delicious. The best way to store a frosted chocolate layer cake is in the refrigerator, covered. A cake carrier is ideal, but you can also use a large bowl or container turned upside down. The cake will stay fresh for up to 5 days in the refrigerator. If you want to store it for longer, you can freeze it. Wrap the cake tightly in plastic wrap, and then place it in a freezer bag or container. It will keep for up to 2-3 months in the freezer. When you're ready to serve it, thaw it in the refrigerator overnight.
Unfrosted cake layers can also be frozen. Wrap them individually in plastic wrap and then place them in a freezer bag or container. They will keep for up to 3 months in the freezer. Thaw them in the refrigerator before frosting. With proper storage, you can enjoy your homemade chocolate layer cake for days or even weeks after you bake it.
Storage Method | Details | Duration |
|---|---|---|
Refrigerator (Frosted) | Covered tightly | Up to 5 days |
Freezer (Frosted) | Wrapped in plastic wrap & freezer bag | 2-3 months |
Freezer (Unfrosted Layers) | Wrapped individually | Up to 3 months |
Indulge in Your Homemade Chocolate Layer Cake
Congratulations, you've just created what might be the best chocolate layer cake recipe ever! From the rich, moist layers to the decadent, creamy frosting, every element of this cake is designed to deliver pure chocolate bliss. Whether you're celebrating a special occasion or simply treating yourself, this cake is sure to impress. So, slice yourself a generous piece, savor each bite, and enjoy the sweet reward of your baking efforts. Happy baking!