Table of Contents
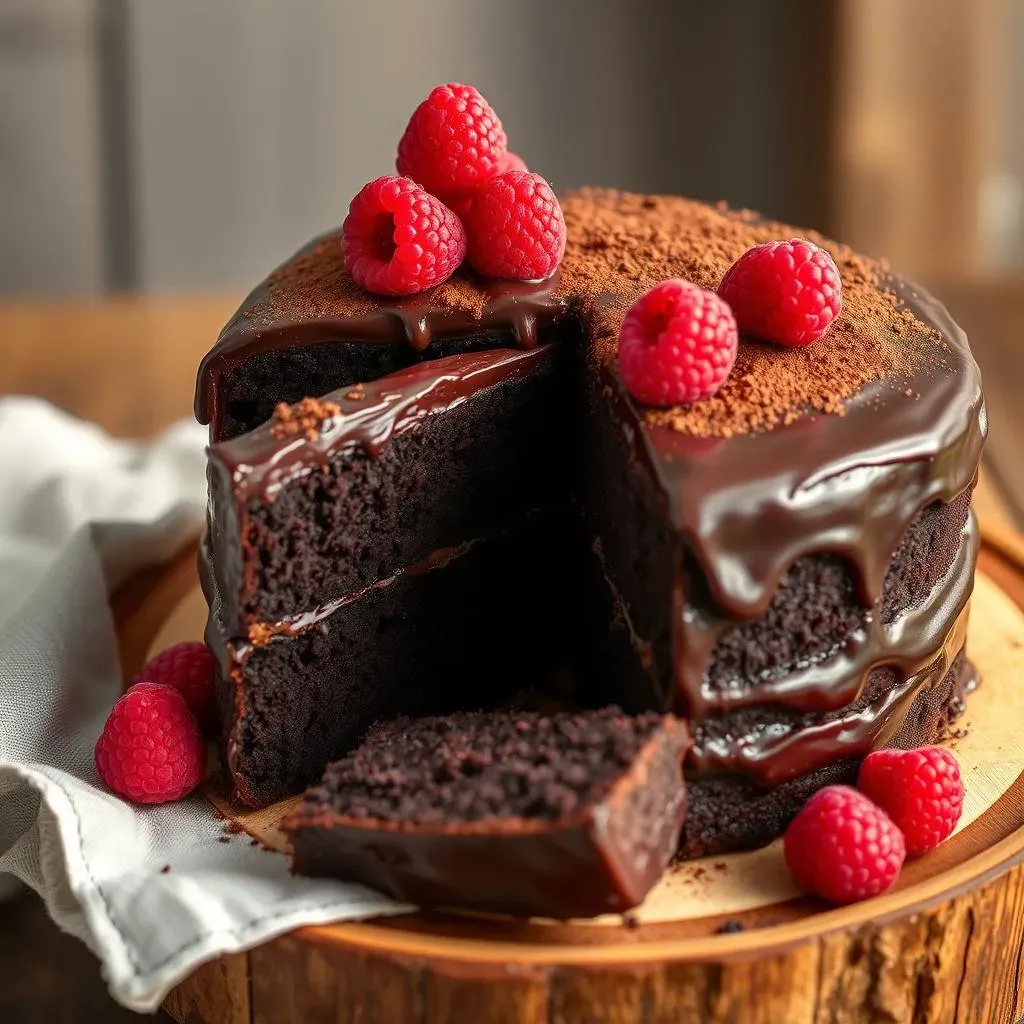
Let's be honest, who can resist a slice of rich, decadent chocolate cake? Especially when it's touted as the best chocolate cake recipe NZ has to offer! Forget complicated instructions and fussy techniques. This recipe is all about simplicity without sacrificing flavor. We're talking moist, chocolatey goodness that's achievable for even the most novice baker. This isn't just another cake recipe; it's a pathway to pure chocolate bliss. In this guide, we'll walk you through every step, from gathering your ingredients to creating a show-stopping frosting. We'll explore what makes this recipe stand out, ensuring your cake is the star of any occasion. We'll cover essential tips and tricks to guarantee a moist, flavorful result every single time. Get ready to unlock the secrets to baking the ultimate chocolate cake that will have everyone begging for seconds. So, preheat your oven, grab your apron, and let's get baking the best chocolate cake recipe NZ!
Why This is the Best Chocolate Cake Recipe NZ
Why This is the Best Chocolate Cake Recipe NZ
so what makes this chocolate cake recipe the "best" in New Zealand? It's a bold claim, I know, but hear me out. It's not just about the taste (though it is incredibly delicious). It's about the perfect balance of ease, accessibility, and that melt-in-your-mouth texture that keeps you coming back for more. Think about those chocolate cakes you've had that were either dry, too dense, or just lacking that intense chocolate punch. This recipe avoids all those pitfalls. It's been tweaked and perfected to deliver a consistently moist and flavorful cake, even if you're not a seasoned baker. Plus, it uses ingredients you probably already have in your pantry. No fancy extracts or obscure flours required! It's about delivering maximum chocolate satisfaction with minimum fuss.
What else makes it stand out? It's incredibly versatile. Want a classic layer cake? This recipe works. Craving cupcakes? No problem. Need a last-minute dessert for a potluck? This cake has you covered. It's a reliable, adaptable, and downright delicious recipe that's earned its place as the "best" in my book. And I'm pretty sure once you try it, you'll agree. It's the kind of cake that becomes a family favorite, the one you turn to for birthdays, celebrations, or just a cozy night in. Ready to find out why? Let's dive into the ingredients.
Gathering Your Ingredients for the Best Chocolate Cake Recipe NZ
Gathering Your Ingredients for the Best Chocolate Cake Recipe NZ
The Dry Essentials
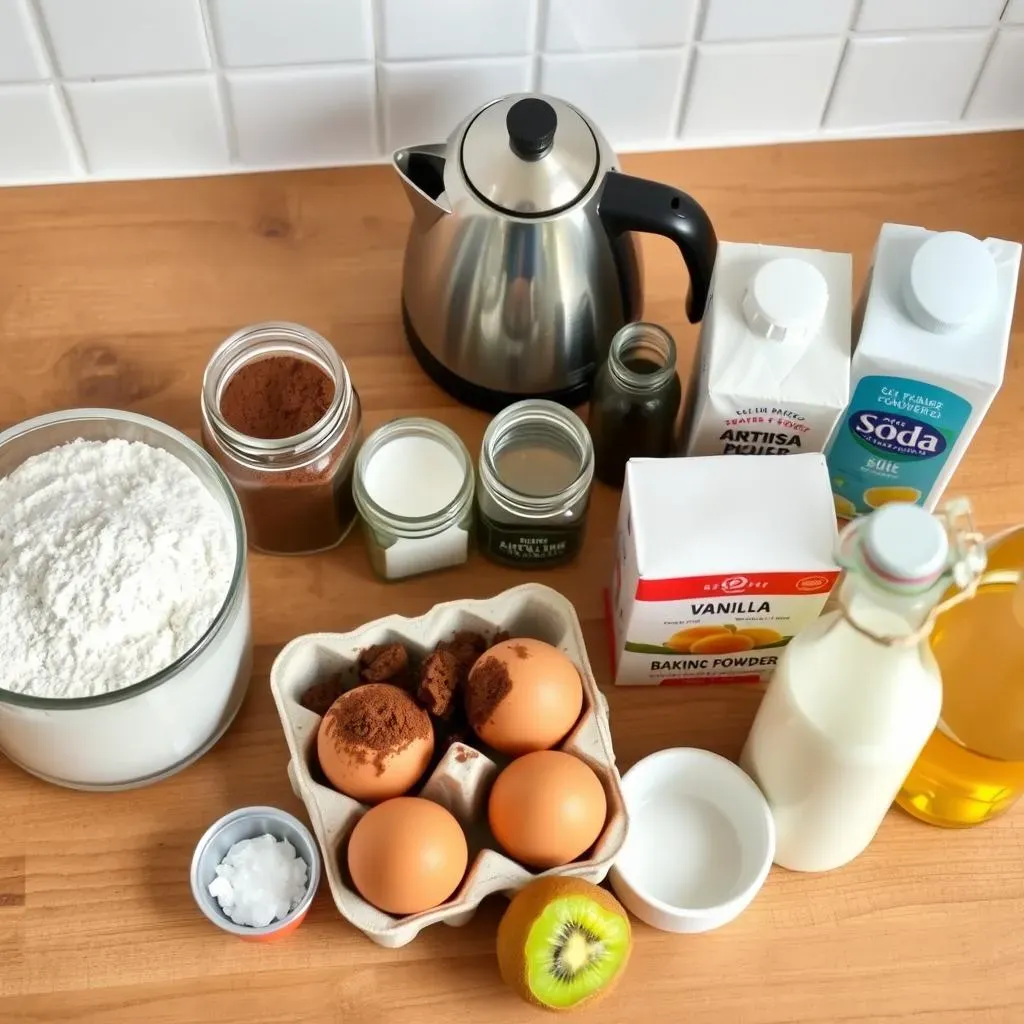
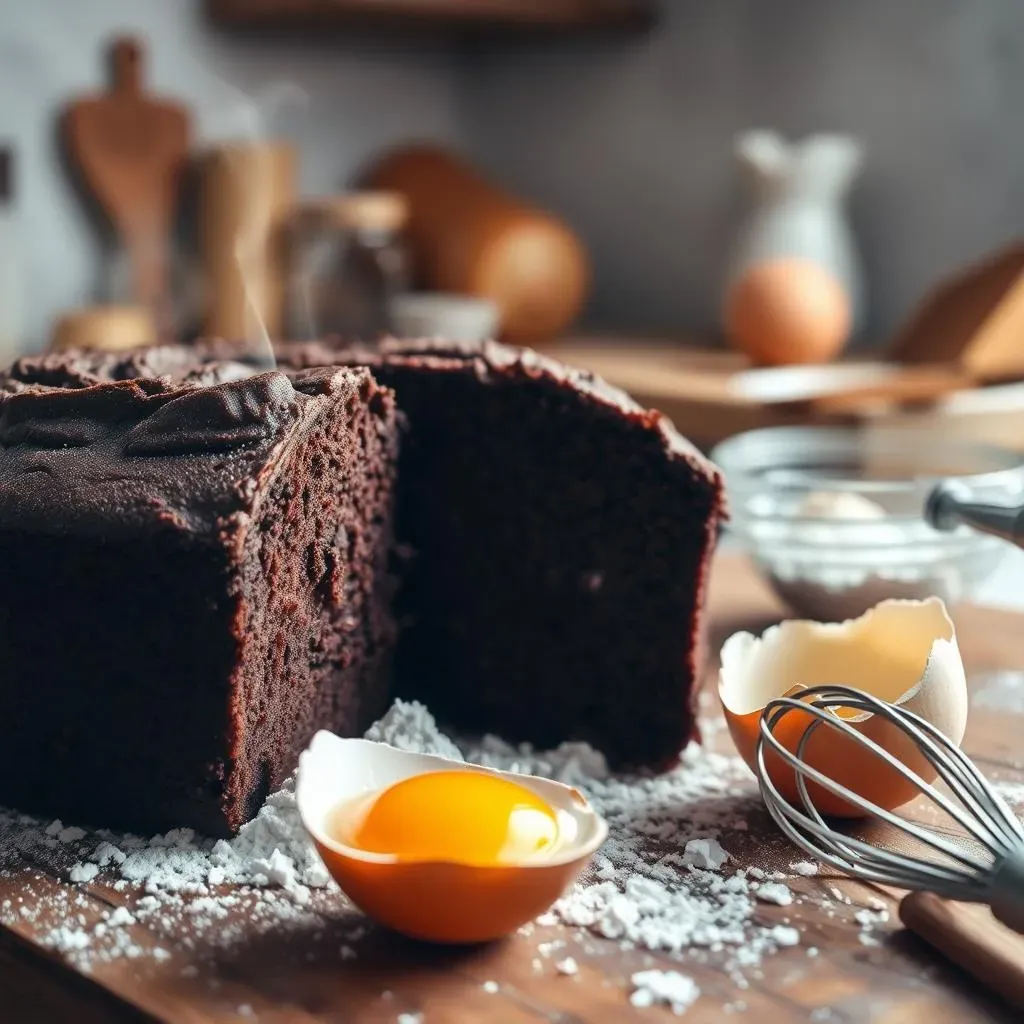
Alright, let's talk ingredients! For the dry stuff, you'll need all-purpose flour, granulated sugar, unsweetened cocoa powder, baking powder, baking soda, and a pinch of salt. The flour provides structure, the sugar adds sweetness and helps with browning, and the cocoa powder? Well, that's where the magic happens! Make sure your baking powder and baking soda are fresh. Nobody wants a flat, sad cake. As for the salt, don't skip it! It enhances the other flavors and balances the sweetness.
The Wet Wonders
Now for the wet ingredients! You'll need eggs, milk (or buttermilk for extra tang!), vegetable oil, and vanilla extract. The eggs bind everything together and add richness, the milk provides moisture, and the oil keeps the cake tender. And vanilla? It's the secret weapon for adding depth and complexity to the chocolate flavor. Don't skimp on the quality of your vanilla extract. It makes a difference!
Boiling Water: The Unexpected Hero
Here's where things get interesting. You'll also need boiling water. Yes, boiling water! This is the key to unlocking the cocoa powder's full potential and creating that super moist texture. The hot water helps the cocoa powder "bloom," releasing its rich, chocolatey flavor and creating a smooth batter. Don't worry, it won't cook the eggs. Just make sure to add it at the end, as the recipe instructs. Trust me on this one; it's a game-changer. Once you've gathered all your ingredients, it's time to get baking!
Ingredient Checklist
- All-purpose flour
- Granulated sugar
- Unsweetened cocoa powder
- Baking powder
- Baking soda
- Salt
- Eggs
- Milk (or buttermilk)
- Vegetable oil
- Vanilla extract
- Boiling water
StepbyStep: Baking Your Best Chocolate Cake Recipe NZ
StepbyStep: Baking Your Best Chocolate Cake Recipe NZ
Mixing the Batter: The Easy Way
now for the fun part! In a large bowl, whisk together the flour, sugar, cocoa powder, baking powder, baking soda, and salt. Make sure everything is evenly distributed. In a separate bowl, whisk together the eggs, milk, oil, and vanilla extract. Pour the wet ingredients into the dry ingredients and mix until just combined. Don't overmix! A few lumps are okay. Overmixing can lead to a tough cake, and nobody wants that.
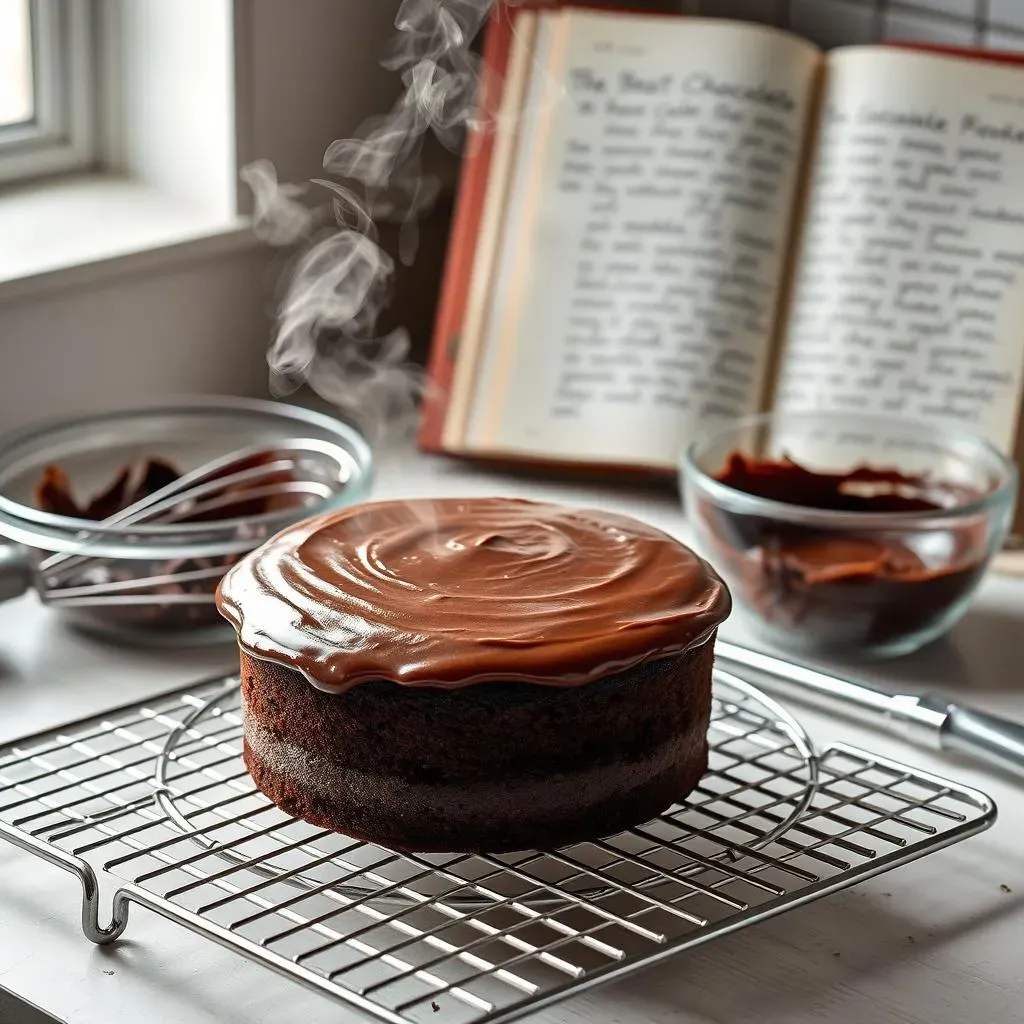
Now, here's the magic touch: slowly pour in the boiling water and mix until the batter is smooth. It will be thin, but don't worry, that's exactly what you want. The boiling water helps to dissolve the cocoa powder and create a super moist cake. Trust the process!
Baking to Perfection: Time and Temperature
Pour the batter into a greased and floured cake pan. You can use a 9x13 inch pan for a sheet cake, two 9-inch round pans for a layer cake, or even cupcake liners. Fill the cupcake liners about 2/3 full. Bake in a preheated oven at 350°F (175°C) for 30-35 minutes for cake pans, or 18-20 minutes for cupcakes. To check for doneness, insert a toothpick into the center of the cake. If it comes out clean or with a few moist crumbs, it's ready!
Let the cake cool in the pan for 10 minutes before inverting it onto a wire rack to cool completely. If you're making cupcakes, let them cool in the cupcake pan for a few minutes before transferring them to a wire rack. Make sure the cake is completely cool before frosting. Otherwise, the frosting will melt and slide right off. And nobody wants a melty, messy cake!
Baking Times at a Glance
- 9x13 inch pan: 30-35 minutes
- Two 9-inch round pans: 30-35 minutes
- Cupcakes: 18-20 minutes
Cooling and Preparing for Frosting
Cooling the cake properly is crucial. Don't rush this step! Letting the cake cool in the pan for a bit helps it to set and prevents it from sticking. Once it's inverted onto a wire rack, resist the urge to touch it! Let it cool completely before even thinking about frosting. A warm cake will melt the frosting and create a sticky mess.
While the cake is cooling, you can start preparing your frosting. Or, you can do what I often do and sneak a little taste of the unfrosted cake. It's research, I swear! Once the cake is completely cool, it's time to unleash your inner artist and get frosting!
Frosting and Decorating Your Chocolate Masterpiece
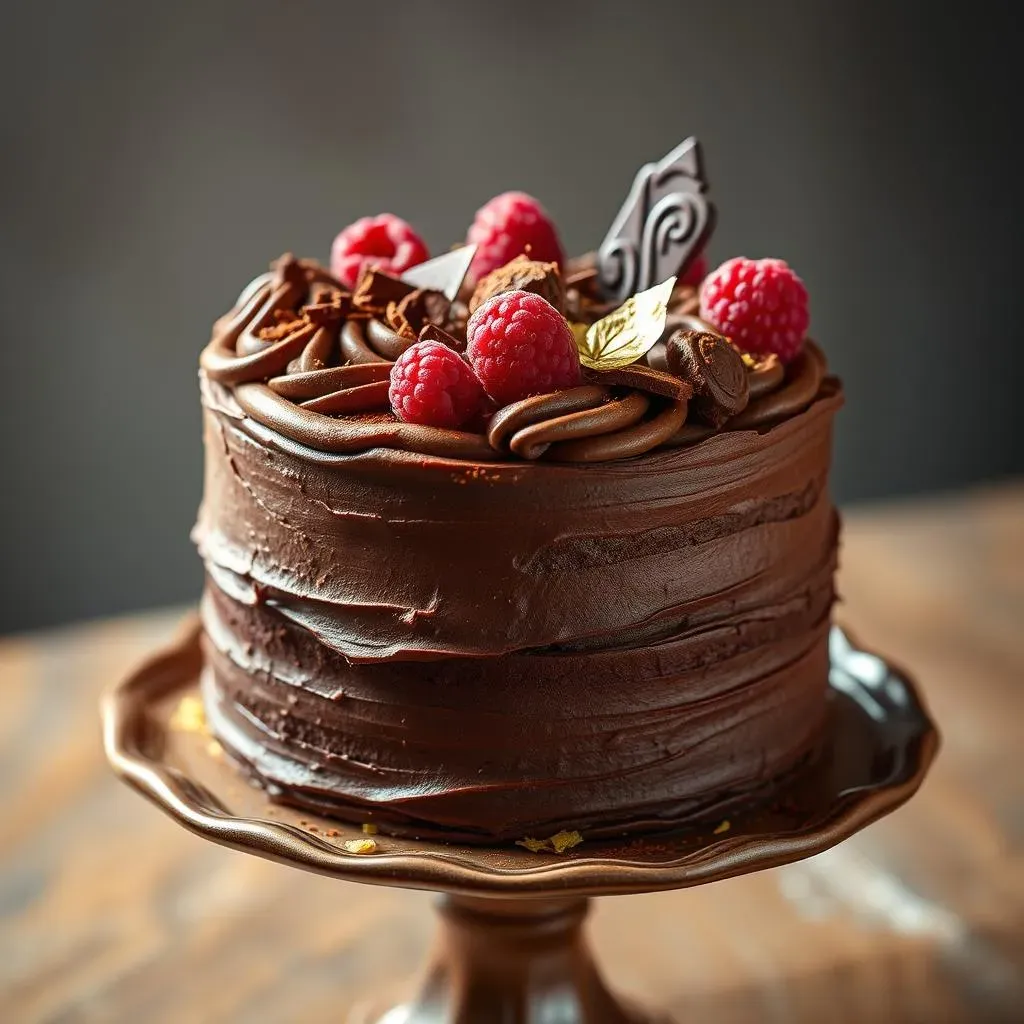
Frosting and Decorating Your Chocolate Masterpiece
Choosing Your Frosting: Classic or Creative?
Alright, the cake is baked and cooled, now comes the best part: frosting! You've got a world of options here, so let's break it down. For a classic pairing, you can't go wrong with a rich chocolate buttercream. It's decadent, smooth, and complements the chocolate cake perfectly. But don't be afraid to get creative! A tangy cream cheese frosting adds a delightful contrast, while a simple vanilla glaze lets the chocolate flavor shine. Or, if you're feeling adventurous, try a salted caramel frosting or even a peanut butter frosting. The possibilities are endless!
Think about the overall flavor profile you're going for. Do you want something intensely chocolatey, or something with a bit of balance? Consider your audience, too. Kids might love a super sweet frosting, while adults might prefer something a bit more sophisticated. And don't forget about dietary restrictions! There are plenty of vegan and gluten-free frosting options available. Ultimately, the best frosting is the one that you enjoy the most!
Making the Magic: Frosting Techniques
Now that you've chosen your frosting, it's time to get down to business. If you're making a layer cake, start by leveling the tops of the cakes with a serrated knife. This will ensure that your cake is even and stable. Place one layer on a cake stand or serving plate and spread a generous layer of frosting on top. Add the second layer and frost the entire cake, starting with a thin "crumb coat" to trap any loose crumbs. Chill the cake for about 30 minutes to set the crumb coat, then apply the final layer of frosting.
For cupcakes, you can use a piping bag and tip to create swirls, rosettes, or other decorative designs. Or, you can simply spread the frosting on with a knife or spatula. If you're using a piping bag, make sure to practice your technique beforehand on a piece of parchment paper. And don't be afraid to experiment! Frosting is forgiving, and you can always scrape it off and start over if you're not happy with the results.
Adding the Finishing Touches: Decorations and Garnishes
The cake is frosted, but it's not quite finished yet! Now it's time to add the finishing touches that will take your cake from ordinary to extraordinary. Sprinkles are always a fun and festive option, especially for kids' birthdays. Chocolate shavings add a touch of elegance, while fresh berries provide a pop of color and flavor. You can also use chopped nuts, edible flowers, or even a drizzle of chocolate ganache.
Consider the theme of your cake. If it's for a special occasion, you might want to add a personalized message or a decorative cake topper. If it's just for fun, let your creativity run wild! There are no rules when it comes to decorating a cake. The most important thing is to have fun and create something that you're proud of. And don't forget to take a picture before you slice into it!
Decoration Ideas
- Sprinkles
- Chocolate shavings
- Fresh berries
- Chopped nuts
- Edible flowers
- Chocolate ganache
- Cake toppers
Tips & Tricks for the Perfect Chocolate Cake Every Time
Tips & Tricks for the Perfect Chocolate Cake Every Time
Don't Overmix, Seriously!
I can't stress this enough: overmixing is the enemy of a tender chocolate cake. When you overmix, you develop the gluten in the flour, leading to a tough, dense cake. Mix the wet and dry ingredients until just combined. A few lumps are okay! Trust me, those lumps will disappear during baking. It's better to err on the side of undermixing than overmixing. Think of it like gently folding the ingredients together rather than aggressively beating them into submission.
Also, make sure your ingredients are at room temperature. This helps them to emulsify properly, creating a smooth batter and a more even bake. Cold ingredients can lead to a curdled batter and a cake that doesn't rise properly. So, take your eggs and milk out of the fridge about 30 minutes before you start baking. It's a small step that makes a big difference!
Oven Temperature is Key
Your oven is a fickle beast, and maintaining the correct temperature is crucial for baking the perfect chocolate cake. Invest in an oven thermometer to ensure that your oven is actually running at the temperature it says it is. Ovens can be notoriously inaccurate, and even a slight temperature difference can affect the outcome of your cake. If your oven runs hot, reduce the temperature by 25 degrees. If it runs cold, increase the temperature by 25 degrees. And always preheat your oven thoroughly before putting the cake in. A cold oven can lead to a cake that doesn't rise properly or bakes unevenly.
Another tip: avoid opening the oven door too often while the cake is baking. Each time you open the door, you release heat, which can cause the cake to collapse. If you need to check on the cake, do it quickly and close the door immediately. Patience is a virtue, especially when it comes to baking!
Troubleshooting Your Oven
- Oven runs hot: Reduce temperature by 25 degrees
- Oven runs cold: Increase temperature by 25 degrees
- Always preheat thoroughly
- Avoid opening the door too often
Conclusion: Your Best Chocolate Cake Recipe NZ Awaits!
There you have it – your guide to creating what we believe is the best chocolate cake recipe NZ has to offer. From the initial mixing to the final flourish of frosting, each step is designed to bring you closer to chocolate perfection. Baking is a journey, and every oven is different, so don't be afraid to experiment and tweak the recipe to suit your tastes. Whether you're celebrating a special occasion or simply craving a sweet treat, this cake is sure to impress. So go ahead, bake this cake and share the joy – after all, the best things in life are sweet! Enjoy your delicious creation!