
Table of Contents
Let's be real, the quest for the best chocolate cake recipe Nigella Lawson is a journey many of us embark on, hoping to discover that perfect, melt-in-your-mouth slice of heaven. Nigella's Old Fashioned Chocolate Cake is often hailed as the holy grail, and for good reason. It promises a luscious, mood-enhancing experience, reminiscent of the idealized chocolate cake we all crave. This isn't just another recipe; it's an invitation to create a cake that's both intensely chocolatey and surprisingly light. Ready to bake? This article dives deep into Nigella's acclaimed recipe, breaking down each step with easy-to-follow instructions and insider tips. From gathering your ingredients (both metric and US measurements provided!) to mastering the art of the icing, we'll guide you through the process. We'll explore why this particular recipe stands out, offering insights into the techniques that make it so foolproof and delicious. Get ready to unleash your inner domestic goddess (or god!) and bake a cake that will impress even the toughest critics.
Why Nigella's Old Fashioned Chocolate Cake Might Be the Best Chocolate Cake Recipe
Why Nigella's Old Fashioned Chocolate Cake Might Be the Best Chocolate Cake Recipe
It's All About That Texture
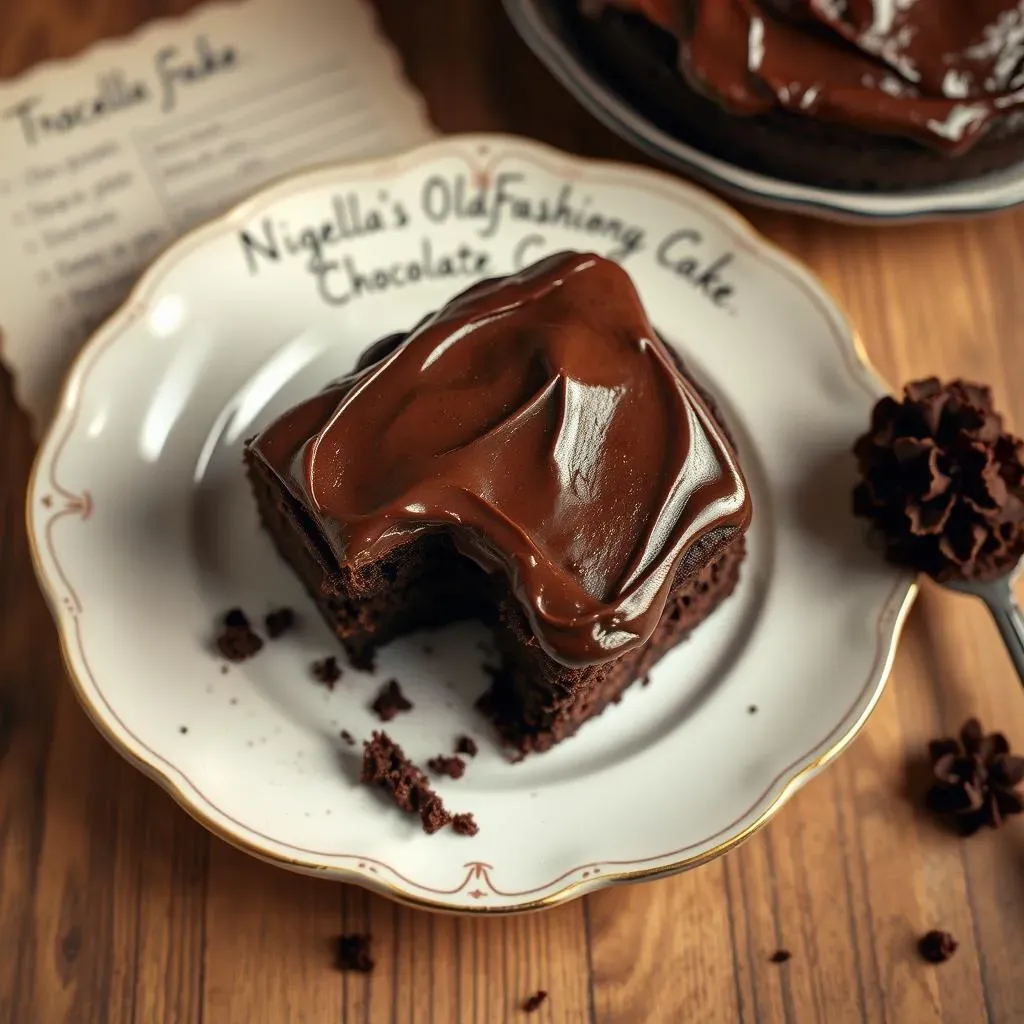
so why all the hype around Nigella's Old Fashioned Chocolate Cake? It boils down to texture. Seriously. Forget dry, crumbly disappointments. This cake is all about being meltingly soft, almost fudge-like, while still maintaining a delicate crumb. It's a paradox, I know, but Nigella pulls it off with aplomb. It’s the kind of cake that makes you close your eyes and savor every single bite. It’s not just eating; it’s an experience.
And that "mouthfeel" she talks about? Totally legit. There's a certain lusciousness that makes it dangerously addictive. It's rich, but not heavy; chocolatey, but not bitter. It's the Goldilocks of chocolate cakes – just right. Plus, let's be honest, the name itself is appealing. "Old Fashioned" evokes a sense of comfort and nostalgia, like a warm hug from grandma (if grandma was a pastry chef).
Simplicity That Delivers
Another reason why this recipe reigns supreme? It's surprisingly straightforward. You don't need to be a seasoned baker with a pantry full of obscure ingredients. Nigella's genius lies in taking simple components and transforming them into something extraordinary. The method is unfussy, and the instructions are clear, even for baking newbies. She even gives you the option of using a food processor or a good old-fashioned bowl and spoon. Talk about adaptable!
It is a cake you can whip up on a weeknight without wanting to throw your stand mixer out the window. And honestly, in a world of overly complicated, Instagram-bait recipes, that's a huge selling point. The focus is on flavor and texture, not elaborate decorations or fancy techniques. It's honest, delicious baking at its finest. This is why Nigella's Old Fashioned Chocolate Cake isn't just good; it's reliably, consistently good. And in the unpredictable world of baking, that's a true treasure.
Key Feature | Why It Matters |
|---|---|
Melting Texture | Creates a luxurious and satisfying eating experience. |
Simple Recipe | Accessible to bakers of all skill levels. |
Classic Flavor | A timeless chocolate taste that appeals to everyone. |
Ingredients for Nigella's Quintessential Chocolate Cake Recipe (and Icing!)
Ingredients for Nigella's Quintessential Chocolate Cake Recipe (and Icing!)
Cake Ingredients: The Foundation of Flavor
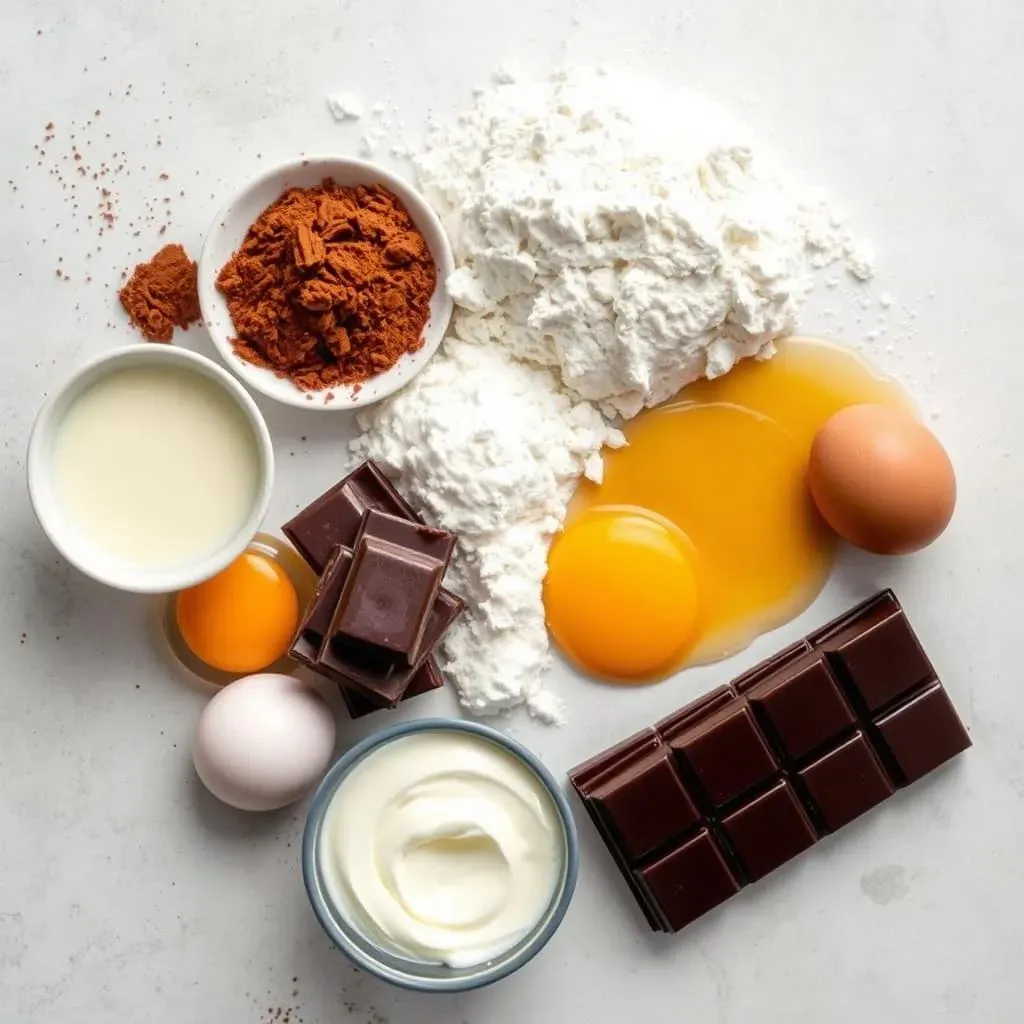
Alright, let's talk ingredients. For the cake itself, you'll need the usual suspects, but with a Nigella twist. We're talking flour, sugar, cocoa powder (good quality is key!), baking soda, and a pinch of salt. But here's where it gets interesting: vegetable oil and hot water. Yes, hot water! Trust me on this. It helps bloom the cocoa and creates a super moist crumb. You'll also need eggs and buttermilk. If you don't have buttermilk on hand, you can easily make a substitute with milk and lemon juice or vinegar. No excuses!
It’s all about balance, really. The oil keeps things tender, the hot water intensifies the chocolate flavor, and the buttermilk adds a subtle tang that cuts through the richness. Don't skimp on the vanilla extract, either. It elevates everything. And remember, Nigella provides both metric and US measurements, so no matter where you are, you can bake with confidence. Get all these ingredients ready, and you're already halfway to chocolate cake nirvana.
Icing Ingredients: The Crowning Glory
Now, for the icing, prepare for some serious indulgence. This isn't your average, run-of-the-mill frosting. We're talking melted chocolate (again, quality matters!), softened butter, icing sugar (also known as powdered sugar or confectioners' sugar), sour cream, and vanilla extract. The sour cream is the secret weapon here. It adds a delightful tanginess that balances the sweetness of the chocolate and sugar, preventing the icing from becoming cloying. It also contributes to a silky-smooth texture that's simply divine.
The combination creates a decadent, velvety frosting that complements the cake perfectly. It's rich, but not overwhelming; sweet, but not sickening. It's the kind of icing you want to eat straight from the bowl (and, let's be honest, you probably will!). So, gather your ingredients, resist the urge to sample the chocolate (too much), and get ready to whip up a batch of icing that will take your cake to the next level. Remember, it’s not just about covering the cake; it’s about adding another layer of flavor and texture that elevates the entire experience.
Ingredient | Purpose |
|---|---|
Hot Water | Blooms cocoa, enhances moisture |
Buttermilk | Adds tang and tenderness |
Sour Cream (in icing) | Balances sweetness, adds silkiness |
Baking Nigella's Chocolate Cake: StepbyStep to Chocolate Perfection
Baking Nigella's Chocolate Cake: StepbyStep to Chocolate Perfection
Getting Started: The Batter Basics
Alright, let's get down to business! First things first, preheat your oven to 350°F (180°C). Grease and flour two 8-inch (20cm) round cake pans. This is crucial to prevent sticking, nobody wants a cake disaster! Now, if you're using a food processor, simply combine all the dry ingredients (flour, sugar, cocoa powder, baking soda, salt) in the bowl and pulse to mix. Then, add the wet ingredients (oil, eggs, buttermilk, vanilla) and the hot water. Process until smooth. If you're going the traditional route, whisk together the dry ingredients in a large bowl. In a separate bowl, whisk together the wet ingredients. Gradually add the wet ingredients to the dry ingredients, mixing until just combined. Finally, stir in the hot water.
Don't overmix the batter! Overmixing develops the gluten in the flour, which can result in a tough cake. Aim for a smooth batter with no lumps, but don't keep mixing once everything is combined. Divide the batter evenly between the prepared cake pans and smooth the tops. Now, it's time for the oven. Place the pans on the middle rack and bake for about 30-35 minutes, or until a cake tester inserted into the center comes out clean. Start checking for doneness around the 25-minute mark. Every oven is different, so keep an eye on things.
Step | Description | Why It Matters |
|---|---|---|
Preheat Oven | Ensures even baking | Avoids uneven cooking |
Grease and Flour Pans | Prevents sticking | Keeps cake intact |
Combine Ingredients | Mix wet and dry separately then combine | Prevents overmixing |
Bake | 30-35 minutes, check for doneness | Proper cooking ensures texture |
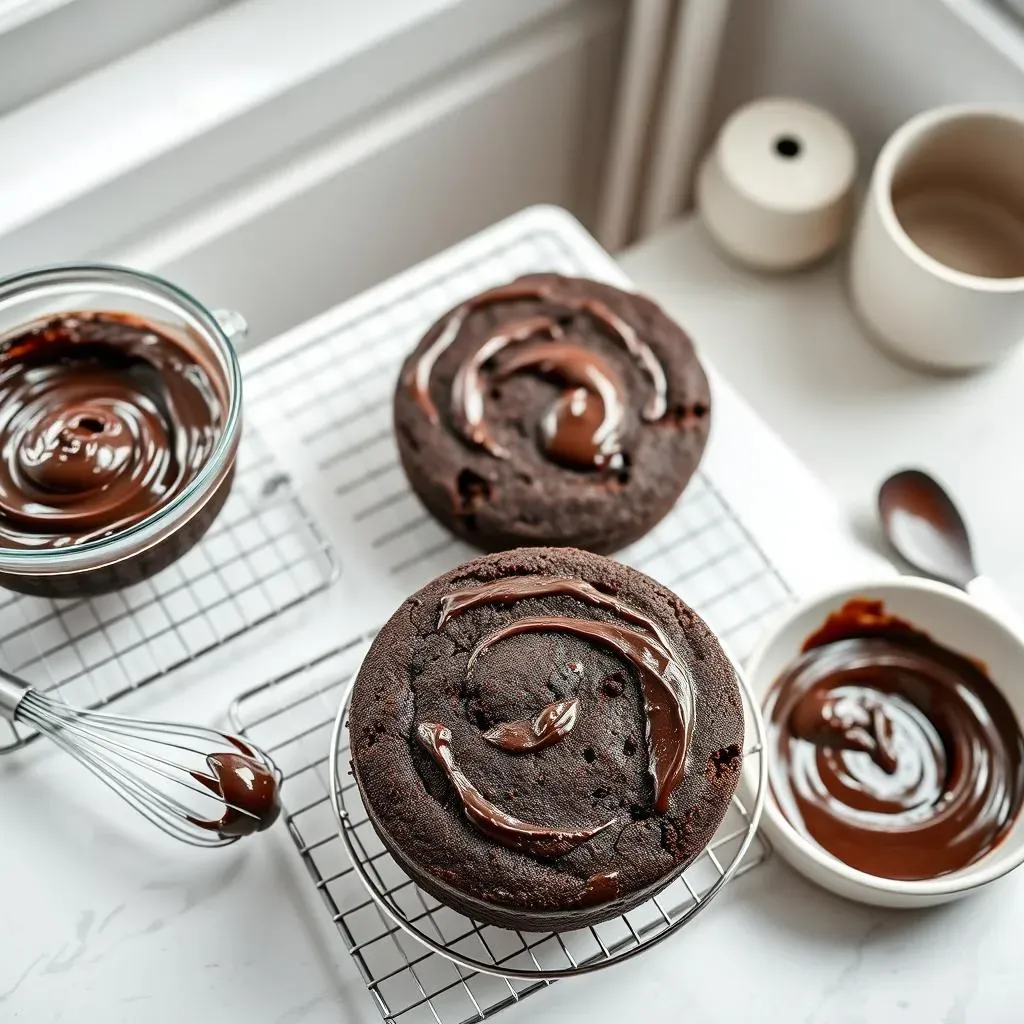
Cooling and Preparing for Icing
Once the cakes are baked, remove them from the oven and let them cool in the pans for about 10 minutes. Then, invert them onto a wire rack to cool completely. It's important that the cakes are completely cool before you start icing them. Otherwise, the icing will melt and slide right off. Trust me, patience is key here! While the cakes are cooling, you can get started on the icing. In a heatproof bowl set over a saucepan of simmering water (or in the microwave in 30-second intervals), melt the chocolate and butter together, stirring until smooth. Remove from the heat and let it cool slightly.
In a separate bowl, whisk together the icing sugar, sour cream, and vanilla extract. Gradually add the melted chocolate mixture to the icing sugar mixture, whisking until smooth and creamy. If the icing is too thick, add a tablespoon of milk or water at a time until it reaches your desired consistency. If it's too thin, add a little more icing sugar. Taste and adjust the sweetness as needed. Now, you're ready to ice your cake! Make sure those cakes are completely cool, and then get ready to create a chocolate masterpiece.
Patience is key to baking and cooling the cake before icing.
Assembling and Icing Your Nigella Lawson Best Chocolate Cake: Tips and Tricks
Assembling and Icing Your Nigella Lawson Best Chocolate Cake: Tips and Tricks
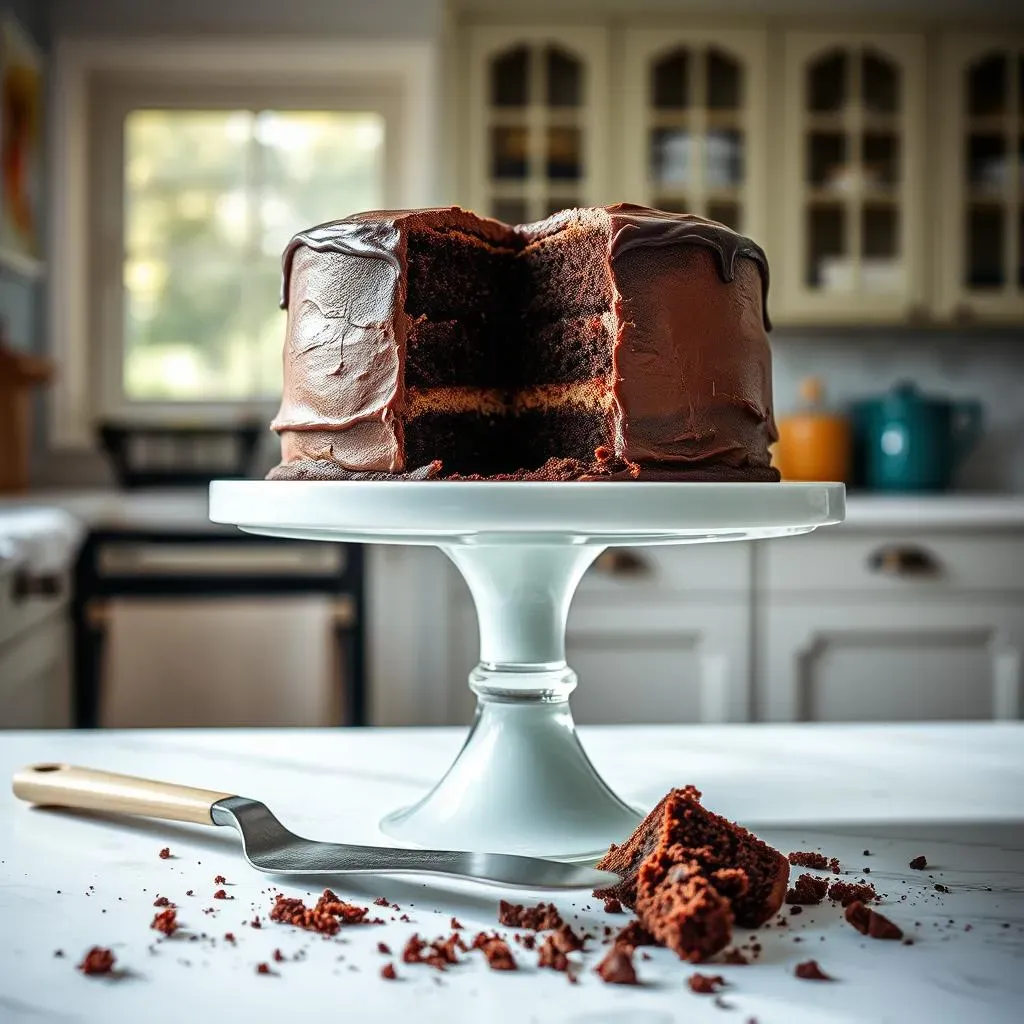
Leveling and Layering: The Foundation of a Beautiful Cake
Alright, you've got your cooled cakes and your luscious icing. Now comes the fun part: assembling and icing your Nigella Lawson best chocolate cake! First things first, take a serrated knife and level the tops of the cakes. This ensures a stable and even base for your icing. Nobody wants a wobbly cake! Don't throw away those cake scraps, though! You can crumble them up and use them to decorate the finished cake, or just snack on them (chef's privilege!). Place one cake layer on a serving plate or cake stand. If you want to get fancy, you can place strips of parchment paper under the edges of the cake to keep your plate clean. Trust me, it makes cleanup a breeze.
Now, spread a generous layer of icing over the first cake layer. Make sure to spread it evenly, right to the edges. Place the second cake layer on top and gently press down to secure it. Now, it's time for the final layer of icing. This is where you can really get creative! You can go for a smooth, elegant finish, or a more rustic, textured look. It's totally up to you! Use an offset spatula or a butter knife to spread the icing over the top and sides of the cake. If you're going for a smooth finish, dip your spatula in hot water and wipe it clean between each swipe. This helps create a perfectly smooth surface. If you prefer a more textured look, simply swirl the icing with your spatula or knife. There are no rules here, just have fun!
Step | Description | Why It Matters |
|---|---|---|
Leveling | Cut off uneven tops | Creates a stable cake |
Layering | Spread icing between layers | Adds moisture and flavor |
Final Icing | Frost top and sides | Aesthetics and flavor |
Finishing Touches and Serving Suggestions
Once your cake is iced, it's time for the finishing touches. If you saved those cake scraps, sprinkle them around the base of the cake for a rustic look. You can also decorate with chocolate shavings, fresh berries, or a dusting of cocoa powder. Get creative and make it your own! If you want to get really fancy, you can pipe some extra icing around the top edge of the cake. A simple star tip will do the trick. Or, you can drizzle melted chocolate over the top for an extra touch of indulgence.
Now, for the most important part: serving! This cake is best served at room temperature. Cut yourself a generous slice (you deserve it!) and enjoy every single bite. It pairs perfectly with a glass of cold milk, a cup of hot coffee, or a scoop of vanilla ice cream. And, if you're feeling particularly decadent, you can even add a dollop of whipped cream. This cake is also great for parties and celebrations. It's guaranteed to be a crowd-pleaser! And the best part? It's so easy to make, you can whip it up anytime you're craving a chocolate fix. So, what are you waiting for? Get baking!
- Cake Scraps: Crumble around base
- Chocolate Shavings: Elegant and classic
- Fresh Berries: Adds freshness and color
- Cocoa Powder: Simple and sophisticated
The Verdict: Is Nigella's Old Fashioned Chocolate Cake the Best?
So, after all the mixing, baking, and icing, does Nigella's Old Fashioned Chocolate Cake live up to the hype? Absolutely. It's a recipe that delivers on its promise of being both intensely chocolatey and surprisingly easy to make. Whether you're a seasoned baker or just starting out, this cake is a guaranteed crowd-pleaser. It’s more than just a dessert; it's an experience, a little slice of happiness that's perfect for any occasion. So go ahead, grab your apron, and bake your way to chocolate cake perfection. You might just find that you've discovered your new go-to recipe for the best chocolate cake ever.