Table of Contents
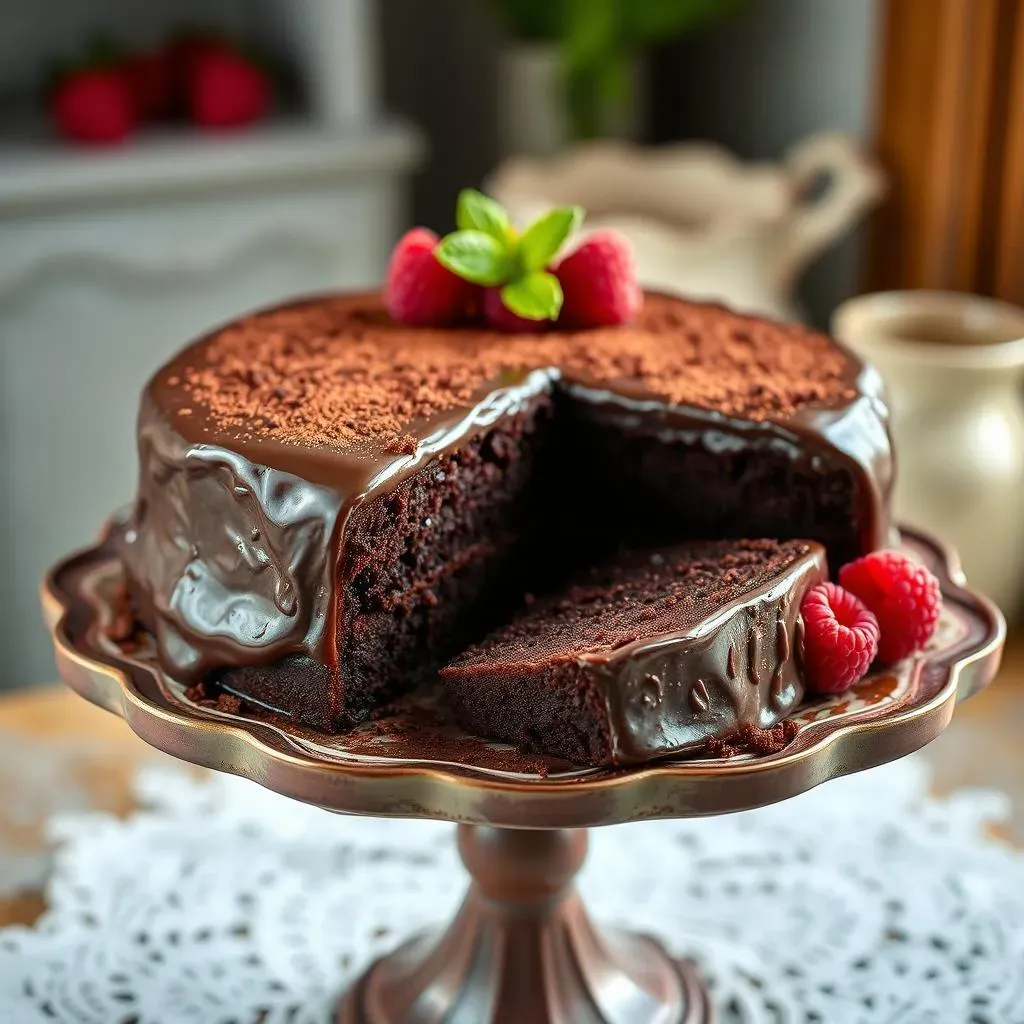
Who doesn't love a slice of rich, decadent chocolate cake? If you're on the hunt for a foolproof recipe that delivers moist, flavorful results every time, look no further than Martha Stewart's kitchen. Her name is synonymous with culinary excellence, and her chocolate cake recipe is no exception. This isn't just any cake; it's a versatile, crowd-pleasing dessert perfect for birthdays, holidays, or a simple weeknight treat. In this article, we'll embark on a delicious journey to uncover the secrets behind the best chocolate cake recipe Martha Stewart has to offer. We'll navigate her website, break down the essential ingredients, provide a step-by-step baking guide, explore exciting variations, and share expert tips to ensure your baking success. Get ready to transform your kitchen into a chocolate lover's paradise and create a cake that will impress your family and friends!
Navigating Martha Stewart's Website for the Best Chocolate Cake Recipe
Navigating Martha Stewart's Website for the Best Chocolate Cake Recipe
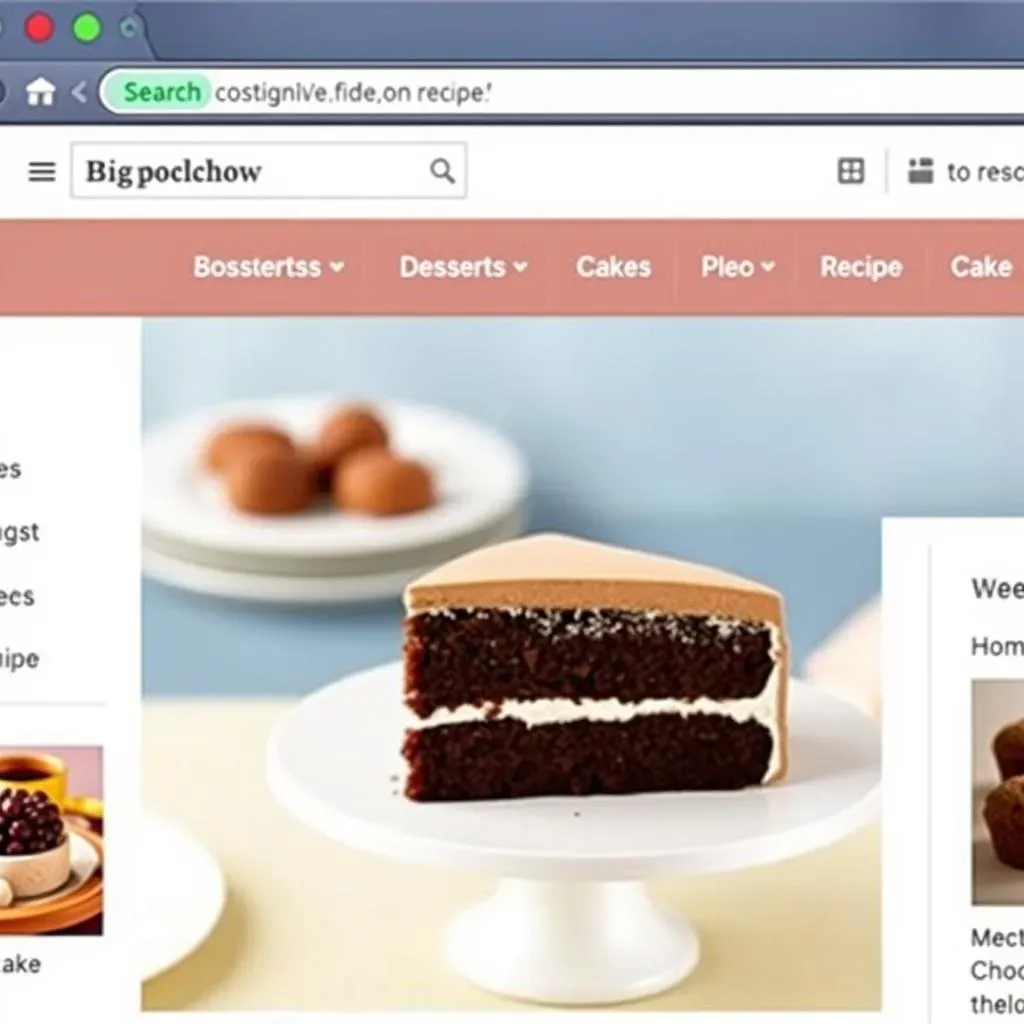
Alright, so you're diving into Martha Stewart's website to find that legendary chocolate cake recipe, huh? It's a treasure trove, but can feel a little overwhelming if you don't know where to look. First things first, head to MarthaStewart.com. Once you're there, the main navigation bar is your best friend. Look for the "Food" section; it's usually prominently displayed. Hovering over "Food" will reveal a dropdown menu with various categories. You might find the cake recipe under "Desserts," "Cakes," or even a specific holiday category if it's a seasonal feature. Don't be afraid to use the search bar either! Just type in "chocolate cake" or "Martha Stewart chocolate cake," and let the site do the work for you. Also, keep an eye out for sections like "Recipes We Love" or "Editor's Picks," as these often highlight popular and highly-rated recipes like the chocolate cake.
Once you've landed on the recipe page, take a moment to familiarize yourself with the layout. You'll typically find the recipe title, a brief description, a star rating (always a good indicator of how well-received the recipe is), and of course, the ingredient list and instructions. Martha's site often includes helpful visuals, like photos or even videos, to guide you through the process. Pay attention to any "Cook's Notes" or "Tips" sections, as these can offer valuable insights and troubleshooting advice. And don't forget to check the comments section! Fellow bakers often share their experiences, modifications, and helpful hints that can elevate your cake-baking game.
Finally, before you get started, make sure to bookmark the recipe page or save it to your favorites. This will make it easy to access later when you're ready to bake. You can also print the recipe for a handy reference in the kitchen. And if you're feeling adventurous, browse through the related recipes section for other tempting treats. Who knows, you might just discover your next baking obsession!
Section | Description |
|---|---|
Food | The main hub for all recipes. |
Desserts/Cakes | Specific categories to narrow your search. |
Search Bar | A quick way to find the chocolate cake recipe. |
Cook's Notes/Tips | Valuable insights and troubleshooting advice. |
The Anatomy of Martha Stewart's Chocolate Cake Recipe: Ingredients and Secrets
The Anatomy of Martha Stewart's Chocolate Cake Recipe: Ingredients and Secrets
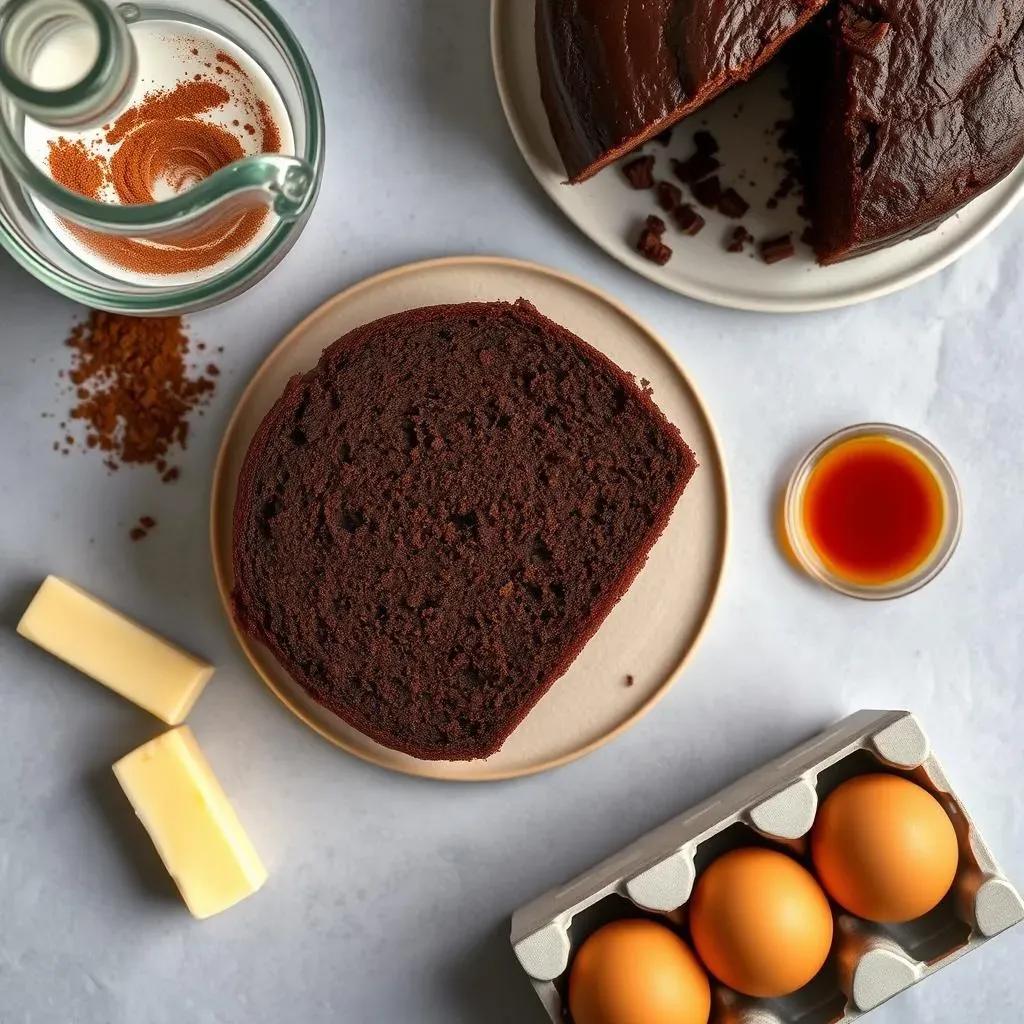
let's get into the nitty-gritty of what makes Martha's chocolate cake tick. It's not just about throwing ingredients together; it's about understanding how each component plays its part in creating that perfect crumb and deep chocolate flavor. The recipe typically calls for all-purpose flour as the base, providing structure. But the real magic lies in the combination of cocoa powder and hot water. Blooming the cocoa powder in hot water intensifies the chocolate flavor, giving the cake a richer, more complex taste. It's like unlocking the full potential of the cocoa!
Then you have the usual suspects: sugar for sweetness, eggs for binding and richness, and baking soda and baking powder for leavening. Buttermilk is another key ingredient, adding moisture and a slight tang that balances the sweetness of the chocolate. And don't forget the oil or melted butter – these fats contribute to the cake's moist and tender texture. A touch of vanilla extract enhances all the other flavors, tying everything together. It's a delicate balance of wet and dry ingredients, each playing a crucial role in the final product. It’s like they all have a secret pact to taste delicious!
Now, here's a breakdown of some of the key ingredients and their roles:
Ingredient | Role |
|---|---|
Cocoa Powder | Provides chocolate flavor and color. |
Hot Water | Blooms the cocoa powder, intensifying its flavor. |
Buttermilk | Adds moisture and a slight tang. |
Oil/Melted Butter | Contributes to moistness and tenderness. |
Vanilla Extract | Enhances the overall flavor profile. |
StepbyStep Guide: Baking Martha Stewart's Best Chocolate Cake
StepbyStep Guide: Baking Martha Stewart's Best Chocolate Cake
1. Getting Started: Prep and Preheat
Alright, future cake boss, let's get this show on the road! First things first, preheat your oven to 350°F (175°C). This is non-negotiable. You want that oven nice and ready to go. While it's heating up, grease and flour your cake pans. I usually go for two 9-inch round pans, but you can use whatever you have on hand. Just make sure they're the right size for the recipe. Greasing and flouring prevents the cake from sticking, ensuring a clean release later on. Nobody wants a cake that's glued to the pan!
Next up, gather all your ingredients. This might seem obvious, but trust me, it's a lifesaver. Nothing's worse than realizing you're missing an egg halfway through the recipe. Measure everything out and have it ready to go. This is called "mise en place" in fancy chef terms, but basically, it just means "get your stuff together." This will make the baking process so much smoother and less stressful.
2. Mixing the Batter: The Art of Chocolate Alchemy
Now for the fun part: mixing the batter! In a large bowl, whisk together the dry ingredients: flour, sugar, cocoa powder, baking soda, baking powder, and salt. Make sure everything is well combined. In a separate bowl, combine the wet ingredients: buttermilk, oil (or melted butter), eggs, and vanilla extract. Whisk until smooth. Gradually add the wet ingredients to the dry ingredients, mixing until just combined. Be careful not to overmix! Overmixing can lead to a tough cake. Finally, slowly pour in the hot water, mixing until the batter is smooth and glossy. Don't worry if the batter seems thin; that's perfectly normal.
Pour the batter evenly into your prepared cake pans. Now, here's a little trick I learned from Martha herself: gently tap the pans on the counter a few times to release any air bubbles. This will help create a more even cake. Pop the pans into the preheated oven and bake for 30-35 minutes, or until a toothpick inserted into the center comes out clean. Keep an eye on them, as baking times can vary depending on your oven.
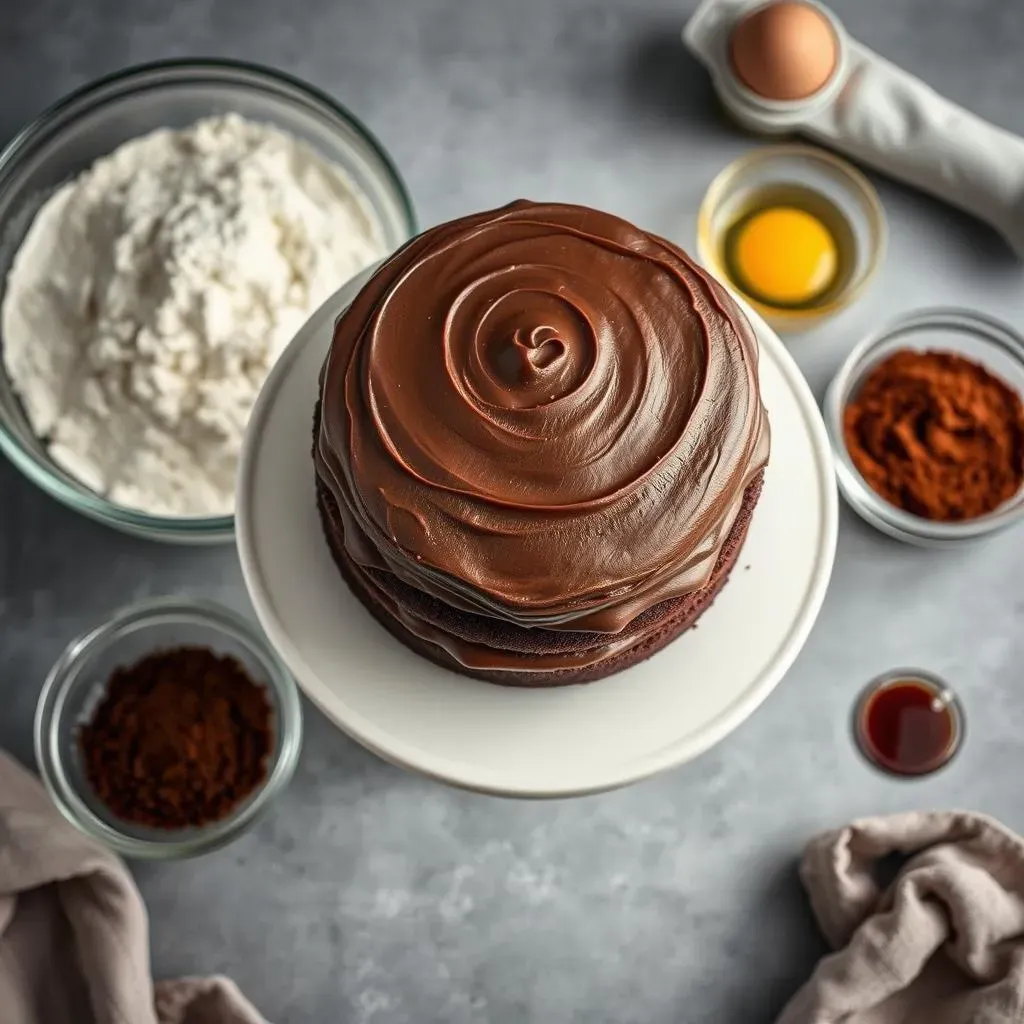
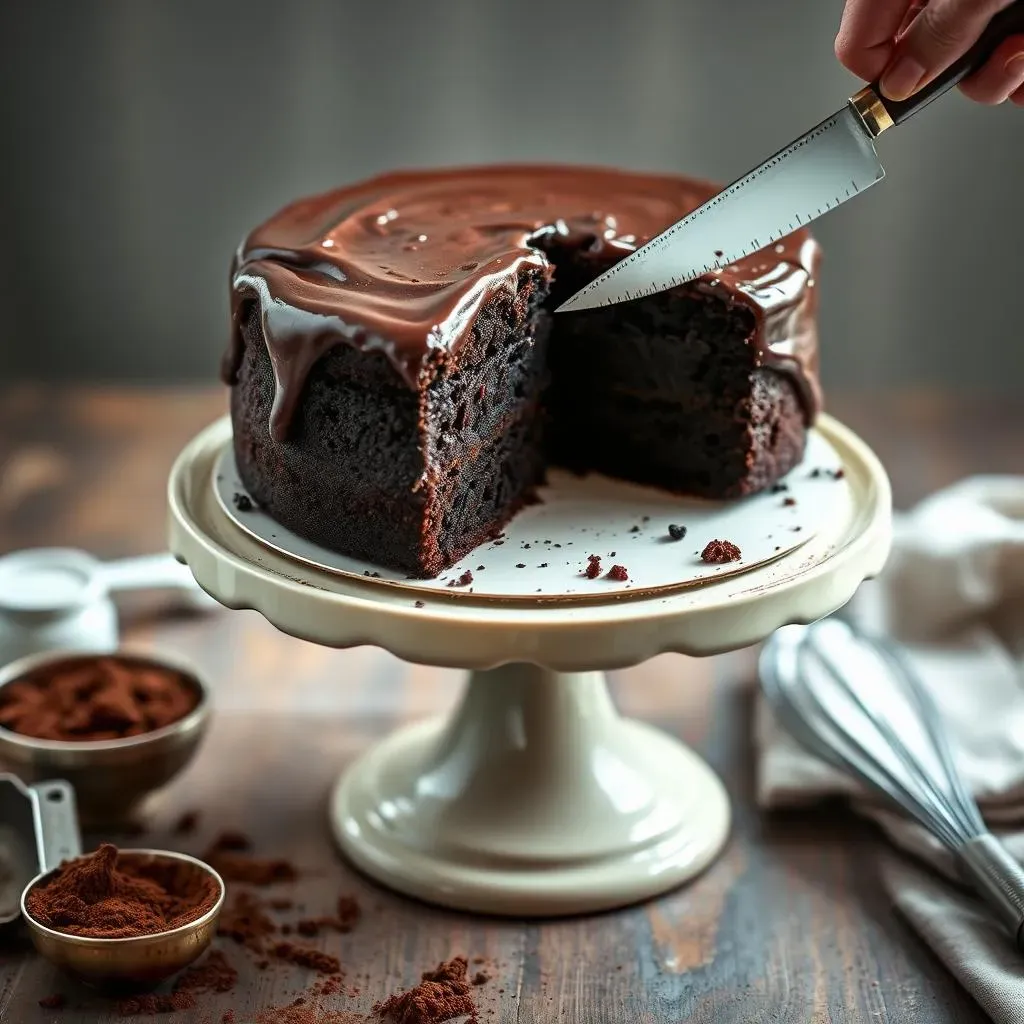
3. Cooling and Frosting: The Grand Finale
Once the cakes are baked, let them cool in the pans for about 10 minutes before inverting them onto a wire rack to cool completely. This prevents them from sticking and allows them to cool evenly. While the cakes are cooling, you can prepare your frosting. Martha has tons of frosting recipes to choose from, but a classic chocolate buttercream is always a winner. Once the cakes are completely cool, it's time to frost them. Place one cake layer on a serving plate or cake stand, and spread a generous layer of frosting on top. Place the second cake layer on top of the frosting, and frost the entire cake. Get creative with your decorating! You can use sprinkles, chocolate shavings, or even fresh berries to add a personal touch.
And there you have it: Martha Stewart's best chocolate cake, made with your own two hands! Slice, serve, and enjoy the fruits of your labor. This cake is best enjoyed with a cold glass of milk or a scoop of vanilla ice cream. And don't be surprised if everyone asks you for the recipe!
Step | Description | Time |
|---|---|---|
Prep & Preheat | Grease pans, preheat oven, measure ingredients | 15 minutes |
Mix Batter | Combine wet and dry ingredients | 10 minutes |
Bake | Pour batter into pans and bake | 30-35 minutes |
Cool | Let cake cool in pans, then on wire rack | 1 hour |
Frost | Prepare frosting and decorate | 20 minutes |
Beyond the Cake: Variations on Martha Stewart's Chocolate Cake Recipe
Beyond the Cake: Variations on Martha Stewart's Chocolate Cake Recipe
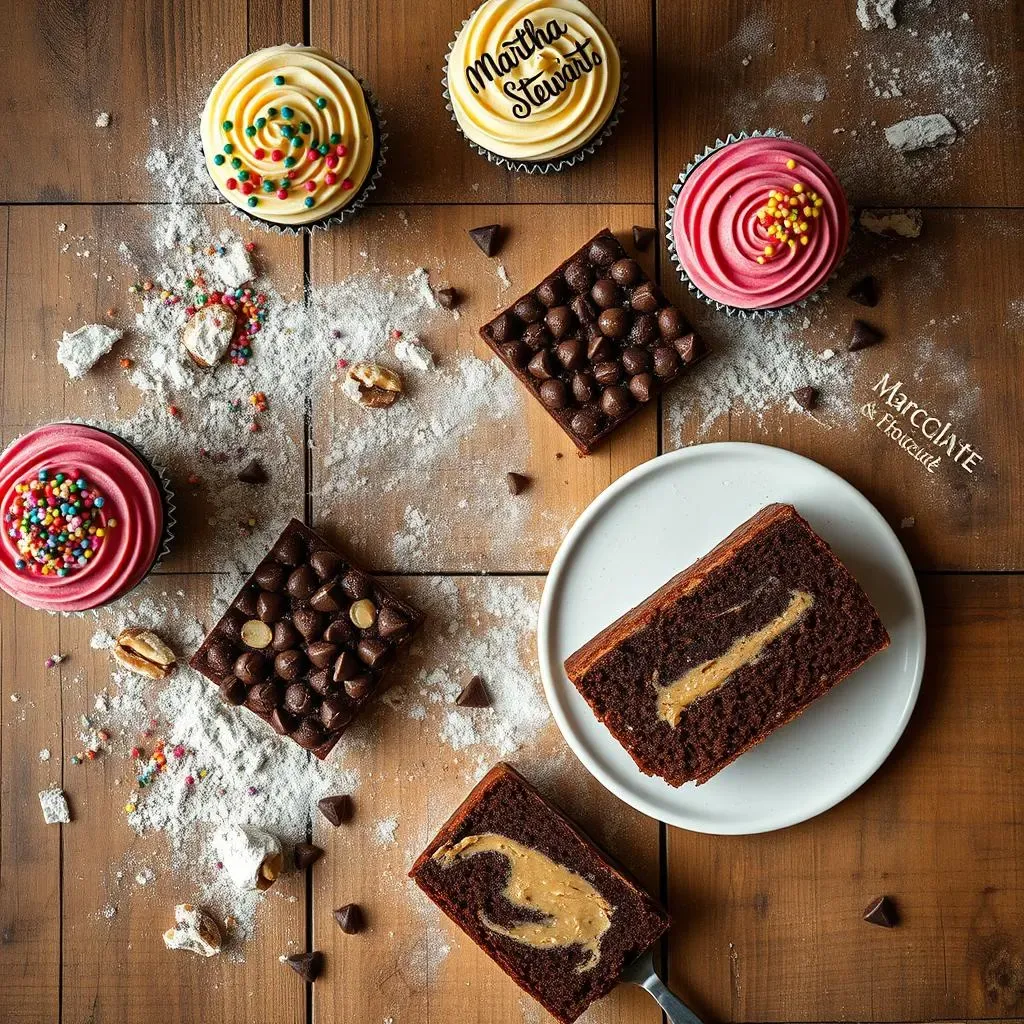
Cupcakes Galore: Mini Chocolate Delights
so you've nailed the basic chocolate cake, now let's talk about taking it to the next level! One of the easiest and most fun variations is turning Martha's cake into cupcakes. It's the same amazing batter, just baked in smaller portions. To make cupcakes, simply line a muffin tin with cupcake liners and fill each liner about two-thirds full. Bake at the same temperature (350°F or 175°C) for a shorter amount of time, usually around 18-22 minutes. Keep a close eye on them, as they can bake quickly. Let them cool completely before frosting. Cupcakes are perfect for parties, bake sales, or just a little individual treat.
Frosting options are endless! You can use the same chocolate buttercream frosting you used for the cake, or get creative with different flavors and colors. Vanilla buttercream, cream cheese frosting, or even a simple dusting of powdered sugar are all great choices. Add sprinkles, candies, or edible glitter for a festive touch. Cupcakes are also a great way to experiment with different fillings. You can core out the center of each cupcake and fill it with chocolate ganache, caramel, or even a dollop of raspberry jam. The possibilities are endless!
Chocolate Bars with Crunch: A Textural Twist
Want something a little different? Try transforming Martha's chocolate cake into bars with a crunchy topping. This variation adds a delightful textural element to the classic cake. To make bars, pour the batter into a greased and floured 9x13 inch baking pan. Prepare a simple crumble topping by mixing together flour, sugar, butter, and your favorite nuts (walnuts or pecans work well). Sprinkle the crumble topping evenly over the batter and bake at the same temperature for about 25-30 minutes, or until the topping is golden brown and the cake is set. Let cool completely before cutting into bars.
The crumble topping adds a wonderful contrast to the moist chocolate cake. You can also add chocolate chips, coconut flakes, or dried fruit to the topping for extra flavor and texture. These bars are perfect for potlucks, picnics, or a quick and easy dessert. They're also a great way to use up any leftover nuts or dried fruit you have on hand. Plus, they're super portable, making them ideal for on-the-go snacking!
Variation | Instructions | Bake Time |
|---|---|---|
Cupcakes | Fill lined muffin tin 2/3 full | 18-22 minutes |
Chocolate Bars | Pour batter into 9x13 pan, add crumble topping | 25-30 minutes |
Adding Your Own Flair: Customizing the Cake
The beauty of Martha's chocolate cake recipe is that it's a blank canvas, ready for your own personal touch. Feel free to get creative and add your favorite ingredients to the batter. Chocolate chips are always a welcome addition, adding extra bursts of chocolatey goodness. You can use milk chocolate, dark chocolate, or even white chocolate chips, depending on your preference. Nuts are another great option, adding texture and flavor. Walnuts, pecans, or almonds all work well. You can also add a swirl of peanut butter or Nutella to the batter for a decadent twist.
For a hint of spice, try adding a pinch of cinnamon or cayenne pepper to the batter. This will add a subtle warmth and complexity to the chocolate flavor. You can also add a splash of coffee or espresso to the batter to intensify the chocolate flavor even further. And if you're feeling adventurous, try adding a layer of frosting or filling between the cake layers. Raspberry jam, caramel sauce, or even a simple whipped cream are all delicious choices. The possibilities are truly endless, so let your imagination run wild and create a chocolate cake that's uniquely yours!
Mastering Martha Stewart's Best Chocolate Cake: Tips, Tricks, and Cook's Notes
Mastering Martha Stewart's Best Chocolate Cake: Tips, Tricks, and Cook's Notes
Essential Tools for Cake Success
let's talk tools! You don't need a fancy, professional kitchen to bake a killer chocolate cake, but having the right equipment can definitely make things easier and more efficient. A good set of measuring cups and spoons is a must for accurate ingredient measurements. A stand mixer or hand mixer will make creaming butter and sugar a breeze, but you can also use a good old-fashioned whisk if you're feeling ambitious. A rubber spatula is essential for scraping down the sides of the bowl and ensuring that all ingredients are evenly incorporated. And of course, you'll need cake pans! I recommend two 9-inch round pans, but you can also use a 9x13 inch baking pan for a sheet cake. Finally, a wire rack is essential for cooling the cakes evenly.
Beyond the basics, there are a few other tools that can come in handy. A cake tester or toothpick is perfect for checking the doneness of the cake. Parchment paper can be used to line the bottom of the cake pans, ensuring a clean release. And a serrated knife is ideal for leveling the cake layers before frosting. But honestly, don't feel like you need to run out and buy a ton of new equipment. Use what you have on hand, and gradually build your collection over time. The most important tool is your passion for baking!
Troubleshooting Common Cake Problems
Let's be real: baking isn't always smooth sailing. Sometimes things go wrong, and that's okay! The key is to identify the problem and learn from your mistakes. One common issue is a dry cake. This can be caused by overbaking, using too much flour, or not enough liquid. To prevent a dry cake, make sure to measure your ingredients accurately, don't overmix the batter, and bake the cake for the correct amount of time. Another common problem is a sunken cake. This can be caused by using too much leavening (baking soda or baking powder), not enough gluten development, or opening the oven door too early. To prevent a sunken cake, make sure to use the correct amount of leavening, don't overmix the batter, and avoid opening the oven door until the cake is mostly baked.
What about a tough cake? That's often the result of overmixing the batter, which develops too much gluten. Remember, mix until just combined! And if your cake sticks to the pan, even after greasing and flouring, try lining the bottom with parchment paper. Also, make sure the cake is completely cool before attempting to remove it from the pan. Baking is a science, but it's also an art. Don't be afraid to experiment and find what works best for you. And most importantly, don't give up! Even if your first cake isn't perfect, keep practicing, and you'll eventually master the art of chocolate cake baking.
Problem | Possible Cause | Solution |
|---|---|---|
Dry Cake | Overbaking, too much flour | Measure accurately, don't overbake |
Sunken Cake | Too much leavening | Use correct amount of baking soda/powder |
Tough Cake | Overmixing | Mix until just combined |
Martha's Wisdom: Cook's Notes and Origins
Martha Stewart's recipes often come with little nuggets of wisdom in the form of "Cook's Notes." These are invaluable tips and tricks that can elevate your baking game. Pay close attention to these notes, as they often provide insights into the recipe's origins, ingredient substitutions, and troubleshooting advice. For example, Martha might suggest using Dutch-processed cocoa powder for a richer chocolate flavor, or she might recommend adding a tablespoon of coffee to the batter to enhance the chocolate notes. She might also offer tips on how to store the cake properly or how to make it ahead of time.
Knowing the origin of a recipe can also add to your appreciation of it. Martha's chocolate cake recipe, for instance, originally appeared in Martha Stewart Kids magazine in Spring 2005. This gives you a sense of its intended audience and its simplicity. It's a recipe designed to be accessible and fun for both kids and adults. So, next time you're baking Martha's chocolate cake, take a moment to read the Cook's Notes and learn about the recipe's history. It's these little details that can make all the difference in creating a truly memorable cake. And remember, baking is about more than just following instructions; it's about connecting with the history and tradition of food.
Conclusion: Your Journey to Chocolate Cake Mastery with Martha Stewart
So, there you have it—a comprehensive guide to mastering what many consider to be the best chocolate cake recipe, courtesy of Martha Stewart. From navigating her website to understanding the nuances of each ingredient and exploring creative variations, you're now equipped to bake a truly exceptional cake. Remember, baking is as much an art as it is a science, so don't be afraid to experiment and personalize the recipe to your liking. Whether you stick to the classic two-layer cake or venture into cupcakes or bars with crunch, the key is to enjoy the process and share your delicious creation with loved ones. Happy baking!